


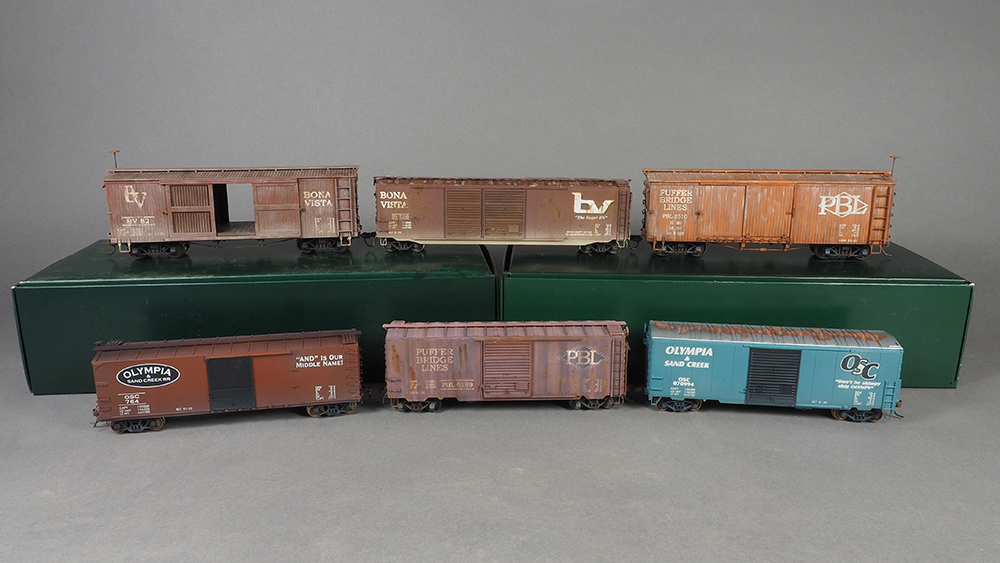
Car Swap Project part 9: Lessons learned: Once the last clear coat had dried, David and Seth sent their cars to Gerry for a class photo before he distributed them all to their new homes. After spending several weeks on the project, the three friends share some fun photos and a few of the lessons they learned about making custom cars for each other. These are tips that could be used by many modelers for an assortment of similar projects.
Seth: Wow, it’s been a long couple of weeks pulling all of this together!
Gerry: I have to say, it was really great getting to see all six cars in one location, even if it was just temporarily so I could get the final photos.
David: I still didn’t weather mine anywhere near as much as you guys did. Your cars look amazing.
Seth: I just like the run-down railroad look.
Gerry: I’ll be honest with you guys; weathering is one thing I’m not very good at. It tends to be “all or nothing.” Either I over-weather, or you can’t tell that I did anything. This car swap forced me to step out of the box and try some things.
David: By the way, your cars not only ran on my Olympia, but they also ran on the Beer Line, Virginian, Winston-Salem Southbound, Jones Island, and the MR&T before coming to you!

Gerry: That was very cool of you to do! And we can add the Bona Vista and Puffer Bridge Lines to that list, now too.
Seth: Cool! Definitely some rare mileage for those cars!
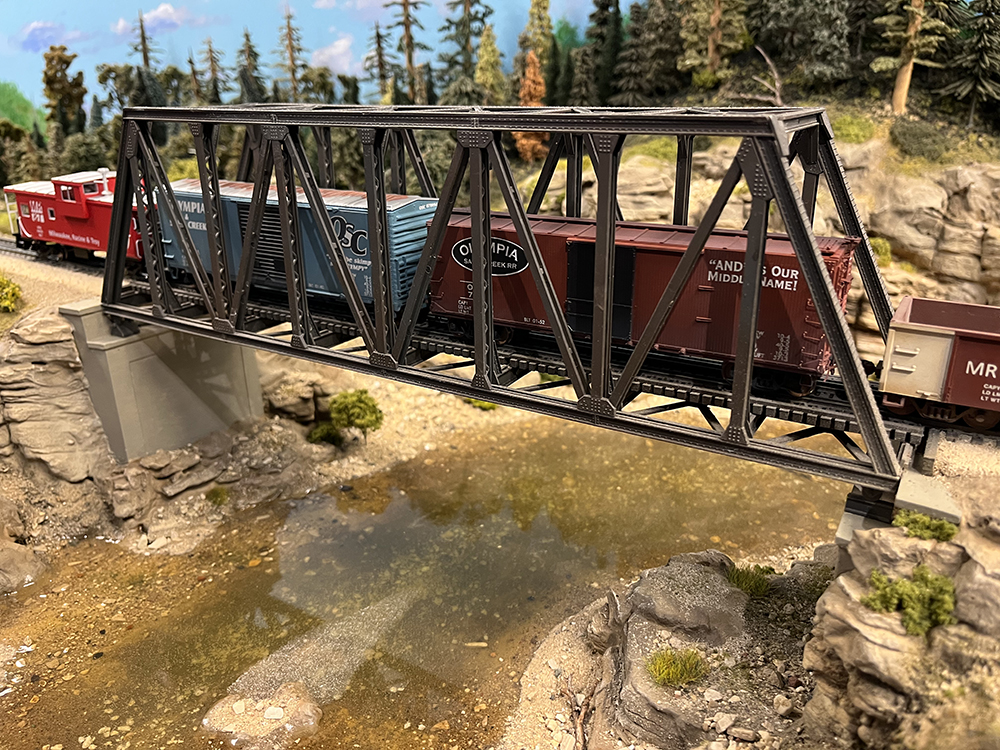
David: Well, the main theme of this part is all about what we learned, so this is one of mine; I got the idea to run the cars on various layouts from Gerry. Although he made his own Sunset Valley car using decals from Bruce Chubb, he also got to run it on Bruce’s layout. I figured I could at least do the same thing for you guys and give them a bit more special meaning.
Gerry: Believe me, when I have visitors to my layout, I won’t hesitate to tell them where the car has been! I had fun with the cars on my own layout too, although the On30 car was too big to make a complete tour of my railroad. The roof would’ve been sheared off when it entered the helix!

Seth: I just loved that photo! I shot something similar on my layout. The car was so big, I could only move it around the yard a little.
Seth: I think maybe the neatest thing about the project is that we all used different techniques to achieve great looking models. We didn’t talk to each other about what we intended to do. We had only discussed the basic premise and went off on our own to finish the project. I was kind of surprised you guys went for the spray cans and I only thought about the airbrush.
David: One thing I learned early in working at Model Railroader is that you go for the fastest solution when working on models to meet deadlines. I’ve adapted a lot of what I do for ready-to-use products, just because the amount of time I get to build and finish something is so limited. Another one of my big take-aways from the project was learning to apply a gloss coat to the car after finishing the decal work. I’m still amazed at how well that worked to blend the decal film into the car sides. The appearance got even better after applying a matte finish. I cannot believe I’ve gone all these years without figuring that one out.
Gerry: This was actually an idea I got from another model railroader friend of mine. It really works particularly well when the decal film is thicker. It’s a great way to hide it. The other thing I learned is that it was tough to get a smooth dull coat or gloss coat on the On30 car because each side has two doors, so one of them is always covering part of the car’s side.
David: Sorry, I should have mentioned earlier that if you pop the roof off, the top door track and the doors themselves lift right out.
Gerry: Now you tell me!
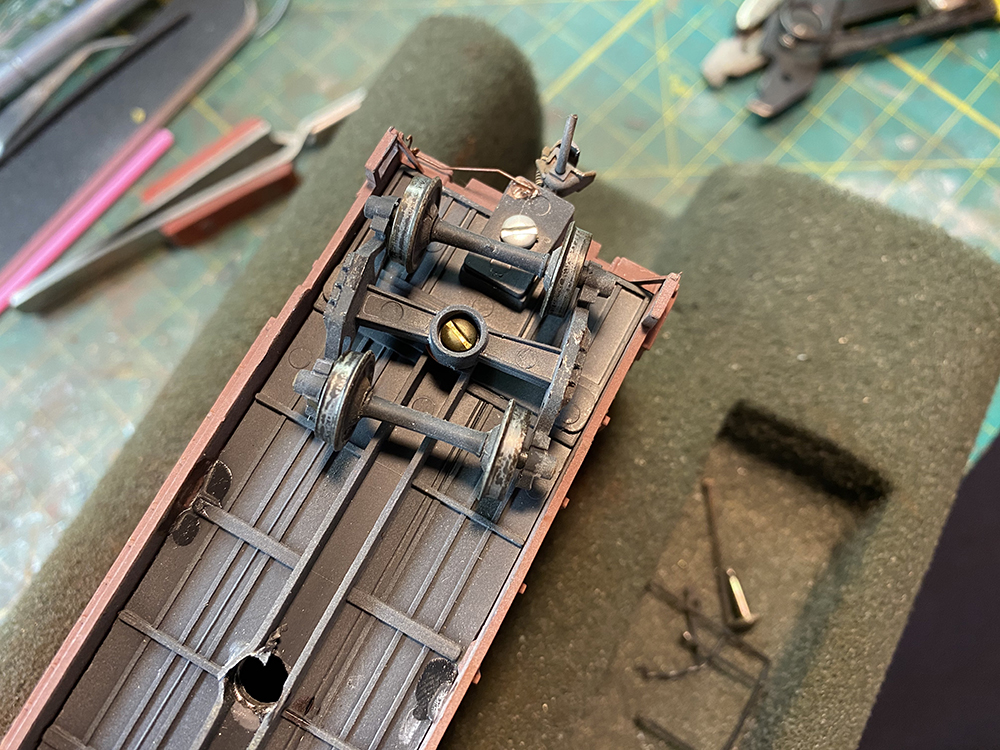
Seth: Gerry, I was surprised you painted the wheel treads on the car for my layout. Over the years as I’ve weathered every car that’s on my layout, I’d sometimes I’d get paint on the wheels that I didn’t want there. I found that using my battery-operated motor tool on a low-speed setting and a wire wheel attachment I could remove the paint easily.
David: and it also appears to brighten up the treads on the blackened wheelsets.
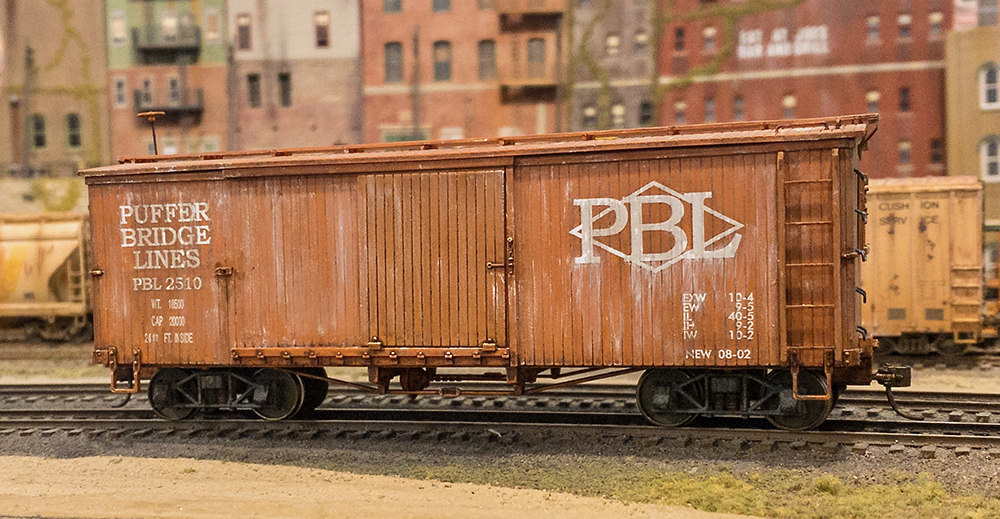
Gerry: For me, one of my favorite parts of this whole swap was creating updated and backdated logos for you guys and for me. I think all of them worked out well – I surprised myself! Even though I came up with a fairly simple backdated “BV” logo for the On30 car, in the process I came up with another backdated BV logo that I love, which would probably work better on my 50s layout than the one I’ve been using for the last 45 years. So maybe someday I’ll change-out all the existing BV logos. Maybe.
David: You could always have some of each running around the layout. It would look like they’ve just started updating to the new herald.
Seth: Old paint jobs can last a long time on a railroad, particularly on older cars where there isn’t a high priority to repaint them.
David: Besides, you still have a functioning ALPS printer, so make some cool old-herald decals for the Bona Vista with it. That, by the way, is something else I learned about all this – the ALPS printer is really cool, and I’m sorry they are long gone. I also now understand why they are treasured by modelers. Actually, I’m surprised that in all this time, no one has worked out a new, affordable solution for printing white ink.
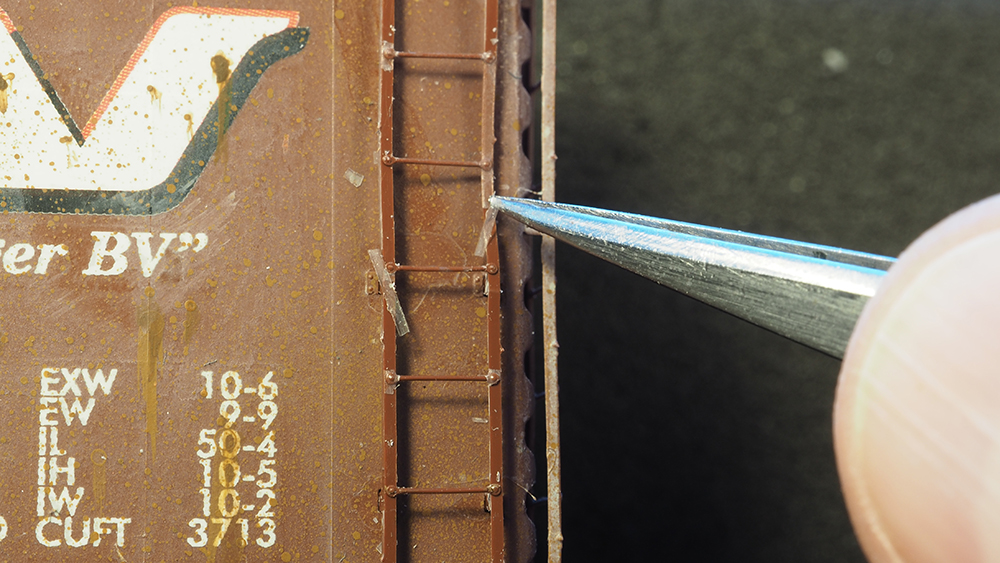
Gerry: I had one bit of learning that actually turned into a problem for me. I didn’t realize that Kadee kits use acetal plastic for ladders, grab irons and some underbody piping.
David: Some people call acetal plastic “engineering plastic” or “slippery plastic.”
Seth: It’s great because it’s flexible, so it’s almost impossible to break those fragile parts.
Gerry: That’s right! But the downside, as you guys probably know, is that acetal plastic doesn’t take paint or glue very well. What I discovered is that neither the diluted white paint I used to town down the boxcar red color, nor the Dullcote I sprayed on the car, wouldn’t stick to the ladders and grabs. In fact, it literally flaked off after it dried.
Seth: What did you do about it?
Gerry: I removed all of the weathering from the ladder, so it wasn’t covered with spots where the paint didn’t initially flake away.
David: The RC car guys use special paint for this kind of plastic. I know Cody is now trying Plaid’s PlaidFX Satin Paints. It is a flexible acrylic used for crafts, but it is made specifically for flexible plastic applications.
Seth: Yes, but what colors does it come in? Could you use if for weathering?
David: It’s pretty thick, so I’m not sure how easily you can dilute it to airbrush it. Cody is using the yellow, white, and black colors for handrails.
Seth: Are you going to talk about stripping the lettering?
Gerry: You mean stripping the lettering by stripping the paint under it?
David: I know you guys count that as a failure, but it was a good learning experience, and I still think that it would have worked great if I’d only needed to remove small things, such as the reporting marks. But yes, I learned that Walthers Solva-Set decal setting solution can be used to soften the ink printed on a model, which will then allow you to remove it carefully with a toothpick. Large Penn Central heralds, on the other hand, require the paint-stripper treatment.
Seth: True, at least it did work.
David: And I thought the cars turned out better this way with fresh paint anyway.
Seth: As you guys know, I had a little trouble with a couple of the decals “silvering”. I sent a text to both of you and you both recommended that I apply some more setting solution. Fortunately, it worked.
Gerry: One of the lessons I learned from doing this is that it really doesn’t take that long to weather a piece of rolling stock and make it look more prototypical.
Seth: Except for the trucks on David’s car.
Gerry: I know, I always forget those things! Really, though, it’s been a fun, workbench project. I’m glad David came up with the idea.
David: So Crazy Idea No. 11 wasn’t so crazy after all?
Seth: Not at all.
Gerry: Might have even been as fun as doing Jell-O shots with Michael Gross after Trainfest!
David: While I didn’t win my clone John Allen Gorre & Daphetid boxcar from eBay, I like the cars I got from the two of you much better – and they have a lot more meaning.
Gerry: (Besides, I made you a set of decals for the G&D Lines as well.)
David: (I haven’t forgotten that!)
Gerry: I can’t wait to add these two new cars to my roster and put them in regular service on the BV5. And both of the cars will have a place of honor in my Pantheon of Famous Friends’ Model Railroads.
Seth: I can’t wait either. It’s been a fun project and I got to share my work with you guys.
David: And just a reminder, you don’t have to have a freelanced railroad to swap cars with friends. It’s a great way to share the hobby!
Gerry: Thank both of you for spending so much time building them! This has been a gas!
Follow the links below to read the previous installment in the Car Swap Project series!
Car Swap Project Part 1: Trading models
Car Swap Project Part 2: Stripping lettering from models
Car Swap Project Part 3: Painting plastic models
Car Swap Project Part 4: Railroad herald design class
Car Swap Project part 5: Printing decals with an ALPS printer
Car Swap Project part 6: Seth’s techniques
Car Swap Project part 7: Gerry’s creative touch
Car Swap Project part 8: Olympia cars and liquid rust techniques


The need for a white ink printer is obvious. Maybe companies could make white ink print cartridge for ink jet printers. It could take the place of black. Since it would be used infrequently, drying out would have to be resolved.
A product called “Plastic Adhesion Promoter” was used in an old MR article as a prep for slippery handrails. It comes in spray cans at auto supply stores and is used to prep (etch?) the plastic so that paint will adhere. I have only used it a couple times on delrin type plastic but it worked well as a flat-type coat to help the paint stick. Worked as intended on similar bumper plastic when doing some repair work on daughter’s car (as it is not marketed to MRR & RC people).
Also, Scalecoat paint is very nice to use in their spray can form. It is a very fine pigment and goes on smooth. Also, if a color comes in spray can form, it also comes in bottles, so touch up or airbrushing to match is easy.