Car Swap Project part 7: Gerry’s creative touch: In this episode of our Car Swap series, Gerry explains how he completed the HO and O scale Bona Vista cars for Seth and David’s layouts. Starting with prep work and a few of decaling tips, Gerry then dives into extensive detail about weathering the two boxcars. With one being made of wood and the other out of steel, he uses different techniques on each.
Gerry: Unlike David and Seth, one of the two cars I needed to finish was a kit – a Kadee PS-1 50’ boxcar kit from Walthers. It’s a great kit, loaded with extremely fine details, but it has a few drawbacks.
David: It can’t be any worse than my trying to strip all that white lettering.
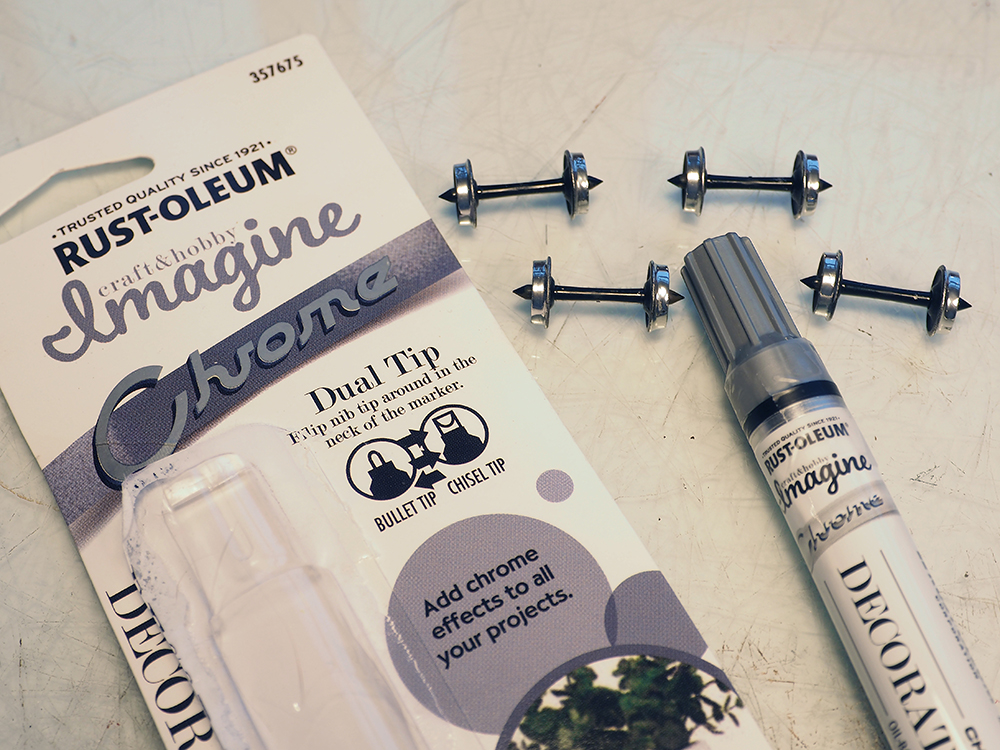
Gerry: Not quite, but close. The car for David was a fully built Spectrum On30 vented boxcar, and I worked on Seth’s car at the same time. As explained in part 3 of this series, I’d painted both underbodies Grimy Black and given them a couple of coats of Testors Dullcote. When that had dried, I sprayed the car bodies with Tamiya Gloss coat to give the decals a smooth surface to adhere to. Next, I worked on the wheelsets. Oddly enough, the On30 car’s wheels were totally silver and the PS-1 boxcar’s wheels were totally black. I used a microbrush dipped in Micro-Lux Roof Brown to paint the sides of all the wheels. The On30 wheels looked great, but the HO scale PS-1 wheels still looked strange with black treads. Luckily, I had a Rust-Oleum Chrome paint pen in my stash and used that to paint the treads on Seth’s PS-1 wheelsets.
David: Wait, you painted the treads?
Gerry: Yeah. The paint will probably wear off after the car has ridden the rails a while, but right now they look great.
David: Not sure I’d have done that, as the paint will likely wear off on Seth’s track.
Gerry: I guess that’s possible, but the marker is enamel, so it should have a more durable finish than acrylic paint.
Seth: And if not, tack cleaning, here I come!
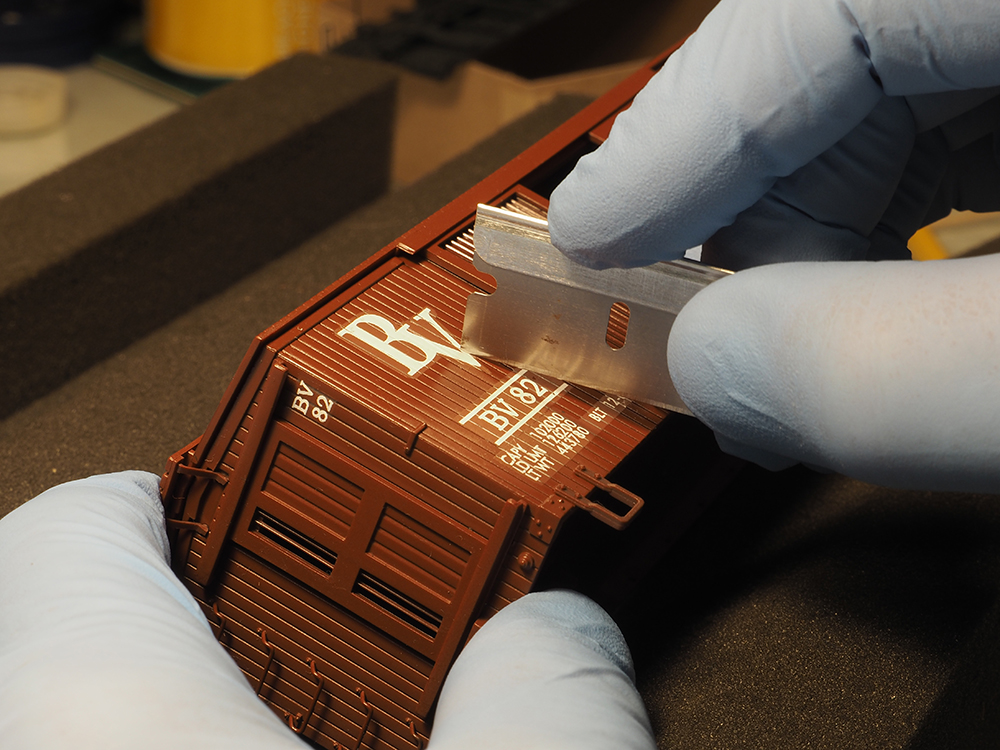
Gerry: You can always replace them if you don’t like it, but I like sliver treads on my metal wheels. Enough with paint for now and on to decals! I used a brand-new blade in a scalpel to cut the decals out of the sheet – that would assure me of nice clean edges. Once I had everything I needed, I started applying them to the car, starting with the On30 boxcar. (I later realized I’d forgotten to include BV road numbers for the PS-1 car, so it was back to the ALPS printer for me.) I soaked the decals in distilled water, applied Micro-Set to the car side, and slid each decal into place using tweezers and a cotton swab. David’s On30 car had simulated wood siding, so I let the decal dry overnight, then used a single-edged razor blade to score the decals along the grooves between the boards. Once I applied Micro-Sol to the decals, those score lines would help the decals settle into the grooves, giving them a “painted on” look.
David: And they look great that way too!
Gerry: The PS-1 car, being steel-sided, obviously didn’t need that treatment, and the decals went on the flat sides easily. With the decals installed, I did a little bit more of the assembly to the PS-1 car, adding ladders, grab irons, and the retainer valve.
Seth: You applied the decals before completing the assembly?
Gerry: Yes. Many of the fine details can get in the way of the decals or get damaged while handling the car do complete the decaling work. Just like building the model if it were already decorated, I saved the fragile pieces until the decals were in place.
Seth: That’s a great tip!
David: And building the kit actually turned out to have its advantages.
Gerry: Three little words…
Seth: Master Model Railroader
David: We know!
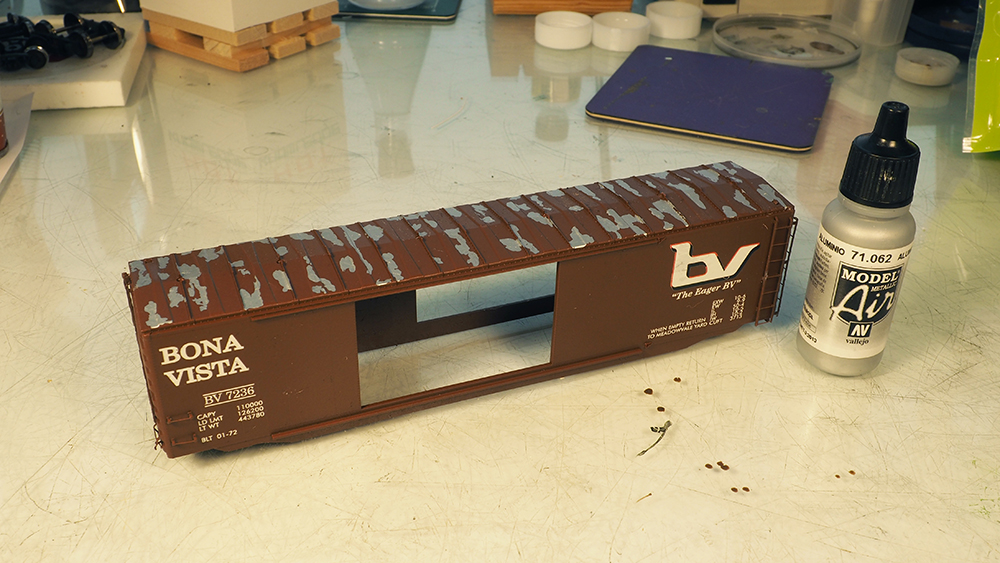
Gerry: With the assembly mostly complete, I began weathering the roof. To give it a weather-beaten look, I started by brush painting random patches of Vallejo Aluminum paint to the panels and ribs.
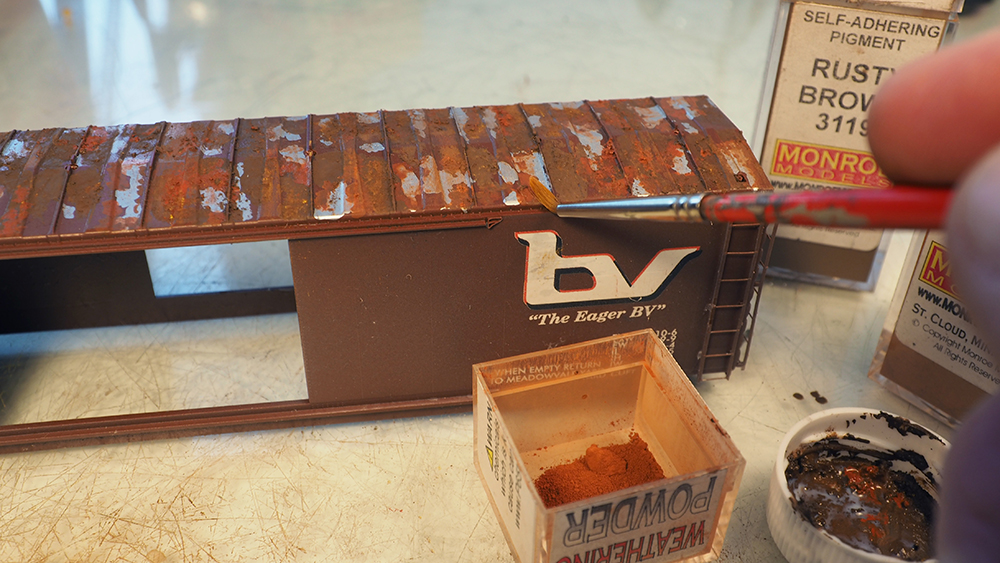
Gerry: I then made a slurry of Vallejo Matte Varnish and Monroe Light Rust powdered pastel, and brush painted it over some of the dried aluminum spots and the Oxide Red areas. Using weathering powders gives the patches a grainy, rust-like texture.
David: I know, I just love using this technique for gritty rust! You can do the same thing using just a drop or two of alcohol, but then you have to seal the car when you’re finished.
Gerry: Using the varnish eliminates that step. When the slurry had dried, I did the same thing with Monroe Rust Brown, a darker color, which gave some of the patches an older rust look.
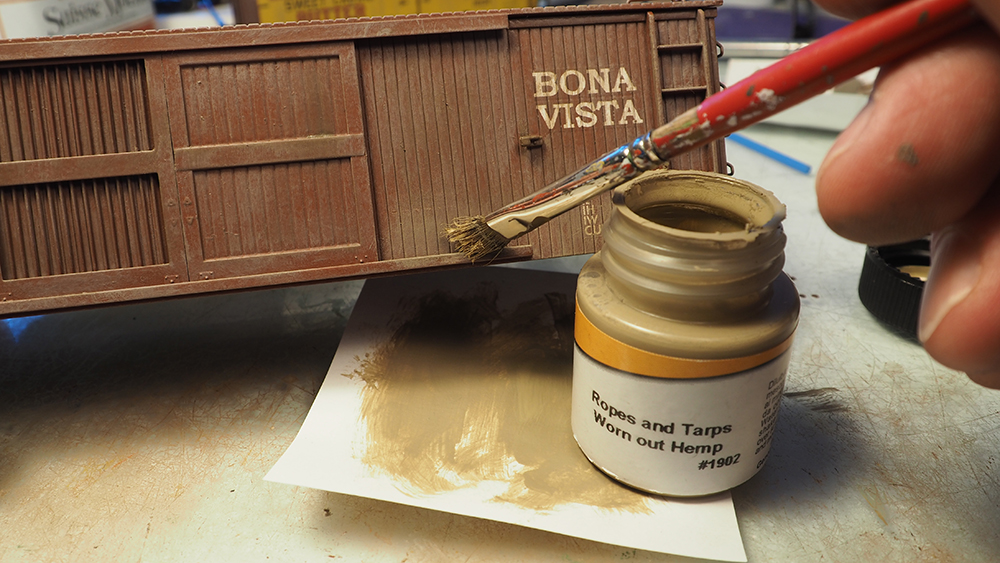
Gerry: Next, I turned my attention to David’s On30 car. Turning molded, plastic wood into real looking wood takes multiple layers of different shades of paint. I used Lifecolor’s Hemp Ropes and Tarps paint set because I liked the selection of unique colors. Cody Grivno did a great job weathering the wood deck of a flatcar with this paint in a video.
David: I just realized last night that I’m missing one of my colors from that set and cannot find it. You’ve not seen it, have you?
Gerry: No, sorry.
Seth: Me either.
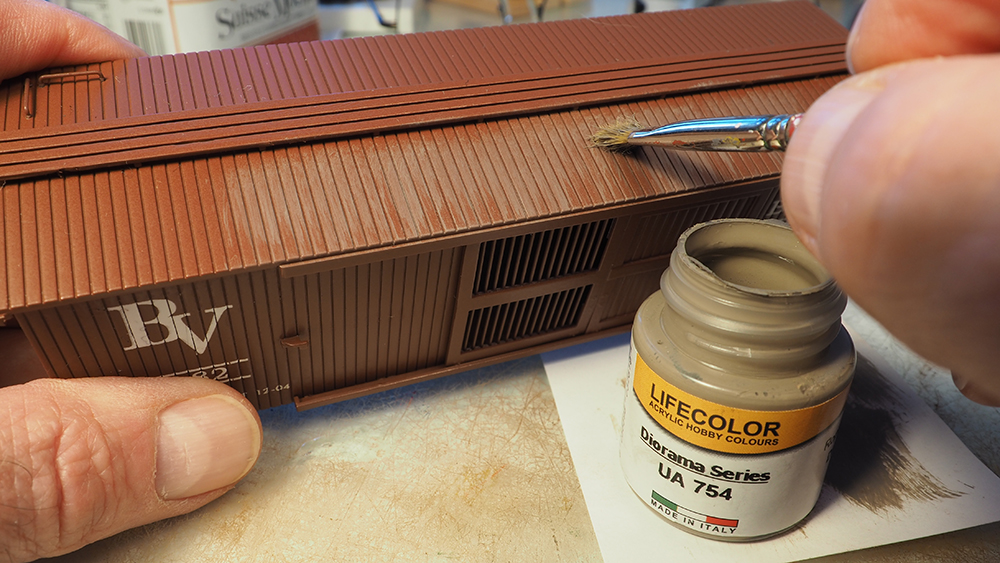
Gerry: I began by drybrushing on a light coat of the color Dirty Hemp to give the wood a faded, chipped look. Before that dried, I drybrushed on Medium Brown Hemp to give the roof and car sides the look of older, exposed wood. I finished up by drybrushing Worn Out Hemp along the lower portion of the sides. This color looks like the dust that adheres to the car as it rolls down the rails.
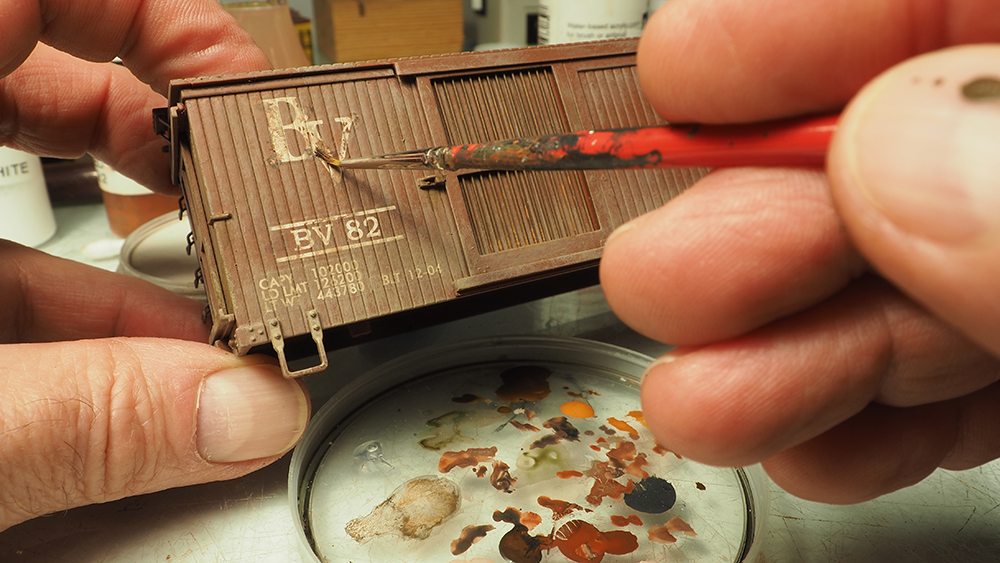
Gerry: I lightly drybrushed Oxide Red paint over the decals, to simulate the peeling white paint of the reporting marks.
Seth: That’s also a great technique to tone down the bright-white printing on the decals.
Gerry: Last, I added some Micro-Lux Rust to the bars on the doors, brush painted the couplers Micro-Lux Roof Brown, reunited the frame with the body, and airbrushed Vallejo “Earth” to the underside for yet another layer of dust. David’s On30 car was finished.
David: Wow! You did so much more weathering than I did.
Gerry: No worries – I tend to over weather things anyway. But Seth’s PS-1 boxcar was a bit easier.
Seth: Because it was in a smaller scale?
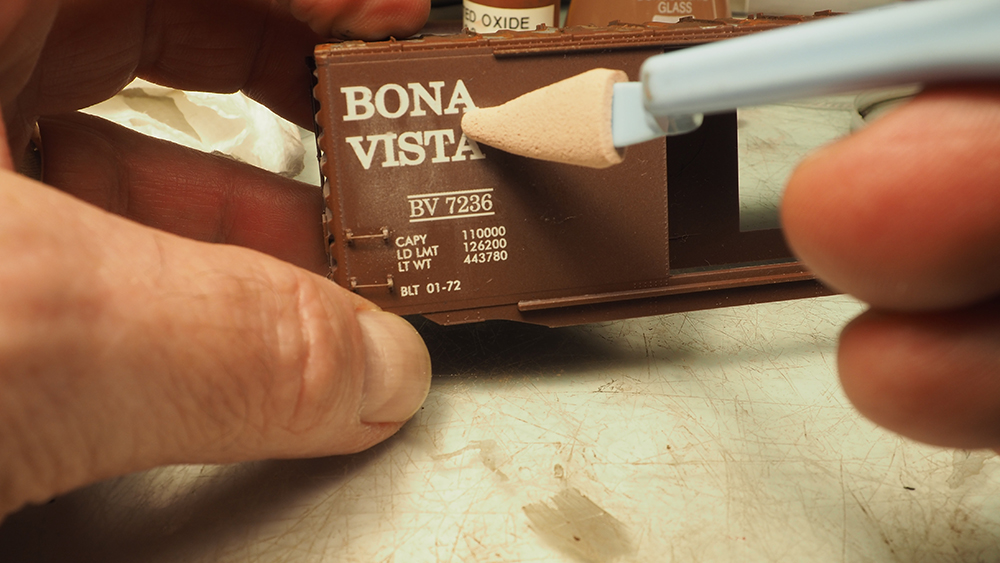
Gerry: Because it wasn’t supposed to be made of wood. I used white Pan Pastel chalk under the reporting marks to give the look of failing paint that was washing down the side of the car.
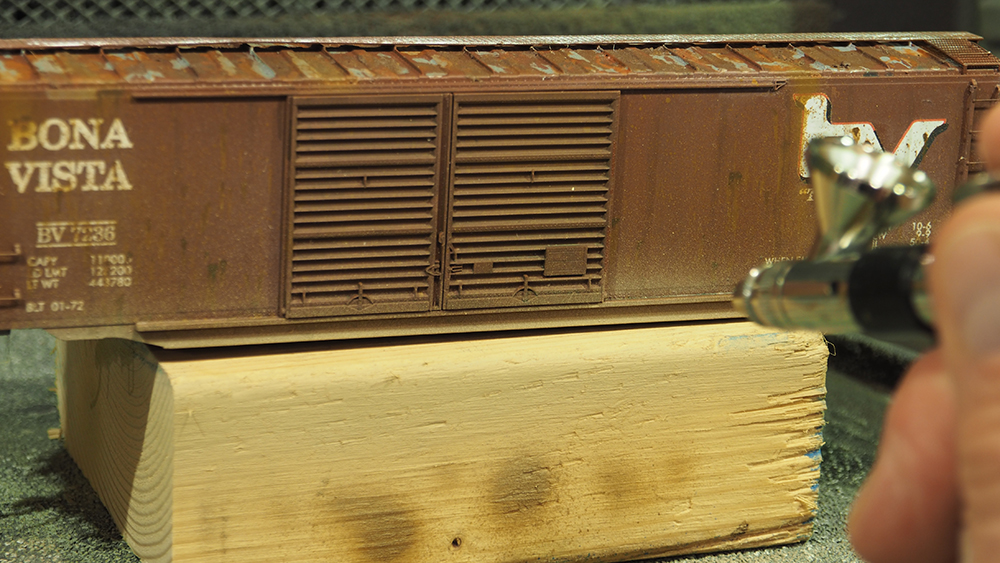
Gerry: I then used a technique I’d never tried before. I wanted the car side to look like it had many small, “new rust” pock marks. I discovered that if I put the Micro-Lux Rust paint in my airbrush and quickly flicked the trigger, it would splatter the paint, giving me the look I wanted. Later I used a water-loaded cotton swab to “erase” some of the pock marks since there seemed to be a bit too many. I then used a small brush and Micro-Lux Roof Brown to add darker, older rust areas. I also added some rust run-off from the roof. As I did with the On30 car, I loaded my airbrush with Vallejo “Earth” and sprayed the lower portion of the car sides and the underside to give the car a dusty look. Then, using a small brush, I ran a light bead of Vallejo Oiled Earth wash down the car side’s seams to simulate the dirt that usually accumulates there. I painted the couplers Roof Brown, and added a silver tip to the air hose. At this point, both cars were finished and ready to be delivered to their respective locations!
Seth: Man, my car looks great!
David: Mine too!
Gerry: Thanks. I used several different techniques on both cars, and I liked how the spattered rust dot trick turned out.
David: Well, the two of you put a lot of work into the project. Next installment, I’ll share some of the things I did to finish up the Olympia cars for the BV and PBL. See you there!
Follow the links below to read the previous installment in the Car Swap Project series!
Car Swap Project Part 1: Trading models
Car Swap Project Part 2: Stripping lettering from models
Car Swap Project Part 3: Painting plastic models
Car Swap Project Part 4: Railroad herald design class
Car Swap Project part 5: Printing decals with an ALPS printer