Videos & Photos Videos How To Track Planning Make a Lake, Part 1 | Back on Track, Episode 18

Make a Lake, Part 1 | Back on Track, Episode 18

By Gerry Leone | March 31, 2022

Watch the start of a water feature installation in this Model Railroading: The Ultimate Guide 2022 companion video

Email Newsletter

Get the newest photos, videos, stories, and more from Trains.com brands. Sign-up for email today!

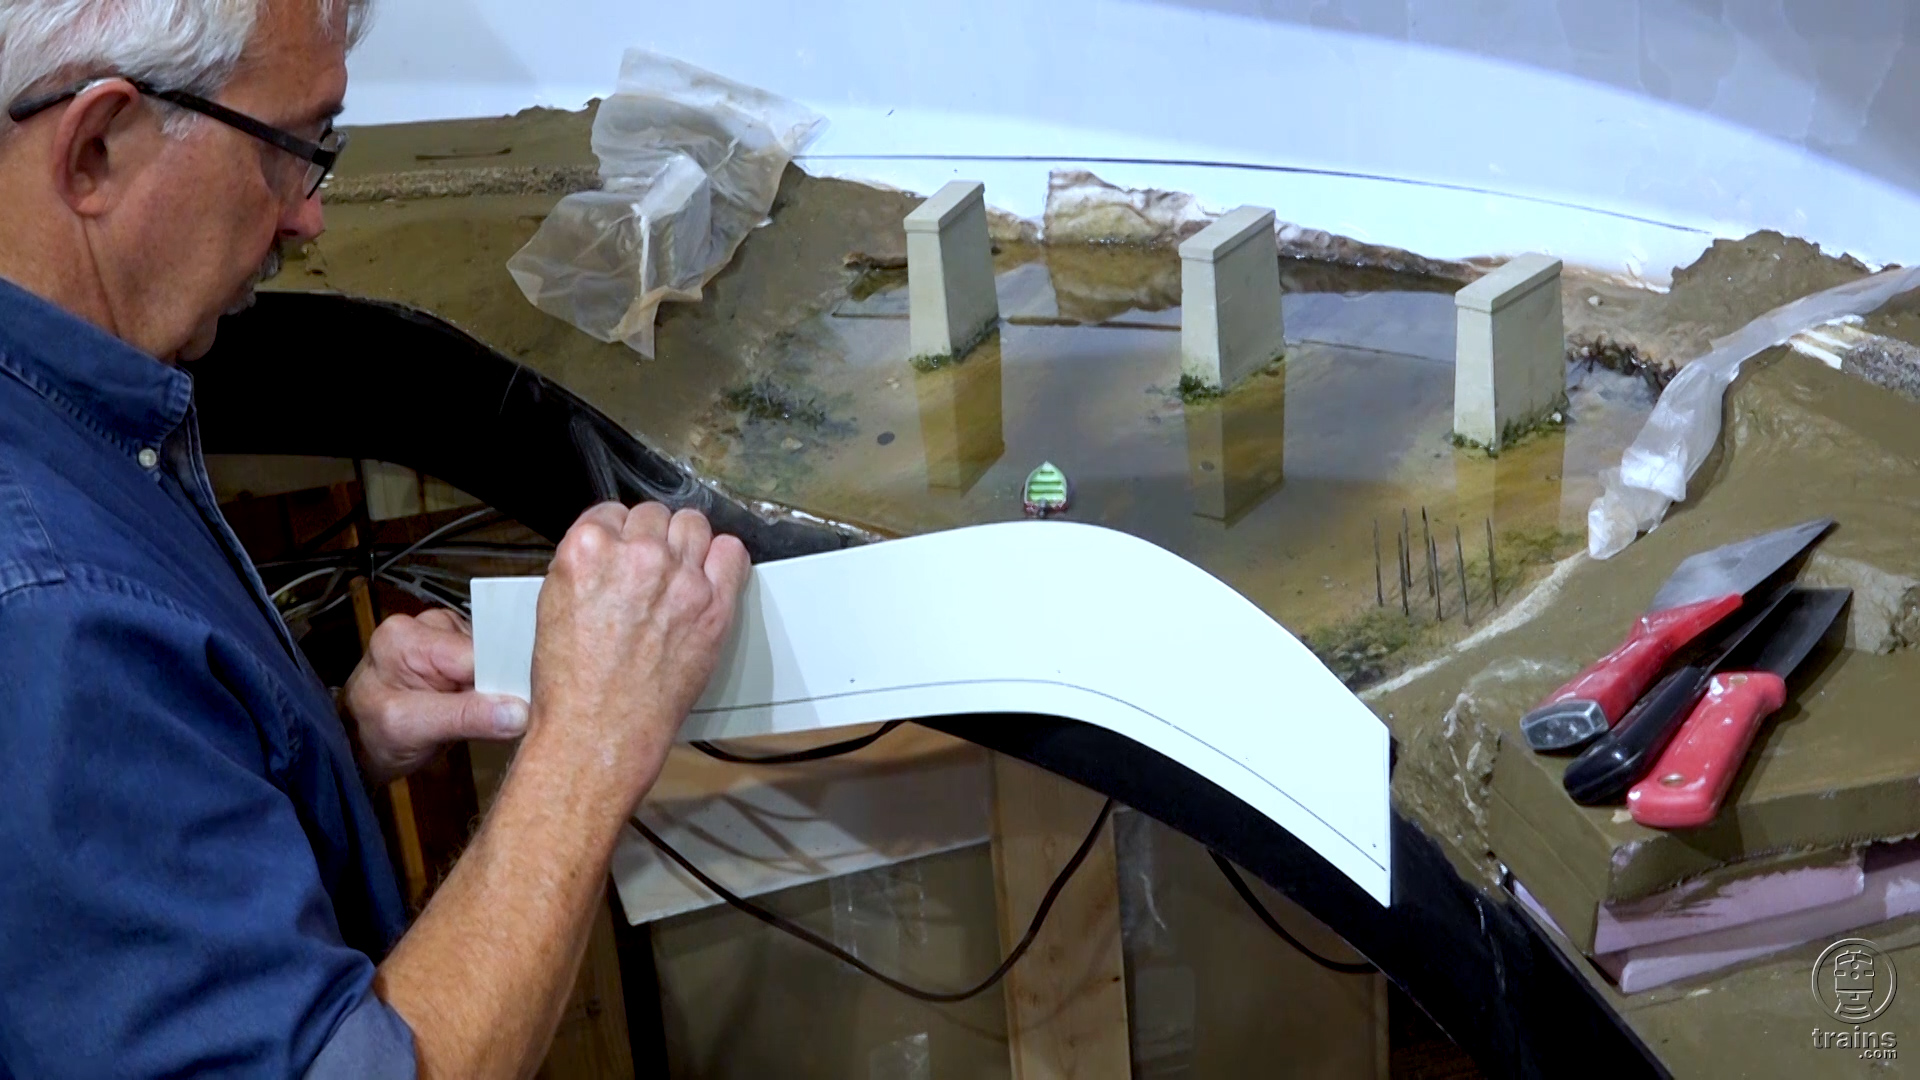
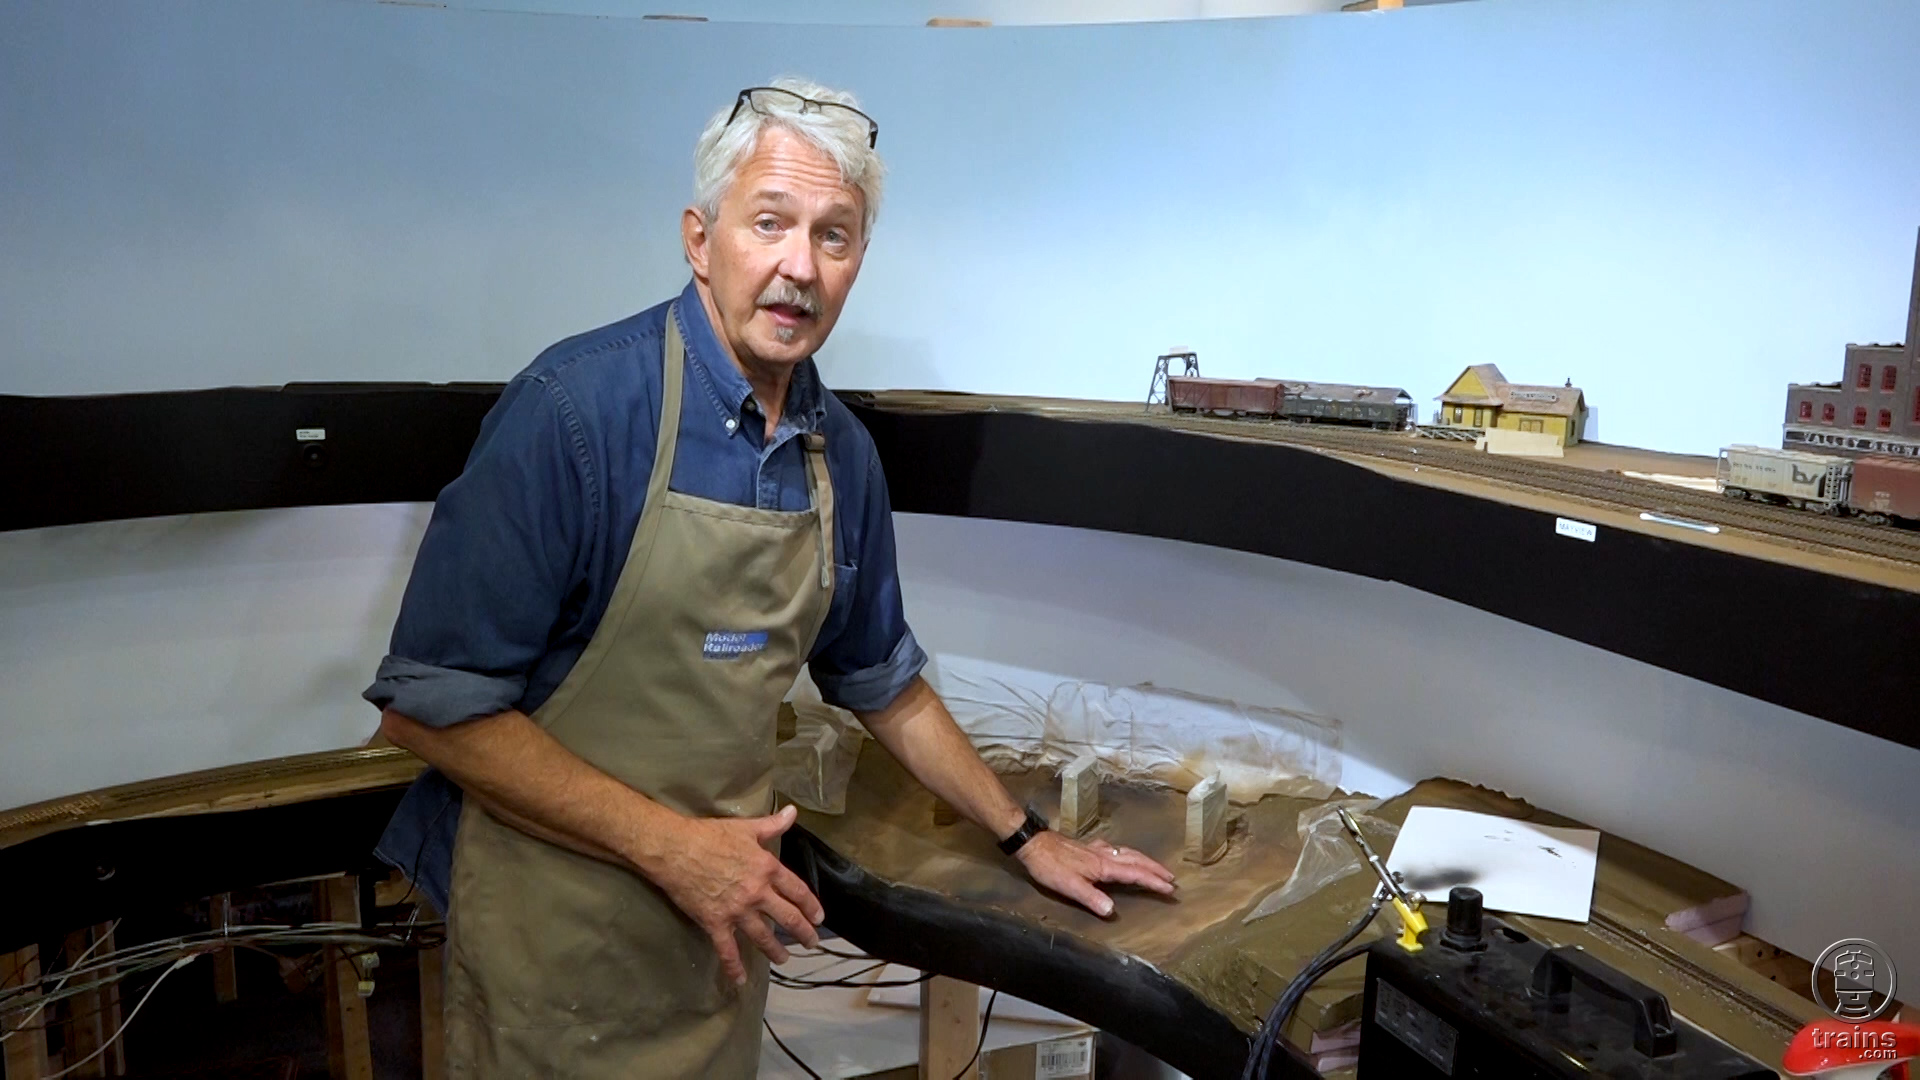
By popular demand! Back on Track host Gerry Leone jumps ahead in time to begin an effort to shape a common layout space into a unique place! In this episode, you’ll see the start of the lake scene takes the curved mainline into consideration. First, Gerry works to build up a plate girder bridge to span the space, before establishing a base layer of scenery for the lake water and shoreline.

Want insights about this and other layout construction efforts on the HO scale Bona Vista Railroad? You’ll find all of that and more in the special-issue publication, Model Railroading: The Ultimate Guide 2022, available from the kalmbachhobbystore.com!

Getting to know Gerry

Back on Track host Gerry Leone is just as clever as he is comedic! But even better, he’s a masterful model railroader who’s knowledgeable in numerous areas of the hobby. In his MR Video Plus/Trains.com series Off the Rails, audiences enjoyed learning many of the helpful tips and techniques he used to assemble various layouts over the years. Exclusive Trains.com video highlights much of his previous Bona Vista Railroad HO scale layout, and even examines specific details of his scenery construction in his Spaces to Places series.

With so many of Gerry’s talents at hand, we wouldn’t want any of them to go to waste! You can be sure to find him lending assistance in the construction of several other Trains.com projects, including work on the O scale (1:48) Olympia Logging Co., the HO scale (1:87) Winston-Salem Southbound, and even the N scale (1:160) Canadian Canyons.

If you’re looking to find some of the tools and supplies Gerry uses in his path to modeling success, look no further than KalmbachHobbyStore.com. There, you’ll be able to further examine and directly purchase products he and other notable model railroaders frequently reference in Trains.com videos!

13 thoughts on “Make a Lake, Part 1 | Back on Track, Episode 18

  1. Another great episode Gerry! I’m in the midst of expanding my layout (again) and am planning another water feature, so this was timely indeed!
    I’m currently creating a large city downtown area, and doing a LOT of kitbashing to make structures fit. The Micro Saw you showed would be a great timesaver. You mentioned you used grinding wheels instead of blades. You wouldn’t have the SKU number for those blades? Looking on the Harbor Freight website I’m guessing you used the 4 inch 36 grit Metal Grinding Wheel? Also noticed that you removed the safety fence and guard off your saw? looking forward to the next episode.

    1. Hi, Jeffrey — I’m guessing I used the 4-inch 36-grit metal grinding wheel, too! The little saw came with two blades — one that looks like a standard table saw blade, except 4”. And the other one was that grinding wheel, or whatever it is. It doesn’t have teeth on it but just has a silvery, rough surface. I tried the toothed blade on the plastic but that obviously just chopped the heck out of it. But the grinding wheel is very thin. As I said in the video, it DOES leave a bit of a melted plastic ridge on the parts, but once that cools it chips right off. I took the safety fence off because, frankly, it doesn’t really fit well and just seems to get in the way. Thanks for watching!

  2. I am simply amazed at the real estate your wife lets you have for your fantastic layout. That and the fact that this must be a full time job for you!

    1. Rich — What you’re not seeing is my wife’s quilting studio, which is every bit the same size as my train room, if not bigger! When we were planning the new house we found out we couldn’t have a basement, so the train room and quilting studio had to be built into the above-ground structure. And I do love working on the layout, and being retired, it’s always my first choice of “what to do today.”

  3. Have you tried Golden’s gels to create water effects?
    No mixing, pouring or leaks and since they are acrylic cleanup is with water.
    Goes on with stiff, short-bristled paint brushes to create water ripples and moving water.
    I used the soft and medium gels for a river and waterfall and water splashing against rocks.

  4. Since you went back and leveled the lake bed, didn’t that mess up your bridge piers, which were each cut at specific heights?

    1. GREAT question, Marc! Yes it did, as a matter of fact. The base was about 1/8” too low of the left, so I was able to shim it up. Then I was able to remove some of the styrene I had under the piers on the left and in the center. Thankfully it was an easy fix.

  5. Andrew and J Gordon: I’ll admit, the Shaper Sheets may have been a bit of overkill, but I had ‘em, they were quick and easy, and I just don’t trust myself to slather on anything and be sure it’s totally sealed. As you’ll see in the next episode, there WAS a small leak, and like Andrew’s, it was at the front dam. But as you’ll also see, it didn’t amount to anything and in fact never made it to the “dripping the floor” stage. I was lucky.

  6. Gerry:
    On my layout I’ve got a lot of water and instead of the shaper sheets i use a coat of Flex seal on the base then the woodland senics plaster than a second coat of Flex seal on top of the plaster. Ive never had one leak problem as i did in my the layout before this one. The guy in the commercials may be REALLY obnoxious but his products work great. Deep Pour is expensive, woth every penny , and ive not wasted even one drop on my rivers, lakes and harbor.

  7. The use of shaper sheets – by Woodland Scenics ? – is a great sealing idea and as Gus mentions ahead of me, can be joined to seal to next sheet. Could you not have just done a heavy coat of acrylic paint or a mix of white glue or even spread a layer of silicone style sealant across the waterbed area?
    I did that on a smaller river area, not as large an area admittedly, with no resin leaks. Where I did get a leak was a pour at edge of layout table that my “dam” did not seal properly – ‘damn’!…
    Tip no 1: put paper on the floor just in case!

  8. Great episode Gerry. I’ve used shaper sheet (24 inch roll) as the bottom and sides of a stream through my layout. If you peel off the cloth from the foil you can weave in another sheet against the foil backing, it has an adhesive on it to attach other sheets. works great for plaster, paint and scenic water materials. Looking forward to more episodes. Thanks.

You must login to submit a comment