


Built by Others is an article series showcasing layouts constructed by modelers using plans and projects from the pages of Model Railroader and its associated products. The Georgia Southern layout originally appeared in the pages of Model Railroader in 2001. Mike Tuminella converted the layout to N scale to better fit the space he had available and made adjustments according to his interests as a model railroader.
Built by Others: Mike Tuminella’s PRR Line layout from Emporium to Benezette
By Mike Tuminella – photos by the author
Ever since I was little, I’ve been fascinated with trains. Just a block behind my childhood home, I would watch the Penn Central locomotives switch the local industries in my small suburban town just outside of Pittsburgh. My modeling interest was in HO scale, and I’ve lost count of how many layouts over the years I started, then for one reason or another found myself unable or unwilling to finish, which in turn led to demolishing or selling off the layout. I was never completely happy with the operation, which would inevitably lead me to want to start again from the beginning.

Really, I was looking to create my perfect layout: a decent mainline, a freight yard, an interchange track, staging, and plenty of switching opportunities, and finally, I wanted it to fit into a small space in an upstairs room of my current home.
I had been a subscriber to Model Railroader magazine for over twenty years, and it was the small layout contest winner in the April 2001 issue that caught my eye. It was an 8 x 8-foot HO scale layout called the Georgia Southern that checked all the boxes in a layout that I was looking for. I quickly began construction in HO scale. Perhaps unsurprisingly, after benchwork, track laying and wiring, I wasn’t happy with my layout, and introduced the layout to the local landfill. Despite work and a new family, I kept up with the hobby over the next several years, but never really started another layout.
When recent global events provided me some more home time, my desire to build, and finally complete, another layout was renewed. At that point, I still decided to model my layout based on the Georgia Southern, but this time it would be only 4 x 8 feet, and in N scale.
The PRR Line from Emporium to Benezette is Born
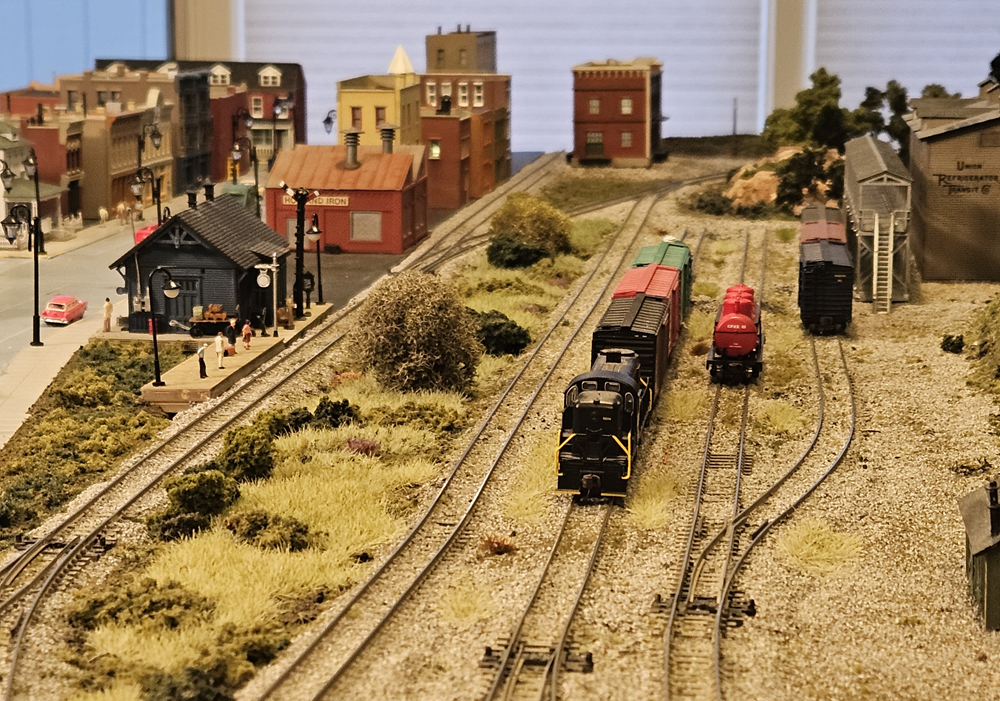
My layout is a freelanced section of the Pennsylvania Railroad, from the north central Pennsylvania town of Emporium south to the small town of Benezette. The layout is set in the early to mid-1950’s, which I consider the optimal period for railroading.
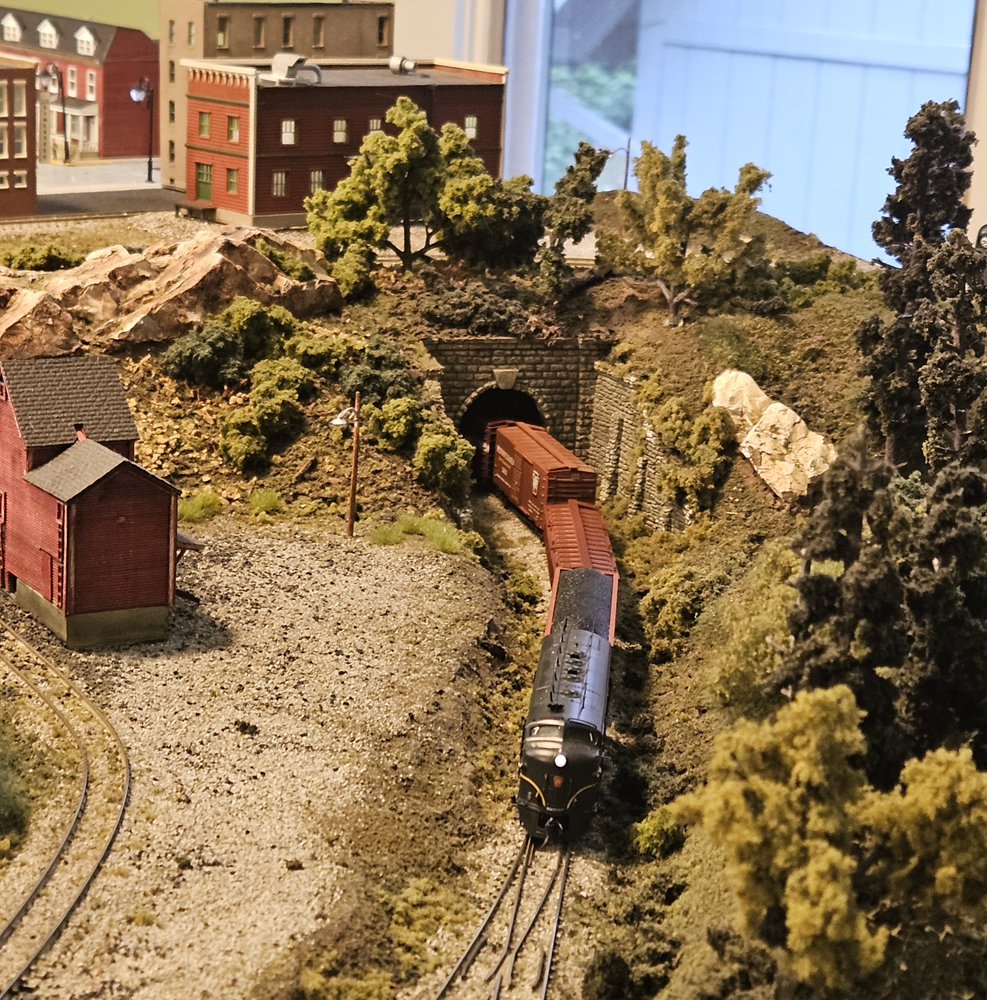
Being in N scale and sized down to 4 x 8 feet, I had to make some modifications to the layout. To do this, I printed several different N scale PECO switch templates, laid them out on a 4 x 8-foot sheet of plywood, and with my radius-ready yardstick, started to draw the largest radius curves that would fit, and then connected everything together. I think one other important change for me was to add a switch lead to the small yard, so I could perform switching duties during operation without fouling up the mainline. I also decided to create some hills down the middle of the layout to provide a view block between one side of the layout and the other. Hills are common in central Pennsylvania, so it fit my selected geographic location.
Benchwork, Track and Wiring
The layout is built on tried-and-true L-girder benchwork. The girders are constructed using 1 x 4-inch and 1 x 2-inch pine. I attached a 1 x 3-inch pine frame to the top of the girders. Everything is glued and screwed together. I had a 4 x 8-foot piece of 3/8-inch plywood in my garage, so I used that for the tabletop. I was concerned that the plywood would eventually sag, but after benchwork and scenery, there have not been any problems. The legs are on wheels so I can just roll the layout into the corner of the room when I’m not working on it. I wanted my railroad as close to eye level as possible, so the height is between 49 and 51 inches. In addition, it’s much easier working under a layout that is as high off the floor as possible.
Trackwork consists of mostly PECO code 80 flex track. All the switches are PECO Medium or Large Radius and are thrown by hand. The exception would be the switches in the hidden staging yard, which are controlled by PECO powered switch throws mounted to the tabletop below the town of Emporium. Every section of track has a pair of feeder wires soldered to them and then attached to a pair of buss wires that run around the entire layout. The layout is wired for DCC and controlled by an NCE Power Cam Unit.
Operations
It’s interesting that even though I wanted plenty of operations, I prefer to build more than operate. Still, this layout has plenty of operating opportunities. Up to three trains can be made up and ready to go in the hidden staging yard. I built the town of Emporium on separate sections of one-inch foamboard for easy access to the staging yard. There is an interchange track in Emporium, where trains can be made up in the yard or switched at the local industries. There is also a passenger station on the other side of the layout at Benezette, where there is also a feed store, coal and grain distributor, a team track, a freight/passenger station, and a fuel service facility that create more switching opportunities. The layout can be run either point to point, or as a continuous loop. There is plenty to keep an operator busy for quite some time.
Scenery and Structures
One of my favorite parts of the hobby is scenery. I realized that working on a smaller size layout footprint creates a real sense of accomplishment. I tried just about every scenery technique in the book. The base of the layout is a mixture of foam board, cardboard webbing, crumpled up newspaper with a masking tape web, you name it, I probably tried it. Everything is covered with either plaster cloth or joint compound, then painted with a flat brown latex paint.
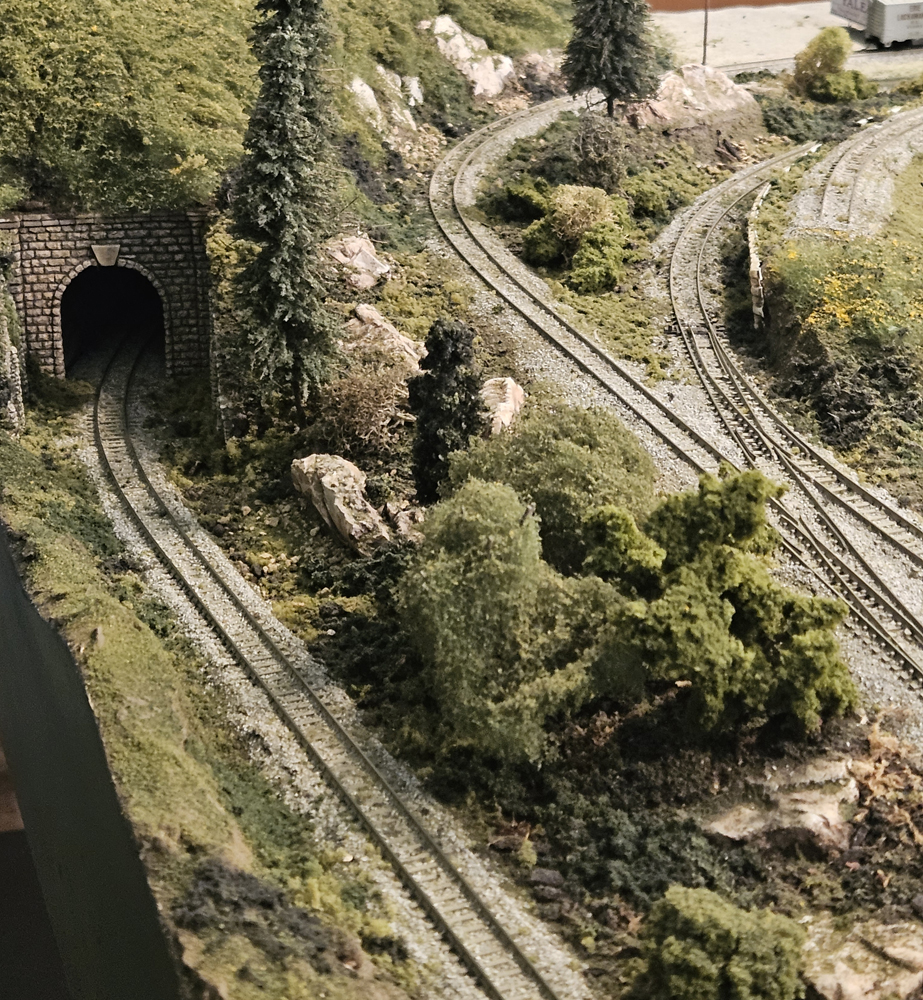
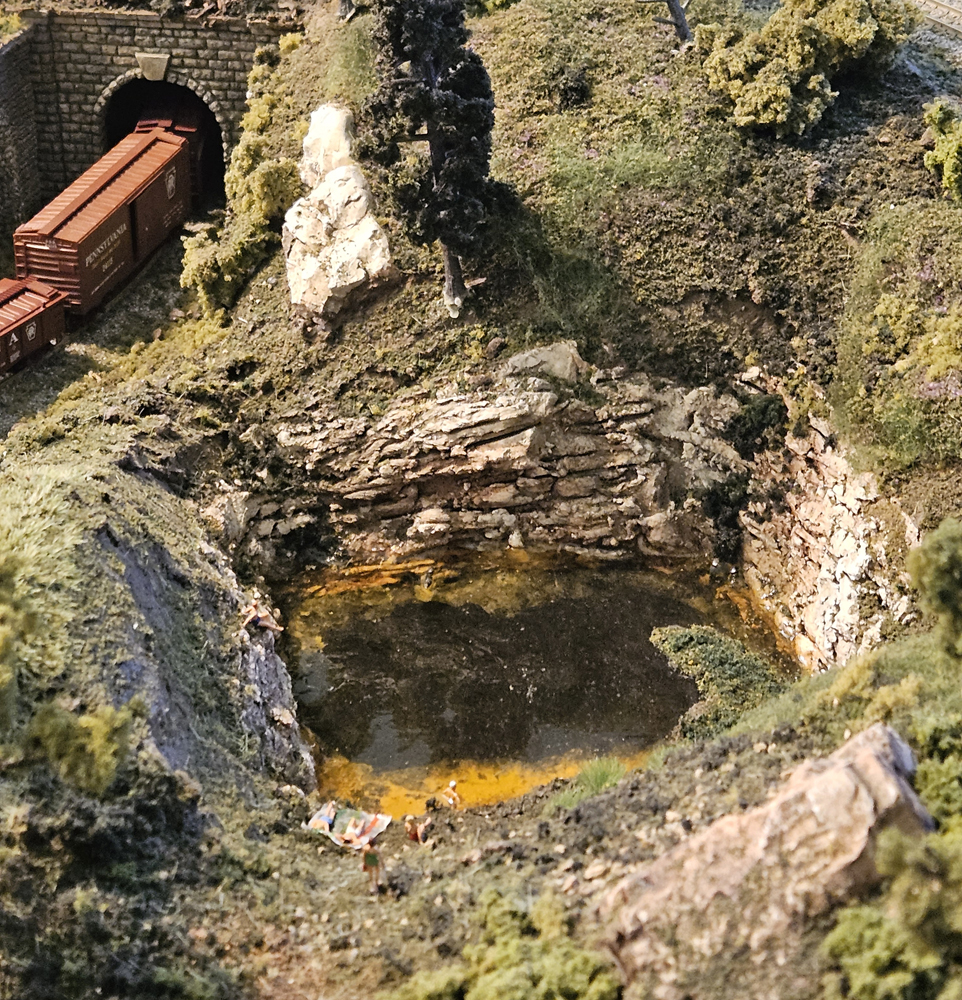
Ground cover starts with the classic “ground goop”, then various layers of Woodland Scenics dirt, grass, ground foam, shrubs, and trees. Other areas are covered with static grass, real dirt, woodland Scenics trees, poly fiber, and any other scenery product I had purchased over the years. The trees are mostly Woodland Scenics plastic tree kits, with a few real branches representing deadfall included. Everything is set with diluted white glue. Rocks were either cast from rubber molds or were made by applying a thick layer of joint compound and carving it with a putty knife as it dried. All the rocks are colored with Woodland Scenics Earth colors.

Main street in Emporium is a styrene sheet covered with joint compound which was sanded and painted. When I went to paint the sidewalks, I covered the street with painter’s tape. However, when I removed the tape, some of the street came along with it. It worked out because it now looks like a street in need of some serious maintenance. The other roads are made up of N scale ballast that is also sealed with diluted white glue.
Structures are mostly a mix of Woodland Scenics, DPM and Blairline structures, with a few flea market purchases thrown in. I typically assembled and painted these structures during long weekend camping trips with my family, where I would not be distracted by technology. Most of the structures on the layout have lighting installed.
This Layout is a Keeper
I am happy to say that after several decades, this layout is here to stay. I am extremely happy with the flawless operation and results after only a couple of years of construction. And despite initial appearances, this layout is far from finished. There are still many more details and figures to add, and dozens more trees to plant to better represent the hills of Central Pennsylvania.
A model railroad is truly a work of art. It teaches you many different techniques, such as carpentry, electricity, and electronics, and of course, art. If you find yourself wanting to build a layout, but are having trouble getting started, take my advice: just do it! Start small, set aside the time, learn from your mistakes, find that sense of accomplishment and most importantly, have fun!


5
Is it possible to see a picture of the overall layout? A basic track plan you made.Thank you,
Bill Aronis
wmaronis@gmail.com