Storefront window displays are one way a modeler can make a building on a layout look inhabited without having to detail the entire interior. It’s a way to simplify the process while engaging viewers and hobbyists.
A building can look fabulous on the outside with eye-catching signs and prototypically weathered brick walls, but if the windows are empty, it shatters the illusion of realism. An authentic city building in a busy downtown area or a small-town café on the side of the road needs to have the appearance of something going on inside.
1. Use photos for storefront window displays
Using a photo to simulate the inside of a store is one method. Whether you take the photo yourself, find it online, or cut it out of a magazine, you’ll need to scale it to size. After scaling it to fit your model, choose the photo paper, printer paper, or cardstock you’d like to print it on. At home printers and photo-editing software make this a breeze. You can also send your images to a photo processing place if you desire.
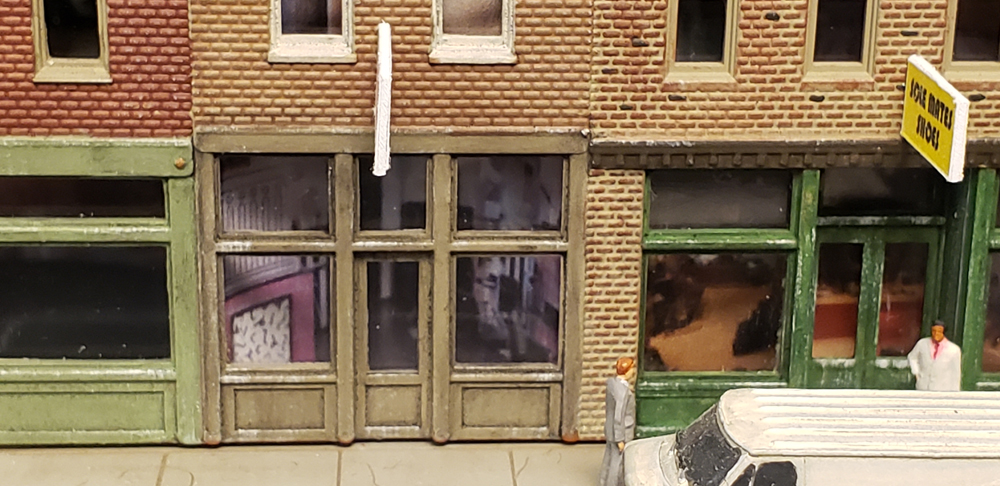
To adhere it, use a clear glue (Testors Clear Parts Cement and Window Maker or Aleene’s Clear Gel Tacky Glue work well). You can attach the photo directly to the window, place it slightly back to create more depth, or try curving it in toward the viewer slightly to create movement with depth.
Photo techniques depend on scale
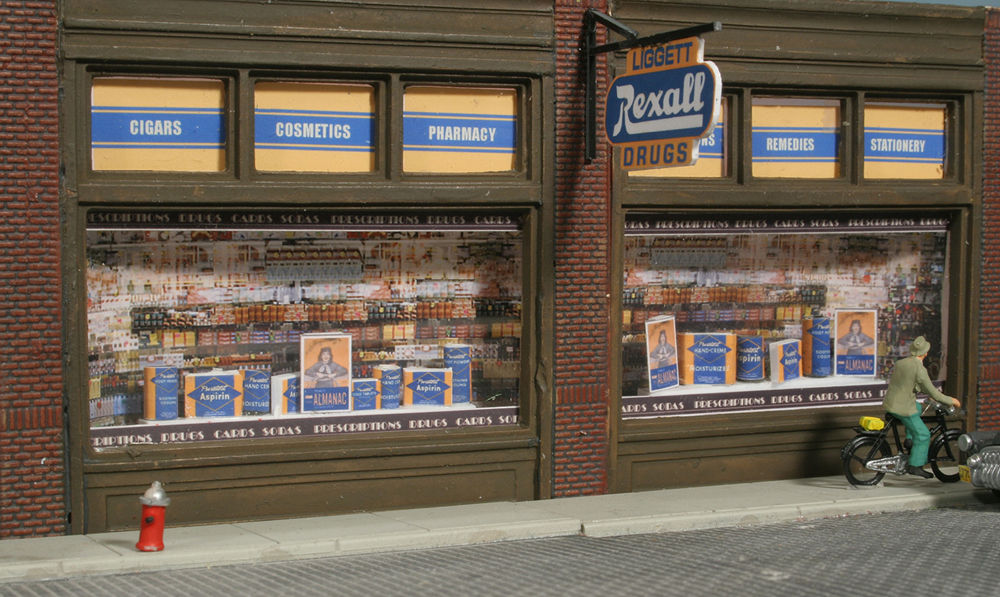
Depending on the window’s size, modeler V.S. Roseman suggests cloning the image, reversing it, and attaching it to the original for added window coverage in his article “Add storefront details” in Model Railroader’s October 2011 issue.
Consider this next idea for options needing more depth or for larger scale structures. Roseman creates layers by making two copies of the same photo. First, cut out the foreground items in the one photo, then mount them in front of the other untouched copy that becomes the background.

For installing the storefront display, build a styrene wall, display holder, or something to hold the photo in place. Roseman uses a display holder about 3/16” deep made from sheet styrene (clear or colored) and attaches it to both sides of each display window. Depending on the structure’s entrance, a slightly more recessed display may be needed.

2. Construct physical displays for windows
Do it yourself. Using commonplace materials to produce a storefront window display is another option. Depending on the business you are re-creating, your toolkit may vary. In the book Basic Structure Modeling for Model Railroaders by Jeff Wilson, “Detailing” (chapter 6) explores different techniques to construct storefront scenes. To begin, Wilson cuts and uses a piece of styrene to make a window well, a base which will then hold up Preiser vegetable crates. Styrene can also be used to make display shelves for items.

Do it yourself tips from modelers
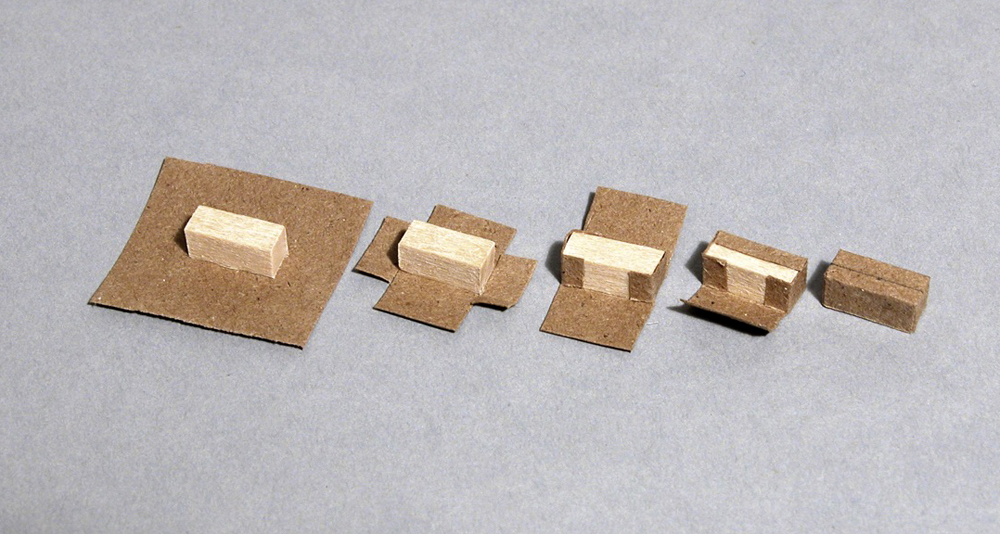
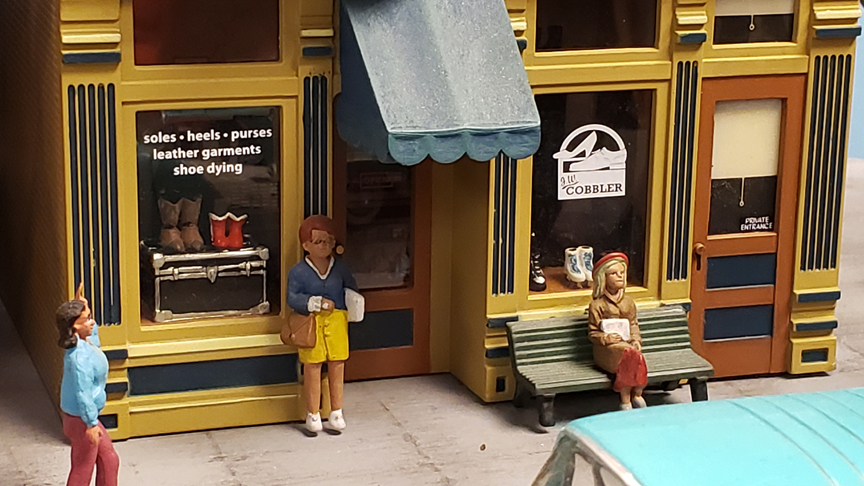
Wilson makes his own display cardboard boxes by using a grocery bag, small pieces of wood, a hobby knife, and some glue. Depending on the scene you are trying to create, thinking “outside the box” is a good way to go about it. Think of what you want to have on display and then find everyday household items to transform into it (e.g., beads can become decorative flowerpots). Roseman makes oversized display products for storefronts using real product labels that were scaled down, copied, and wrapped around styrene strip or rod to make mock boxes and cans. To create mannequins for a clothing store window try cutting the heads off of standing passenger figures.
3. Find commercial products for display
Some purchased kits may come with display items, but if not, you may need to go scouring for what you need. Try your local hobby store or craft store or look online at manufacturers’ websites to see what they offer. There may be a specific pack of figures or items that you can purchase to put in a storefront display. Etsy has many options, as well. Just search “HO scale window displays” (or whatever scale you model) to see tons of possibilities pop up.
For more Beginners’ articles like this one, check out “Four ideas for window treatments” or “Five tips for creating a summery scene.”