How-to Library: Turning Spaces into Places, Part 4
| Last updated on January 11, 2021
Trains.com is undergoing website maintenance that is expected to last approximately two weeks. Click here to learn more.
| Last updated on January 11, 2021
Members enjoy 15% off any purchase in our store. Join Today!
Model Railroader 2026 Calendar
Don't miss Model Railroader’s all-new 2026 calendar, featuring Rod Stewart's spectacular layout!
Thanks Gary, Another excellent video. You keep treaching and I will keep learning something new as I do each and every time you do a presentation.
Thanks again
Thank you Gerry, your videos and approach to modeling are great. I can now put my scenery library on eBay and have more room for more scenery.
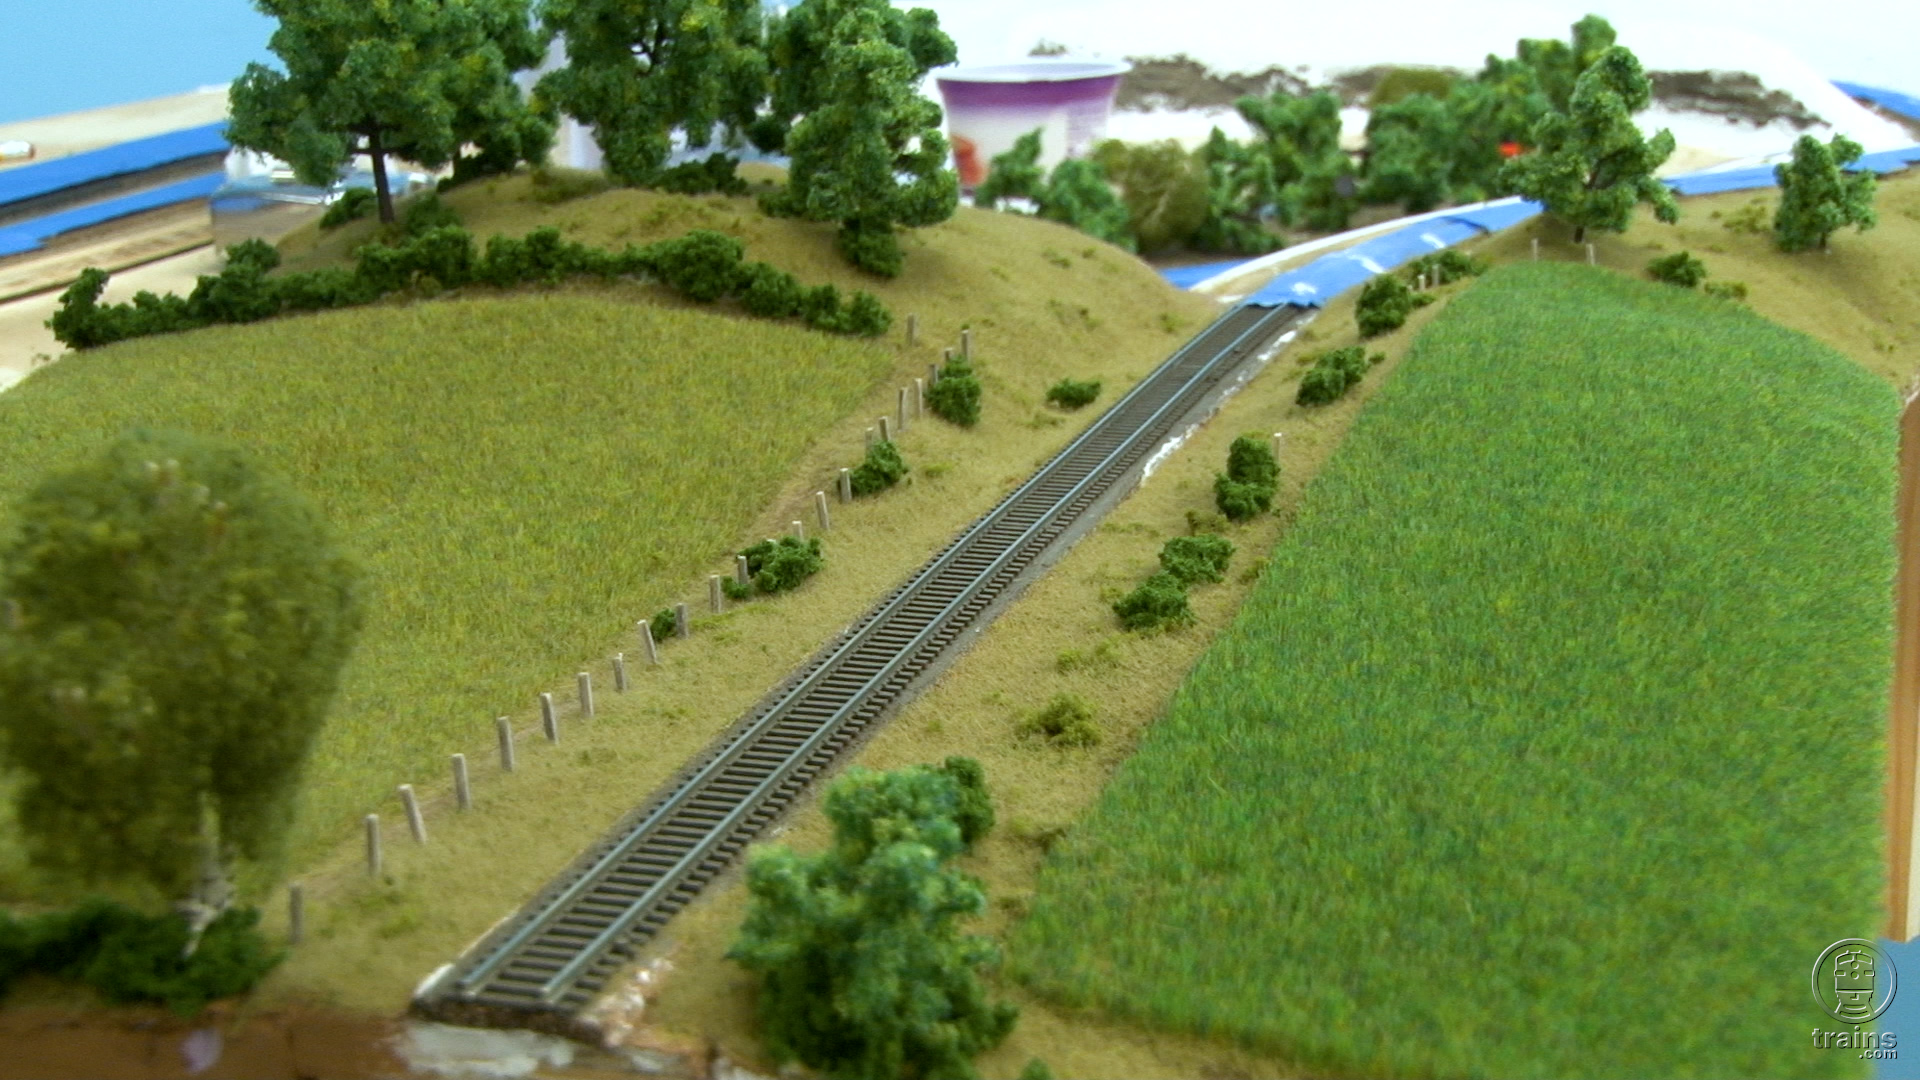
Nicely done Gerry, for the longest time I would add the ground foam/dirt material directly to the wet paint. It took a while to sink in that the material was picking up some of paints color. The question I have, on the sloped areas, aside from the fact that it’s a longer process, wouldn’t it be better to apply your glue solution with a pipette to really minimize the runoff and any subsequent clean up? I do admit, there is still some runoff, but not as much. As a rule, regardless of whether there is or isn’t any runoff, I still add addition ground cover as needed. Thanks
Thanks for comments, everyone. As Mark said below, you can see the finished scene in “Model Railroading: The Ultimate Guide 2019” as well as a thorough recap of the techniques I used.
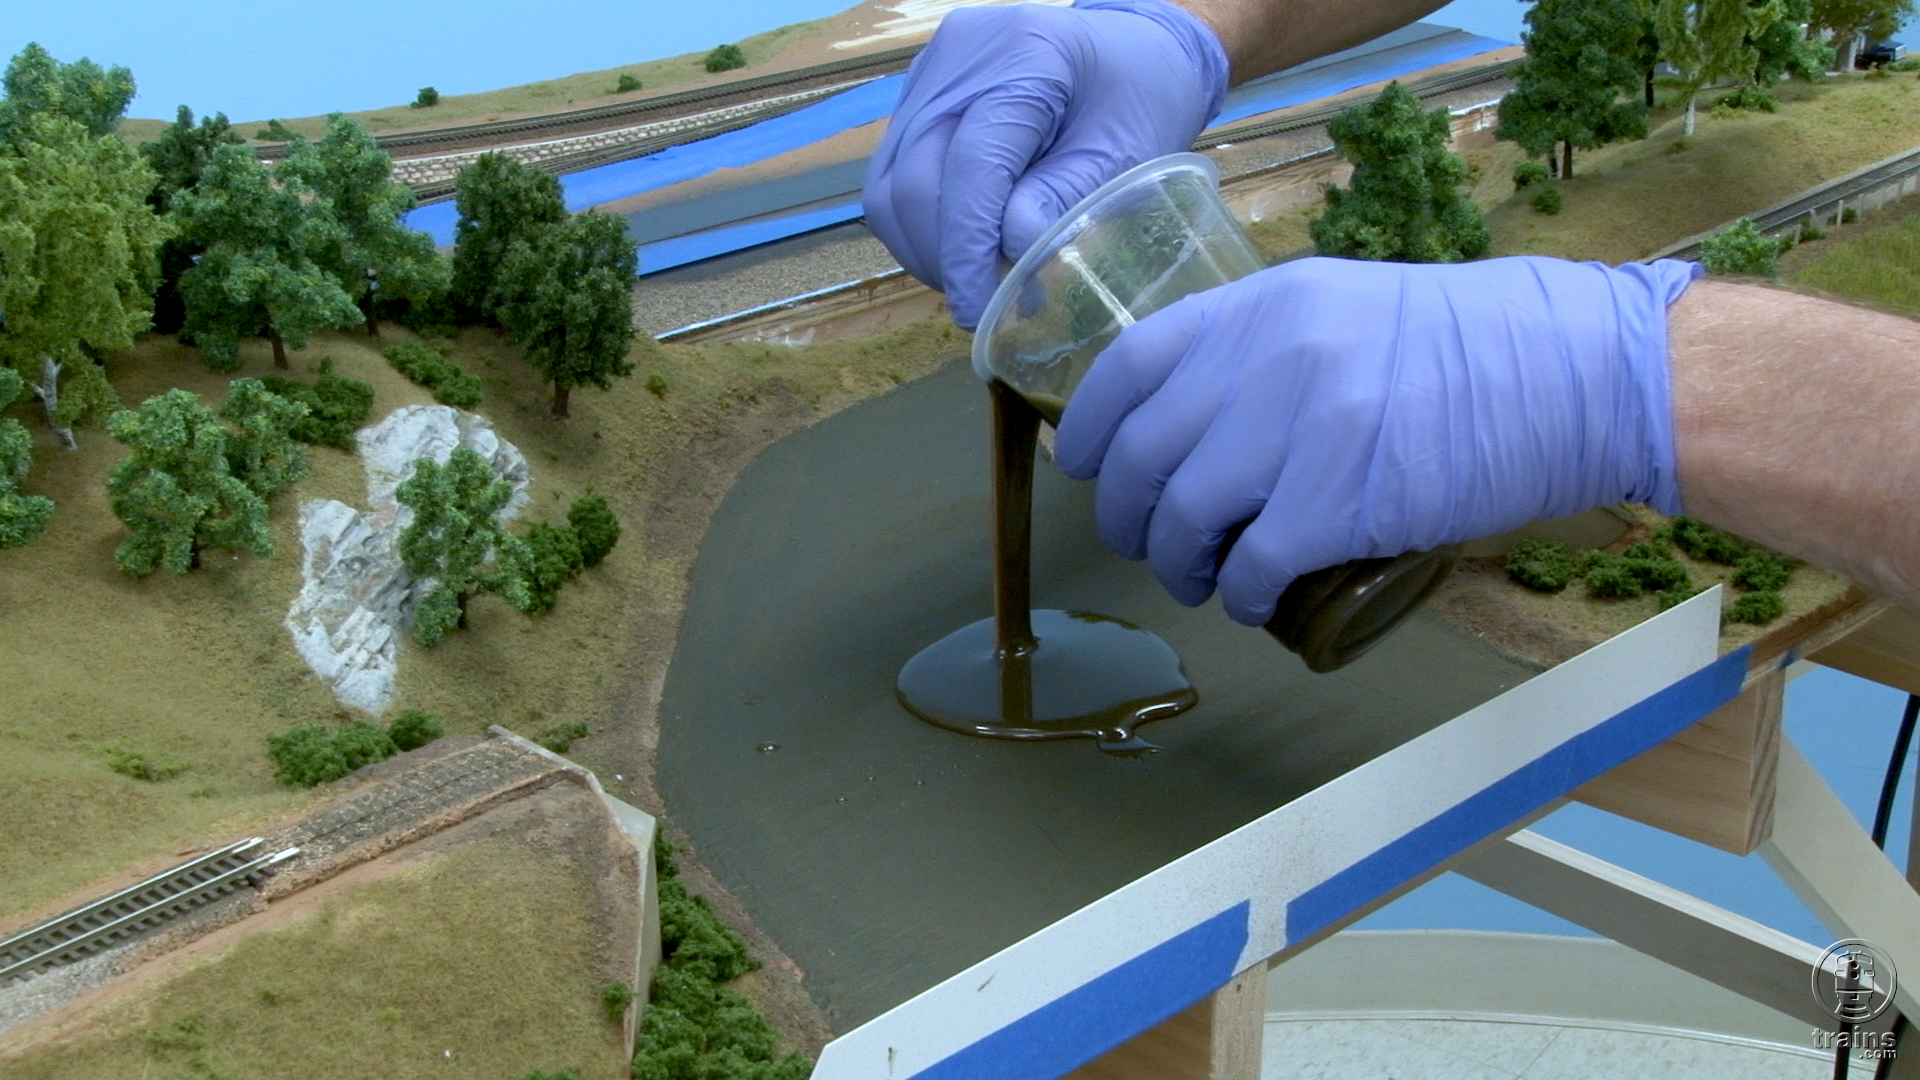
Carl — I’ve just never gotten used to the idea of adding paint to Sculptamold, although as you say, it works very well. Because I mix the stuff with my fingers, paint would get all over the gloves. Plus, if you drip any Sculptamold on any other scenery (as you can see in this video, I got a little bit on the roadway near the edge of the layout) it’s easy to just clean the Sculptamold away with a wet sponge. If it had paint in it, it’d be a lot harder to clean.
Great Video Gerry! You show how you do things and we all have our ways of doing things. How you do them and how I do them are different to a degree. In the end what you have created fills the bill and provides a finished scene that is very realistic. I am totally with you when it comes to using Sculptamold as a scenic base. I have seen the finished product in “Model Railroading, the Ultimate Guide 2019” and it is very nice!
Interesting techniques for adding scenery to the “place”. One thought Gerry, the timbers in that cribbing wall would have probably been more uniform in color like new creasoted railroad ties, but the material between the timbers (perhaps stone) would have been a dark gray or color that matched surrounding stone areas. Thanks.
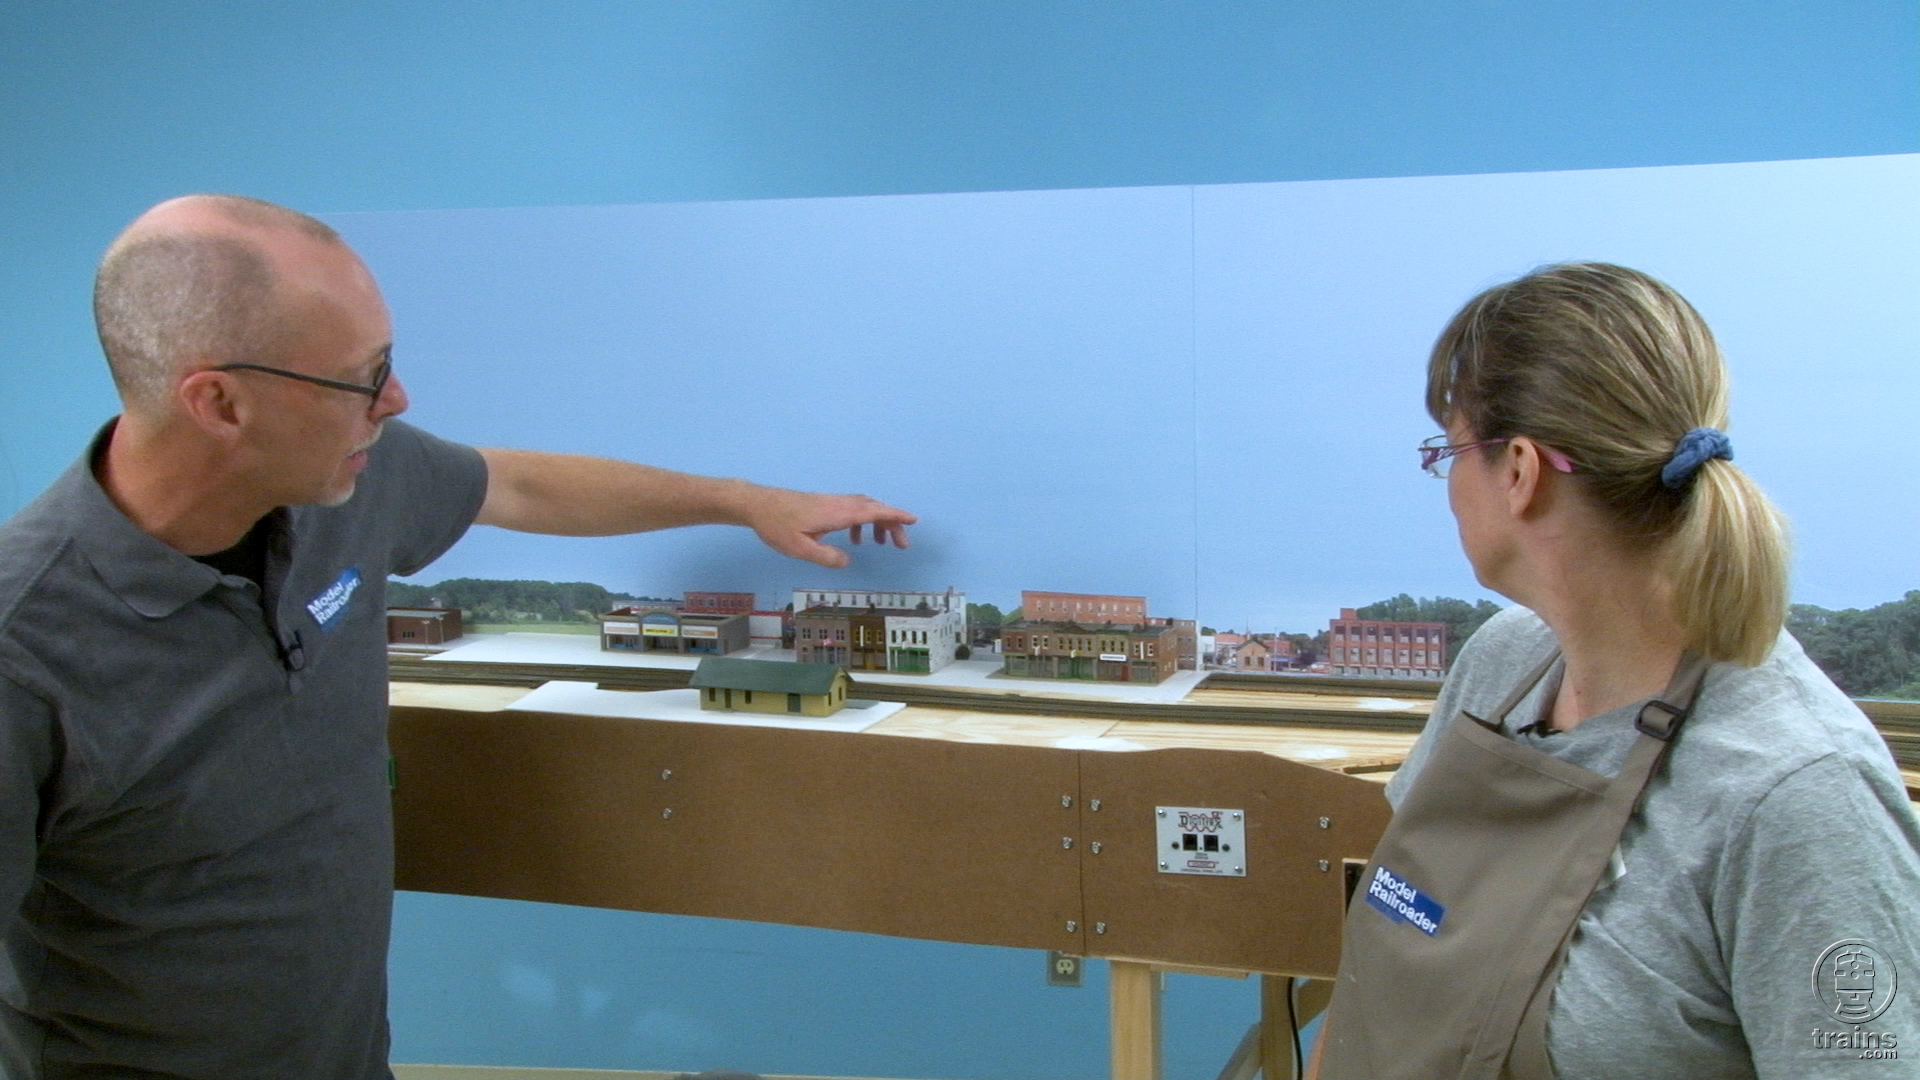
Gerry, Excellent video! This particular scene is valuable to us northwest Ohio, Indiana, and Illinois modelers. You’ve introduced some excellent tips on how to make “the Flatlands” look realistic and interesting. A not so subtle hint to the MR Video Plus executive producer for a future programing concept.
Very nice! I like your approach to adding the dirt. I also like to see someone who applies and blends the Sculptamold with fingers 🙂 I have seen videos where various implements are used but I have never been able to mork plaster or Sculptamold without using the wet fingers to get everything blended and smoothed.
Nicely done Gerry, it just gets better with each episode. I like what your doing with the scenery.
Yeah, it’s all beginning to make sense. Think I would have cut the cribbing above the timbers. Like Mr. Drum said: Color the material that shows through the cribbing.
Gotta agree that Chooch does a good job with their rubber/plastic “walls”. But one must do a little work on them to make them look more natural (if that’s possible).
Is there a reason you don’t add paint to the Sculptamold? I have done that very successfully much as it is when making ground goop.
Great Idea. Can’t wait to see the finished product. Thank you for the videos and your time…