


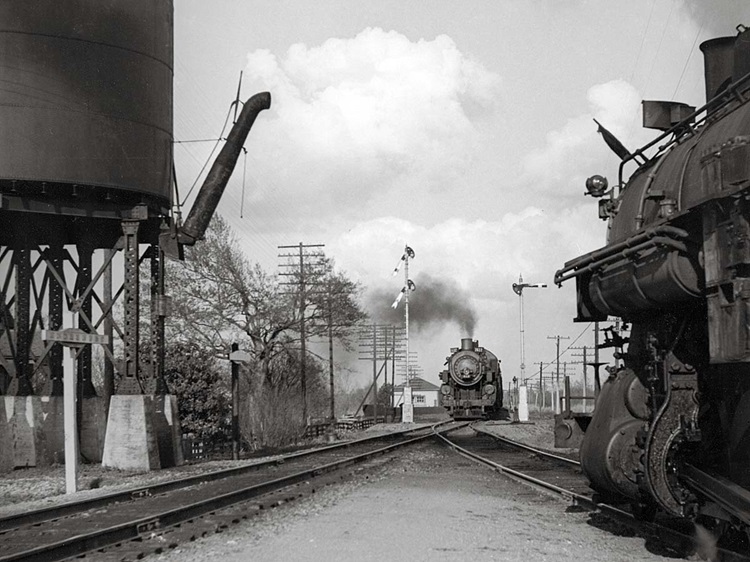
On my passenger cars, I use Kadee no. 5 couplers in their own boxes mounted directly to the carbody. As long as your curves are at least 30″ in radius and your turnouts are no. 6 or longer, you can take this simple and direct approach. Forget about mounting couplers on arms connected to the trucks or with long shanks or special boxes for extra swing. This is a lesson I learned from Chuck Hitchcock’s old Santa Fe Argentine Division layout, one of the finest examples of passenger train operation I’ve ever seen.
Chuck also mounted the coupler farther back from the end of the car than you normally see, so the cars couple closer together and the passenger train looks like a tighter unit. On heavyweight cars I follow Chuck’s recommendation and drill holes for the mounting screws 3/8″ in from the surface where the diaphragm will be mounted. This results in a coupled distance of about 16″, very close to scale.
Lightweight cars have square ends without the taper usually found on heavyweights, so this coupling distance may allow the corners of lightweight cars to touch on curves. When I saw that this was happening on my minimum radius, I decreased the coupler setback to 5/16″. This makes the coupled distance between lightweights about 20″.
To locate couplers consistently, use a simple marking gauge of brass strip bent 90 degrees, with a hole drilled 3/8″ or 5/16″ from the inside of the bend. I have two gauges, one for each setback.
You can use either a 2-56 screw through the middle of the coupler box or two 00-80 screws in the side ears. For brass cars I choose whichever screws will let the new holes miss any already drilled in the mounting pad.
From The Model Railroader’s Guide to Passenger Equipment & Operation (Kalmbach Books, 2006).

Body-mounted Kadee no. 5 couplers make for simple installations and operate reliably. Deep setbacks made consistent by rudimentary brass gauges provide close coupling.


I prefer Kadee shelf whisker couplers. Because cars are long any small track bump (temperature heave) can cause an uncoupling, but not with the shelf coupler.
For tight radius, I allow the coupler box to move a bit. This requires a stop on each side of the box so it doesn’t turn around.
Of course the coupling is not always in direct line for automatic coupling.
This is a small inconvenience for better operation.
Ron Christensen
My comment is somewhat related-why do so many articles assume we all have garage-sized layouts? Mine is in a small bedroom where 18″ radius is the max I can fit. My old, inexpensive NH locos, Budd cars, rolling stock and passenger cars have been painfully converted to Kadee knuckle couplers (per their guidebook for appropriate model #) and adjusted for height, but still occasionally have problems. Think small once in a while, guys! We all love reading about the big ‘uns, but….
Thank you for this article. I’ve been planning to update my fleet of streamlined passenger cars for some time.
My question: Is it possible to mount the couplers so I can use my passenger cars on a 26″ radius? When I built my layout years ago, 26″ radius curves were the largest curves I could fit in the available space. I have a large quantity of passenger equipment that I want to upgrade. I’d be heart broken if I can’t run them on my layout.
Thanks for your advice.
Ryan H.