


Built by Others is an article series showcasing layouts constructed by modelers using plans and projects from the pages of Model Railroader and its associated products. The Olympia series started on MR Video Plus as an On30 logging railroad video series. Jean Levasseur converted the layout to HO scale and made some modifications to the arrangement so that it would fit the L shaped space he had available.
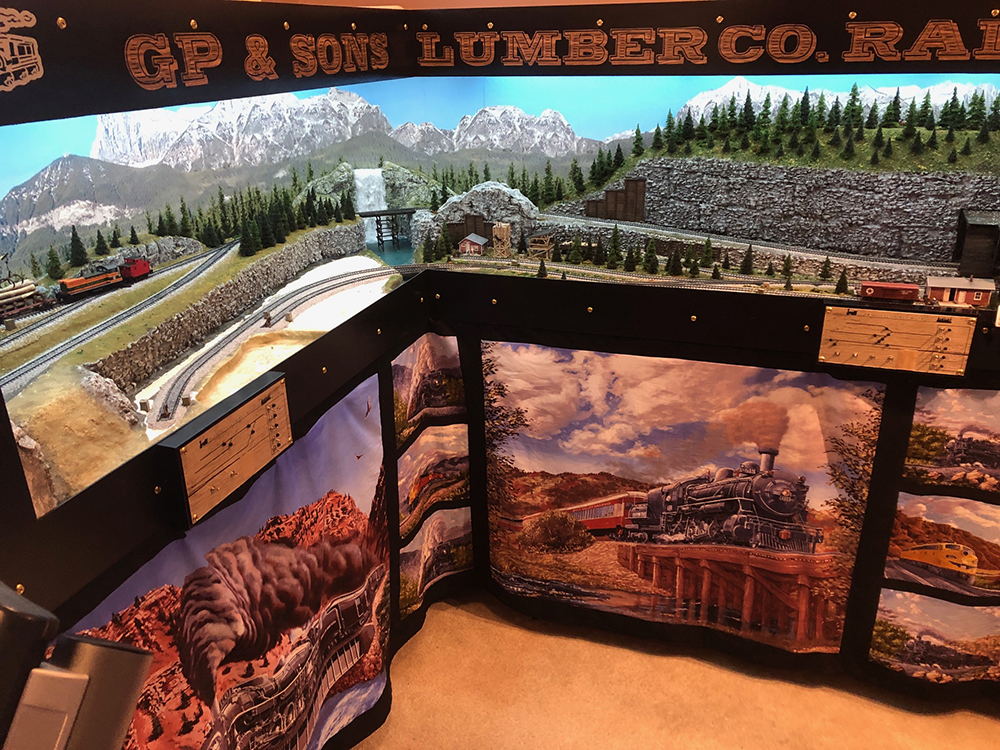
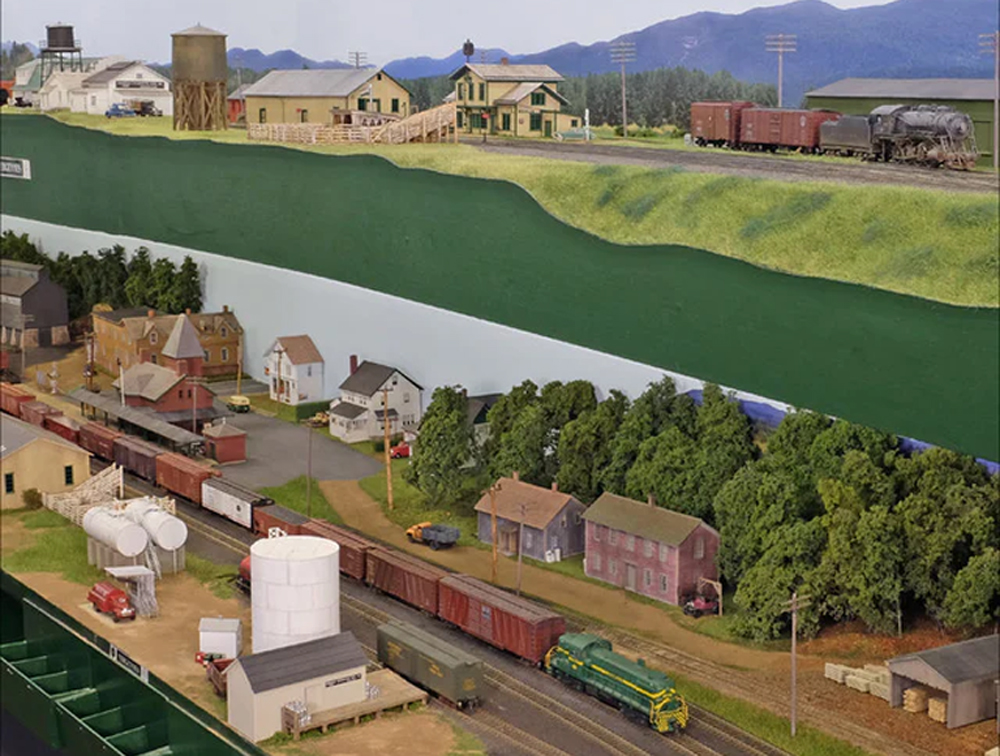
Built by Others: Jean Levasseur’s GP & Sons Lumber Co. in HO scale
By Jean Levasseur – photos by the author
My lumber-themed model railroad was inspired by the Olympia series on Trains.com Video. I’ve typically modeled in N scale, however I’d always wanted to build an HO scale layout but never had the space to do so. That was the case until I stumbled upon the Olympia On30 project. Because On30 uses track that is the same gauge as HO scale, I’d found the perfect design for a larger scale I could fit in my small available space.
I started my layout during the COVID pandemic, which was a great distraction during those long days of isolation. My layout is called the GP & Sons Lumber Co. Railroad. The GP stands for Grand Pa!
Construction
The benchwork consists of two separate modules joined together to form an L shaped layout. This not only allows me to easily move the layout, but it also fits my limited space well.
I built the benchwork using high-quality dimensional lumber for good fit and finished appearance. I built the legs using the L-girder construction method which provides strength. I also attached caster to them to make the layout sections easy to move.
To accommodate the various elevations and bodies of water on the layout, I used ½” plywood and the cookie-cutter method. After cutting the plywood top for the various scene and track locations, I supported it using risers attached to the layout’s frame.

Similar to the Olympia video series, I built a shadowbox for the layout. The shadowbox frames the scene well and provides support for both the backdrop and LED strip lighting. I like the shadowbox design as it has the added benefit of minimizing dust on the layout. I also incorporated some of the other elements of the Olympia On30 project into my layout, such as the hidden staging track, sector plate, and display case.
I had a local graphics company make my backdrop, and it is printed on a washable matte vinyl and applied to a smooth-finish foam board. The washable backdrop has been great to work with, as it’s virtually indestructible and very easy to clean when doing messy scenery work.

Track and control system
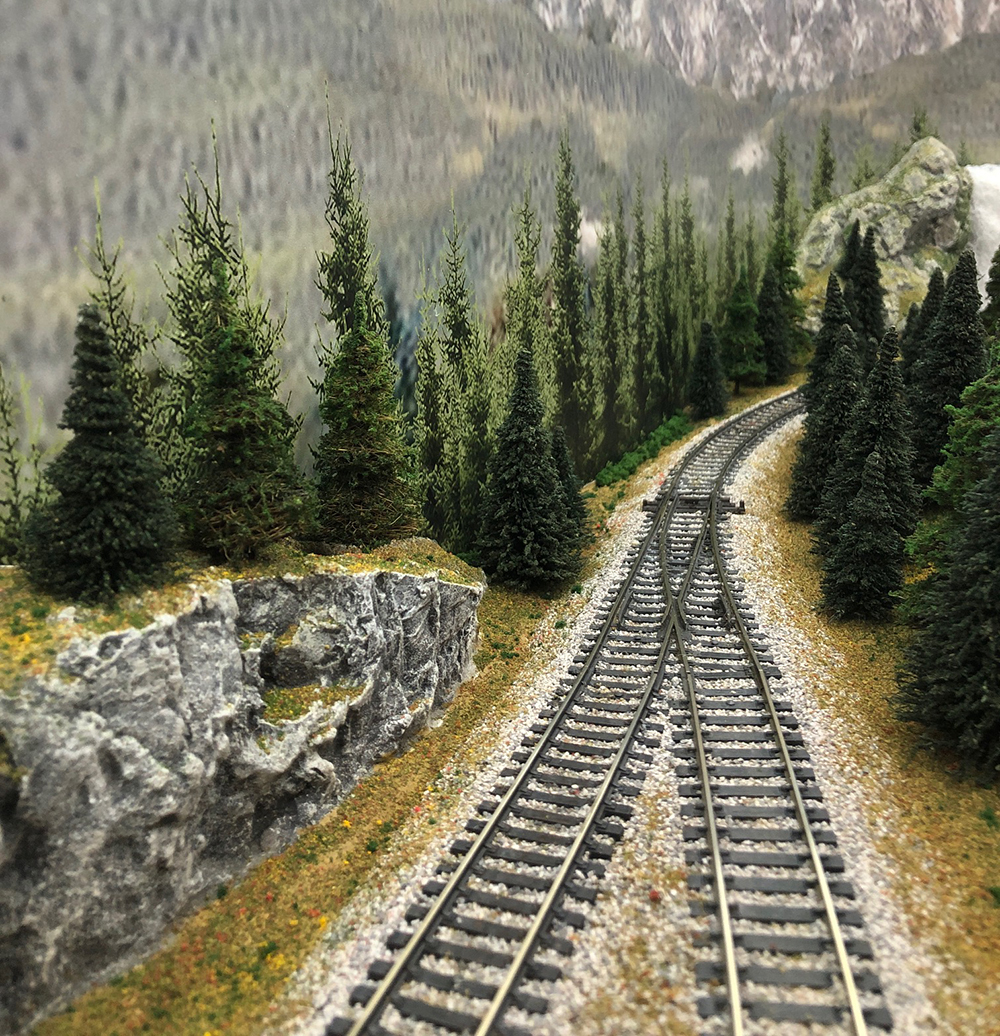
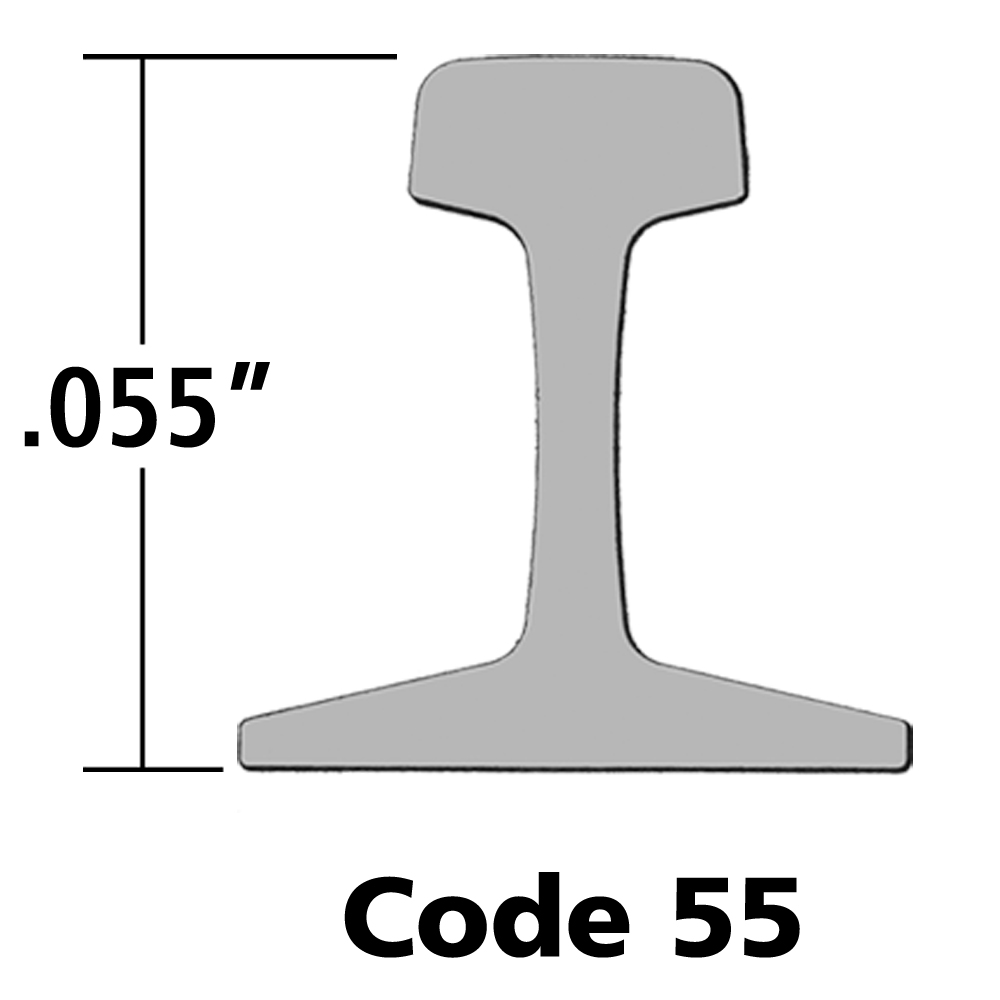
The track is a combination of Atlas code 100 super-flex track and fixed radius snap track. There are six Peco electrofrog turnouts that I modified to make them more DCC friendly and ensure reliable running. I wired the turnout frogs for power, using the respective contact switches on the layout’s Tortoise switch machines. I built two panels for turnout control, one for each section of the layout, and mounted them to the fascia.
Although code 100 track is considered too heavy to be prototypical, I airbrushed it, which helped make it look more realistic. I also worked some of the ground cover into the ballast, giving the railroad a better logging branch feel.
More to come
Although I have made significant progress on the layout, there is still much to do. The main scenes left to work on are the log pond, sawmill, and skid shacks.
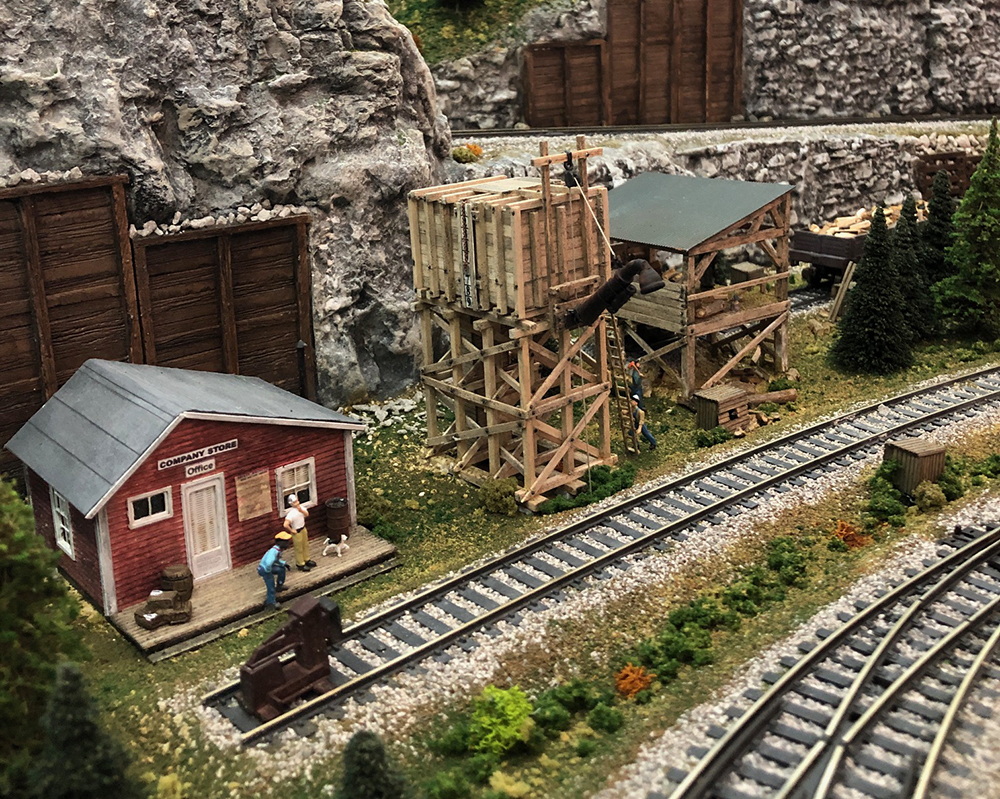
I have chosen wooden kits for all the structures on the layout. These kits do require patience as they can be quite time-consuming to build, however, their beauty and realism are undeniable. I have added interior details and lighting to most of my structures.
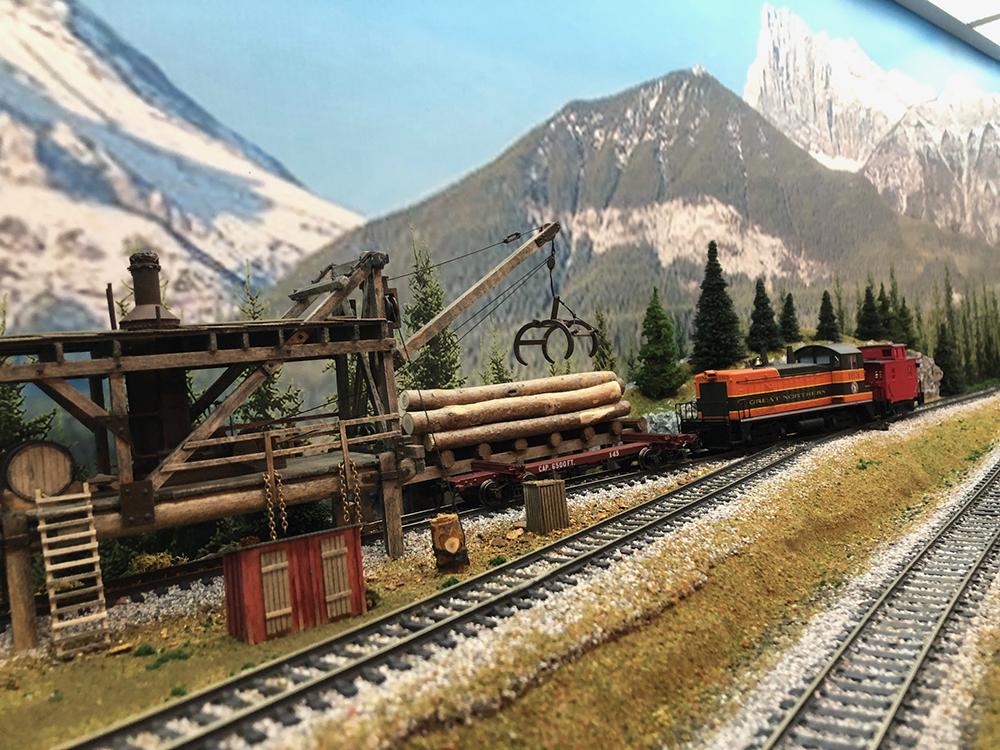
I scratchbuilt some of my wooden structures, such as the slide shed, woodshed, and log loader. I wasn’t able to find a log loader kit that was suitable for the layout, so I decided to build it following David Popp’s three-part series on the Olympia 2 Log Blog. I don’t think I could have built this log loader without this tutorial.
Once I’ve completed all the scenes, I’ll then spend time super detailing the layout. This will not only enhance visual interest, but I feel that it’s important for all these individual scenes or vignettes to convey a story. Details, such as people and ordinary life kinds of things, are a great way to accomplish that.
Ambient sound adds life
My most recent accomplishment is the addition of a sound system with mini stereo speakers built into the shadowbox. I have daytime ambient forest sounds and a nighttime sequence, which includes a thunderstorm and chirping crickets sounds. The day/night sound effects can be switched back and forth with the press of a button.
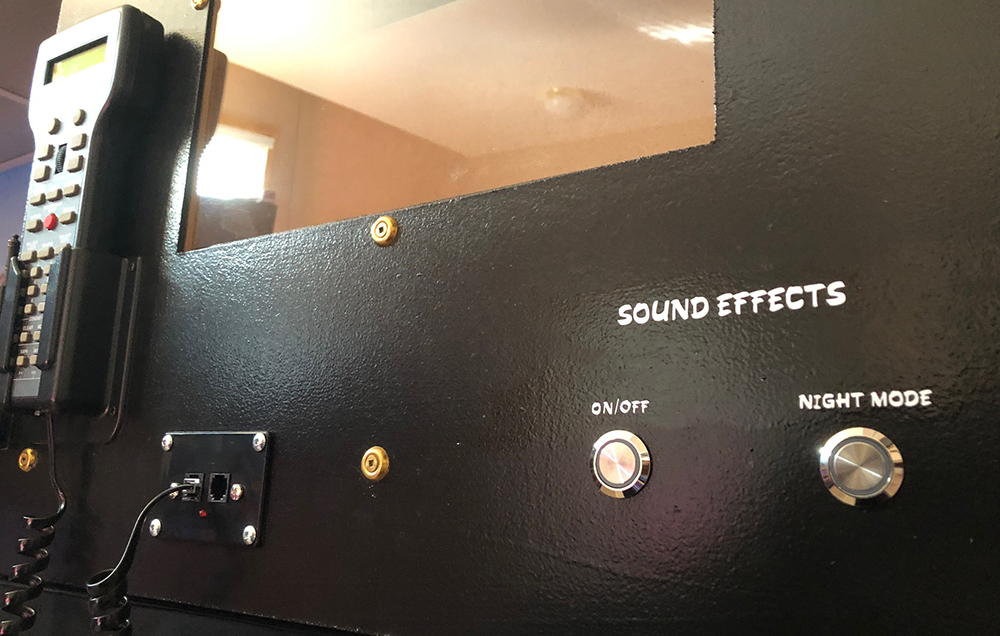
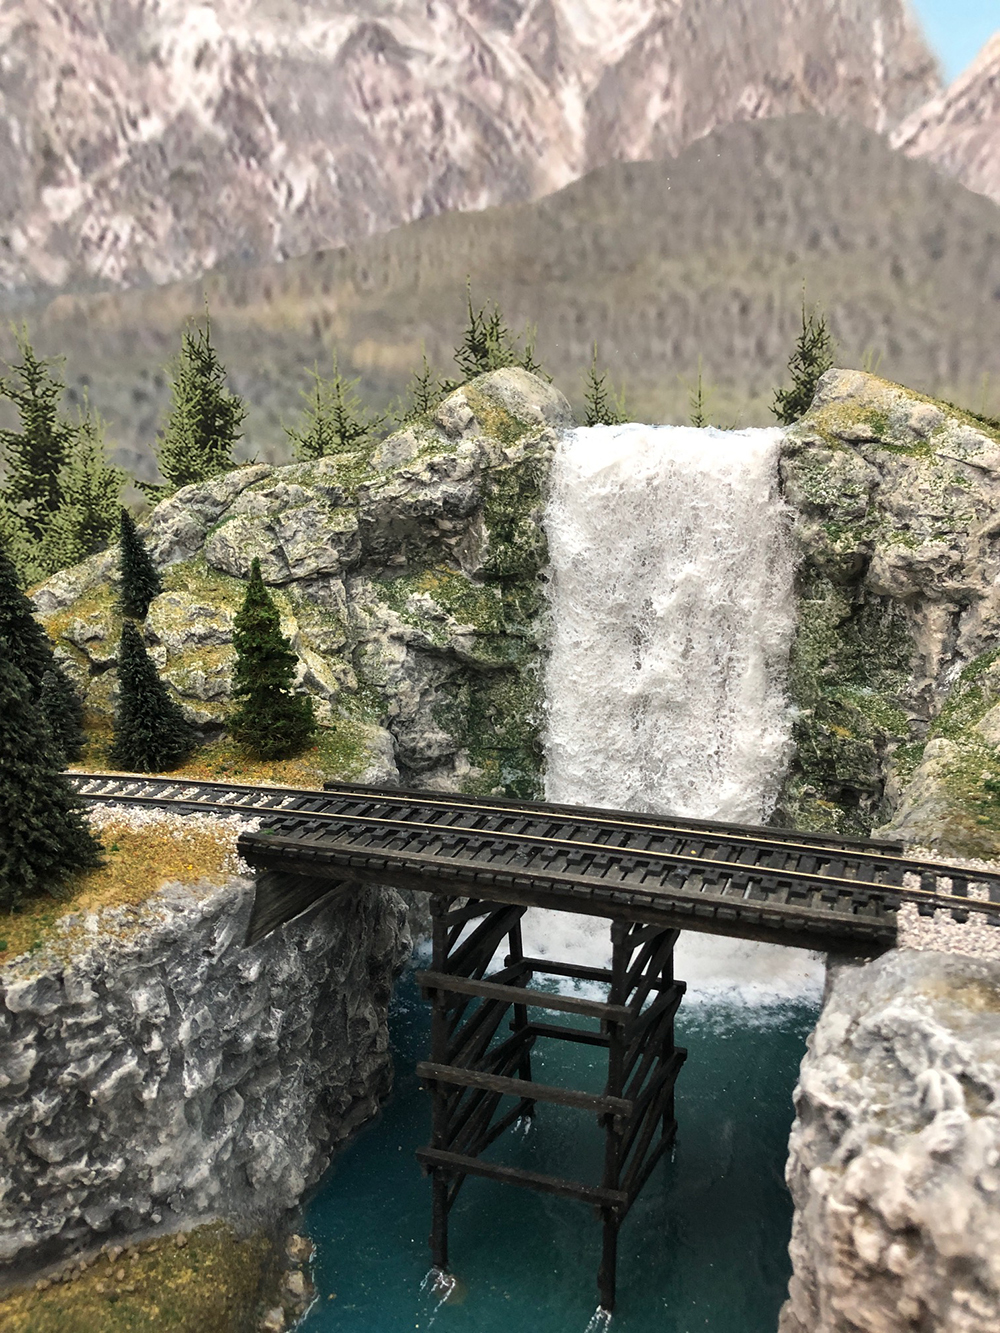
In addition to the ambient sounds, I’ve installed seven sensor-activated sound effects. These include a waterfall, log loader, log pond, sawmill, woodshed, water tower and warehouse. When a train approaches one of these areas, it activates the sensor, and the associated sound effect then plays for 30 seconds.
I had no idea how to install a sound system with this level of complexity, so I reached out to my son, who has an IT background and considerable electronics experience. Together, we came up with a plan to install IR break beam sensors at all the scene locations. These sensors are wired to a Libre computer board known as “Le Potato.” (Libre minicomputers are an excellent, less-expensive alternative to the popular Raspberry Pi.)
My son wrote the computer code that would control the activation of the sounds. The program along with the sound files were then uploaded to the minicomputer. Once uploaded, he had to do a bit of fine tuning for the sound effects to activate properly, however the sound system now works flawlessly.
Having specific sounds that only play when your attention is focused on a particular area really adds to the realism of running the railroad. This project was a lot of work but well worth the effort!
Running Trains
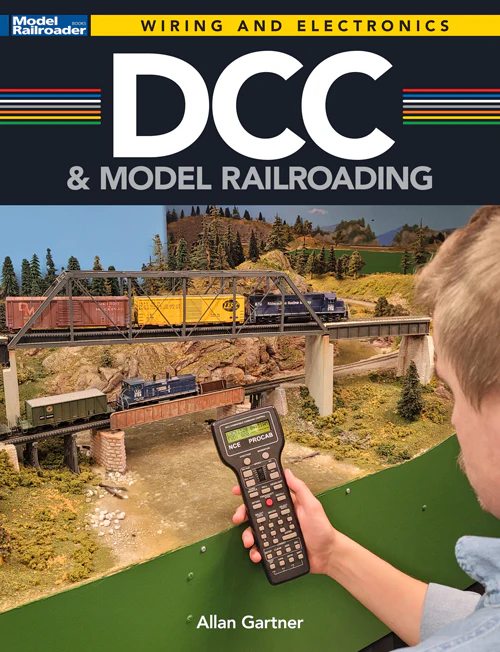
While contemplating building this layout, I wasn’t sure whether I should make the leap to DCC. I was always intrigued by DCC but was intimidated by both the complexity and the cost of such a system. I decided it was worth the challenge and I have not regretted my decision. The realism that DCC provides is truly astounding!
As I didn’t have any experience with DCC systems, it seemed appropriate to go with the NCE Power Cab system, the same one used on the Olympia. The tutorials on MRVP (now Trains.com Video) proved invaluable in helping me to install this on the layout.
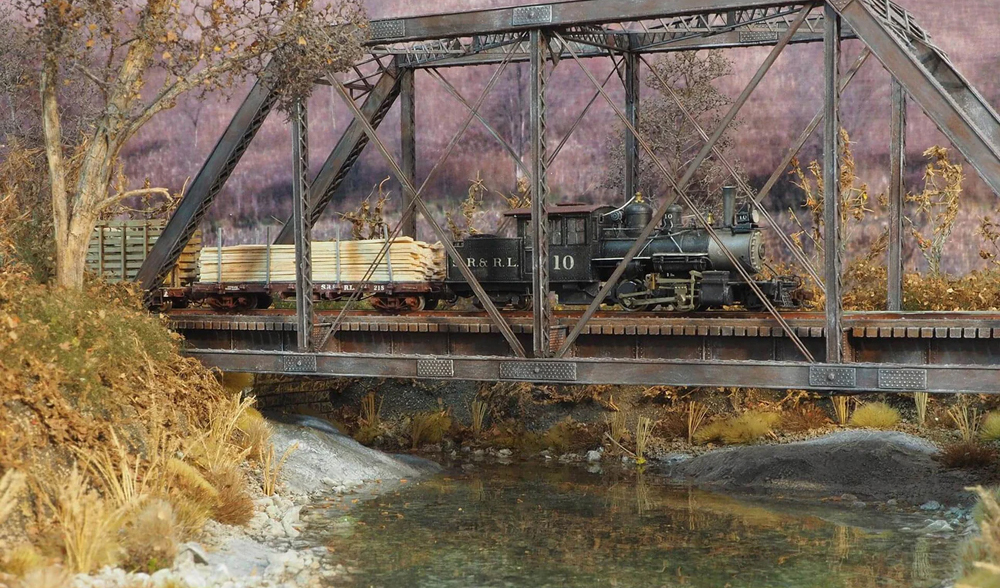
Considering this is a lumber themed railroad, it was obvious that I should get a locomotive to fit that theme. I soon learned that sourcing an HO scale Shay, Climax, or Heisler steam locomotive wasn’t going to be easy or cheap!
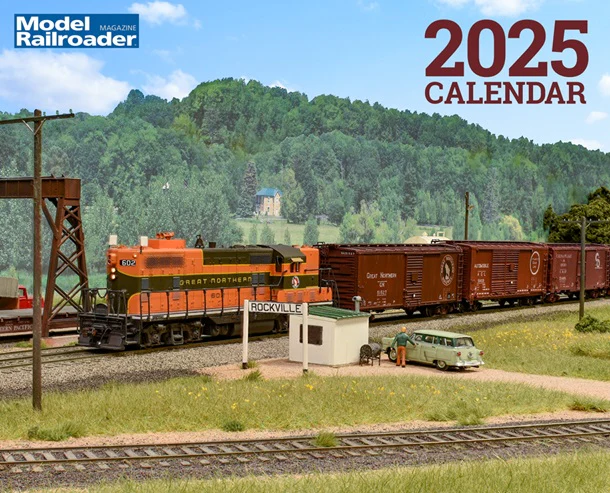
As I was eager to get a train running, I decided to go with something more readily available and purchased a Broadway Imports Limited HO scale EMD SW7 diesel switcher. The locomotive is decorated for Great Northern and is fitted with a Paragon4 DCC sound system. I must say, considering this was my first DCC locomotive, I felt like a kid again when I got the switcher running on the layout.
After about a year of searching, I finally found a steam locomotive that would fit my theme. I purchased a Rivarossi HO scale two truck Heisler steam locomotive, fitted with an ESU sound decoder. This locomotive was the perfect addition to the layout!
One thing that I learned about these locomotives is how sensitive they are to voltage fluctuations. Anyone with DCC experience will understand what I’m talking about. My diesel switcher runs very well as it has a capacitor built into it, however, my Heisler, with no capacitor installed, does not run as well. I investigated installing a capacitor in this train but seems it is not possible due to the limited amount of space within the cab. After a bit of research, I discovered a solution to improving the performance of the Heisler. I cleaned the track with mineral spirits and applied a very light film of electrically conductive grease to the rails. Not only does this prevent oxidation of the rails but the performance of my Heisler, although not perfect, has improved dramatically.
I’ve collected a number of pieces of rolling stock for the layout. Eventually I will customize them for the GP & Sons Lumber Co. using decals, but I may need to get my wife to help me with this, as my hands are not as steady as they used to be.
As a final touch, I look forward to creating some operating cards to make this into an actual operating railroad.
In conclusion
I have been an on-again off-again model railroader most of my adult life. I’ve always liked creating things with my hands and there are so many facets to the hobby that I enjoy, including wood working, model building, painting, electronics, and photography. Over the years, I have found the hobby to be therapeutic and a great stress relief.
I’d discovered the Olympia On30 series on MRVP during the pandemic, and I found it to be a good escape. I am grateful to all of those at Trains.com for giving me the incentive to start such a project.
My wife and two sons have also contributed to working on the layout. From the benchwork and skirting to the fascia lettering and electronics, this has been a family affair, and I thank them for their contribution and support.
I’ve thoroughly enjoyed building my GP & Sons Lumber Co. Railroad. My wife would probably say that completing it has almost become an obsession, but I want to use it to introduce the world of model railroading to my grandchildren as they get older.
Jean Levasseur has a background in power engineering and building operations. He lives in Calgary, Alberta, Canada with his wife of 38 and their 6-year-old Sheltie named Phoenix. They have two grown sons, one grandson, and another grandchild on the way. Jean plans to retire at the end of this year and looks forward to spending more time with his family and working on his model railroad.


I am curious as to how deep the shadow box is on your layout and what the radius of the curve spanning the two sections is. Looks great!
Hi Gary,
So sorry for not responding sooner. Have been in the middle of a move these last few months. Finally settled down enough to get back into the hobby! The full shadow box without the backdrop is 24 inches deep. From the backdrop to the front edge of the fascia it’s 21 inches. The track near the front of the two adjoining sections has a 15 inch radius. This front section was quite challenging to install for smooth operation but works well. The trestle close to the waterfall is straight with an 18 inch radius track on either side.
Dear Jean,
Very nice work! I am curious though of where you purchased the railroad curtains that hide the benchwork? I’d love to get some of those for my model railroad.
Jerry Lauchle, MMR
Hi Gerald,
I purchased the fabric at a store called Fabricland here in Canada. Not sure if Fabricland is in the United States, but I imagine there are equivalent stores in the US. Finding railroad themed fabric can be challenging as fabric stores will often have a run on a particular theme and once they’re out, you can’t get it anymore. The day I picked up the fabric that’s displayed on my layout, I was lucky enough to find an entire display aisle of various railroad themes. I picked up several different panels and my wife stitched the panels into what you see now on my GP & Sons. She also stitched a strip of snaps along the top of the skirting and affixed the opposing half of the snaps to the underside of the fascia. The skirting now just snaps in place and is easily removable as well.
Thank you Michael! Appreciate the comment.
Awesome job Jean! Love it! Keep up the great work!