


My longtime friend Bill Phalen is working on an HO scale layout depicting the Twin Ports of Duluth, Minn., and Superior, Wis. Though his motive power fleet features many railroads from the area, one line wasn’t represented, the Lake Superior Terminal & Transfer. Bill wanted models of four of the LST&T’s six end-cab diesels, so he purchased three WalthersMainline Electro-Motive Division NW2 switchers and one Rapido Trains EMD SW1200.
He purchased all four models in Great Northern paint, similar to what the LST&T used. Our hope was that I could simply remove the GN road name, number, and herald from the models; spray the shells with a gloss coat; and apply new lettering and numbers from Circus City Decals set LSTT 87-00. When I received the models, I discovered the GN scheme was slightly different from the LST&T’s. The project now shifted to stripping, repainting, and decaling. To see how I did this to a different locomotive, check out my article “How to detail, paint, and decal a locomotive” in the February 2018 issue of Model Railroader.
In order to remove the factory paint, I had to disassemble the switchers. Since I was working with models from two manufacturers, this was not a one-size-fits-all project. Here are five tips for disassembling locomotives that will help with your next project.
Read the instructions
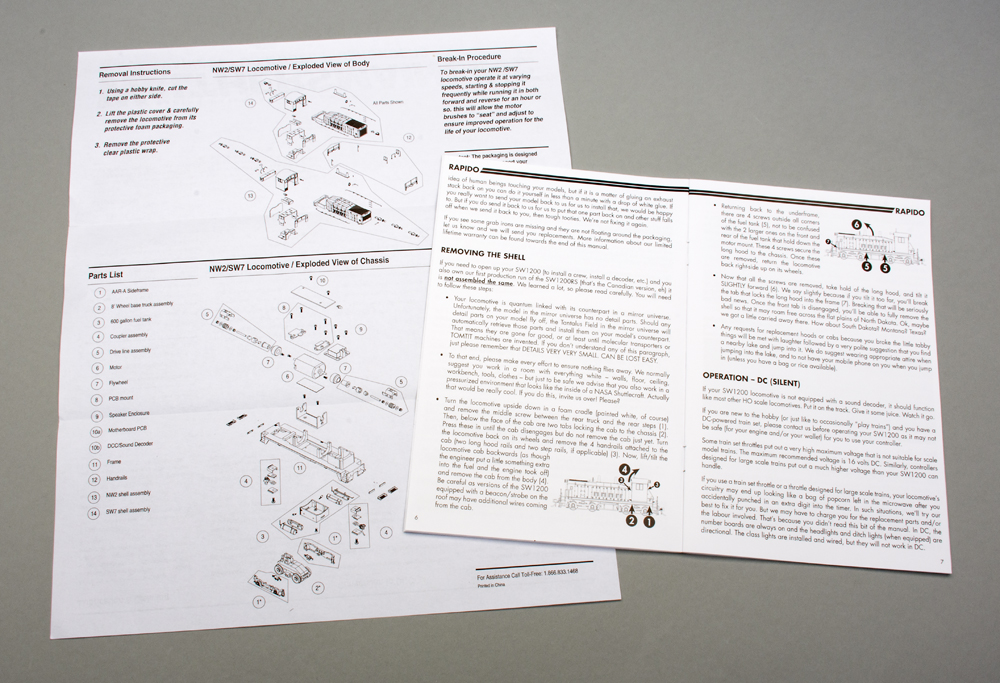
Yes, this may seem like an obvious tip. However, not all locomotives are assembled the same way. Thankfully, both the WalthersMainline NW2 and Rapido Trains SW1200 included information that made separating the shell from the chassis relatively easy. The Walthers model had an exploded-view diagram that showed where the five tabs on the plastic shell locked into corresponding slots on the die-cast metal chassis.
I found information on removing the SW1200 shell on pages 6 and 7 of the operating manual included with the Rapido switcher. In addition to the written instructions, there are two diagrams that showed where the various screws and tabs are located.
I worked slowly when lifting each shell from the chassis. Some models have wires, usually for lighting features, tethered to the shell. If you remove the shell carelessly, you may damage or break the wires.
Have the right tools

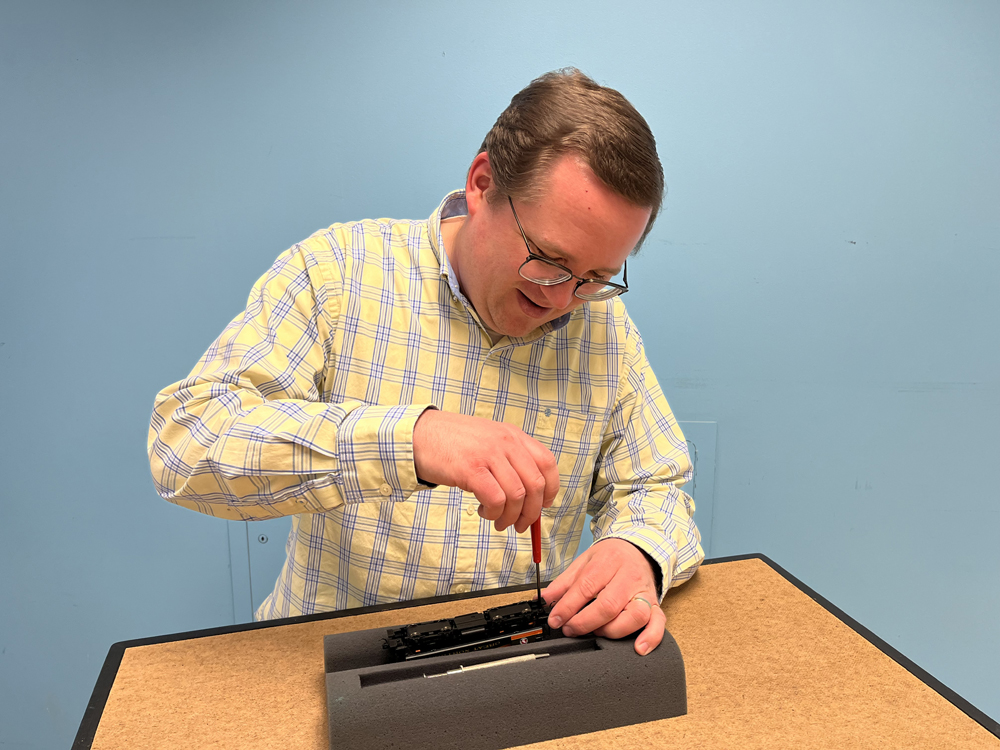
Today’s locomotive models have many delicate parts. To protect each switcher during the disassembly process, I placed it in a foam locomotive cradle. The cradle also has a small recess for holding tools and parts.
I also kept an assortment of flat-blade and Phillips-head screwdrivers at the workbench. Always use the correct screwdriver for the job. If you use one that’s the wrong size, you may strip the head on the screw, making it difficult — if not impossible — to remove.
Flat-blade screwdrivers were handy for gently releasing plastic tabs on the shell. Phillips-head screwdrivers were needed for removing screws from the draft-gear boxes. The Rapido model also had four smaller screws near the corners of the fuel tank that help hold the shell to the chassis. A metal grabber tool made it easy to pick up, hold, and place screws.
A hobby knife with Nos. 11 and 17 blades was useful for breaking glue joints. I used the No. 17 blade to help release window glazing in locomotive cabs. Do this with care, though, so you don’t crack the clear plastic parts.
Only take apart what’s necessary
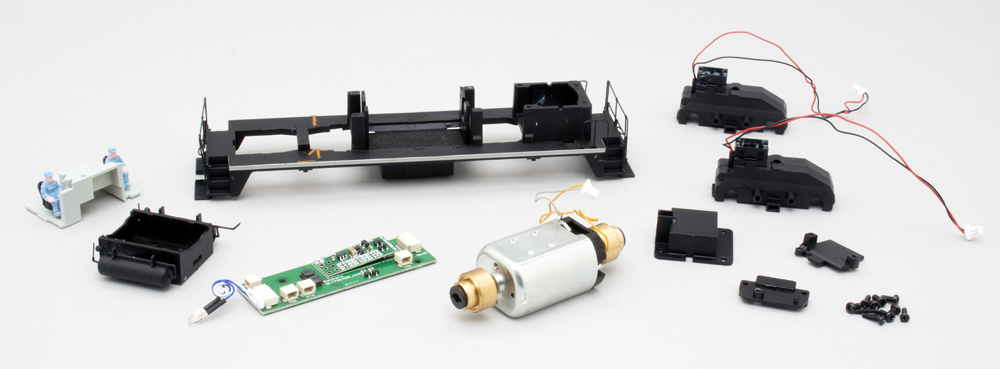
It’s easy to get carried away when disassembling a locomotive. Case in point, the first of three WalthersMainline EMD NW2 switchers I worked on for Bill. After I removed the shell, I quickly started taking the chassis apart. The full-size LST&T NW2s had black sills, and the GN models had a silver stripe. I reasoned that the die-cast metal chassis would need to be stripped and repainted, as well. Off went the motherboard, printed-circuit board mount, drive line assemblies, speaker enclosure, and motor. Then I removed the truck sideframes and draft-gear boxes. I was on a roll.
Or so I thought. I paused for a moment and asked myself, “What did I do all of this for?” Instead of tearing the chassis apart, I could have used a brush or Microbrush to paint over the silver stripe. The sideframes and draft-gear boxes were already painted black, so there was no need to strip and repaint them. Lesson learned for the other two units.
Take notes
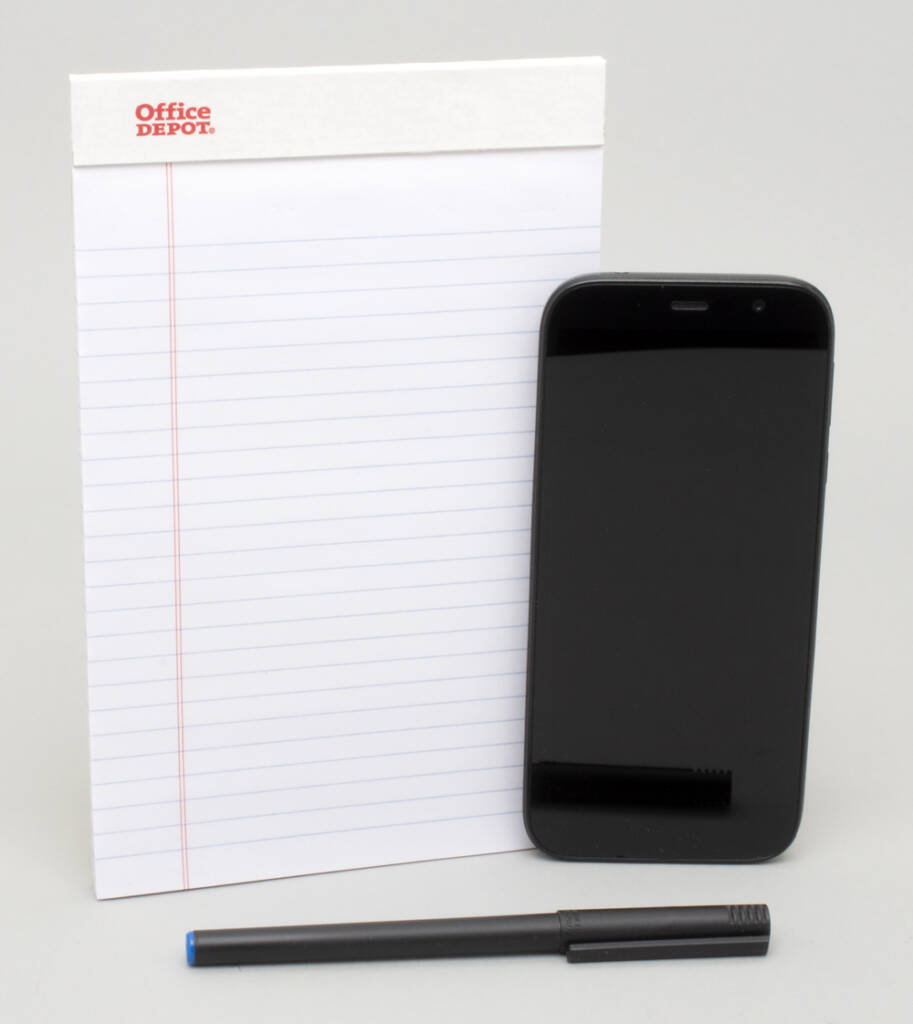
Taking a locomotive apart is one thing. At some point, though, you’ll need to put it back together. Exploded-view diagrams and tips on removing the shell are helpful, but they may not cover everything you need to know. That’s why I kept my cellphone and a notepad at the workbench when I was taking Bill’s switchers apart. If there’s a critical step I needed to remember, I snapped a quick photo or took notes about the process. And don’t forget the phone’s flashlight. It may come in handy if you need some extra light while at the workbench.
Keep organized
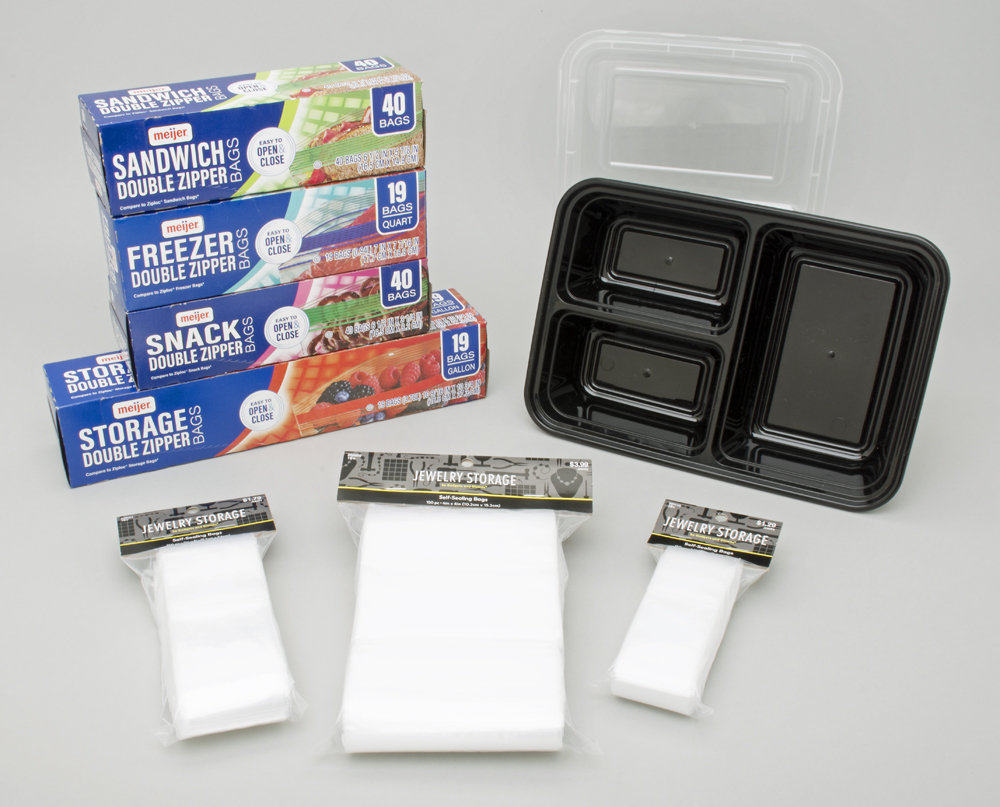
When you take a locomotive apart, you’re most likely going to have a pile of parts. When I took the switchers apart, I had draft-gear boxes, couplers, screws, window glazing, and grab irons, among other items, to keep track of. I used a variety of self-sealing plastic bags to keep the parts organized. Small jewelry storage bags (1-1/2” x 2”, 2” x 3”, and 4” x 6”) made it easy to store smaller items. I purchased the ones shown here at Hobby Lobby, but you can find similar bags at any well-stocked craft or bead shop.
For larger items, such as shells, cabs, and handrails, I turned to larger self-sealing plastic bags designed for food. Snack, sandwich, quart, and gallon bags are sizes I keep handy in my workshop.
I used multi-compartment plastic meal prep containers for the chassis, wheels, and other parts. The separate compartments prevent parts from bouncing into each other, which could potentially damage the model.


Please consider doing a video on this project.