Car Swap Project Part 3: Painting plastic models: As part of trading boxcars custom decorated for each other’s layouts, modelers Gerry Leone, David Popp, and Seth Puffer do some preparation and painting of the plastic models. In this installment, the three use a variety of readily available products to add some color, or take some away, from the project.
Gerry: Well, gang, what did we learn in the last installment?
Seth: That David came close to screwing up both of our cars and this whole project.
David: Hardly! I simply now have two clean shells to paint in this installment.
Gerry: I learned that we were really smart to start with undecorated cars. I ordered two Kadee boxcars from Walthers – one for me to decal for Seth’s layout, and one for him to decal for mine. When the cars arrived, I was in awe by the models. Bear in mind that probably 85 percent of the cars on my Bona Vista layout are Athearn Blue Box cars purchased in the late ‘70s or at swap meets. So just looking at these two new cars with a lot of details was amazing.
David: That detail is great when the cars come assembled for you.
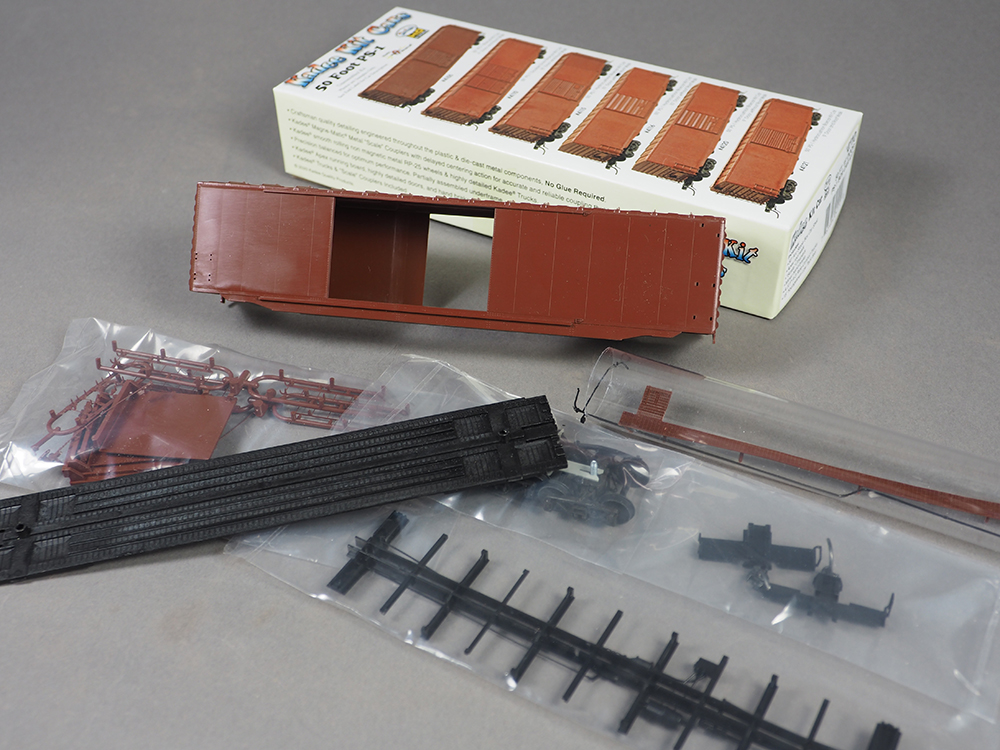
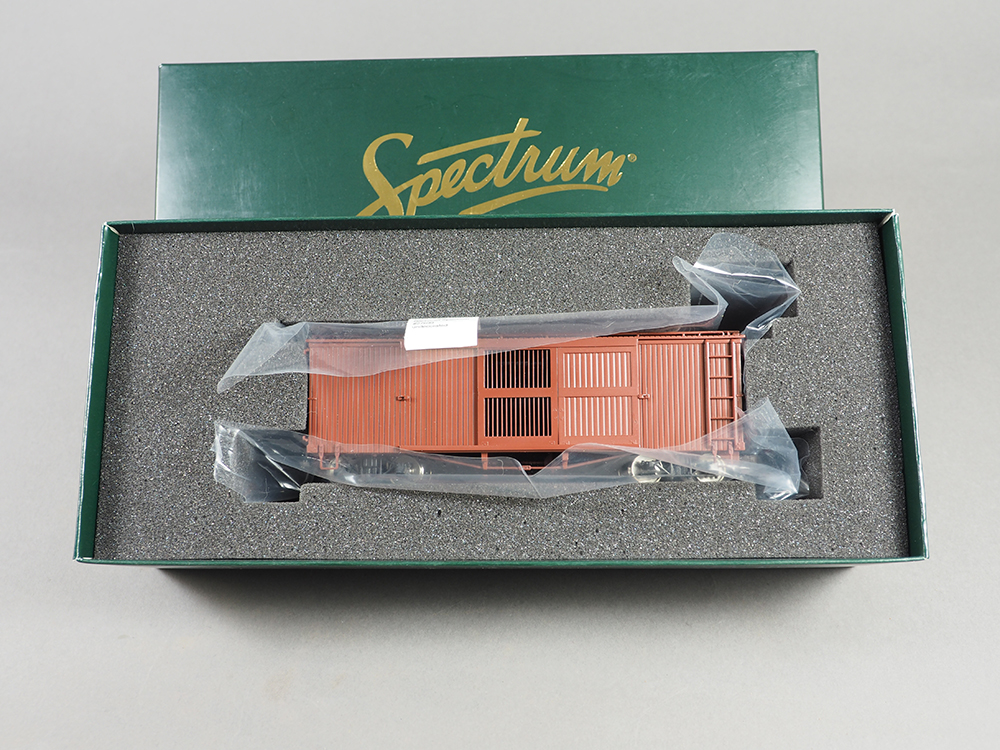
Gerry: It sure is, and the car I got for Seth to make for my layout was a pre-built Kadee car. The 50’ boxcar I needed to decal for Seth’s layout, well, that was another story. It turns out I’d ordered a kit instead of an assembled car!
Seth: Oh please! You’re an NMRA Master Model Railroader after all.
Gerry: Yes, I am. And to get my MMR certificate, I had to scratchbuild four cars.
Seth: (And now he’ll tell you he did seven, just to prove he could.)
Gerry: I actually did seven, just to prove I could.
Seth: (See?)
Gerry: But the detail on the Kadee kit was every bit as fine as my scratchbuilt cars, including the piping on the underside. It featured injection molded parts that were virtually scale sized.
David: Well, the On30 car should be a lot easier for you – it’s already assembled and painted.
Gerry: Actually, I was afraid to take the car out of its box.
David: Seriously?
Gerry: The paint finish on it was flawless. And I was mesmerized by the detail. It’s an incredible car. And that made me afraid. Very afraid.
Seth: Gerry showed me the car. I suggested he only ever handle it wearing white gloves.
David: You guys are killing me! They’re just plastic boxcars.
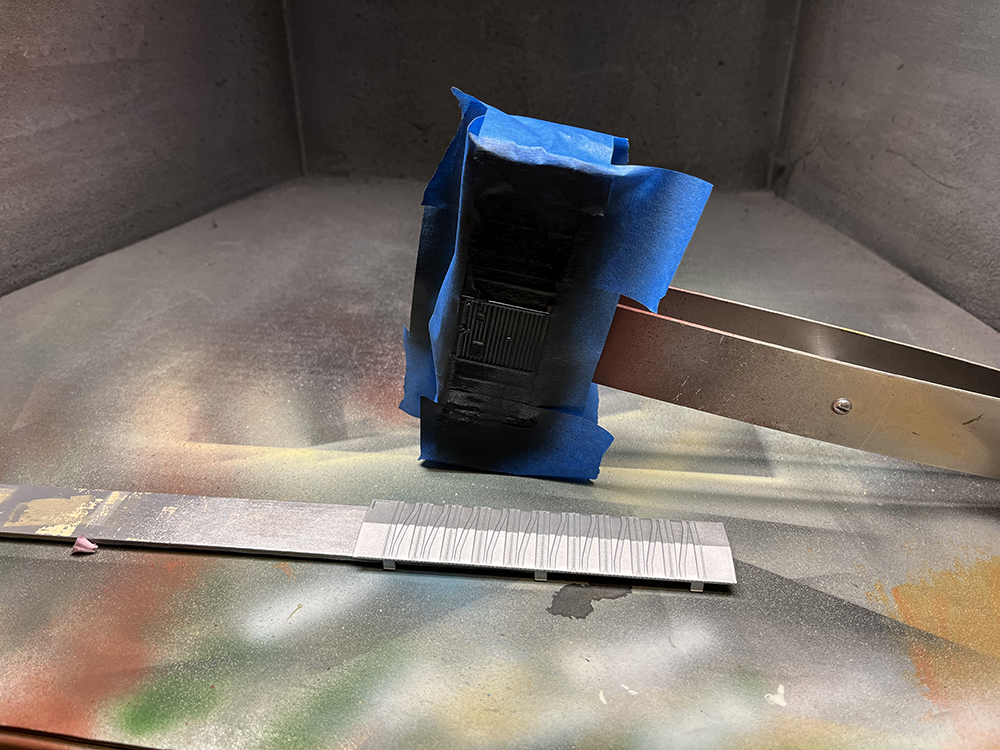
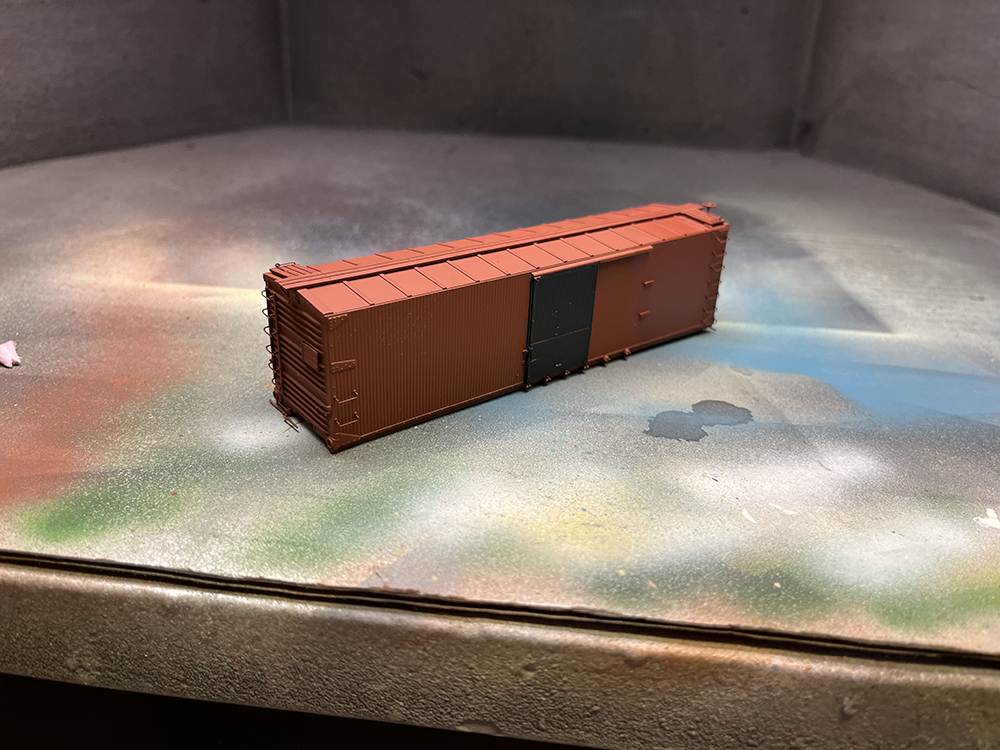
Gerry: Ok, they’re just boxcars. And one thing I didn’t like about either car was that the undersides are molded in colored plastic. All that detail would never be seen, especially on Seth’s car, because it was molded in black. So, I assembled the underside of Seth’s car, put it in my spray booth, and gave it a coat of Micro-Lux Grimy Black. I’m a big fan of Grimy Black because it looks black, but it’s really a dark gray, making the details that would normally be hidden, visible. I then got the courage to take David’s car out of the box and remove the trucks. Thankfully the underframe came off without a hitch, and I gave that a coat of Grimy Black, too.
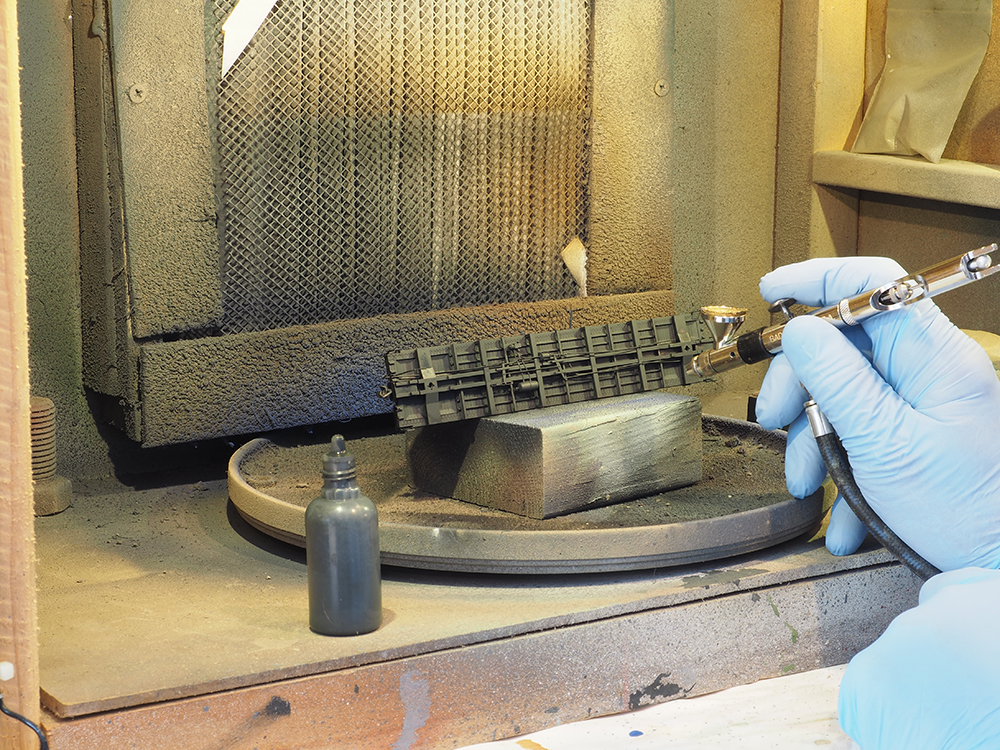
Gerry: And while I had the airbrush all loaded up with that color, I decided to paint both cars’ truck sideframes with it.
Seth: Doesn’t the paint gum up the axle openings and keep the car from being free rolling?
Gerry: Good question! Yes, if you don’t mask them. I took a tip from a Trains.com video that Cody had done a while ago (See the April 2014 issue of Model Railroader – Ed.). He’d used Silly Putty as a temporary mask when painting a locomotive. And very coincidentally, Santa had put a plastic egg of Silly Putty in my Christmas stocking this year!
David: And not a lump of coal?
Gerry: That, too. But the coal wouldn’t work for this. Instead, I crushed it up and used it for scenery material. Back to the Silly Putty. I used small pinches of it to mask off the axle openings on both sets of trucks from both cars. It worked just great.

David: Good tip Gerry. When I painted the trucks for your HO cars, I put discarded plastic wheelsets in them to protect the axle sockets. It’s easy and works great. I have a cup of castoff wheels that I use all the time for this.
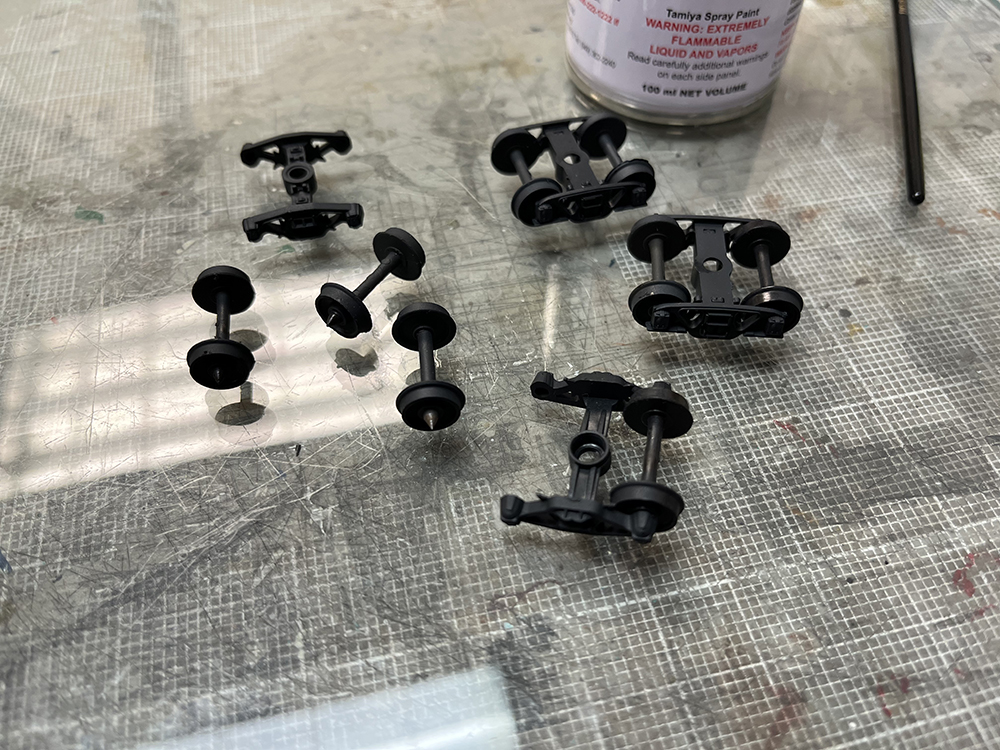
David: However, my go-to paint for trucks is Tamiya TS-82 Rubber Black in spray can form.
Gerry: Which is very similar in color to the Micro-Lux Grimy Black I use. Once I had Seth’s car fully assembled, I then gave both cars two quick over sprays of Tamiya TS-13 Clear Gloss in preparation for the decals.
David: I’ve been using Tamiya spray can products for quite a while now, and I really like the control and finish they provide. I used some on both of your cars. What I like best about it is that you can apply it over clean, unpainted plastic without a primer coat. It provides good coverage in one to two coats, and it lays down nice and flat, showing all the details in the model. I couldn’t come up with a Tamiya color to approximate Pacemaker Green for Seth’s car, so I used a can of AS-19 US Navy Intermediate Blue, giving it more of a Boston & Maine look. We use that color around the shop to simulate the blue metal siding found in steel building construction. I also used Tamiya TS-29 Semi-Gloss Black for the doors on both of your models, and I painted the roof of Seth’s car with AS-12 Bare Metal Silver.
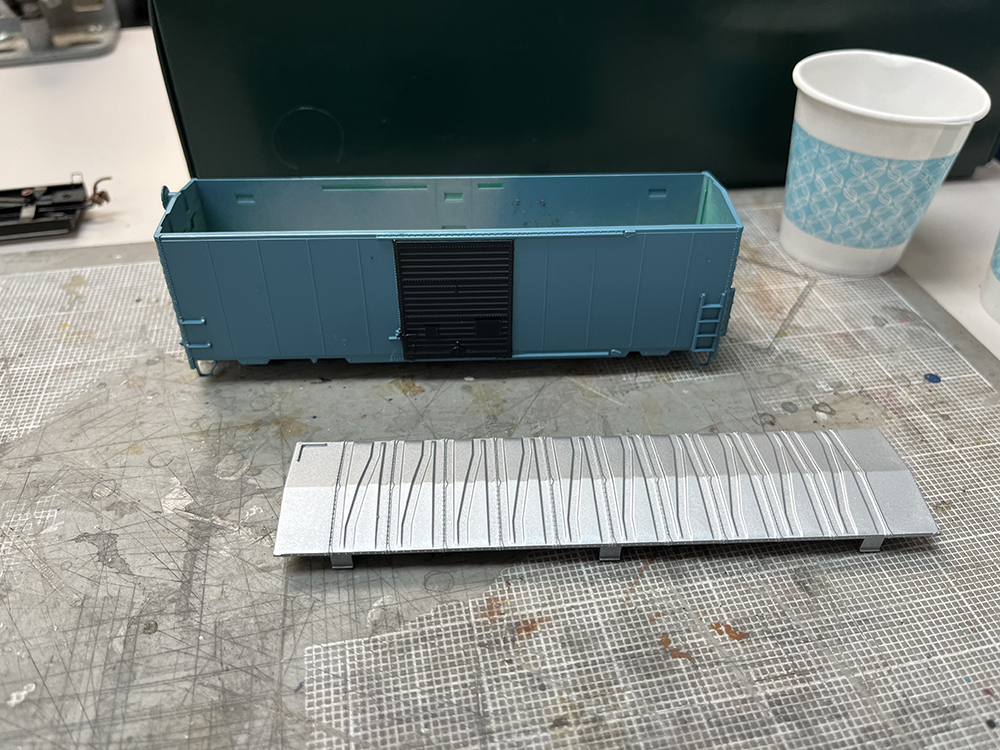
David: To paint the double-sheathed car a boxcar red color, I used Rust-Oleum 2X Flat Red Primer. This paint provides a one-coat coverage, and like the Tamiya cans, produces a good finish.
Seth: I thought you airbrushed everything.
David: I use my airbrush for a lot, but when it comes to providing a good, even base coat on bare plastic, I’ll usually use spray cans – that, and I hate cleaning my airbrush.
Seth: Don’t be disappointed, but I didn’t do a lot of prep for this project. I decided I liked the paint and finish on both cars, and that they were glossy enough to allow decal application straight from the box. I guess we’ll have to see if that was a good decision or not when we get to the decal step.
David: The good news is that if the first decal doesn’t work well, you can always go back and clear coat the cars.
Seth: That’s what I thought.
Gerry: Well, I guess this is where we have to stop at this point.
Seth: And why’s that?
Gerry: Because, uh, we don’t have any decals yet!
Seth: Or logos for the various eras.
David: And that’s where Gerry, as our logo designer will pick up the story next time.
Follow the links below to read the previous installment in the Car Swap Project series!