


Over the years I’ve built a whole lot of wood structures – large and small, laser-cut kits and stick-built, beginner and craftsman. And I’ll admit I’ve made a few mistakes along the way. That’s how we learn. You may have an idea of what to do when building a wood kit, but it’s equally important to know what not to do. Here are some of the lessons I’ve learned over the years.
Don’t use the wrong blade
Many modelers use the same hobby knife blade for everything – the good old no. 11. This pointed blade is great for most tasks. But for separating laser-cut wood parts from their carrier sheets, there’s a better option – a chisel-tip no. 17. Laser-cut parts are attached to their carrier sheets by tiny tabs. A chisel-tip blade is perfect for freeing those parts. If you try to shove a pointed blade into the gap to cut those tabs, only the tip of the blade does the cutting, and it’s too easy to snap it off. Save the no. 11 to clean up the nubs left after separating the parts from the carrier sheet.
Don’t wait to stain
Alcohol-based stain – a tablespoon of black India ink in one pint of 70 percent isopropyl alcohol – is one of the most popular ways to make wood look aged and weathered. For stain to work, it has to penetrate the grain of the wood. While it might seem like it would be easier to stain your kit all at once after it’s assembled, if you do you’ll be unhappy with the results. Any place where glue oozes out of the joints will be sealed by the glue and the stain will not penetrate. Stain all your parts before building a wood kit. You may find them easier to paint before assembly, too.
Don’t stain without weights
Wood swells when it gets wet and shrinks as it dries. Alcohol-based stain penetrates wood even more than water. Even if you stain both sides of your wood parts evenly, they will still warp. Lay a paper towel on a flat, hard surface like a countertop and lay your stained wood parts flat on it. Then top it with another paper towel, add a plastic cutting mat, and weight it down with a stack of books or magazines. Since the plastic mat and weights will inhibit air drying, let the parts dry overnight before removing the weights.
Don’t stain self-adhesive parts
Self-adhesive parts can make assembling tiny details like multi-layered windows and doors easier. But these parts are usually laser-cut from very thin plywood. Alcohol-based stains can easily seep through the cuts in the plywood and soak the self-stick adhesive on the back, rendering it not so sticky. Paint these parts after assembly instead. If you really want that weathered wood look, drybrush them with flat medium gray paint.
Don’t use white glue
This is a matter of taste. White glue will work on wood, but there is a better option for building a wood kit – yellow carpenter’s wood glue (aliphatic resin). Compared to white glue, wood glue is thicker, so it doesn’t run as much. It doesn’t soak into the wood, so you need less of it. It grabs quicker than white glue and dries quicker, too. If you’ve ever wasted 15 minutes playing The Human Clamp, you’ll appreciate that. Finally, wood glue dries waterproof. If you use water-based craft paint on your wood structures, you’ll really appreciate that.
Don’t mix up the joints
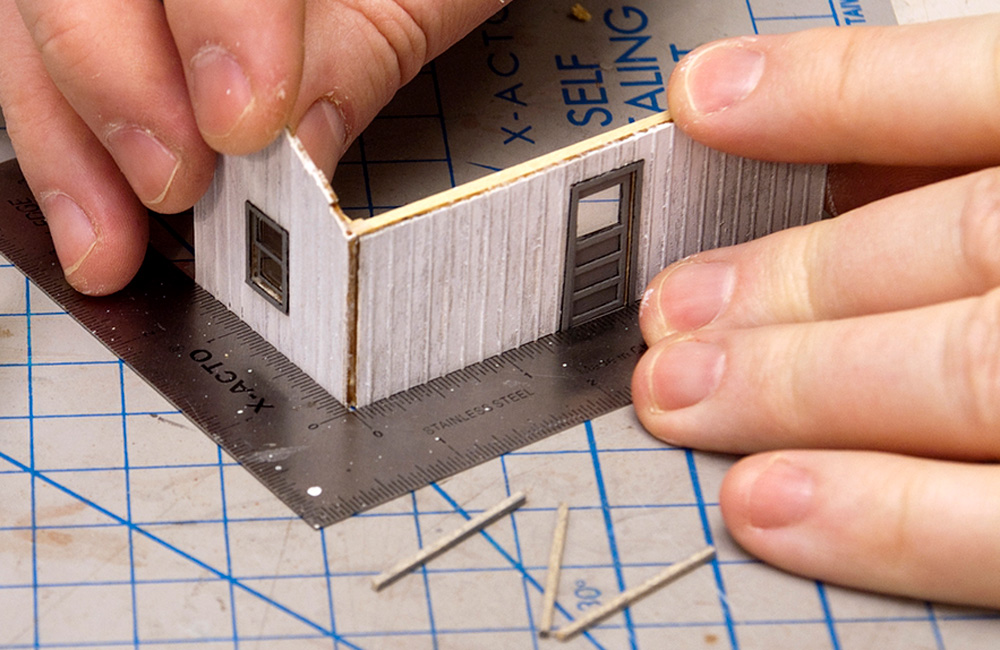
Yeah, I learned this one the hard way. Even when the laser-cut walls are notched to match up to tabs on the adjoining parts, it’s possible to mix them up. On one kit I remember assembling, both sides of the wall were smooth, so it wasn’t easy to tell which side of the wall was supposed to face out. I ended up reversing one wall and gluing the corner in the wrong direction. I was then baffled when the two L-shaped subassemblies wouldn’t go together. Double-check the parts against the diagrams in the instructions, mark which side goes in if necessary, and test-fit every joint before gluing anything.
Don’t mix up the corners
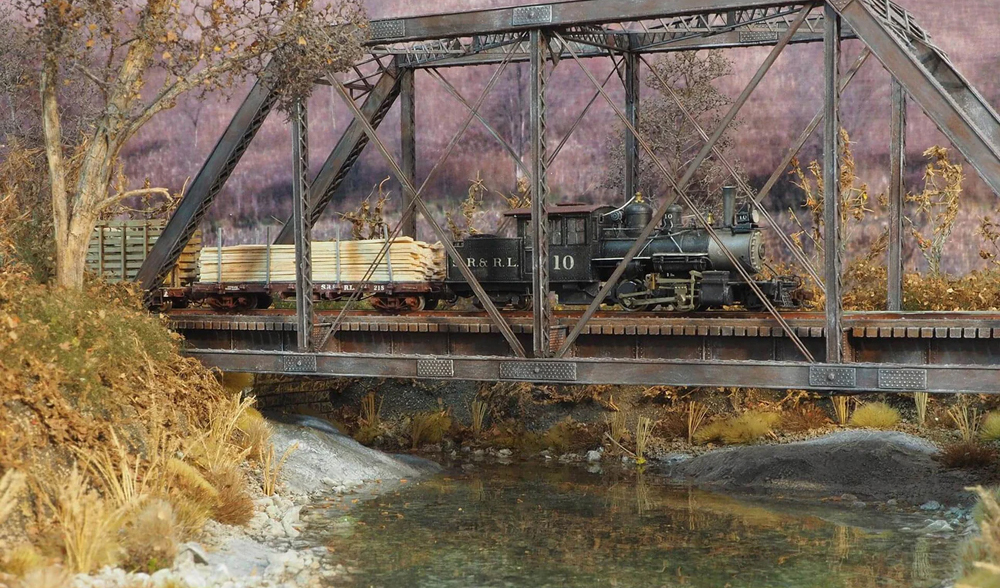
This might sound like the same advice I just gave you, but it applies to a different kind of wall corner – the ones without tabs and notches. On some kits, outside corners meet at a square strip that represents corner trim. That kind of corner is easy. On others, the walls meet at L joints. Pay close attention to which wall end butts up against the other. On one of the company houses on our Virginian project layout (see the photo above, as well as our May 2012 issue), I added corner bracing to the end walls before assembling the corners. But I assumed these end pieces went inside the long walls, rather than the other way around, and glued my bracing flush to the ends. I had to add corner trim strips to make the walls fit, which made my house 1/8” too wide and forced me to extend the roof. Checking the diagrams (or not adding the bracing until the walls were joined) would have avoided this.
Don’t skimp on the bracing
Some kits come with extra 1/16” or 1/8” square stripwood to use as interior bracing. Trust me, it’s never enough. Lay in a good supply of stripwood in those sizes and glue them to every inside corner. Glue more strips (use the thicker stuff for this, because you want rigidity) on the inside walls, perpendicular to the grain, to prevent warping. This is especially important on narrow parts (like between windows and doors) and behind roof gables. Just make sure when applying your bracing that you keep track of where other parts (like window inserts, roof bracing, foundation, and interior walls) will be glued so you don’t block those gluing sites.
Don’t glue on the roof yet
A lot of kits rely on the roof to provide rigidity to the walls and overall structure, so they have you glue it on fairly early. Before you do so, read through the entire assembly instructions and decide if you really need to do that right away. If you can provide the needed rigidity by adding an interior floor, walls, or more bracing, consider making the roof removable. Cut basswood sheet to match the angle of the gables, then glue these joists under the roof to make it a separate, solid unit. This will not only make it easier to add the window glazing after painting, it also gives you the option to add interior furniture, figures, lighting, or other details later.
Don’t use self-stick roofing
Self-stick roofing intended to model tar paper comes in a lot of kits I’ve assembled over the years. It sure is convenient. But too many times I’ve seen the adhesive dry up and the roofing peel off in a few years. Then I either have to carefully glue it back down or replace it entirely. This is especially a problem where the roofing material is just office-supply-style sticker sheet, because water- or alcohol-based paints or stains can penetrate it and attack the adhesive. This even happens to masking tape.
Instead, use plain paper or cardstock rolled roofing or shingles, and apply them with a flexible, hydrophobic adhesive like rubber cement. For the most secure bond, brush a thin coat of rubber cement on both the roof and the underside of the roofing material, let dry, then carefully apply the roofing. And I do mean carefully, because the glue will grab immediately and won’t be repositionable.
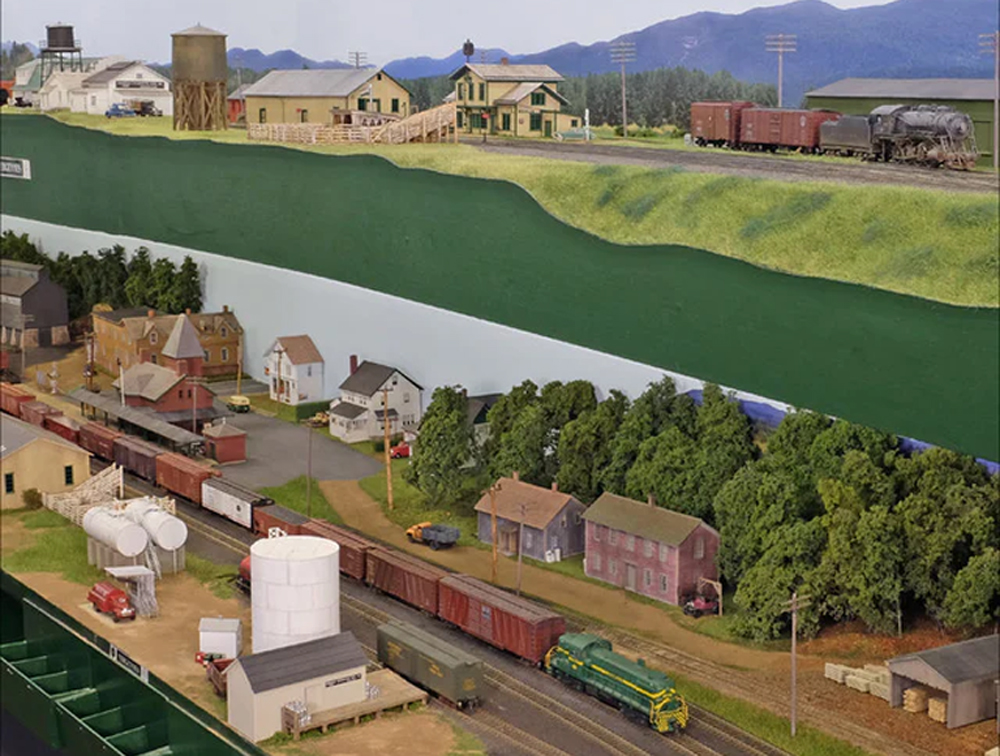
Don’t just plop it on the layout
Even the most realistically detailed and weathered craftsman structure looks like a model when it “floats” on the terrain with a visible gap underneath. Real buildings are set into the earth, not on it. Build a foundation for your building and set it into the terrain with ground cover and turf right up to the edge. Glue on wooden tabs that fit snugly inside your structure walls to keep the building securely aligned on the foundation. For a more rustic structure, like a company house or country store, add a footer of weathered wood posts and glue them into holes in the terrain.


Great article. I printed it so I can review before beginning each wood structure maybe years from now.
Hello Steve,
These are great suggestions and comments.
I recently purchased an N scale house kit from A.Y.A. at Trainfest. It comes with corner material shaped in the fashion of an “L”.
I have had mixed luck with this material. Too much pressure with any kind of blade can break the joint at the corner. Do you have any suggestions to cut this type of material?
Thanks much
Dennis