


Q: When superelevating track curves with shims, is the shim placed with one of its sides along the track centerline or in the middle of the line? – Robert, last name not given
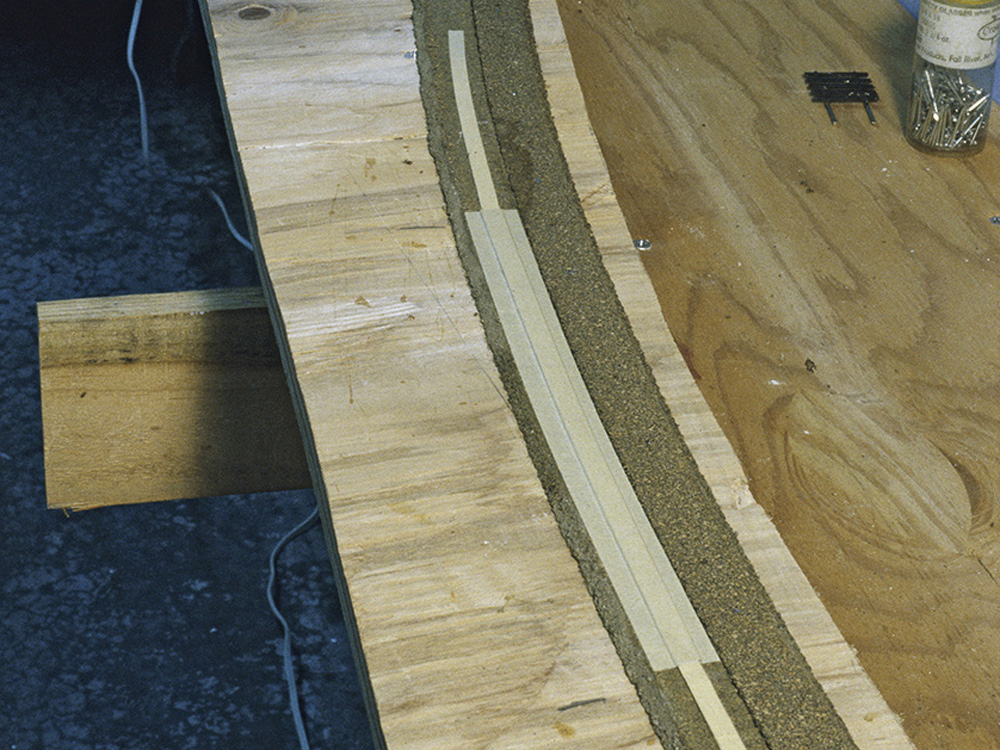
A: Superelevation is where the rail on the outside of a curve is elevated slightly above the inner rail so trains transiting the curve will lean slightly inward, allowing them to take the curve a little faster than they safely could if the track was flat. We don’t truly need to superelevate the curves on our model railroads, because our models are much lighter and move much more slowly than the prototypes. But doing so makes our model railroads look more realistic, and watching our trains lean into a curve just looks cool. To superelevate your curves, you need to center your shims under the outside rail. The tilt should be subtle, so the shims should be thin; for HO scale, use strips of .010″ or .015″ styrene, or a few layers of masking tape cut into thin (1/8″) strips. Ramp up to a maximum elevation of about .030″ gradually, with thinner strips at the beginning and end of the curve. See “Superelevating flextrack” by Andy Schnur in our October 2008 issue or in our online archive for more information.
Q: I’m rounding out my fleet of Pennsylvania Railroad passenger cars with undecorated models and replacement car sides. Pennsy’s passenger cars had a single gold (later “dulux gold” yellow) stripe above the windows and a double stripe below. The Microscale stripe decals I bought are individual stripes and only about two-thirds the length of the car, which means I need a full decal and part of another one for each stripe. Three questions: Should the two decals for each stripe butt end-to-end or overlap slightly? Does it matter aesthetically whether the joints line up with each other, or would it be less noticeable if they were staggered? Do you have any tips for applying the double stripes? I’m thinking I should apply one and let it dry completely before adding the second one. – Tim Barnard, Brandon, Miss.
A: Since light-colored decals are sometimes not fully opaque, you should probably do your best to butt the decals end-to-end rather than overlapping. Otherwise, you might end up with a lighter colored square where they overlap. Use a hobby knife to cut off the end of the decals so they’re absolutely square. Staggering the joints might make them less noticeable, and also might make it easier to keep the two sections of line straight. If your car has any vertical panel lines at which you could place your joints, it will make them even less noticeable. Finally, your idea of letting the decals dry between applications sounds like a good idea. That will keep one section from sliding around while you’re trying to butt another section up against it. Learn more about applying decals in this video: https://www.trains.com/mrr/videos-photos/videos/how-to/painting-weathering/how-to-library-airbrushing-with-aaron-episode-10-applying-decals/ (Available for Trains.com members and video members-only.)
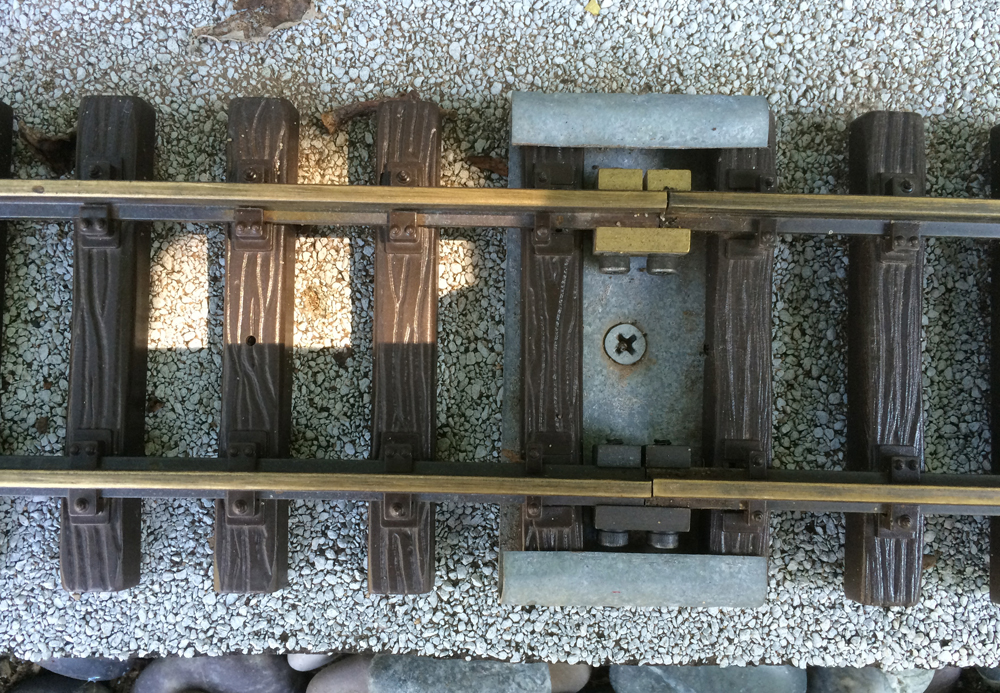
Q: I have two main lines on my layout, and both engines travel in the same direction. What do I need to do to have one going the opposite direction? I thought about reversing the power to the rails. Or should I reverse the power pickups in the locomotives? – Ed Quigley, Jacksonville, N.C.
A: I’m assuming your layout is direct current, since if you had Digital Command Control, reversing the direction of an engine would be as simple as pressing the “Direction” button on your throttle. Under direct current, the direction a locomotive travels is determined by the polarity of current applied to the rails. It’s possible to reverse the wires leading to the motor inside your locomotive, but then that locomotive would always run backwards. A better solution would be to electrically isolate one of your main lines from the other and hook each up to its own power pack for independent control.
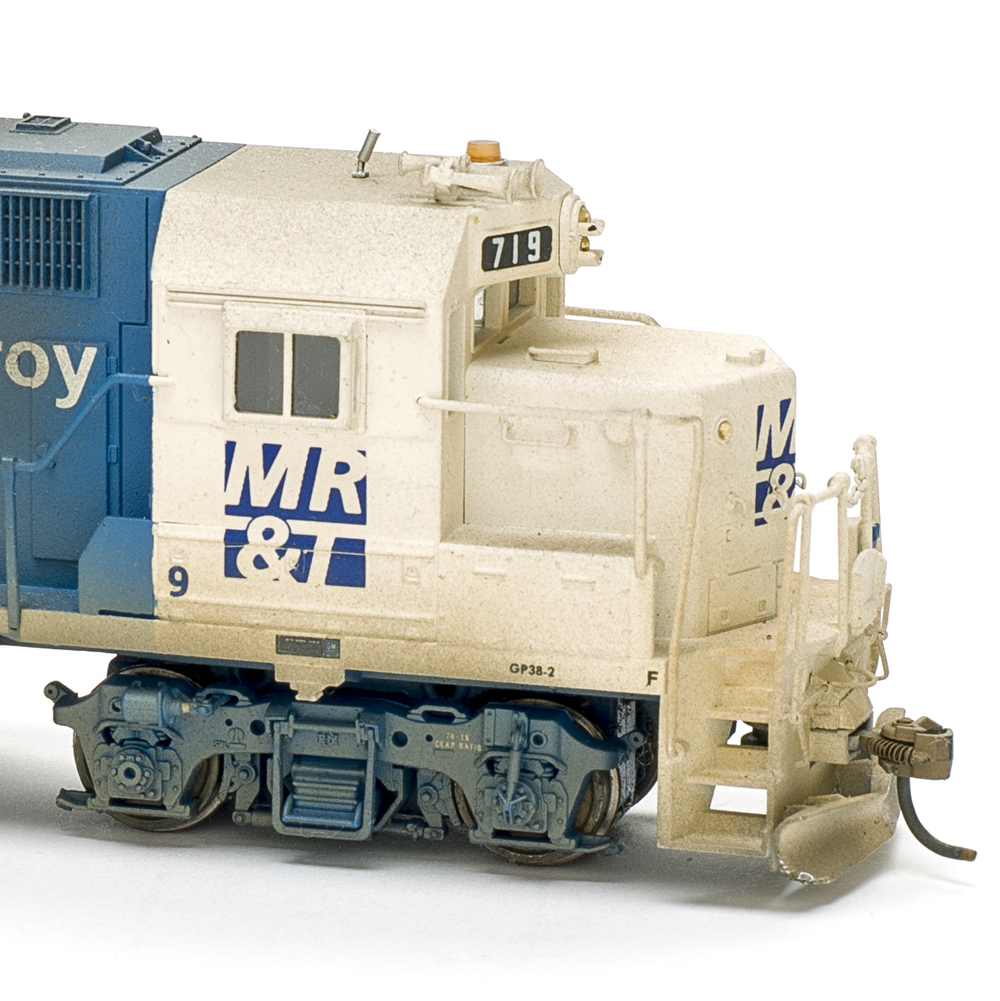
Reader tip: Masking railheads before painting
In articles about painting the ties on model railroad track, I notice that rail cleanup is always necessary. I paint my ties, but I first apply to the railheads 1/8” automotive masking tape, which I special order from an auto parts store. This eliminates the need to clean the rails, and because the top of the rails on my layout have never been scratched by scraping off paint, they stay clean for a long time. I paint several sections at a time outdoors and remove the tape soon after painting to avoid any sticky residue. Airbrushing the sides of the rails also made easier with this method. – Gary Urness, La Crescent, Minn.
Send us your questions
Do you have a question about model railroading you’d like to see answered in Ask MR? Send it to associate editor Steven Otte at AskMR@MRmag.com.


Thank you for your information.
Could please review ESU Cab Control System. I’m a beginner and it seems a good controller.
Thanking you,
John Collins
Austalia