


Kitbashing a large-scale Pacific from a broken Aristo-Craft model wasn’t easy, but the result has been worth the work.
My family has a history of model railroading spanning three generations. My grandfather modeled O scale as a child in the 1940s and passed that love along to my father in the 1970s, and who got me involved in the mid to late 1990s. My father and I run several scales including N, HO, O, and large scale.
During our adventures at train shows, we picked up an Aristo-Craft Southern Crescent with a bad motor block. We saved this piece for a future project.
One night while running our HO layout, my father and I were admiring our collection. Some of our N, HO, and O scale items are displayed on shelves. Our eyes caught the attention of MTH’s rendition of the Jersey Central “Bullet” in O scale. I said to him, “That would look really nice in large scale.” He said with a smile, “You know, we picked up that Aristo-Craft Southern Crescent a while ago.”
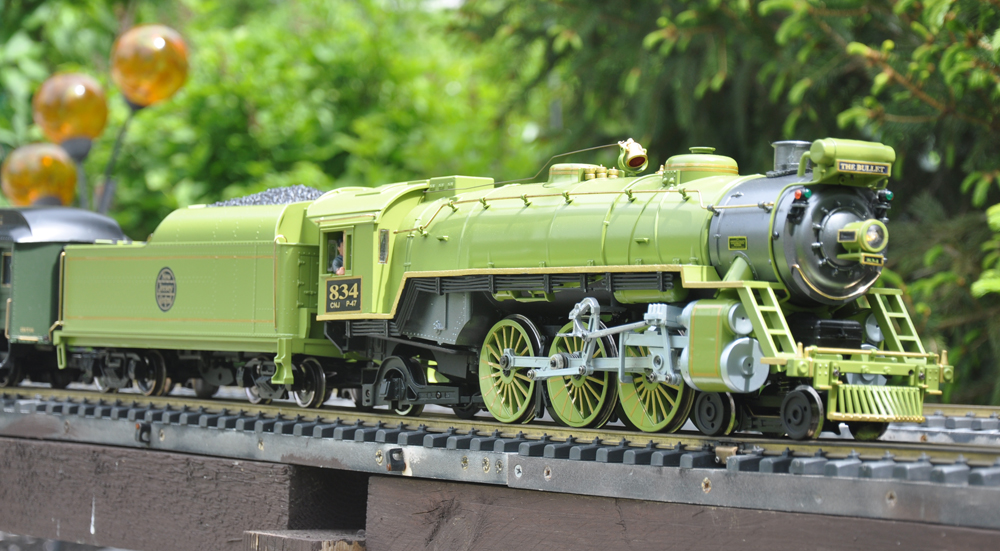
The transformation into a locomotive that pulled the Jersey Central’s Bullet began. Our modifications were done using MTH’s O scale Premier model of Bullet-hauling 4-6-2 no. 834 as our reference.
We wanted to make changes to make the engine look more prototypical: moving the Elesco feedwater heater to the top of the smokebox; moving the marker lights on the side to a higher position; and moving the bell from just behind the smoke box, to the middle of the boiler.
We also wanted to add detail to the engine: pushrods for the whistle and bell, detailing on the backhead, and an engineer and brakeman on seats in the cab.
Engine disassembly
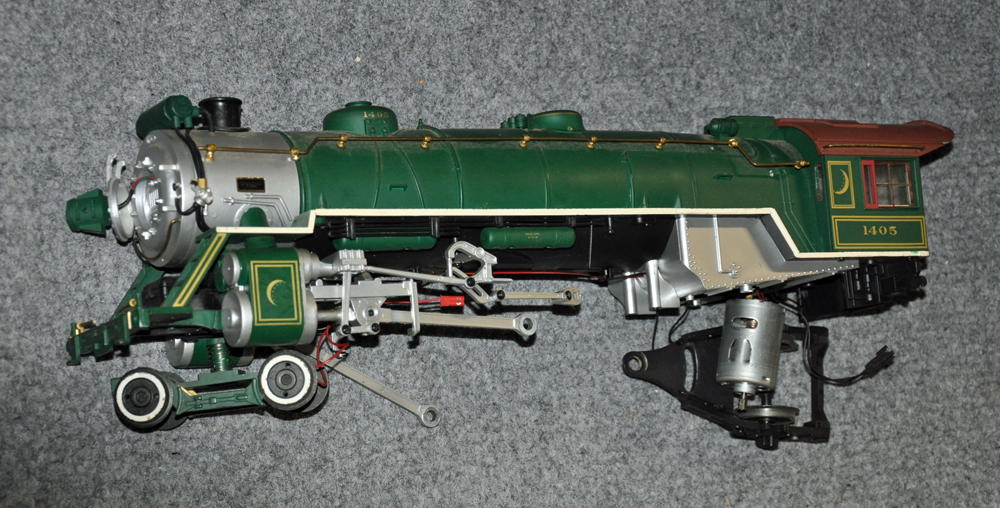
We disassembled the engine and tender to clean the parts, then sanded, primed, and finished extra body work, if needed.
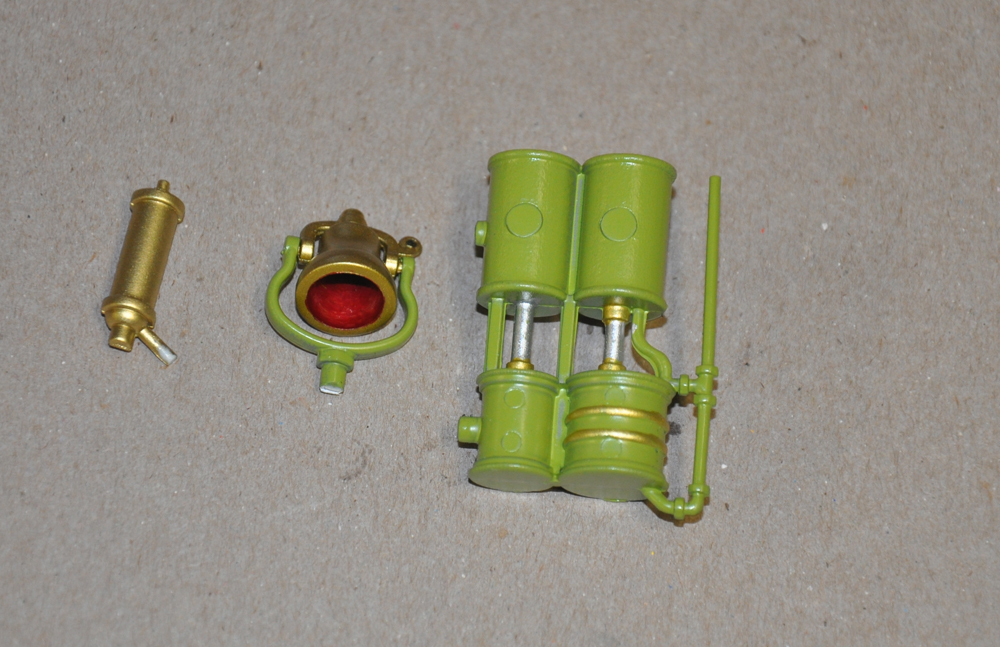
This included removing the drivetrain (motor block), boiler, cab, and all detail parts (feedwater heater, whistle, bell, boiler domes, firebox panel, air pumps, steam chest, smoke stack, headlight and marker lights, hand rails, drive wheels, front and rear trucks, cowcatcher and valve gear).
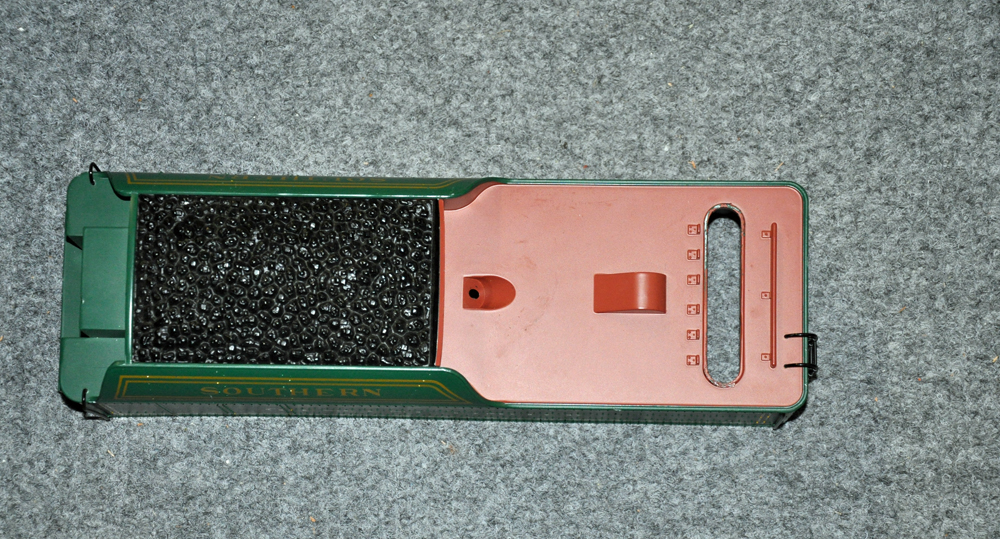
The tender was easy; we just removed the handrails and shell.
Kitbashing a large-scale Pacific: Painting
With the parts are disassembled and sand-blasted, it was time to put a priming coat of paint on them. We used Rust-Oleum Painter’s Touch 2x Ultra Cover Flat Grey Primer, but you can use a flat black primer instead. Priming all parts ensures a good finish for the main coat of paint. Make sure there is a smooth finish before applying the main coat.
In kitbashing a large-scale Pacific, we used Rust-Oleum Painter’s Touch 2x Ultra Cover Satin Eden, the closest paint color we could find to match reference materials. Again, we made sure there was a clean and smooth finish after applying the paint.
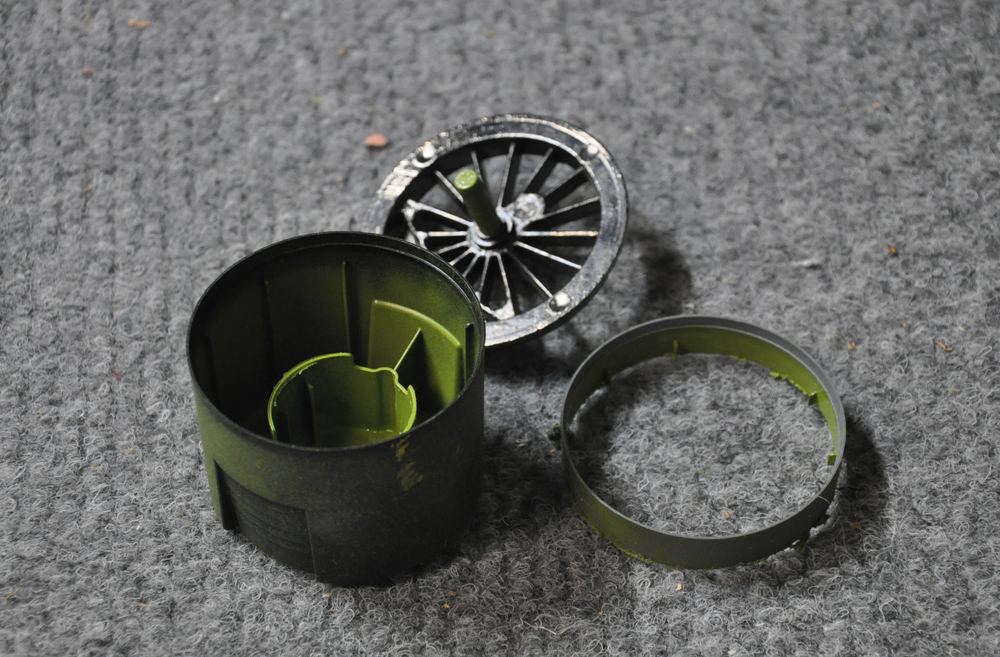
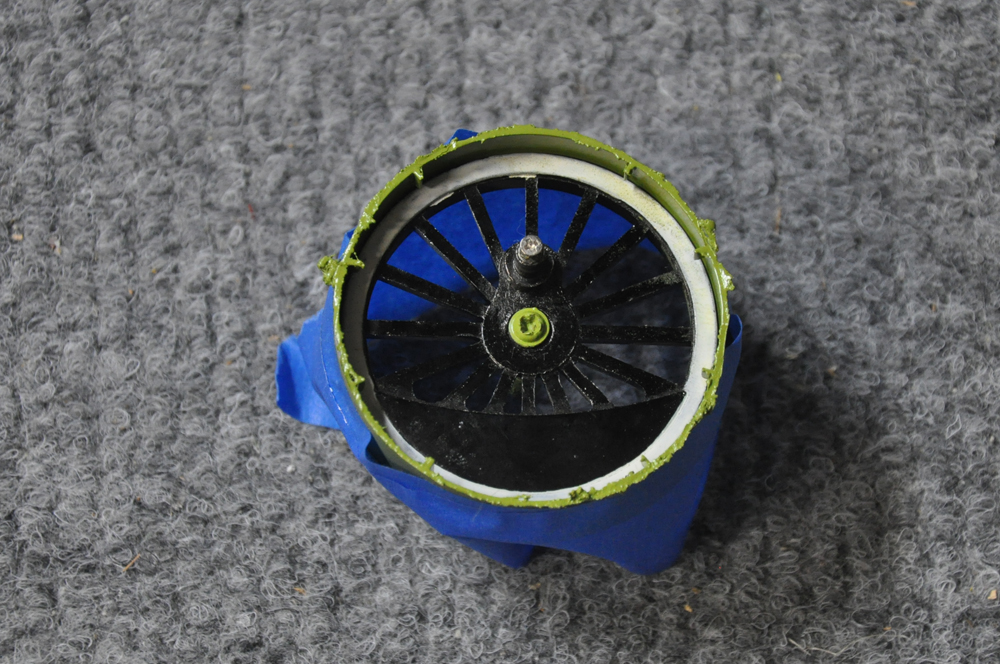
When painting the wheels, we created a masking tool to paint the spokes and the rim of the wheel without painting the flange and rail surface. We used an old spray can top, trimmed to fit snugly on the wheel’s outer diameter, and then masked the flange with tape. We masked the axle hole in the wheel because it conducts electricity; getting paint would insulate it and not allow the engine to pick up power well. (See photos in the photo gallery below for more information.)
After the wheels were painted, we used 1/16” gold striping tape made by Great Planes and carefully striped the bottom spokes of each wheel. We also used the same gold striping on either side and on the back of the tender. (Note: Great Planes is now owned by Horizon Hobbies: https://www.horizonhobby.com/great-planes/ –Ed.)
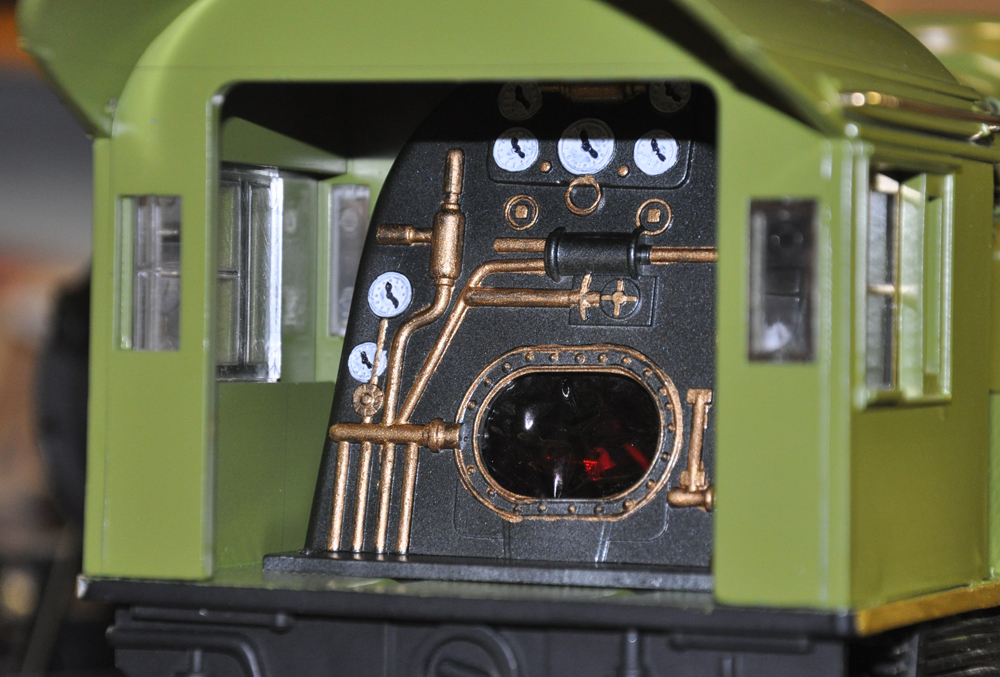
After all the parts were coated, we did detail work on the backhead (behind the firebox). This was one of the toughest parts of the rebuild, as a steady hand was needed to neatly paint the piping and gauging on the backhead.
Pacific kitbash: Reassembling the engine and adding details
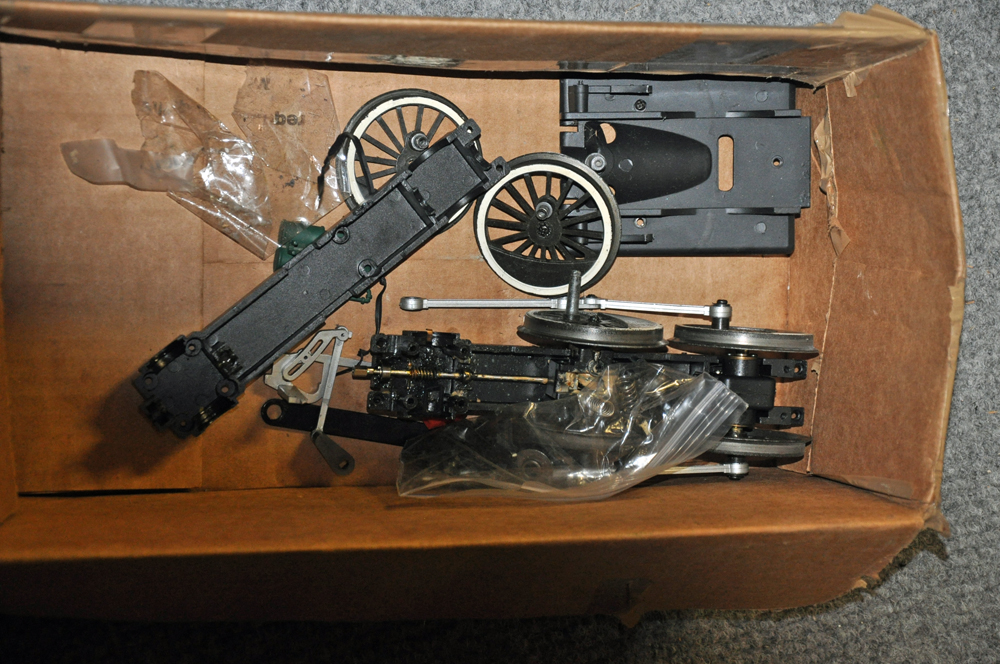
We updated the motor block to a newer style since the original was worn out. An issue we had when reassembling the engine was putting the drive wheels back on the motor block. We needed to make sure that all the wheels were all in sync (quartered) and timed with the valve
gear (rods); otherwise, the engine would not run properly. Once the engine and tender were completely assembled, we added a few extra detail parts.
We created a number plate for under the headlight out of styrene as well as a nameplate for the front of the Elesco feedwater heater. We used a small insulated solid copper wire to create to the latter appliance and painted it to match the engine.
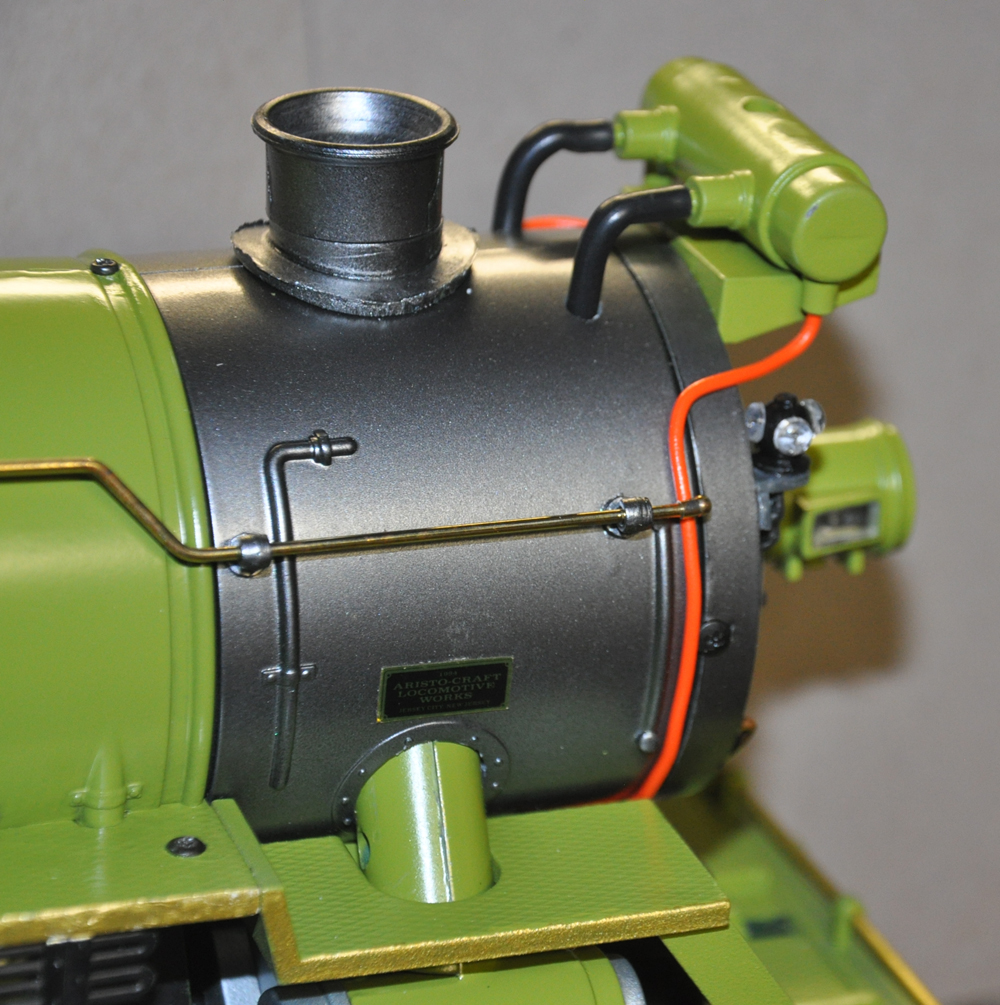
We moved the marker lights their stock positions to a more prototypical spot under the feedwater heater. We made a mount for each marker light out of styrene to hold it in place. In the headlights and marker lights, we removed the stock incandescent bulbs and replaced them with Light Emitting Diodes (LEDs) and used a diode to achieve directional lighting. We added a resistor so the LEDs would not blow out from too much track voltage.
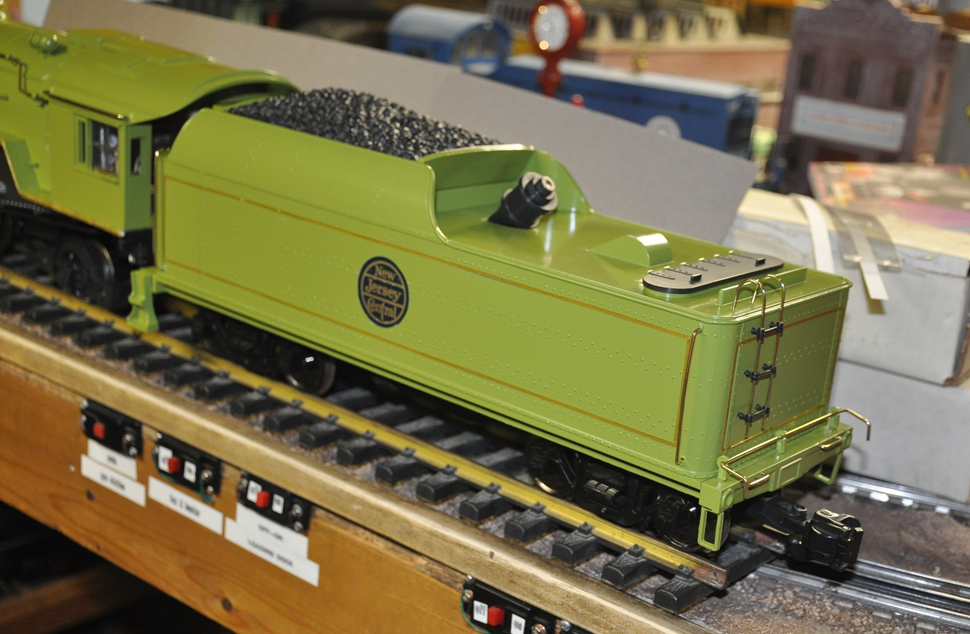
We moved the bell to a more prototypical place along the boiler, using a fine music wire for the bell and whistle actuator rods connected to the cab. Finally, we applied the decals, made by a good friend and excellent train modeler retired from New Jersey Transit. We worked together to make them look and fit prototypically.

After completing all the painting, modifications, and decaling in kitbashing a large-scale Pacific, it was time to test the engine on the rails. The 4-6-2 ran smoothly along our railroad and with a beautiful sunny day, the backdrop of bloomed forsythia bushes and lilac trees we have along a couple of our straightaways, and various buildings along our railroad; the engine really “popped” and looked right at home.
As we watched the engine run around the tracks, my dad said, “Now we need passenger cars to go with it.” But that will be for another time.
Learn more!
Learn more about the Jersey Central.
View a photo gallery of Jersey Central passenger trains.


good luck finding the newer motor block