Without body-mounts, my freight trains with mid-train helpers can’t climb Tehachapi Pass without littering the terrain with derailed cars. And by using couplers of all the same brand, I cut down on inadvertent uncouplings.
An exquisite car like this earns and gets a bit of a premium price, but in my case I save about five bucks on the replacement couplers and wheels I’d have to add. Also, I’ll almost certainly get a perfectly centered, perfectly installed coupler, as opposed to my effort.
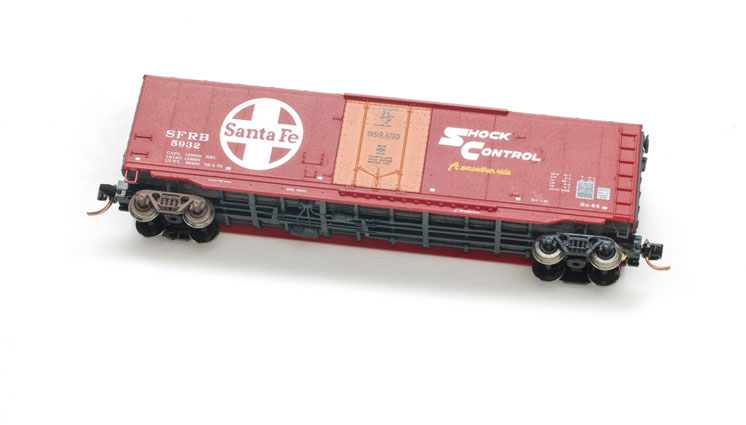
Eliminating the black holes – Improve ready-to-run freight cars with a little paint
So what is there to do on a car like this beyond taking it out of the box and checking it for wheel gauge and trip pin height? Well there’s weathering, which eventually I’ll do, lightly in this case because the car is so darn pretty, and there’s one other thing – painting.
Railroad standard practice is that wheels and couplers on the prototype not be painted, as paint can hide cracks or flaws. Besides, given the marvelous things steel makers can do nowadays, these parts quickly oxidize to a rich mineral brown coating that’s attractive and also protects them from further oxidation (that is to say old-fashioned rust, the arch-enemy of railroading).
But those same parts on models can benefit from a bit of color. I can paint the trucks brown because that’s the color they often are on the prototype. For us, a major advantage of painting trucks is that we can get rid of the shine that’s characteristic of the unpainted engineering plastic that’s used to manufacture these parts.
The advantage of such plastics is that they’re slippery, as you well know if you’ve held a truck while changing out the wheels. These slick plastics give axle ends a smoother bearing surface in which to turn more freely.
Painting also makes our trucks more visible. With unpainted black trucks, the cars look as if they’re floating on air. And I think cast brown trucks look worse and even more toylike.
Painting trucks and wheels
You certainly don’t need to crank up an airbrush to paint trucks and wheels. Just remove the trucks from the car, pull out the wheels, and paint with a brush, lightly of course. Don’t paint the insides of the trucks, as you don’t want paint anywhere near the axle-bearing surfaces, and you can’t see them on the finished car anyway.
When painting wheels, take the same precautions. Don’t paint the axle ends, as they’ll be hidden by the journal boxes, and it would interfere with the low friction of that slick plastic on the needle-point axles. Also keep paint off the wheel treads. If you do get paint on them, the paint will eventually transfer to your rails. Enough grunge ends up there without adding more.
Lightly drybrush the truck details with a little white, and those black holes under your cars will be replaced by nicely detailed parts you can actually see. And nothing on a car has more detail per scale square foot than a truck.
And now, the stirrups
For several decades Micro-Trains was the undisputed champion of accurately detailed freight cars, but one worrisome detail always bothered me – the corner stirrups. These were scale size and exquisite, and they were usually cast in that slick, black plastic, making them less susceptible to damage.
Unfortunately, casting them in the black plastic makes them invisible. The solution to this problem, as you’d probably guessed, is paint. I always brush-paint them first with a gray acrylic primer. A primer will save you having to apply two or three coats of color.
Next comes the color. You don’t need a precise match; being in the ballpark will do. I mix mine from an inexpensive set of tube acrylic paints from the craft shop.
A nice thing about these mini-projects is that you can do them when you don’t have much time. You don’t get a lot of instant gratification in model railroading, but here’s one little area where you do.