


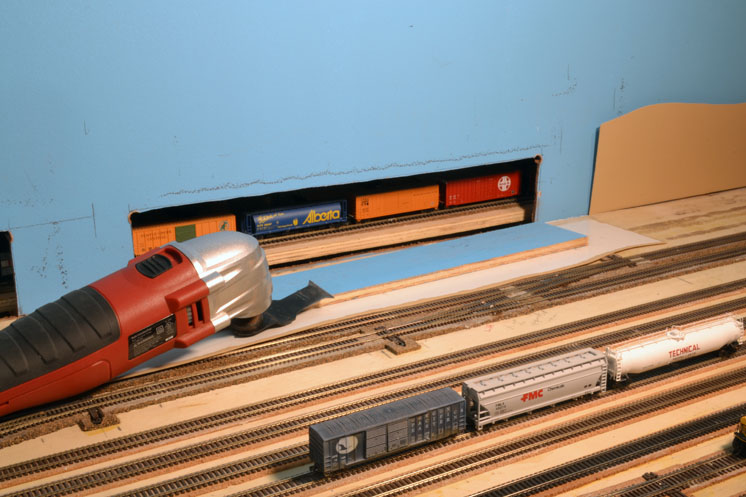
The Atlas ties were considerably smaller than Peco’s and spaced closer together, making the Atlas track more realistic. Peco’s track was well made, sturdy, and reliable, but since I was virtually starting over, I decided to convert. I’m happy I did, but I ran into a couple of challenges you should know about, if you don’t already.
Bumps in the road – Adventures in code 55 track
Soon after Atlas code 55 was introduced, modelers discovered that Micro-Trains cars made a little tickety-tick sound as they rolled along because the flanges were bumping on the molded spike heads. This wouldn’t have been such a big deal with other brands, but these were Micro-Trains cars, revered among most N scalers as leaders in realism.
This compatibility problem was compounded by the fact that Micro-Trains trucks were also sold separately, and many N scalers used them to replace the trucks that came with some other brands of rolling stock. Micro-Trains trucks were extremely free-rolling, and if you bought the trucks that came with couplers attached, swapping out trucks was an easy way to convert equipment to the popular Micro-Trains couplers.
The wags among us call Micro-Trains wheels “pizza cutters” because of their large flanges. Modelers who wanted a more realistic wheel profile could replace them with smaller-flanged wheels. Replacement candidates included Micro-Trains’ own low-profile wheels.
My favorite combination has become Atlas metal wheelsets in Micro-Trains trucks. I prefer these to plastic wheels because of their shiny treads. Also, this combination rolls even more freely than a stock Micro-Trains truck.
In the meantime, Micro-Trains continued releasing cars with the large flanges, but also began including a set of its low-profile wheels for those who wanted to switch. The company is no longer doing that, and instead has introduced a new wheel with mid-sized flanges. The last two Micro-Trains cars I bought have these, and they look and run great on Atlas code 55 track. But enough about wheels for now.
The bigger problem
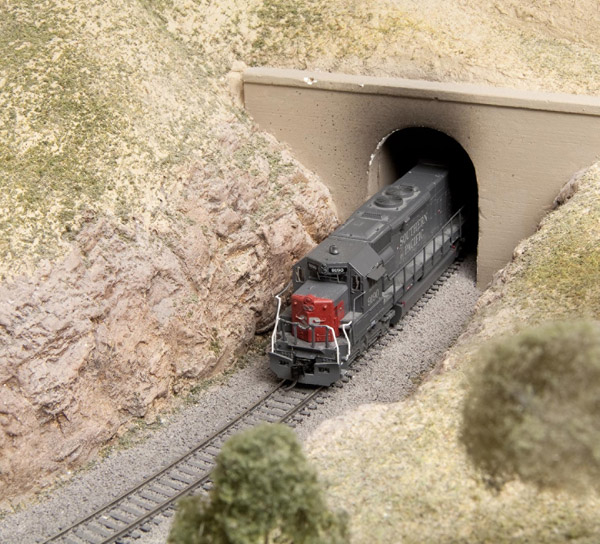
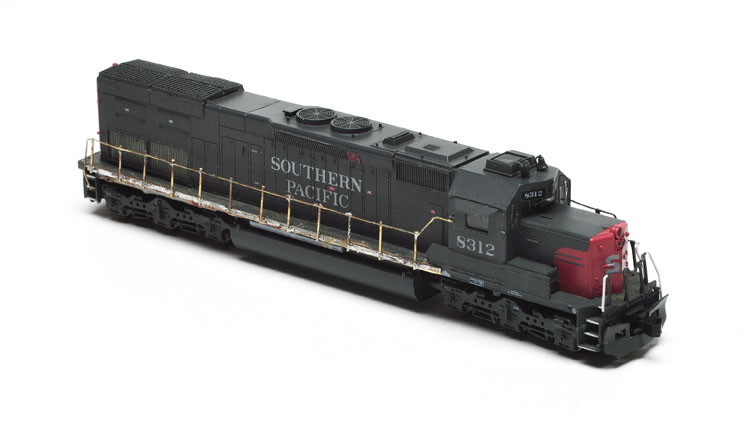
I also discovered that my locomotives were derailing on the Atlas code 55 turnouts, and all the filing and tweaking I did on the points, frogs, and rail joints didn’t help. I nearly filed one turnout to death trying to solve this derailment problem. It was heartbreaking to watch a beautiful new Kato SD40-2 roll smoothly into a turnout and then flop over on its side.
Finally, the lightbulb over my head switched on. If the turnouts check out with the National Model Railroad Association standards gauge and all my cars go through them just fine, then the problem has to be with the locomotive.
And that’s exactly what it turned out to be. The back-to-back wheel spacing on every locomotive was too tight – not by much, only about the thickness of a business card – but that was enough to cause all kinds of calamity.
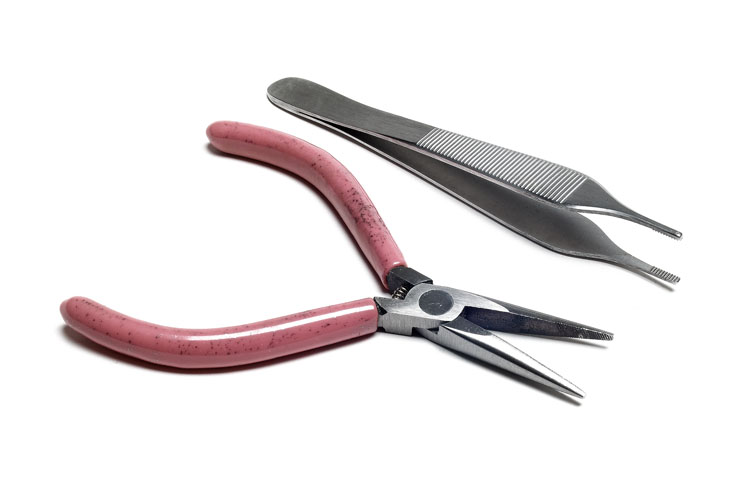
I’ve been correcting this by disassembling the trucks and setting the back-to-back wheel spacing to .301″ (the NMRA standard). Much more or less than this and you’ll get derailments.
I measure this distance with a caliper. Mine is an inexpensive plastic one made by General Tools. A metal one would be better, but costs more. Usually I can move the drivers by twisting with my fingers, but if they prove stubborn, I use a gear puller. The hardest part is disassembling the trucks. On some models you need to pry the side frames apart to lift out the assembly. On others, you’ll find a tab at one end that can be disengaged with a small screwdriver.
This has been an exasperating business. I still have many locomotives to go, but I’ve gotten better at it and it goes more quickly now. I have it down to about 30 minutes per unit.
The best news is that some of the engines I’ve bought recently haven’t had the problem, which means the manufacturers may have caught on to it and are correcting. I sure hope so.


I suggest that everyone check the wheel gauge on all locomotives and while you have the trucks apart one should clean the fuzz out of the gears and clean the wheel cups. It will make your electrical pick up a lot better and your entire experience more pleasant.
I returned 2 out of 3 Hornby locomotives because the wheels were so out of gauge. The one I kept needed a tweak on one axle. The other two were out of gauge on all axles. They hopped like birds going through turnouts.
But back to Atlas turnouts: they are somewhat flimsy. One set of points wouldn’t seat smoothly against the stock rail, and so I ever so carefully tried tweaking it. The tip snapped off. No doubt with a large expenditure of time and effort I could somehow repair it, but for twelve bucks there are better ways to spend one’s life.
And that’s the big advantage of Atlas turnouts: the cost. Multiply the cost of 80 or so turnouts times the cost of other brands…Micro Engineering or Peco…and a broken turnout here and there isn’t so bad. As a newbie to N scale, though, I do wonder about the long-term reliability of Atlas vs. those other brands.
wow – sounds like a lot of work. too much for my 80 year old hands and fingers. Even with my outdoor garden railroad there are always problems – but these are bigger ones and easy to rectify. Big gauge has big problems if you get my jist. I love what some of you N gaugers have done and admire your great talents. Keep up the interesting articles. rjs.
Pardon me Jim but I don't understand back to back wheel measurement on your locomotive.
Jim, even-though it has been 4+ yrs since you wrote this, it is timely for me since I'm starting my first layout.
Thanks for your contribution.