By Toyoji Sekine / Photos by Kaori Komatsu
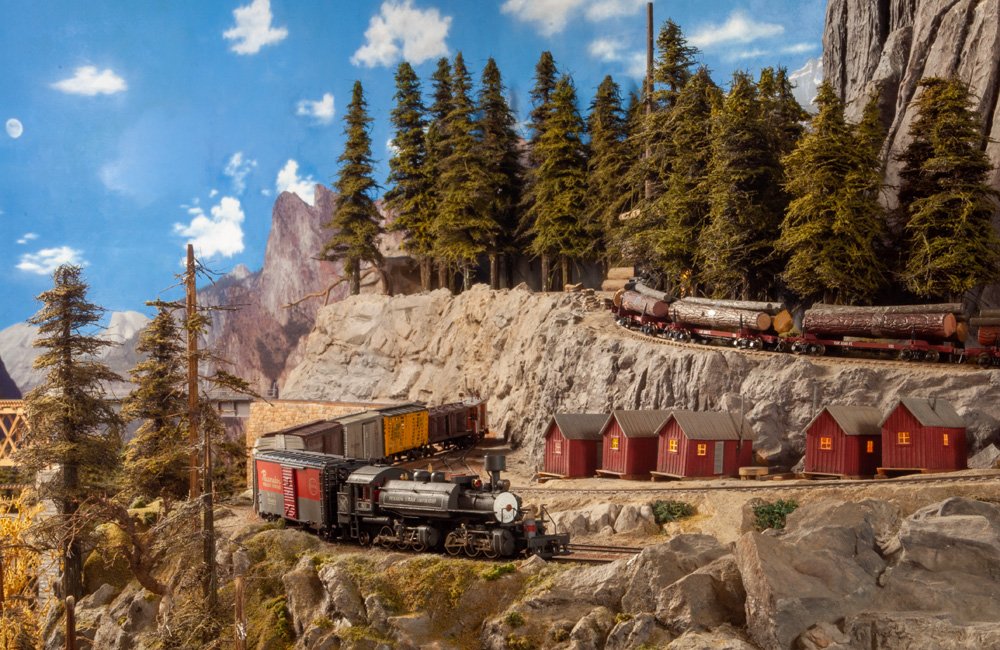
In the 1950s, when I was a small child, an O gauge train ran around the pond in my yard. It was a Japanese-style train made of tinplate, as nothing more realistic was available after the war. But I fell in love with American railroads, particularly the Sierra RR. I grew up watching Western movies and the TV show “Casey Jones,” about the legendary American locomotive engineer. I focused on the Sierra RR, which was used to film many of those movies.
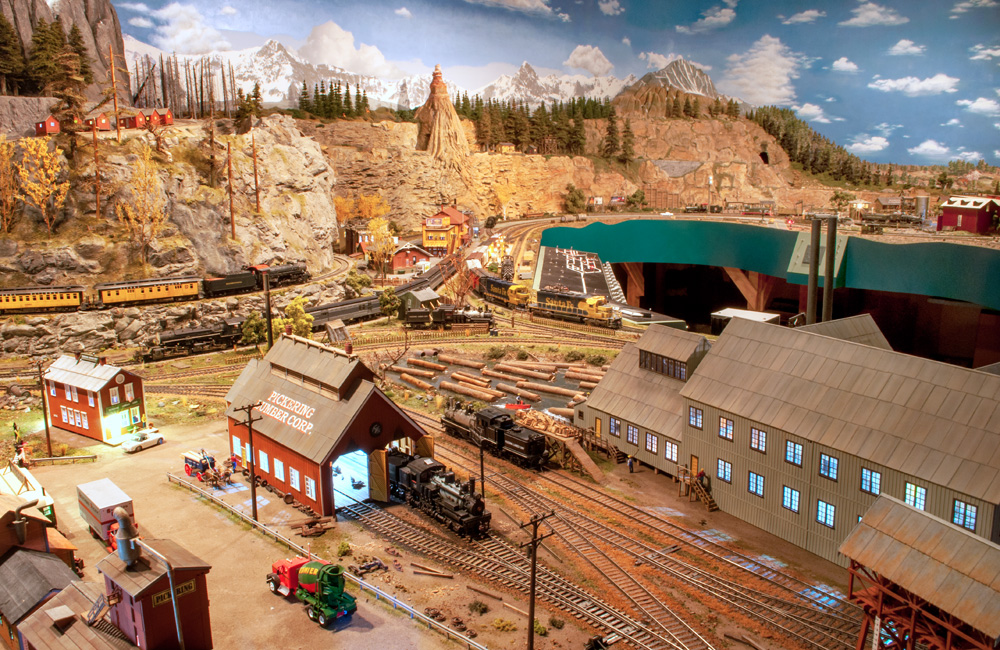
A logging line
When I got interested in logging locomotives, I discovered a Japanese company called PFM United Inc., known in the United States as Pacific Fast Mail. This company made a Shay, Climax, Heisler, and the Sierra RR 2-6-6-2 Mallet that John Allen had. I decided I wanted to model a logging line.
For those who like American logging lines, the most famous is West Side Lumber Co. However, the West Side is narrow gauge, and I wanted to model standard gauge. Both the West Side and the Pickering Lumber Corp. connected to the Sierra, so I chose the standard gauge Pickering Lumber as my prototype. I named my layout the Pickering & Sierra RR.
One time, I bought a cheap PFM Benson Shay from the U.S., but it was broken when I received it. So I visited United’s factory in Japan and asked Shuzo Minari to fix it. After a while, I received a call, and went in to receive my Shay, it had been fixed beautifully. At that time, Benson’s Shay was a crown gear, but Minari changed it to a bevel gear.
I bought about 100 blank decal sheets from Microscale and asked a friend of mine to print Pickering & Sierra decals for me. This was before home computers and printers were plentiful, so the Pickering & Sierra heralds were hand-drawn and printed by a professional.
Memories preserved
My HO scale Pickering & Sierra RR layout is closely tied to memories of the past. I used to attend National Model Railroad Association conventions in the United States. I had always wanted to visit Yosemite National Park, so I asked my friend Joe, who lives in San Francisco, to help me do so on my way home from one of these trips.
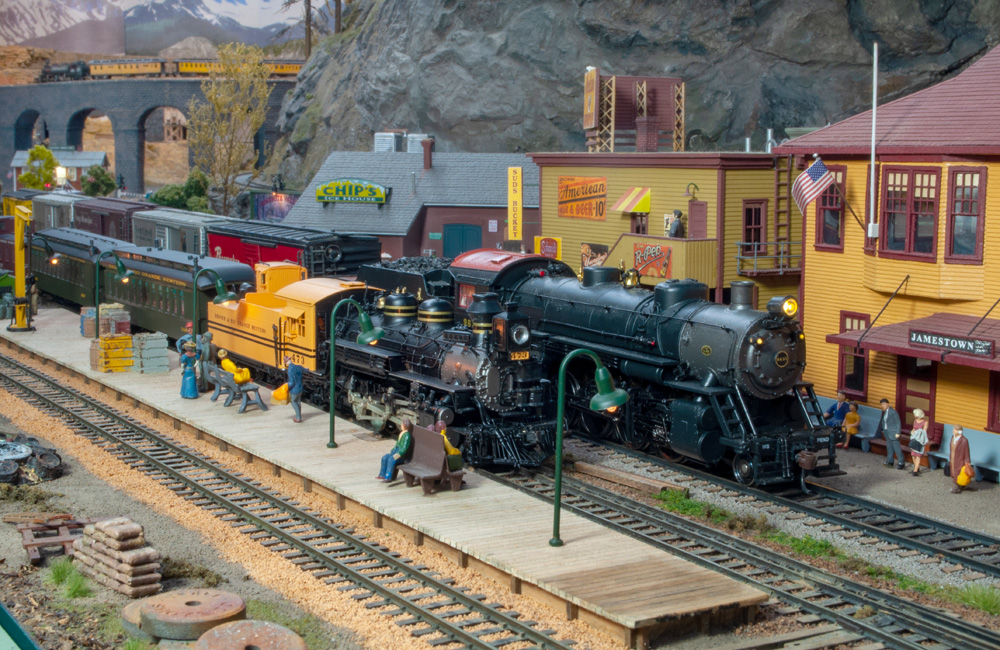
He picked us up at the airport and took me, my wife, sister-in-law, and a friend of ours to Yosemite. On the way, he asked me if I also wanted to visit a preserved railroad. We did, and to my surprise, it was the Jamestown depot of the Sierra RR.
I was just about to build the Jamestown depot and its roundhouse on my layout, so I took pictures of the actual turntable from various angles to build the roundhouse.
Thanks to those pictures, I was able to scratchbuild the roundhouse. The doors and other parts of the roundhouse look exactly like the real ones.
I used my drawings and photos of the interior and exterior of the Jamestown depot to make my own kit. The actual depot burned down in 1978. I saw a picture of the depot that was taken in 1948 and placed my figures around the station based on that photo.
We ate lunch on a bench in the park behind the roundhouse, then took a ride behind a preserved Shay locomotive. The conductor, who became a good friend of mine, looked out the window and told me that there used to be Native Americans in this area.
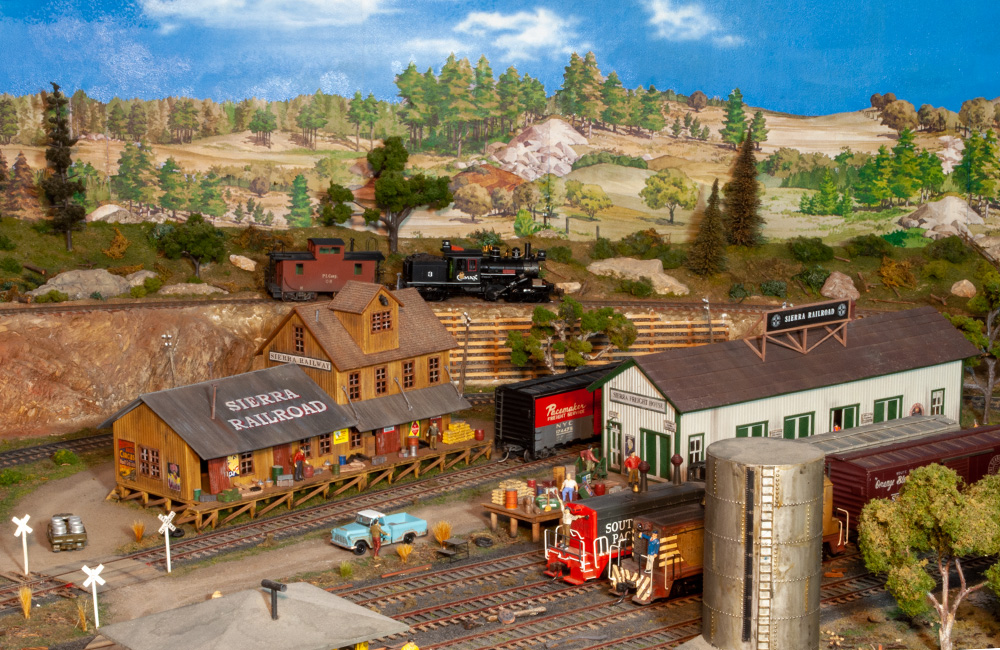
Next, we went to Yosemite for an overnight stay. Joe guided us to the top of the mountain, and I took pictures of the park from there. A photographer I know enlarged the photo, which became the backdrop for my Sierra RR in Japan. The Half Dome and El Capitan are also in the backdrop.
Building on the past
In the 1960s, my mother bought me four structures, several figures, and cars for the layout. She bought me five boxcars and a stock car at Tenshodo Model Store in Tokyo. The boxcars were made of aluminum-like material and have “JAPAN” stamped on the inside of the door.
I made a smaller layout prior to building my Sierra RR in Japan. Based on the lessons I learned building it, this time I built it so that the legs of the table would be absolutely stable. The layout table is so sturdy that you can stand on top of it. The tabletop is 3/4” plywood topped with Homasote sheet.
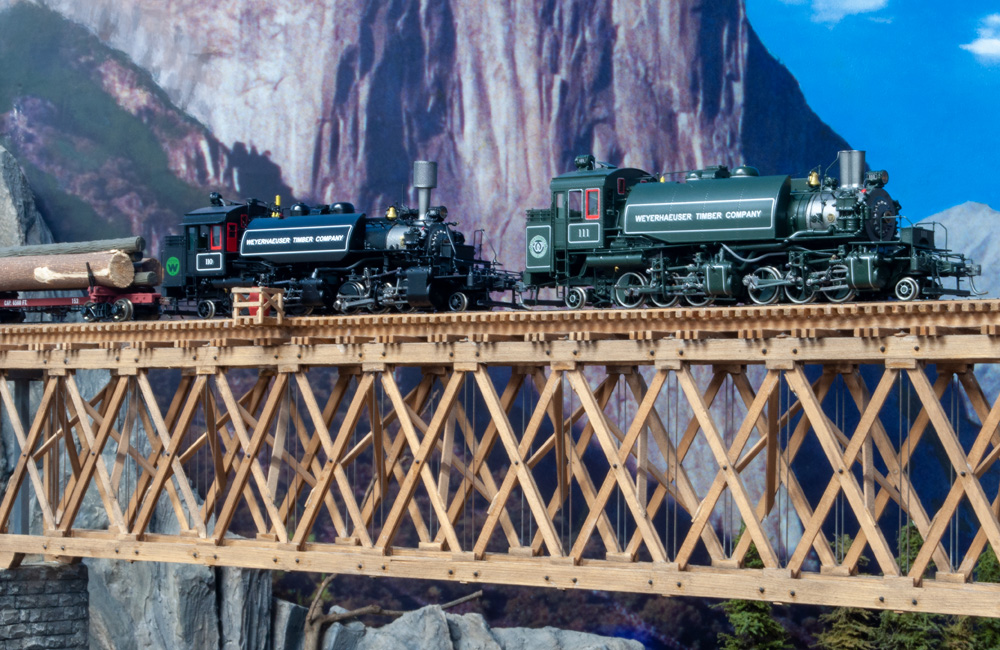
I wanted to create a layout with steep cliffs, so I made two valleys. The first is spanned by three wooden bridges, which were scratchbuilt from prototype drawings. Two bridges were made from drawings in Model Railroader Magazine Bridge & Mountain Railroad Model Handbook No. 33 (now out of print). The other is built from Worldwide Designs Timber Deck Bridge No. 802. The wire parts of the bridges are made of 0.02” piano wire.
I am planning four mountains on the layout. Access hatches will allow me to remove the mountains. I’m now working on the third mountain and the second valley. In the second valley, I’m planning to build a steel bridge instead of a wooden one. I bought the steel bridge parts from the United States.
The logging line has a 17” minimum radius, because the Shay and 2-6-6-2 Mallet run easily on tight curves. The brass Union Pacific Big Boy, Cab-Forward, and Sierra 2-6-6-2 No. 38 run smoothly on the Sierra RR’s broader curves.
The clock hanging in the layout room is designed with the Sierra RR herald. It was an ordinary clock, so I had someone who works at SEIKO clock company in Japan change it to a radio-controlled clock so I can use it as a fast clock.
Scenery
The scenery base of my Sierra RR in Japan is made of hardshell supported by a weave of corrugated cardboard. Plaster is poured into a rock mold to form the rock, which is then glued in place. Real rocks are also placed in some areas. Casting powder is used for ground cover. Fine-grit sandpaper is glued down and painted to model asphalt.
When I was foresting the layout, model trees were selling in Japan for about 3,000 yen apiece (about $10 at the time). I built some of my own from a kit I got from tree artist Pete Vassler, who bought them when he went to a logging convention in Washington state. The instructions said it was made with an air filter, so I asked my sister-in-law, who lives in the United States, to send me a household filter.
The result didn’t look right, so I asked my friend Joe for help. He found out the kits were made from industrial air filters, so he sent me some, from which I was able to make several nice trees. I still have some filters left over.
I also used about four failed Japanese bonsai trees on the layout.
Structures
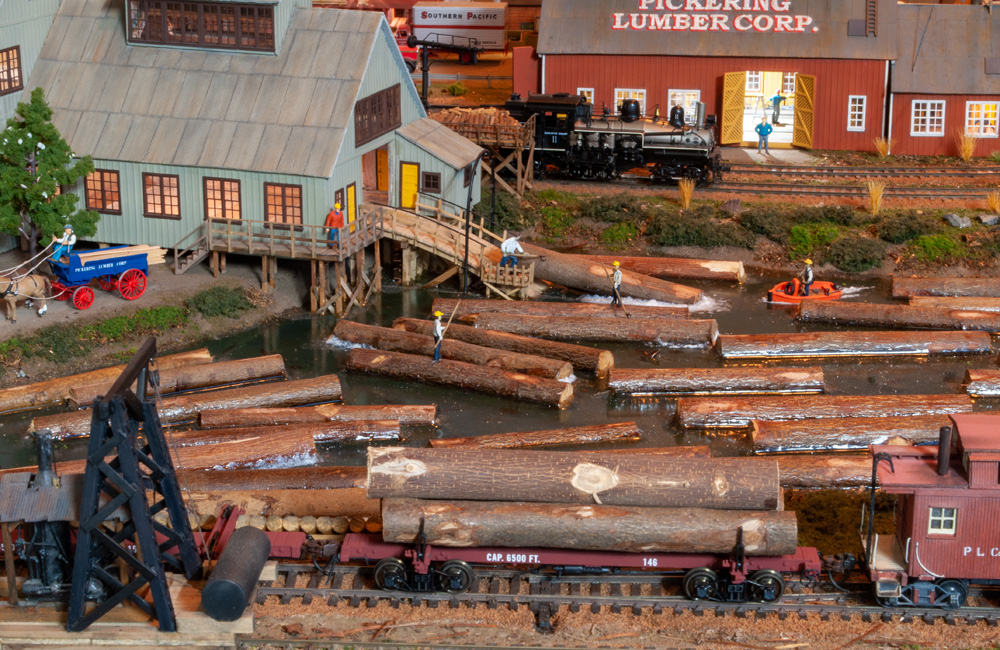
The sawmill and engine house were purchased when we went to an NMRA convention. The kit required gluing the interior and exterior walls together, but at the time, there was no glue available in Japan to do that. I had no choice but to work on other parts of the layout until a suitable adhesive became available in Japan. I bought the glue and a lot of clamps to hold the walls while it cured.
However, the device for hoisting the logs from the mill pond was different from the prototype mill I was modeling. Therefore, I scratchbuilt the log hoist to match the prototype, based on photos in books on West Side Lumber Co. and Pickering Lumber.
The roundhouse, engine shop, car repair shop, engine shed, and Pickering Woodwork are also scratchbuilt.
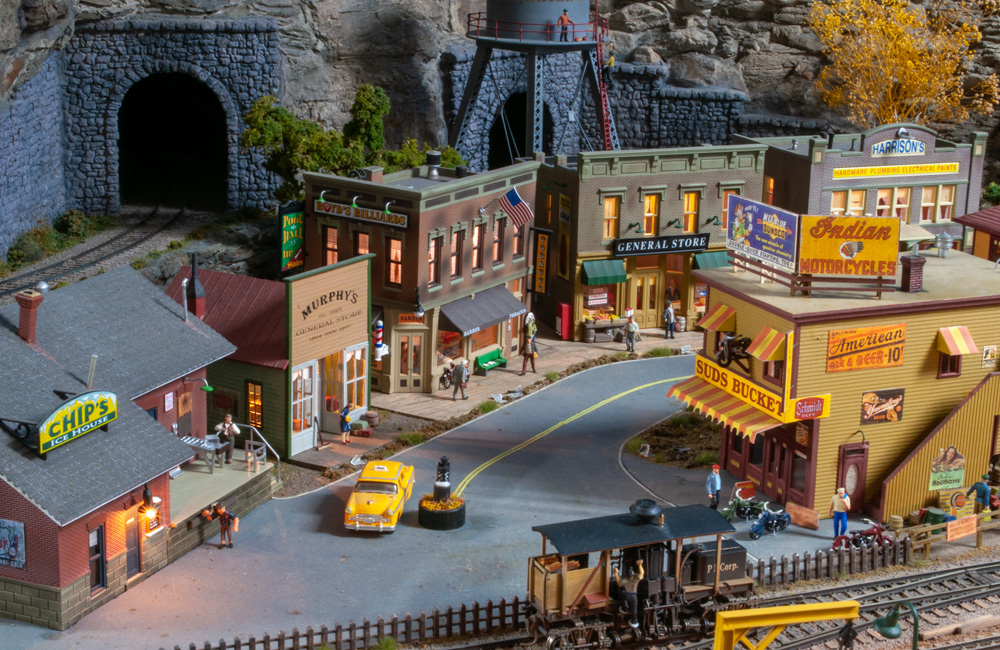
All the buildings on my Sierra RR in Japan are lit by light-emitting diode lights. Some areas are also equipped with sound modules. You can hear cows on a farm and the sound of logs being cut in the lumber mill.
I also added a turntable to my layout. I recommend that anyone who makes layouts include a turntable. This is because you can fully enjoy switching locomotives by using the turntable.
Closing thoughts
We have rebuilt our house, and now I have to move the layout to a new 24 x 31-foot room. We are currently moving 116 steam and diesel locomotives and 164 freight and passenger cars. They are packed in cardboard boxes.
I am cutting the layout into sections to be moved. I have two saws specifically for rail cutting. We got a truck with a crane to move the layout. I’m planning to raise the height between 4 and 6 inches in the new location.
My son-in-law, Hideyuki, will fully support me in the upcoming move. He has helped me with the construction of layouts in the past. I also thank him for driving a 5” gauge Santa Fe diesel in the yard for neighborhood children while wearing the engineer’s overalls and hat that I bought in the United States.
Shozo Furuhashi, a fellow Japanese modeler whose layout was featured in Great Model Railroads 1993, is a friend of mine. I used to visit him every month and have lunch with him while viewing his layouts. Once a year, he would visit Tokyo and stay at my house for two days or so. It was an enjoyable time.
Mr. Furuhashi’s was the only Japanese layout to be featured in Great Model Railroads. He won the locomotive category of the logging convention in Washington state twice. Thanks to him, I got to know Mr. Kenichi Matsumoto, who in my opinion built the best layout in Japan, and Mr. Minari from United.
I am also grateful to my sister-in-law, Misako Kawaguchi, who lives in New Jersey, for translating my writings into English and for sending me modeling materials not available in Japan.
Layout at a glance
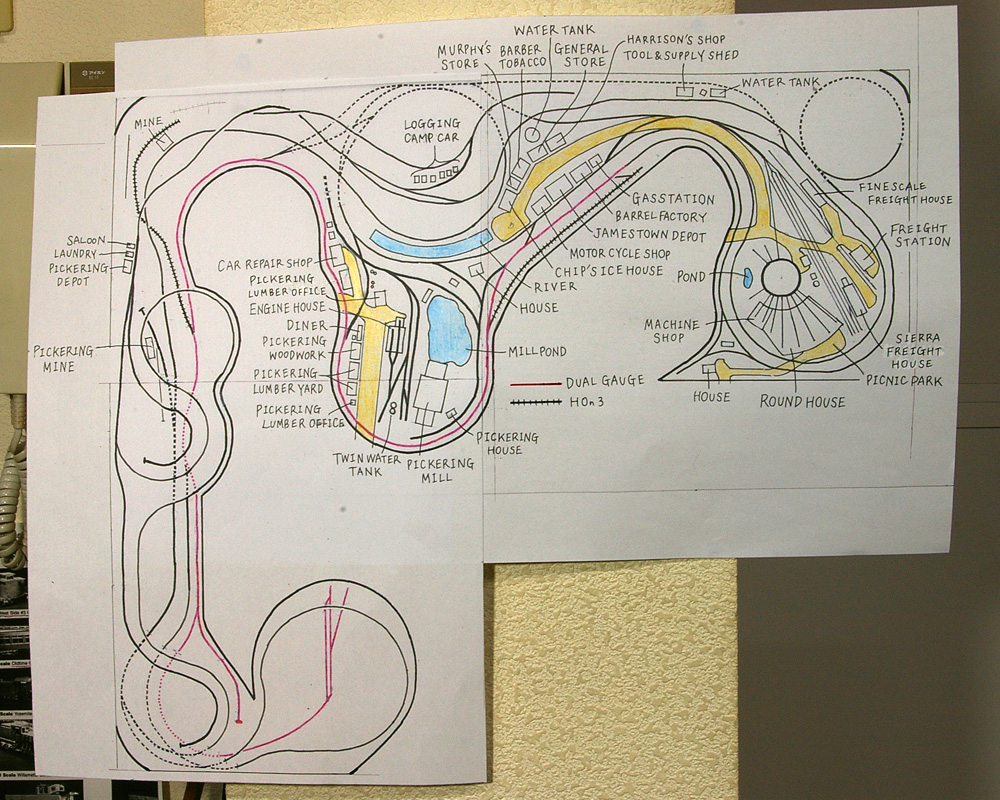
Name: Pickering & Sierra RR
Scale: HO (1:87.1), HOn3 (HO scale, 3-foot narrow gauge), HOn2-1/2 (dummy tracks)
Size: 20'-7" x 23'-3"
Prototype: Pickering Lumber Co., Sierra RR
Locale: California’s Sierra Nevadas
Era: 1920s-1940s
Style: walk-in
Mainline run: 220 feet
Minimum radius: 17" (logging)
Minimum turnout: no.4
Maximum grade: 4%
Benchwork: open grid
Height: 36" to 57"
Roadbed: plywood and Homasote
Track: Shinohara code 83 (Sierra), code 70 (Pickering Lumber and dual gauge)
Scenery: plaster hardshell with plaster rocks
Backdrop: Backdrop warehouse, photo & painted
Control: twin DC cabs and Digitrax DCC
Meet Toyoji Sekine
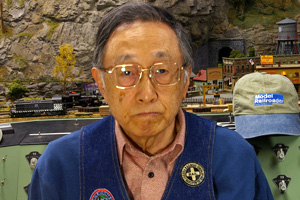
Toyoji Sekine lives in Tokyo with his four children and fourteen grandchildren. The grandchildren enjoy pushing the button to blow the train whistle and riding on the 5” gauge Santa Fe diesel set up in the yard. Toyoji started reading Model Railroader magazines in the 1960s. In addition to modeling the Sierra RR in Japan, he also enjoys driving his two-seater sportscar.


