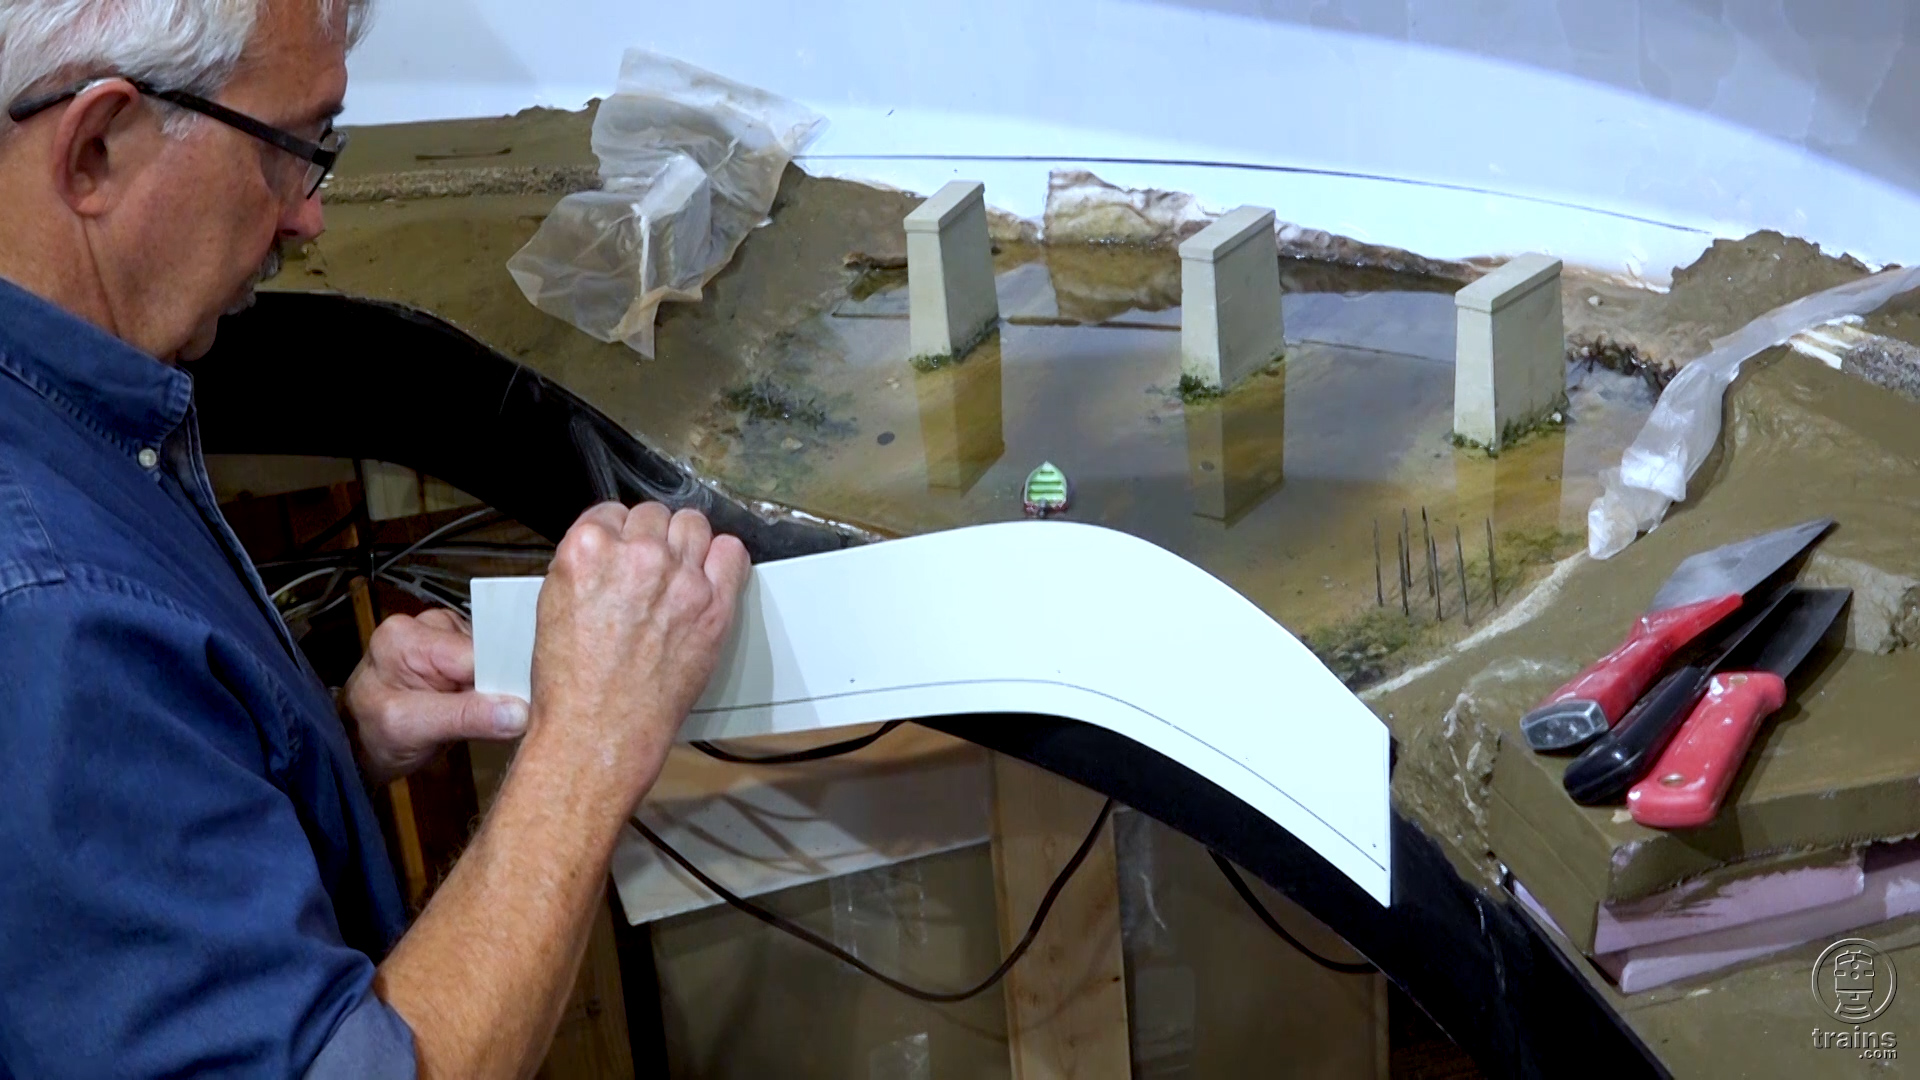
As the world and Gerry’s helix continues to turn, he deals with its ups and downs. See how he works to avoid wavering levels on each turn of the helix. And you won’t want to miss the first running train on the new layout.
Back on Track: Finishing the helix, Episode 6
Using the level/digital angle app on your phone would give an absolute constant grade without eyeball errors reading a bubble level?
Went back to view again some of the steps involved in building your new layout. Didn’t realize that the oldest comments are at the top of the page when MRVP they were at the bottom of the page now with Trains.com. Have to reset my mind now. Kind of wish I had put a helix on mine, but I wanted to show the struggle little engines encountered climbing mountain grades on my layout. Wish the engines I had purchased especially for that purpose would have worked. Bachmann 3 truck climax wouldn’t pull 2 cars on level track.
I just have one question about the Helix that I know you have moved beyond currently but did you solder the rail joints and id you did did you do allof them or every so often for expansion reasons
Gerry, I like to spike my track down too. I always have. I’ve been able to re-purpose more than 90% of the track from my previous layout by spiking. It is very easy to make changes in my layout trackage also.
Absolutely right, Steve. A lot of the track on the BV 5 was on the BV 4. Plus, the spikes let the track and subroadbed expand and contract better than gluing it down!
Its July, any more in this series??
Keep your eyes peeled this week!
Very helpful helix episodes; thank you. In a comment on episode 5, I mentioned the first level riser fiddling you had to do, along with a suggestion to perhaps help others. Since you “confessed” another gotcha; adding supports through to the return loop. Here’s another suggestion, you might also want to look at the supports between your return loop and the L-girder framing. It seems you might have the same sagging concern in that return loop as well.
Thanks for all the help. Now on to episode 7
Your answer #17 was a light bulb going off. I am still planning my helix as I wait for installers to put in my new floor. Not a move as you have done but a large remodel. Now I know how to attach the helix to the lower level. I have a slightly different way to start the helix using lag bolts. They come in 1/2 inch increments. I plan to drill 1/4 inch holes threw the plywood roadbed and plywood base. Then from the top down: bolt, plywood, washer, nut, nut, washer, plywood base, washer, and nut. The slope can be adjusted with the bottom nuts. After the first loop then spacer blocks would be used as you did. I am also thinking off using copper tape vertically up some risers. Very short wires would attach to the track levels. Bus wires would attach to the tapes. Do you see merit or flaws in my ideas? I haven’t spent money on this yet.
Donald — I see LOTS of merit in your idea. Very clever solution with the lag bolts. The ONLY potential problem I see is the fact that you’ve got to have benchwork directly under most of the helix. Helix is circular, benchwork is square, so there may be a bunch of areas that don’t get the support of the lag bolts and could sag, depending on how thick your plywood subroadbed is. As for the copper foil, two things: first I think the foil is more expensive per foot than wire so it may be cheaper to just use wire. Second, I wonder what AWG gauge the foil would be considered to be. It may be the equivalent of 26 or 28 gauge wire, which you wouldn’t want for bus wiring. Be aware: copper is at an all-time high. I just bought two spools of 12 ga stranded wire at a big box store for (get this) $40 EACH. That’s 40 cents per foot!
I’m guessing that based upon your spacer heights we won’t be seeing any double-stacks on your layout 🙂 Great series Gerry, enjoyed your frankness and humor.
Ron — I will…eventually. The next episode, Episode 7, has a piece about how I joined the lower deck to the helix. I actually won’t go into how I join the upper deck into the helix for quite a few episodes — there’s lots to do before I get to that point! Joining the lower deck to the helix was fairly simple. The helix is 1/2” plywood, and the lower deck is 3/4” plywood + 1/4” cork roadbed. So it was easy to add a small 1/2” piece of plywood below the helix subroadbed, and then join that to the lower deck subroadbed with a “splicing plate” (piece of 7” or 8” wide plywood) that spanned both sides.
Great Show Gerry I like what you are doing with the new series. I enjoyed your last series (off the Rails) as well I am curious how you plan to hook your lower and upper loops into the helix and are you planning to show how this is done. I am thinking on using a helix in my new layout and I am curious about how this can be done because I am also in the very newbie category as well. thank you for all your help
Michael — the entrance to the helix is behind me, to the left of the screen. You’ll see more about it in Episode 7. 3rd PlanIt software gave me all the elevations I needed, like the elevation of the mainline at the point where it joins the helix, the elevation at the end of the helix where the upper deck mainline joins it, etc. So based on what the program told me, I was able to build the helix exactly to those elevations before any mainline track was ever laid!
Gerry: Watched you have fun building the helix and am wondering how / where you will have the incoming track connect. It appears to be behind you and now has a lot of stuff possibly in the right o’ way. And wouldn’t the point of attachment to the lower level of the RR have a bearing on the start of the helix? Side note: Tony K’s book on Double-Deck RR’s came out about a month AFTER I finished my own RR. Ironic timing.
Thanks Gerry, I only use Track Tacks with a little white glue on each tack just in case it try’s to work back up.
Are you going to talk about how you installed the bus wires and feeder wires? I’m about there with my helix and would appreciate tips.
I don’t glue my track down either. Ultimately, the ballasting will glue it down. In the meantime, I use #17 steel satin pins to tie down the track. They are skinny, and they are longer than typical spikes, so they go down into the subroadbed. Works fine.
Gerry
Great video and same for the series.
I’ve been told you never fully learn until you make mistakes and have to correct your own mistake.
Jerry: Your dads level is really an “inclinometer”. I collect antique levels including inclinometers. Most of these special levels have a movable vile that can be set by a rise per foot scale built into the level. Checkout antique inclinometers online. The advantage is that the surface of the level will be against the roadbed for the entire length of the level. Great job on the videos!
Love this new series. I like the idea of showing and discussing the mistakes and how to correct them. We all have do-overs. Always entertaining, and helpful.
– Steve Moore
Did consider using pocket screw jig and screws when putting in the risers. I have used pocket hole screws on my layout. Sure makes easier when you make a mistake.
Super video series! I appreciate that you included the adjustments that you have made to remedy support and grade issues. I get to learn from your mistakes. Now i’m free to make my own. I too was motivated to subscribe to the new site from following you on your journey of building B.V. #5. Also, thanks for the tip on the small spikes. I’ll put that to use soon.
Really enjoying this series Gerry. I was shocked and dismayed to see the BV4 dismantled, but very happy to see a ground up build. I really liked the discussion and design choices to have a mainline grade and a helix in earlier episodes, it gave me a lot to think about. As an aside, I also enjoyed your article from way back about deciding to earn the MMR – I asked my father if he would be doing it as well because I wanted to learn from his experience (he is retired and I am not) and he said “too much work” – I guess I will just jump in and go after it, which is what I really took from your article. Thanks for the videos and please keep it up!
Arnold — Welcome to Trains.com! Glad I helped you decide to join. (Do me a favor: ask David Popp to give me a raise… 🙂 ) I didn’t talk about vertical easements mostly because the entire railroad is on a 0.45% grade — both decks. So the only times I transition vertically is when the train leaves the lower return loop and when it enters the upper return loop (goes from 0.45% to 0% or vice versa), and when the train enters and leaves the helix. And in that case I just let the plywood flex a tiny bit to compensate. Model railroaders whose layouts have lots of internal grades (e.g. a mountain railroad which goes from 1% to 3% to 2%, etc.) have to deal with vertical easements a lot. I’ve never built one of those, so that’s out of my universe of knowledge!
A great series, and I’m happy to see you back on track. In fact your switch from “Off the rails” in MRVP to “Back on Track” in Trains Unlimited induced me to join. I noticed that you didn’t address another aspect of 3rd Planit addressing vertical easements in entering and leaving a grade. Some authors make a big deal about this in terms of smooth running and consistent coupling. Have you prior experience with grade change, vertical easements, and coupling/uncoupling. Some folks recommend not changing more than 0.5% grade per car length, which can be a foot if running passenger cars? Thoughts? Thanks, and keep up the fantastic presentations.
Ned Wagner
Donald — Interesting technique! Next layout, next helix I’ll have to try that! I actually talked about the benchwork (yes, L-girder) in Episode 5.
Andrew — I could have used the 2x2s, but I wasn’t fond of the fact that the 2x2s flex a little bit and I thought that perhaps the weight of the four turns would cause the 2x2s to permanently warp.
You have 2x2s upright. Could you have used those as your inner attachment points versus the many riser blocks? Not sure if it is as efficient, I might be trying that to give easier access in case of derailments. Just some options.
Great video’s A way to get the first loop uniform would be to place the riser blocks in place at 12 inch intervals without gluing. Then start at the bottom with the level and slide the spacers down or up as needed to make things uniform. If they were cut fairly accurate they might slide only a fraction of an inch from the original 12 inches. Mark the location and add glue and screws. If you use slow setting glue you may be able to add the glue first ONE AT A TIME as you go. I wish you would have talked a little about the benchwork, L girder?