Videos & Photos Videos Layouts Project Layouts Building Model Railroader’s Winter Hill Quarry branch, part 5

Building Model Railroader’s Winter Hill Quarry branch, part 5

By Angela Cotey | January 19, 2013

| Last updated on November 23, 2020

Installing feeder wires on the Model Railroader staff's project model train layout

Email Newsletter

Get the newest photos, videos, stories, and more from Trains.com brands. Sign-up for email today!

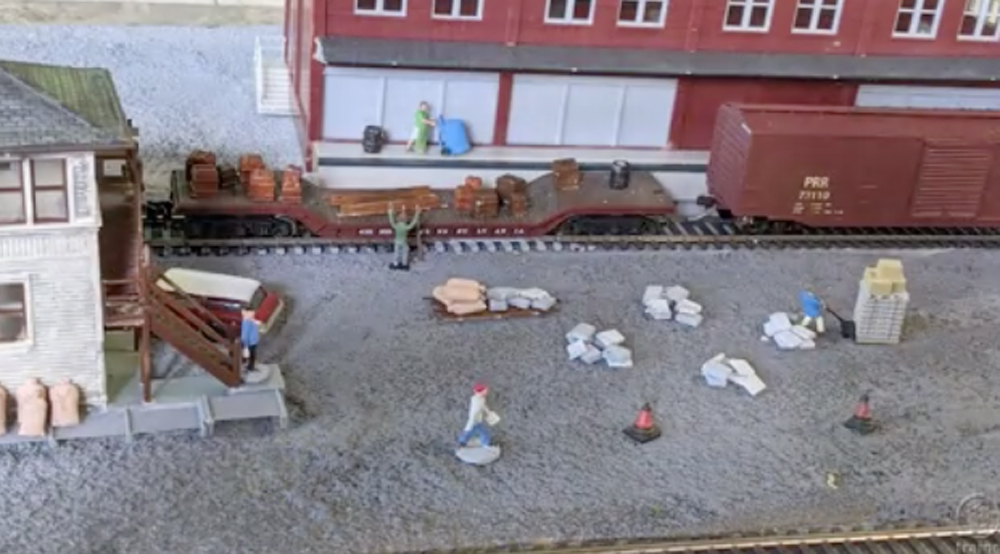
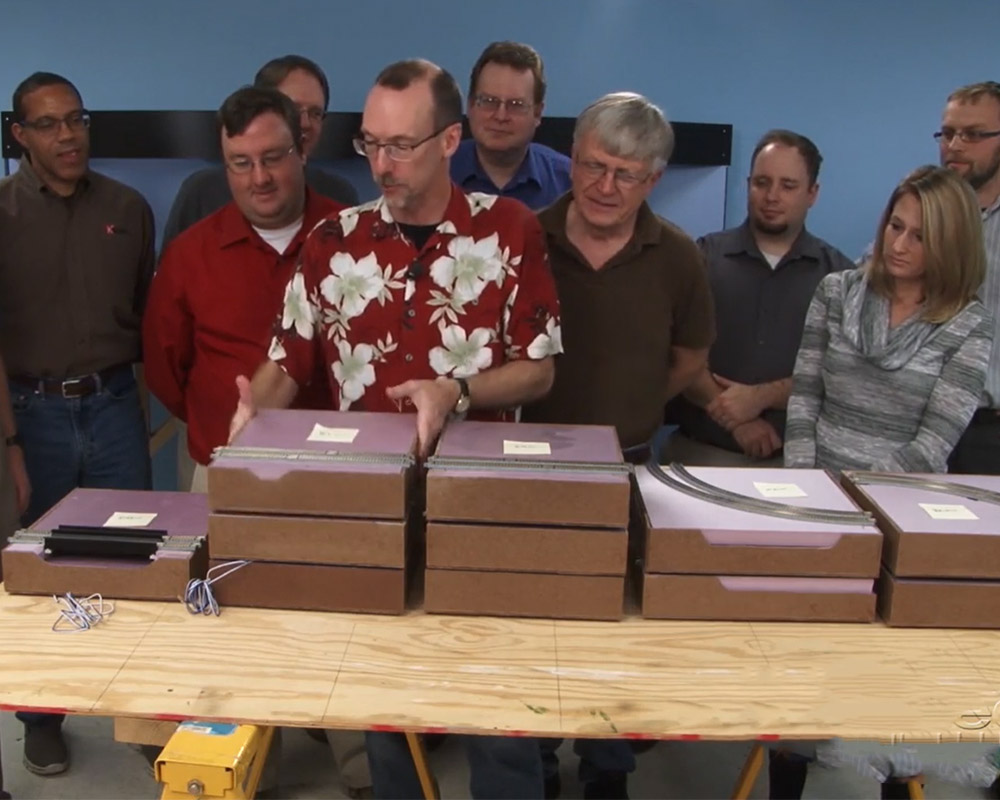
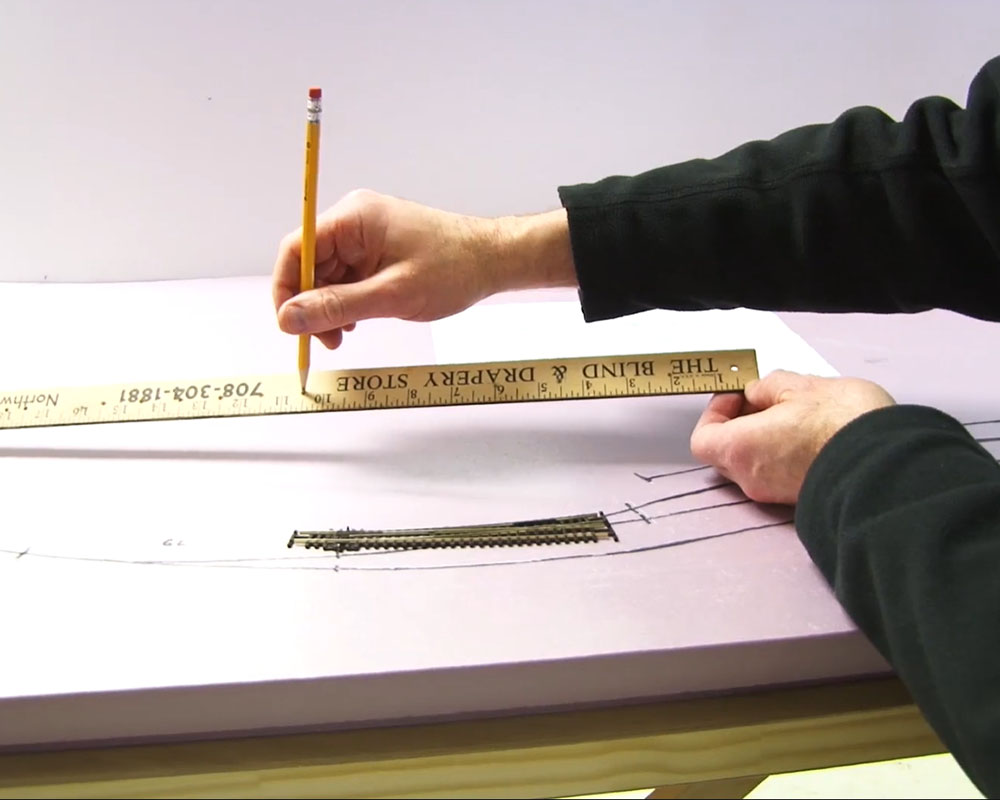
Wiring work begins on the HO scale Winter Hill Quarry Branch, but luckily the Model Railroader staff can reuse much of the old wiring from the Milwaukee, Racine & Troy. Associate editor Cody Grivno shows you how to solder feeder wires to the track, while associate editor Steve Otte describes the benefits of using Peco Insulfrog turnouts. You can also watch as a switcher makes the first test run along the model railroad.

25 thoughts on “Building Model Railroader’s Winter Hill Quarry branch, part 5

  1. Hi guys- That was great, but for someone who is new to this, who would be looking at these videos for instruction, you didn't tell us what you connected the wires to underneath…. Minor detail. You also didn't tell us if you wired all these tracks to the same power, or if some of the sidings had switches to make them dead. Also, you didn't show a close up when you soldered the feeder to the rail. I know you have done this elsewhere but it would have taken you 5 seconds to show it here rather than asking us to search for the video where you did focus on it. This one I'll give you a C. Thanks again!

  2. no need to start from scratch on the DCC bus Andy left it right where you can get to it all that is needed is feeders

  3. Cody, it's easier to strip the wires if you turn the wire stripper around. Modelers, make sure you have some air movement to avoid inhaling fumes from the flux – it's not healthy. For my N Scale trackwork, I solder feeder wires to the bottom of the rail joiners before assembling the trackwork. You never see them and it makes it easier for every section of flex track to have the benefit of four feeders!

  4. Roy Kelleway-Vernon, B.C., Canada
    I would suggest two things when installing feeder wires to flex track.
    It is easier to strip the track end of the feeder wire, and then feed it through the hole drilled next to the rail.
    Then make the 90 degree bend on the stripped feeder wire to prevent it from falling down the hole next to the rail.
    Also, I would suggest using two 1" long Allegator clips on the rail, on either side of the rail feeder wire location, to act as heat sinks to prevent melting the plastic ties.

  5. I really like your video updates on the various MR projects. They offer great insights on how to build a model railroad

    But I'm wondering if it might be possible to provide an expanded explanation on how you connected the Bus leads to the feeders. It seem there has to be intermediate connections from the 14 gauge to the 18 gauge to the 22 gauge. And I'm not aware of 3M connectors that can cross the gauges mentioned here.

    Might be an interesting article in itself.

  6. Hi there from Switzerland, I just solder feeder wires to all rail joints prior to installing track. I prepare a bundle of each color on the workbench. This method also worked fine on my N-scale layout DENVER North Yard while converting to DCC.

  7. Hi: My background in Airforce electronics tells me that a bit of rubbing alcohol on a stiff brush might be needed to clean the area where the feeder wire is to be soldered and then when the soldering job is done, to remove the remaining flux. This leaves a clean non-sticky joint. 70% rubbing alcohol will normally work fine and will not attack the plastic ties.

    Be aware, if we had already weathered the ties with a water based acrylic, the alcohol will likely remove more paint than just in the small area that we intended to be cleaned and soldered!!!

    If we follow Cody's order of things, and don't paint our ties/track until some time after the feeders are soldered, we won't have these kinds of problems.

    But with model railroading, as in other areas of life, the order of things are very important.

  8. If you have a question go to "our magazine". Click on contact us. You will see a heading that says "Contact the magazine" Click on " submit a question for our information desk". Give them your name and your question. Be patient there are a lot of us and it will take a couple three days to get your answer. But somebody on the staff will give you an answer. About a month ago I had a track laying question. Three days later I got a email from Jim Hediger with the answer to my question.

  9. Very nice video presentation of the proper way to solder.
    As to soldering iron wattage, 35 watts with a pencil tip is more than sufficient. As the first three rules of soldering are: 1) Clean, 2) Clean and 3) Clean — always use a non-acid flux made for soldering electrical connections. Acid flux WILL later rain on your parade. Heat sinks, metal objects laid across the rails on each side of the soldering location will help save those plastic ties; I use flat car weights, commercial heat sinks (metal spring clips), large nuts, pliers –whatever is handy to dispate the heat beyond the joint. While stranded conductor wire is better (and more expensive) than solid conductor, either will perform equally well for the short run track leads.

  10. Love these little video hints on "how-to". I even try some of them out just to learn along with the videos. Now one day you might address the use of Kato Uni-Track and wiring without using Kato switch controls, etc. Ah some day……….

  11. It is important to also clean the flux from the rail after the feeders are soldered. All flux, even rosin, is somewhat acidic and could cause corrosion problems over time. Besides, you don't want the residual flux to get onto the wheels!

    I use denatured alcohol and a nylon brush to scrub the solder joint and clean off all flux residue. You could also use commercial flux cleaner (available from Jameco, Mouser, etc), however, it may attack plastic ties.

  12. I would not rely solely on soldered rail joints to carry electricity forever. I found that expansion and contraction will eventually fracture the solder rail joints. I run a set of feeder wires to every piece of track.
    Solder is good for making light electrical connections like feeder wire to rail. Solder is not so good for mechanical connections like soldering rails and rail joiners.

  13. My thoughts are the same the other readers, I would like to know where to find the answer to the questions asked, if you actual answer them, individually, or if there is no feed back?.

  14. I would suggest a 30 – 40 watt iron and don't forget to clean the track sides and use a liquid flux. The finished joint should shine and be bright. I like to use a small chisel point solder iron tip (1/16 – 1/8")

  15. How do you determine the spacing between feeders? Can stranded wire be used as well, if you already have it on hand? Is there any reason not to solder the feeders to the main buss wire rather than use special connectors?

  16. When I drill the holes for the feeder wires, I use a 6" or 12" drill bit, keeps from any possibility of hitting the rail.
    When soldering anything with plastic ties, I always use a heat sink on either side of the solder. Made heat sinks by fastening (little screws) a short strip of aluminum to the sides of a spring type clothes pin.
    I had problems with insulated frogs, my 0-4-0T engine would often stall on the insulated space.
    Nice layout guys, keep up the great work!

  17. Believe it or not, I use a gun on my N-scale code 55 rail for feeders. Used a low wattage iron and, because of the low wattage, melted a lot of ties. With the gun, cleaned rail, flux and .035 inch solder, it's quick (just a tap) and almost invisible.

  18. Cody did not mention which flange web (inside or outside of the rail) was the attachment point for the feeder wire. Probably outside of the flange to avoid possible truck interference, right?

  19. Others might disagree, but I would say you should use a minimum twenty watt and maximum forty watt iron for soldering feeders to track. Anything less then twenty watts and you'll start melting ties before the rail gets hot enough to melt the solder. More then forty watts and the rail gets too hot too fast and you start melting ties. I'm right in the middle. I use a thirty watt iron.

You must login to submit a comment