Videos & Photos Videos Series Step By Step Video Step by Step: Build a plastic structure kit – part 2

Video Step by Step: Build a plastic structure kit – part 2

By Angela Cotey | December 20, 2013

| Last updated on January 22, 2021


Email Newsletter

Get the newest photos, videos, stories, and more from Trains.com brands. Sign-up for email today!

Having trouble viewing this video?   Please visit our Video FAQ page
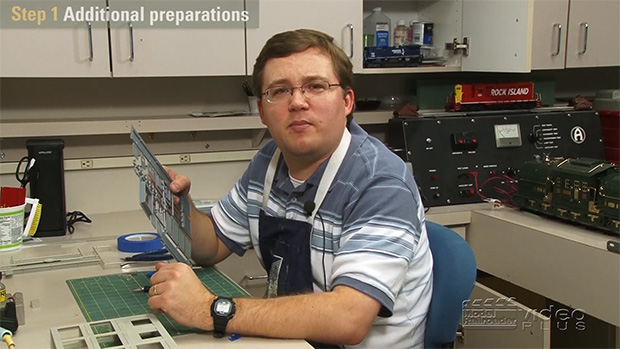
In this installment of Video Step by Step, Cody Grivno shows you how to assemble a Walthers HO scale ranch tract house kit. In part 2 of 2, he covers adding windows & doors, window panes, window dressing, and other finishing details.

4 thoughts on “Video Step by Step: Build a plastic structure kit – part 2

  1. Cody,
    I have been using the same white glue you're using for the windows to hold the window treatments for years and they have never come loose with changes in humidity or temperature.

  2. I put in a maple hard-wood floor, which I had painted Floquil Rust, then satin clear. I used Woodland Scenics white tacky glue to mount the curtain halves to each side of each window. This restored the see-in feature. Furniture from Preiser and some figures helped. I also opened the "kitchen" door about 30 degrees, added a housewife inside, and a neighbor on the step. I still need to create kitchen cabinets, and a stove and fridge, which would indicate Much Work going on inside. .020" styrene will be used to make the inside walls flush with the Windows. Downloaded pictures from the 'Net will add some eye candy. I'm leaving the roof unattached so that I can continue the inner detailing, and look at it when it finally is called "Done."

  3. Overall decent 2 part video. I was surprised that scotch tape was selected to fasten the curtain detail in over glue. Tape won't last with most changes of environment/temperature experienced over time in most layout rooms.

You must login to submit a comment