Videos & Photos Videos Layouts Project Railroads Thin Branch Series: How to soldering rail joints

Thin Branch Series: How to soldering rail joints

By Angela Cotey | March 19, 2013

| Last updated on November 30, 2020


Email Newsletter

Get the newest photos, videos, stories, and more from Trains.com brands. Sign-up for email today!

Having trouble viewing this video?   Please visit our Video FAQ page

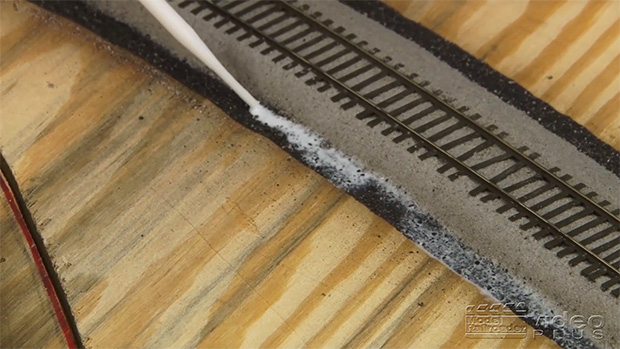
Metal rail joiners are a poor conductor of electricity. As shown in this video, soldering the rail joints improves electrical conductivity and provides more reliable locomotive operation.

8 thoughts on “Thin Branch Series: How to soldering rail joints

  1. I have some “Solder-it” silver bearing solder paste that can be used with
    a butane hobby torch. Are they, (the torch and paste), ok for track and wiring soldering on a layout?

  2. Using a hobby knife will remove the projections above the surface of replacement ties just fine. However, because the rail joiner extends BELOW the rail level, it is often difficult to slide full-height replacement ties underneath without creating a lump. That's probably why sectional track doesn't have ties beneath the rail joiners in the first place.

    I keep a piece of coarse sandpaper handy, and use that to thin the entire thickness of the replacement ties. It doesn't matter if you sand off the top or the bottom of the replacement ties, it works just as well.

  3. Caution! Sometimes you can induce a vertical curve into your track if you're not careful when you solder the rail joiners. Same is true when you shove in the filler ties where the joints are. I know you alluded to that but it can't be over stressed. Vertical curves are as much a problem as miss-aligned joints.

You must login to submit a comment