Videos & Photos Videos Layouts Project Railroads Thin Branch Series: Foam scenery part 2 – making hills

Thin Branch Series: Foam scenery part 2 – making hills

By Angela Cotey | October 19, 2013

| Last updated on November 30, 2020


Email Newsletter

Get the newest photos, videos, stories, and more from Trains.com brands. Sign-up for email today!

Having trouble viewing this video?   Please visit our Video FAQ page

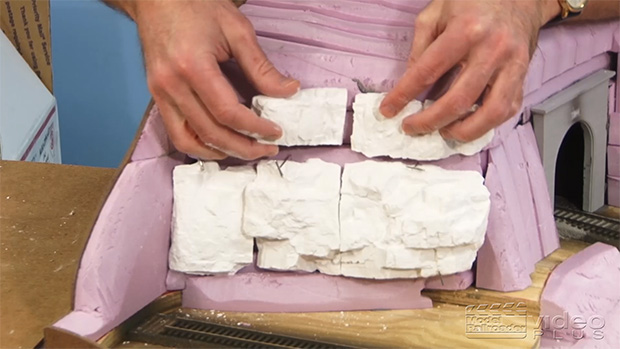
In our second foam scenery installment, David shows how he built a variety of hills by stacking strips of foam insulation board. He also covers some basic shaping and finishing techniques in this video.

9 thoughts on “Thin Branch Series: Foam scenery part 2 – making hills

  1. David has a nice professional presentation mixed with a very friendly demeanor and explains what he is doing very precisely…great for beginners and experts to learn new techniques. Wood glue and white glue also work very well with foam.

  2. Do you think it would be possible for the Related Videos to show at least the next video in the sequence? Just watched Building a Bridge #1 and had to search all over the place to find #2 in the series.

  3. So timely David!
    I've never used this technique before, but I just had the opportunity to try it for the first time on a project for our 3 rail O Scale modular layout. Your video really helped. There's nothing like a step-by-step "how to" for doing things you've never done before.
    Come on by the layout at Trainfest and check out the new scene. We're the Independent HiRailers over in the SW corner by the dealer area.

  4. Seeing how David is attempting to remove his fingers/maim himself at every turn, I was wondering what M. R. thought of, and or, would do a review on "hot" foam cutting tools (particularly the Micro-Mark "Hot knife")
    I know adequate ventilation is a must (just like with paints) But it seems to me such a tool would be far safer and a tad simpler to use?

  5. Very nice companion piece to the tunnel episode. If you are willing to make a heck of a mess and need to remove quite a bit of material, a wood rasp can be used or even a wire wheek in a drill (a method used in fabricating fiberglass molds). These will create a LOT of foam bits, but can be helpful for those of us who need rounded contours versus "mountains".

  6. Nicely done!! Gathering up the courage to create my own pink mountain range. Many thanks for the instructions.

  7. David, please stop cutting toward you unprotected hand. This method works great but it easy for the knife to slip or break through the foam.

You must login to submit a comment