Videos & Photos Videos Layouts Project Layouts Building Model Railroader’s HO scale Virginian Ry. part 5

Building Model Railroader’s HO scale Virginian Ry. part 5

By Angela Cotey | January 19, 2012

| Last updated on November 23, 2020


Moving the benchwork to the Model Railroader workshop

Email Newsletter

Get the newest photos, videos, stories, and more from Trains.com brands. Sign-up for email today!

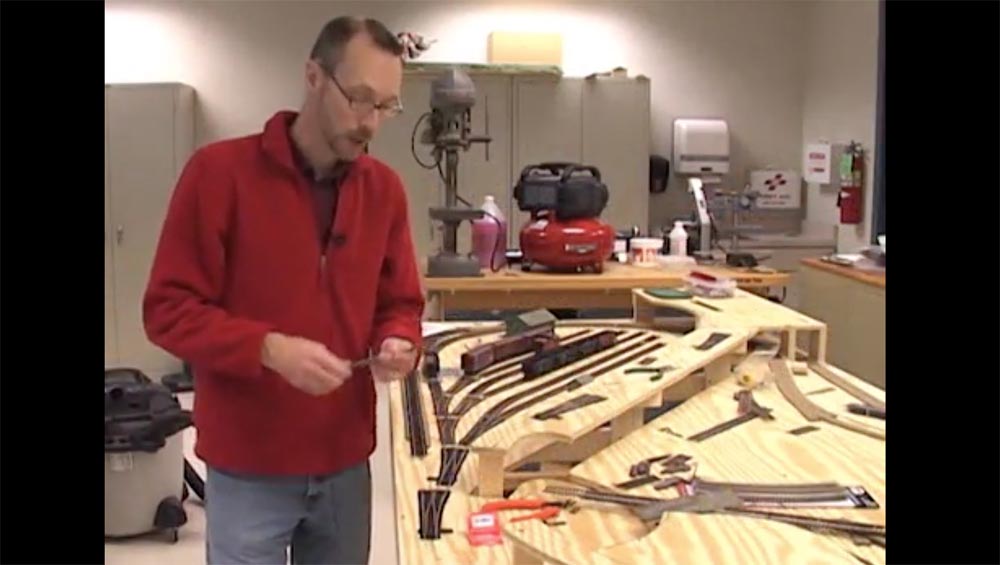
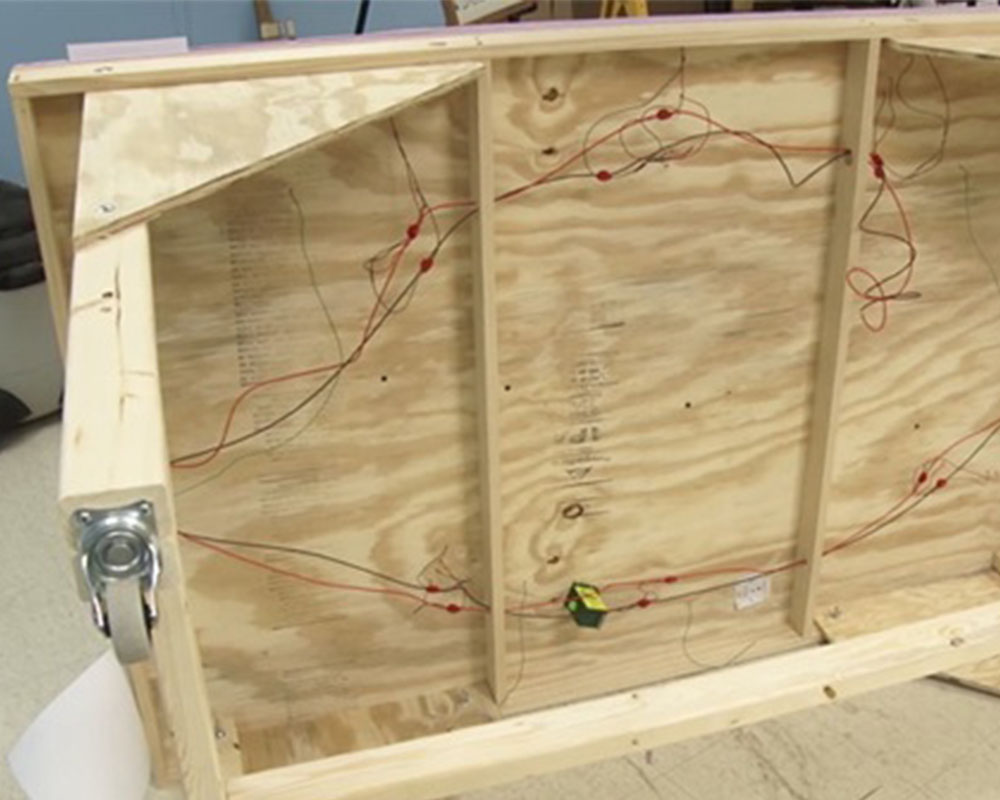
Model Railroader managing editor David Popp has installed the risers and benchwork top. As winter sets in, he’s ready to move the model train layout from his garage to the Model Railroader offices.

25 thoughts on “Building Model Railroader’s HO scale Virginian Ry. part 5

  1. Would have loved to have seen how you went about figuring out the height of the risers and how you mounted them instead of seeing the finished section. Otherwise, very informative video.

  2. Glad to watch this video. I mounted my 4×8 on 30×48 table with foldable legs Then set table on removable caster brackets that I made in shop. GLAD I did .Because I THOUGHT wow how would I move this thing. Great work new van who would have thought that far ahead.

  3. Very nice David. You show the side of layout building that those of us that do it a couple of time don't think of. I hope though the next layout MR build you show exactly how risers are constructed. Thanks.

  4. Very informative for a newbie. Do all elevations have to be constructed from wood or will purchased elevation kits suffice with a combination of foam? I am aprehensive about cutting out plywood when I am uncertain about the layout.

  5. I have to agree with the coment made by Steve
    Time should have been spent showing how you attach the risers and to where, Wouldn't you lay all the cork and track through the tunnel(s) first, before putting on the Green Hill section above it? Otherwise, how would you get your hands in there to lay track?
    I think more time and effort a should have been used to show how exactly you built and attached the "swing down" section where the station is. Also more time showing the "metal pins and connectors" you use to attach the staging yard for example, which the bench work diagram does not show. Finally, more should have been explained about the "fold up" on the staging section.
    I really like the idea and would like to use it for my own layout
    thanks and keep up the great progress

  6. Thanks David for the clarification on the risers as well. Are you hopefully in another video or issue going to describe in detail the "metal pins and connectors" that connect the staging yard and extra module?

  7. Another good video installment. The idea of the layout on casters is something I will have to think about. I have a more-or-less permanent display layout, but the club has to store some other items in the building. Using the casters may be what I need to allow the room to "multi-task". That's what I like about these videos – I can draw inspiration and ideas that I can adapt to my own needs. Thanks guys!

  8. Do you plan to put the videos in a packaged set? If not, how can we save them for later viewing. I am not starting my version of the layout for about 6 months & want to be sure the videos are available.
    what do any of you suggest?

  9. The video series is really neat. Now retired, I'd love to adapt the Virginian RR to Nscale. I do not have room for an 8 x 4, but an Nscale, yep,… just perfect…
    I like the track plan …. and this video series along with Model RR Mag. would be a nice template to contemplate an Nscale try.
    Keep up the good work staff……… Have been a Model RR Mag fan since '62.

  10. Hello all,

    You'll probably have figured out by now that model railroading doesn't always go as planned, and part 5 is a clear illustration that even the MR guys can blow it from time to time. (Still, in my defense, it wasn't quite fair that we'd measured the old Green company van for this project, and it was then replaced by the new White van, which was 2" shorter, but so be it – that's part of the excitement of life!)

    The fun of the Virginian video series is that these are "journals," covering what we happen to be doing on a particular day. On that day the layout didn't fit. For those of you that enjoyed the humor, (it still makes me chuckle at myself) there's more to come in the later installments.

    It appears many of you are interested in the risers for the layout. Unfortunately, I did them on a day I was sick and home from work. I did not have any of the photo or video gear with me. (You really wouldn't have wanted to see what I looked or sounded like that day anyway!) For those of you attempting to build the layout, here's the process I followed for the risers.

    First, I set the height for Rogers yard, as it is the largest area at one level. Since the elevation here is 1/2", I cut 3/4" wide strips of 1/2" plywood to use as the risers. After positioning them in the correct locations under the plywood top, I glued the strips to the top of the frame sections, and then squared up the plywood top and screwed the yard in place.

    Next, I screwed down the plywood in the few 0" elevation places around the back and sides of the layout.

    With the hill left, I started at the yard end. I cut scraps of 1 x 2 and 1 x 3 to use as risers, and I clamped them in the key elevation positions, as listed on the track plans in the magazine. A lot of this is eyeball stuff – I knew how high the second level needed to be to clear the lower tracks, so I adjusted the clamps until I was happy with the how it looked and then screwed the risers and plywood top in place.

    Much like the yard, the big mine on the Reid Gap side is also level. Since it is 1-1/2" above the 0" level, I glued 1 x 2s to the frame under this section.

    As I've mentioned in several other places, the one thing I'd do differently is have left the plywood intact at the bridge and then either attach the bridge sides to the plywood or cut the plywood out later, after all of the risers were installed.

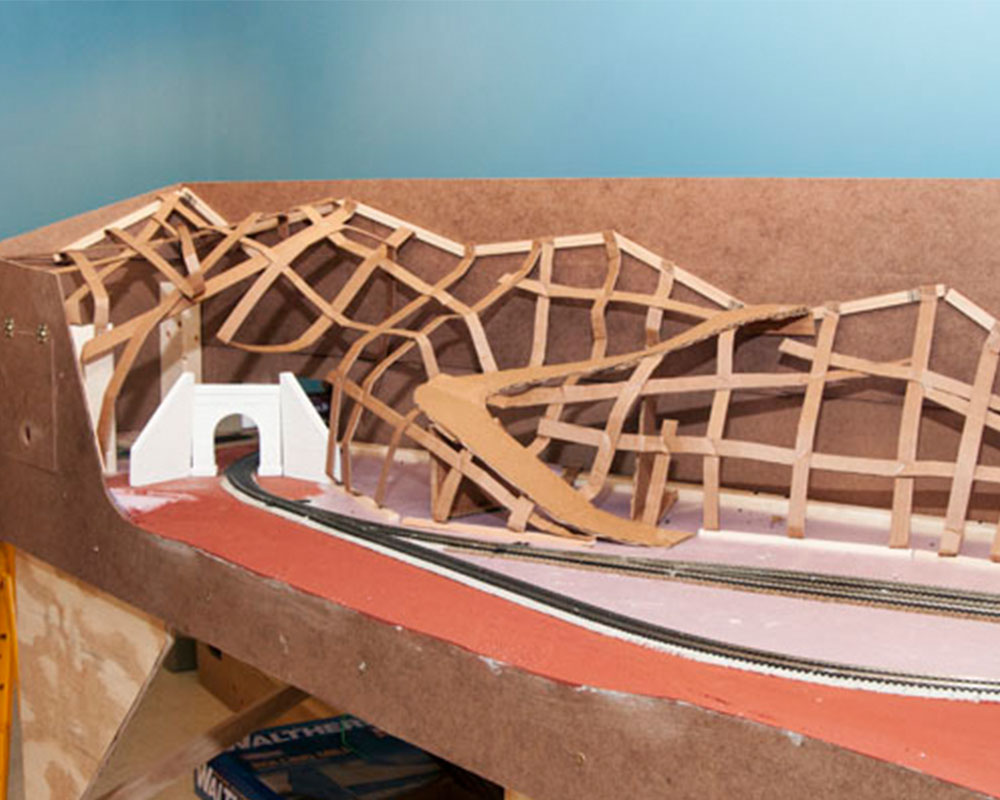
    Green Hill is built on a separate piece of plywood that is roughly 15" x 27". Like much of the layout, it was cut to fit, and it probably wouldn't go in the same way twice.

    Hopefully between this and the information in the February issue, you now have enough material to keep moving forward.

    Best wishes!

    David Popp
    Managing editor
    Model Railroader magazine

  11. If you look at the diagram in the magazine you will notice dotted lines where Green Hill covers the tracks. I would say Green Hill is 24 by 36 inches and 4 inches high.

  12. Opps, it certainly lightened up the series. Glad to see that even the best make mistakes, key is to adapt and keep going. Great series. I'll be laying out centerlines shortly.

  13. I sure hope that you will cover how you painted and weathered the inside of the coal hoppers, they look great just like they have been hauling coal for years!

  14. I also agree with the group.
    While most experienced modellers have a good grasp of gradients and the number and corresponding locations to fit risers to achieve this, if we want newer modellers to stay with the hobby and not get frustrated from things going wrong and locos not being able to climb the grade or cars uncoupling at transitions, including at least a short explanation with stills to show how it is done would be beneficial. Reminds the more experienced as well.
    When I changed from the European style loop and pin couplers to Kadees my rolling stock uncoupled at either the bottom or top of the grade. My earlier couplers were more forgiving on the transition between level and grade tracks but it took a while to work out why this was happening.
    Looks like another great series, Keep up the good work.

  15. I look forward to your videos. I have learned quite a lot that I can use for my home layout. The more detail you can add the better.

  16. "Measure twice, cut once"
    followed by – I cut three times and it's still too short!

    And David me thinks you owe your lovely wife a dinner!
    Great series gentlemen.
    Bill

  17. Like always, those videos are extremely intersting and well built (showing real life situations… 🙂

    Were did episode 4B go ? 🙂 Would have been nice to see (in video) how to install those risers… And mesure the corect % of the climb.

    Keep up the good work… Best Regards…

You must login to submit a comment