Videos & Photos Videos Layouts Project Layouts Building Model Railroader’s HO scale Virginian Ry. part 6

Building Model Railroader’s HO scale Virginian Ry. part 6

By Angela Cotey | October 19, 2012

| Last updated on November 23, 2020


Laying cork roadbed and testing track arrangements on this HO scale model railroad

Email Newsletter

Get the newest photos, videos, stories, and more from Trains.com brands. Sign-up for email today!

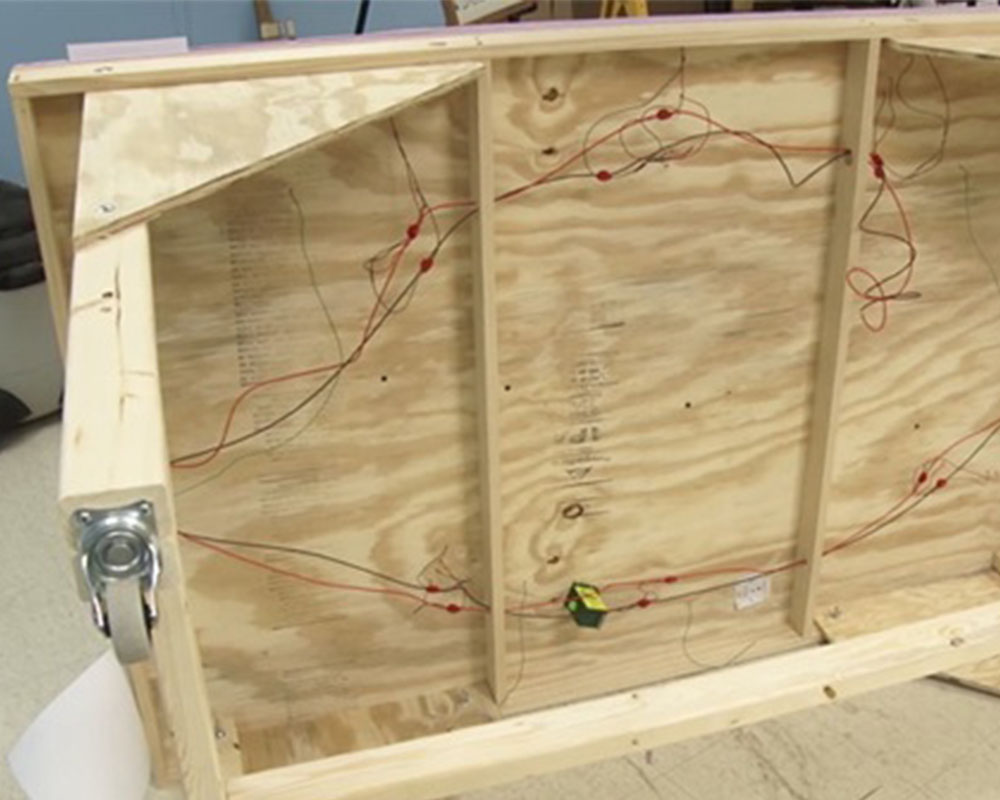
With the HO scale Virginian Ry. benchwork in the Model Railroader workshop, managing editor David Popp begins laying down track and cork roadbed. He describes some of the changes that he had to make to the track arrangement for this model train layout. You’ll also learn how David saved space on the Virginian by using Atlas Model Railroad Co. snap switches in key locations.

24 thoughts on “Building Model Railroader’s HO scale Virginian Ry. part 6

  1. The frog portion of the atlas snapswitchs, 18″radius, you used in the yard are plastic and you cannot power them according to the atlas sit. Doesnt this affect your ddc sound?

  2. I also like the video series but I see so many questions asked. Do you ever answer them ?? If you do where can we look to see your answers. This is not ment to be offensive I and many others would like to know. thanks in advance for your answer
    jeff

  3. loving the videos, but where do you put the branch line track?
    I'v been building the layout and I finally got the road bed. i'd
    like to know where to put it?

  4. David: The layout and your ideas are always welcome, and you do make it look easy.
    Thanks again

  5. good piece so far. I'm really interested in this project, as I don't have much room for a big layout. Keep up the good work, and thanks for the excellent articles .

  6. I too would like to know the track spacing distance in the yard. If you used Atlas snap swithes and cut them down you don't have any clearance for the manual track throws to function properly. You said you were going to install switch motors later and I can see why. What if we didn't and used hand throws, then how would you solve this problem with the yard ladder construction? This is my problem right now, any advice would be greatly appreciated. I am really enjoying this series, keep up the good work and thank you David.

  7. Following the Virginian Series, and would try using ideas in a more Western USA setting. I have been a MR fan for many years.

  8. Dave,
    Excellent and informative episode. What is the center spacing distance between the shortened turnouts? How far apart are your yard tracks center to center and what is the minimum you would recommend?
    Thanks, Mark

  9. David,
    Any alternatives you suggest for switches and track work, especially for the yard besides snap track and switches? Really not thrilled being a "beginner" somewhat with cutting switches and track to fit, or with working with snap switches and cutting the black side piece off and modifying the throw rods. Anyway around this "mish mash" of track as you've described it?

  10. I thought it was great info as well as great video,but want to know more about the cookie cutter methad as well as the different levels and how to's on the layout.

  11. I am enjoying and building the table following your plan for an N scale 3' x8' single level layout as my first attempt.
    Road bed and track are going to be interesting .The theme will be grain movement in Manitoba up here in Canada.Any layout sugestions would be welcomed.

  12. This is great!!!! I can see key points of each build phase in these videos. I am glad to be back online with MR. I have many MR mags collected since 1977. Thanks.

  13. David always does a great job in all of the videos. What I enjoyed earlier in the series was seeing Davids lovely wife helping with some of the project. It reminded me that model trains are a family project. My wife and I work together on some of the scenery. I really felt a connection with the Kalmbach staff. Keep up the great work.

  14. I enjoyed seeing bare track on bare plywood because in the 1940's that is where most kids stopped. Brought back memories. If you were lucky you had green grass paper or a discarded large green desk ink blotter and a few cardboard kit buildings. Some of us had a roll of track ties and loose rail and spikes. Some had milled wood roadbed with grooved ties milled into it ready for hours of staining and spiking. Our imaginations filled in the rest of the layout with invisible scenery. We were just as happy as the people in the magazines that built detailed layouts that we knew were not meant for us any more that a beauty queen. Those were the days of simple happiness. I have not advanced much. I still slap together Kato track on green grass colored out door carpet and enjoy almost instant railroading. I am 77 now and I will not change but I like to watch videos like this do the work for me as I watch and imagine I am doing it. I can hardly wait to power up this layout with my imagination.

  15. thanks for video. David.
    My question is how going put on the manual or power for the yard area after short the points?
    WHY not using small Peco set points in the yard as will have cut back the points for the yard area give more room?

  16. I enjoy your layout series and I'm going to built one. Have you published a material list as to how many and what type of turnouts are used?

  17. Kudos on another great video series. I e-mailed Walthers to thank them for their sponsorship. What is the name/musical group of your intro/exit music?

You must login to submit a comment