Videos & Photos Videos Layouts Project Layouts Building Bay Junction part 14

Building Bay Junction part 14

By Angela Cotey | February 19, 2011

| Last updated on November 23, 2020


Watch the Model Railroader staff's video journal while they build the Bay Junction HO scale model train layout

Email Newsletter

Get the newest photos, videos, stories, and more from Trains.com brands. Sign-up for email today!

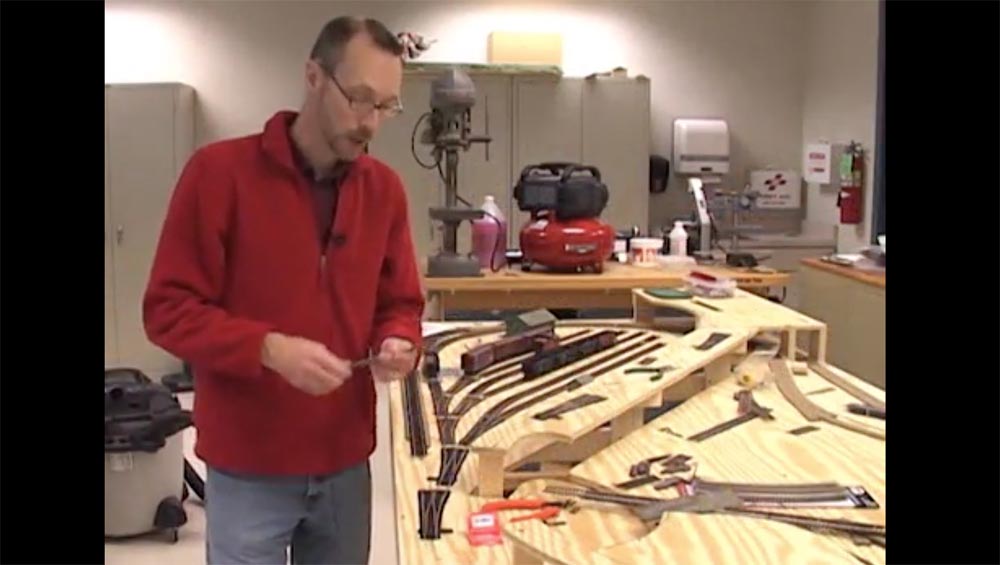
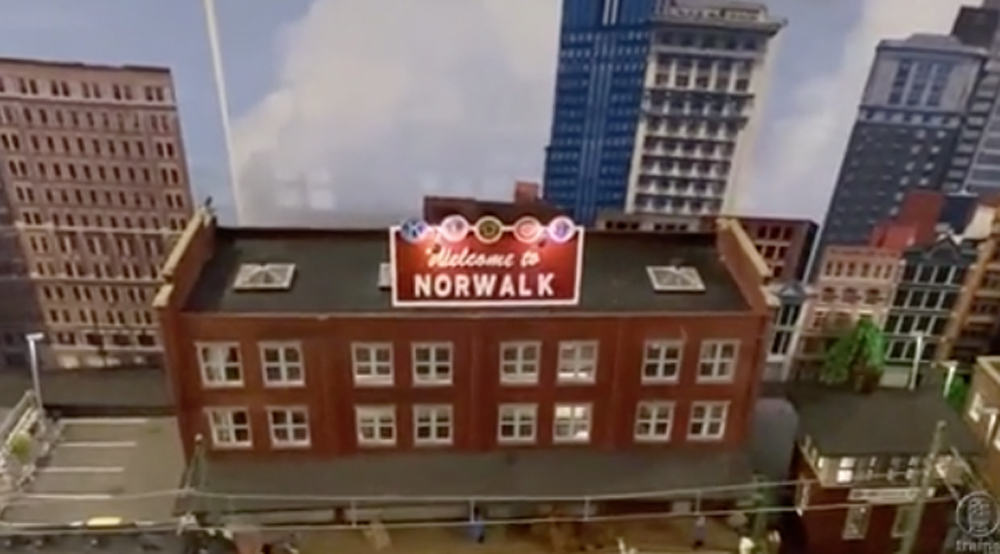
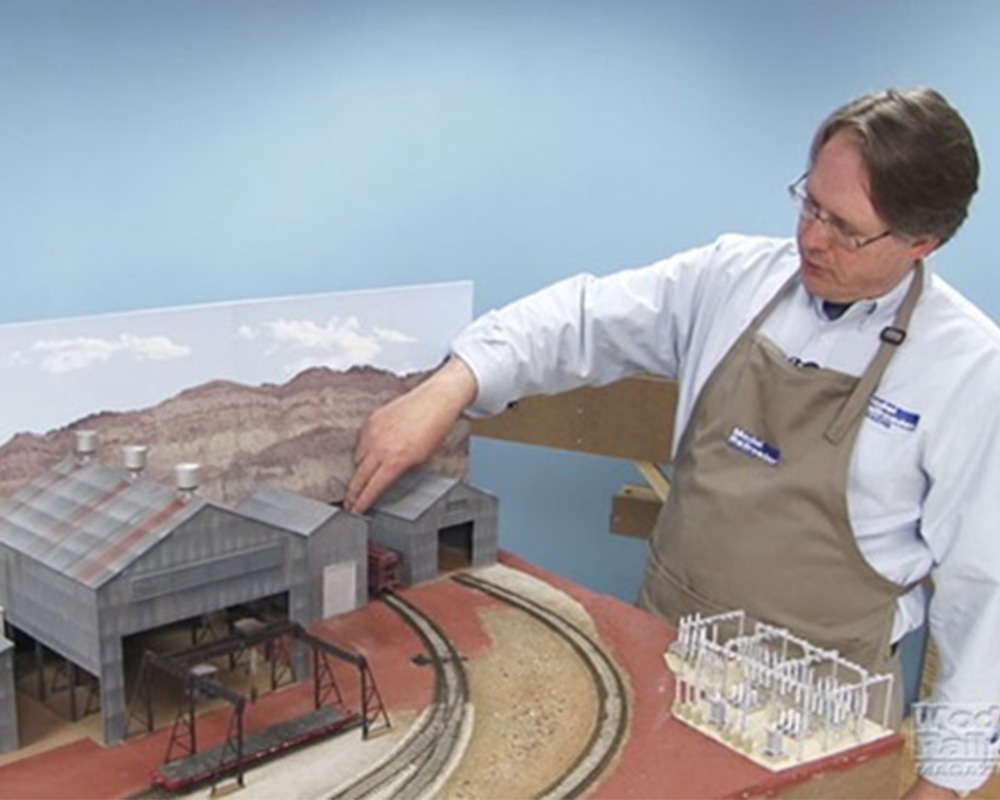
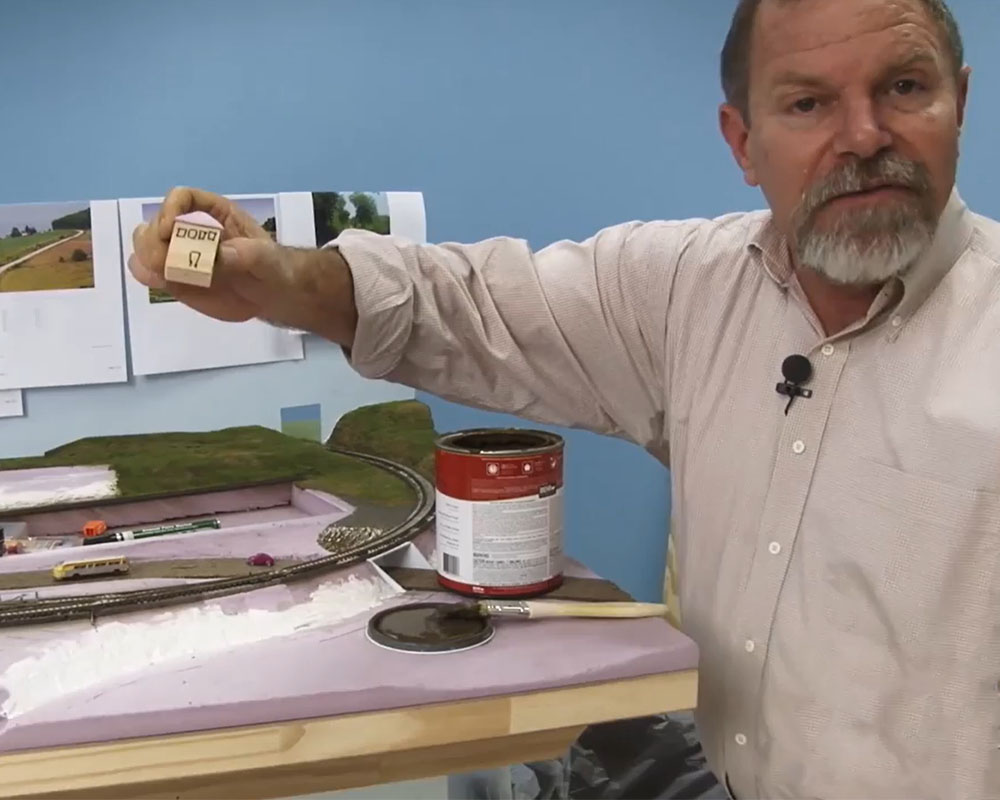
Lots of progress has been made on the Model Railroader staff’s HO scale Bay Junction project layout. Associate editor Cody Grivno is working on ballasting track, including the interchange yard. Editor Neil Besougloff shows you how he painted the parking lot for his station. Associate editor Steve Otte describes his method for paving the streets in the town of Williams Bay.

25 thoughts on “Building Bay Junction part 14

  1. I used a sand based paint by Ralf Lauren and it dries with a textured surface and grey in color. Not overly expensive but has the textured look.
    I tried 1/16 pinstriping tape but I need more and it tends to get loose periodically. Needs to be sealed with dullcoat when finished double lines.

  2. I've had good results using drywall mud for a paved parking lot that had an embedded siding– just used a sharp hobby knife and straightedge to cut out the flangeways. And it didn't need as much sanding as my drywalling! But then I had to paint it Grimy Black to get the asphalt color right. Pre-coloring the mix sure looks a lot easier! I learned something today.

  3. Great series guys, too bad you lost the tape at the end. I think you should move to the DCC of video and use either AVCHD solid state cards or P2 recording cards, no dropouts to worry about, no tape to get mangled, easy to edit with your existing software. Give it a try you will never go back to tape again. Bonus of course for the viewers is it will all be in High Definition so we can really see the details.
    That said, i appreciate the rich web and video content available to subscribers.

    David

  4. An outstanding video series. Loads of information and handy tips. And David is such a keen,enthusiastic,professional presenter! Keep up the good work as I'm looking forward to the forthcoming video's.

  5. The railroad is taking on another type of image with the rebuilding, looking better and better each time.

  6. I agree with James from Georgia, would like to see close ups after the areas you show us R finished to C the finished job. Still looks great and comeing along nicely. Thanks for shareing. Good job.

  7. I love the free advertising for Pampered Chef. My wife is a consultant and has that same smock. Looks great guys!

  8. I agree with Alan (above): the verbal explanations are excellent, but we really do need to get a closer look at the process and also of the final results–as with editor's good comments about striping parking lots and commuter warning-line along platform, I wanted to see a clear shot of the finished stripes, diagonals, etc. from above or at least at a high but close angle. As it stands, "pictures don't do it any justice" as noted by Alan.

  9. I like the idea of dyeing the plaster mix and why. I painted mine and when it chipped I had the problem he described. Never occurred to me to dye it.

  10. Great video of modeling on the Bay Junction scenes, being a practicing landscape architect though, that station scene could use a few trees………just a professional bias I guess 🙂 I'm enjoying the series, good work guys.

  11. Great job on the MR&T and Bay Junction! The buildings, the articles, the videos, the bits and pieces of the layout we get to see on the new product demos, the products you use on the layout and everything else. Sure would be great to see an operating session on it all!

  12. Interesting and informative. No matter how long one has been in the hobby there are still great ideas and tips that surface.

  13. Outstanding Modeling Practices! Maybe you could do a video of Cody ballasting the tracks sometime. Pictures don't do it any justice.

You must login to submit a comment