Building Bay Junction part 13
| Last updated on January 11, 2021
Watch the Model Railroader staff's video journal from the Bay Junction project train layout
Trains.com is undergoing website maintenance that is expected to last approximately two weeks. Click here to learn more.
| Last updated on January 11, 2021
Watch the Model Railroader staff's video journal from the Bay Junction project train layout
Members enjoy 15% off any purchase in our store. Join Today!
Model Railroader 2026 Calendar
Don't miss Model Railroader’s all-new 2026 calendar, featuring Rod Stewart's spectacular layout!
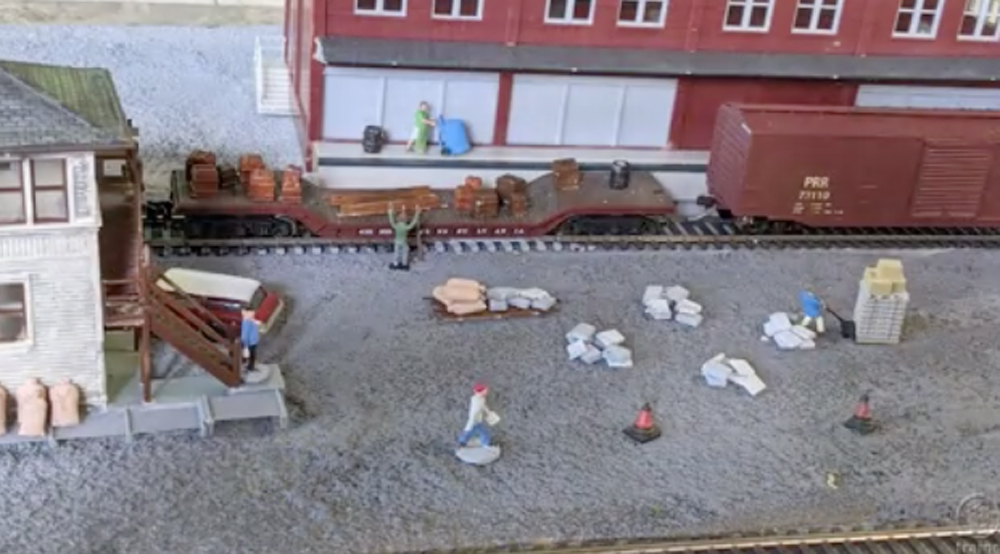
Kelly Appliance is installed finally now lets get some boxcars in here on down the line Cody is working on the Co-Op in Lake Beulah and the Montgomery Feed Mill in Step by Step the track is replaced here
What color paint did you use for the brick on the Kelly Appliance structure?
Glad to see Neil's bay window from his station is in the "Bay Juction Logo" it seems he worked hard on that building and it shows in the final product. Great series, keep up the great video work guys .
I thought I saw an Athearn MP-15 Milwaukee patch-out on your layout before. Is this a different engine you are working on?
It looks really great. I just wish that I had the room to tear down and rebuild my layout
Glad to see someone else makes a mess of their layout and sets things on the precious scenery.
I really enjoy watching this series. It's inspiring. Thanks for doing it!
coming along well keep up the good work.
looking better dave,neil.have fun
Great job… really like you doing a "play by play" for the project, It makes the magazine articles come alive.
Just a thought, if there is any way to improve or increse your lighting while filming the segments it would sure help the viewer get a better look at all te hard work you put in on the projects. Keep up the good work.
My primary reason for watching this project relates to Williams Bay, Wisconsin. I have great interest in anything related to actual lay-out developments that are based on railroad history in that area.
Thank you Model Railroader staffers for the installments so far as it allows us to see the steps that need to be taken to develop a model railroad.
David I have a suggestion that you might want to consider. What I would like you to do is to remain stationary for two or three seconds after each scene and then edit at that point. I'm thinking of the future where someone might compile various scenes into a A/V presentation and being able to crossfade etc increases the editing options.
Keep up the good work guys.
You guys do good work. Keep it up.
Vary good
a good trip.HELLO from France
Kevin is spot on.. Backer Rod would be a great gap filler for the project shown…
I wad newspaper in large cracks and spray foam. After it cures, just trim it up with a knife.
Hey, Cody. Monty also did TV as the color man, not just radio. I worked with him at the old TV38, pointing my camera at him quite a few times! Great trivia for us "old" Red Sox fans. Thanks.
I liked it. Informative.
Great Job David! I have noticed your personality is starting to show, as your getting comfortable being in front of the camera. I love the less formal approach while still being informative.
Neil, I have experianced the same problem with my layout fascia as well. I have done exactly what you are/were doing with the scrap foam insulation board. Wonderful tip for anybody else that has the same problem(s).
It looks really great. I just wish that I had the finances and room to tear down and rebuild my layout.
Keep on improving
I wonder if they could have used a product we in construction call "Backer Rod" to fill the spaces between the scenery and the re-set fascia board. For those of you who do not know what this is, it is a foam rubber product that comes in rolls. It is placed in larger gaps and prevents caulking from falling through. It seems to me that it would be a much less messy thing, rather than shaving foam board to fit and then sawing it off above the layout. Just my thoughts