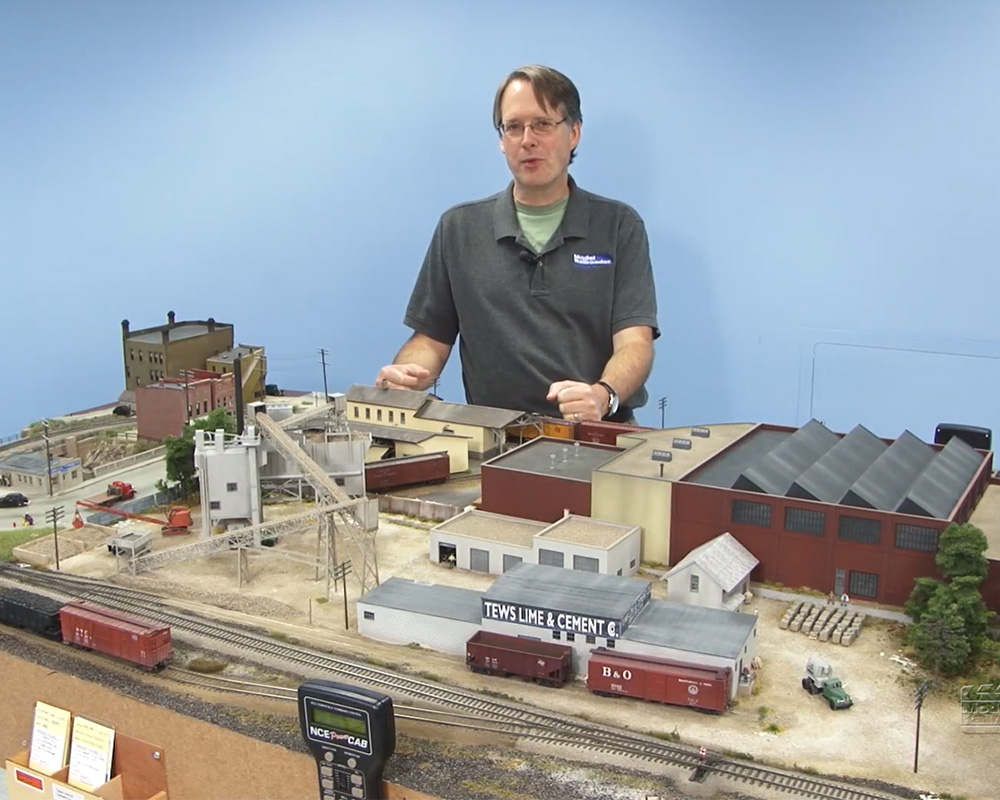
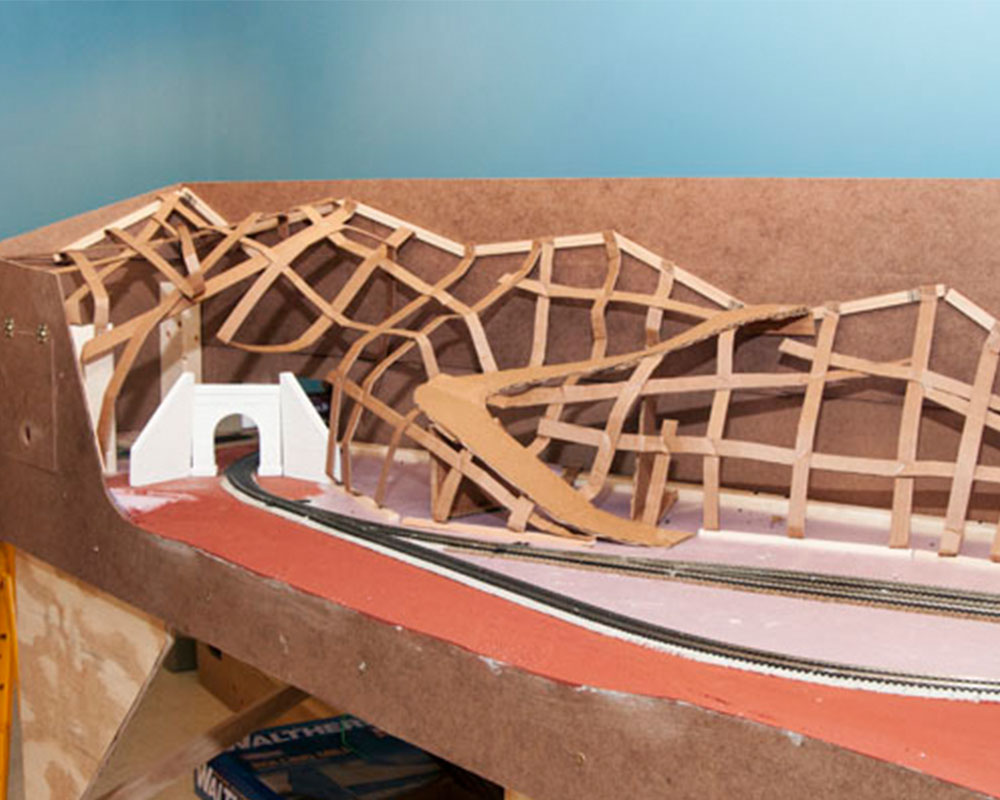
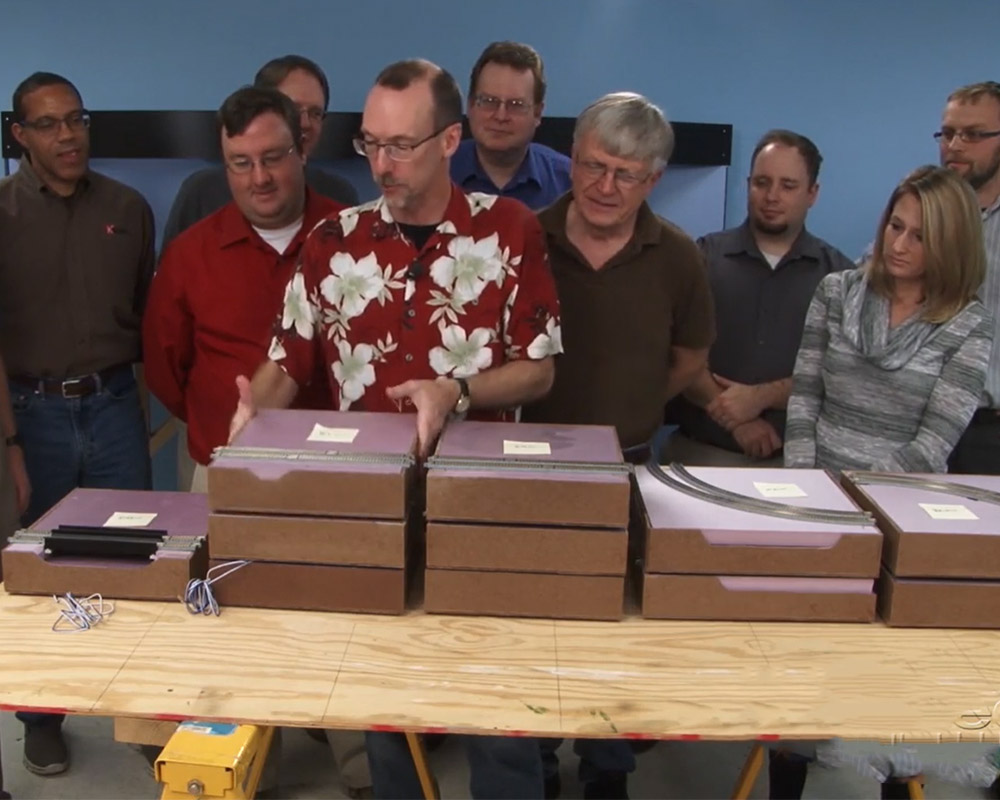
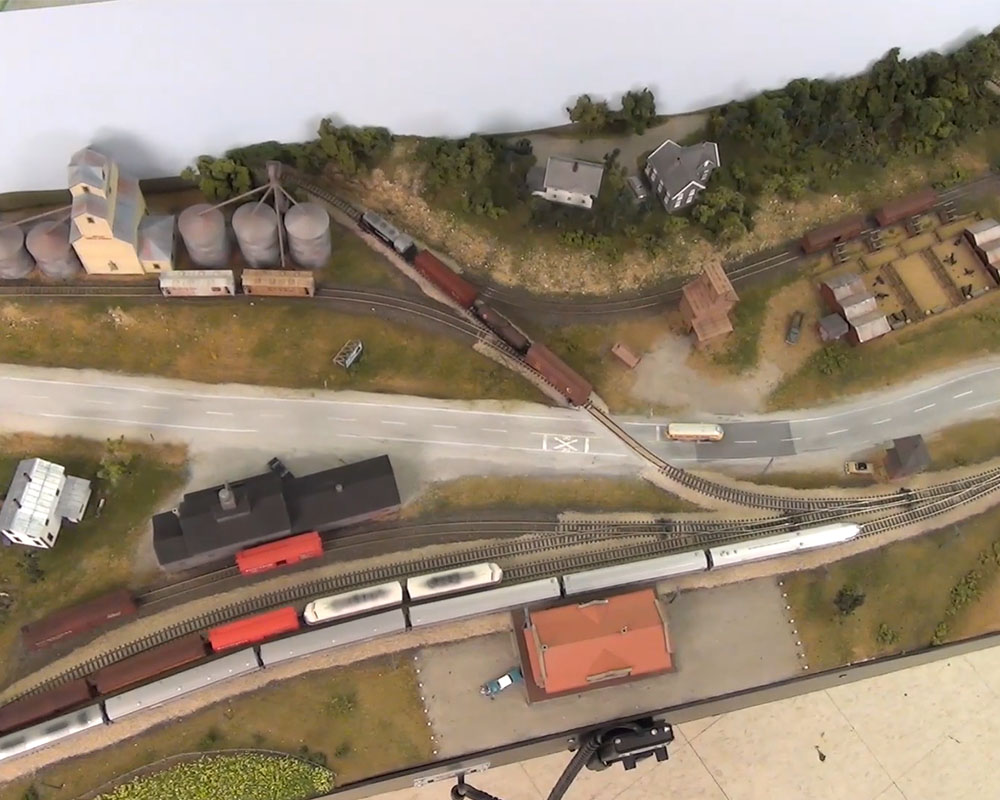
David has finished laying all the track for Bay Junction and will show you how to install feeder wires. In the workshop you’ll see how associate editor Cody Grivno is progressing on the United Cooperative grain elevator, while senior editor Dana Kawala gets started on the fertilizer plant.
Building Bay Junction part 10
| Last updated on November 23, 2020
Watch the Model Railroader staff's video journal from their latest project model train layout
three industries taking shape Grain Elevator, Fertilizer Co-Op, and Corn Products three down two left until Bay Junction is ready for trains.
thats the last of the track now Cody takes over from here time to install the Grain Elevator
I am a MR since 1995 ans I have every MR since that day of november. I always buy your ideas for better results and to save to rebuilt twice the same work. This time I am searching the new way to ballast a new section with grout and sand with Dana technique to ballast my KEVRO RR.
Hi David- nice video clip, but I need more please.
How can I get instructions on how to run and connect feeder wires, gauge of wire, right size suitcase connectors; do you run a feeder wire for each rail, do they connect to the transformer?; And is is it one continuous wire all the way around the layout for each rail with connections only to the drop feeders? Have not done this before but need help. A nice video here..
Here's one more vote for the "90 degree bend" on the track feeder wire. I've used this method on my La Crosse and River Division layout and never had any broken or loose connections over 10 years.
What a life you lucky guys have. Get to sit around all day long and play with trains and get paid for it. What is your secret to your success?
David, can you show us how you will be installing the turnout machines, and how to wire them up?
Thanks for all the great work.
I always enjoy the MR videos; Dave & the gang always are upbeat and informative. I've always used the "90-degree bend" with the wire flat up along the rail, snugged into the indent of the web; guess I don't have too much confidence in my soldering skills – if I stick it on there, I want it to STAY! (and it usually does). Andy S.'s "spike head" imitation makes me a bit nervous!
I agree with Michael and Victor on making a 90' bend in the feeder wire.This will indeed give you more surface area for a better electrical connection but more importantly it is a much stronger physical connection. My last layout used the straight wire approach and over time a few of those broke and caused considerable trouble. Great job !
Hi, Robert from Kentucky,
Sharp eye! The layout on wheels you briefly see in the background in the workshop (at about 2:08) is last year's project layout, the N scale Salt Lake Route. You can read all about that layout in the January through June 2010 issues of Model Railroader. Thanks for writing in!
The soldering tip makes me wonder if it could be a problem in the future. By useing just the tip of the wire it seems that it would be a weak connection. I use the same process only I put the bent section of the wire up next to the track. That way there is more wire attached makeing a stronger connection.
I've been enjoying the video series and can appreciate the amount of work and man hours it takes to create something special like that. David, I do my feeders like that but with a slight variation. I make a 90 degree bend slightly smaller than the width btw two ties and then solder the end lengthwise to the rail btw the two ties. I guess I like a little bit more area to solder too. With the solid wire, I can still bend the remainder down and out of the way.
Good stuff, keep it up!
What about the feeder wires soldered to the bottom of the rail joiners? I've used this method on a couple of my layouts and have never had a problem.
why didn,t you turn the feeder wire sideways allowing for more contact area?
As always enjoy what MR is doing and great tip on the feeder wires.
Thanks for the soldering tip! Helped me greatly. As always great job MR staff.
Thanks for the bit about soldering the feeder wires. It is easier to understand watching the steps as you take them.
Great video as always, it would be really great to be a staff member at Walthers.
Great video you guys are getting better with every video.
Always enjoy the info and great to see things in phases, super team there at MR – Thnx
Great job! Always look forward to you many great tips and ideas. Like to transfer some of these ideas to my own 4 x 8 layout. I can run trains but have no theme to speak of.
George
In workshop there is a layout/module on wheels in the background. Is this a new project?
Its great to see how things get done as progress continues. Good job guys. Thanks for these videos!
I love all your videos. It's good to read a how-to in the magazine but seeing it happen is even better. You guys have the best job – you actually get paid to play with trains. Can't beat that!