Videos & Photos Videos How To Model Railroad Operations Model Railroad Operations: Hand Signals

Model Railroad Operations: Hand Signals

By Angela Cotey | December 20, 2014

| Last updated on December 1, 2020


Email Newsletter

Get the newest photos, videos, stories, and more from Trains.com brands. Sign-up for email today!

Having trouble viewing this video?   Please visit our Video FAQ page
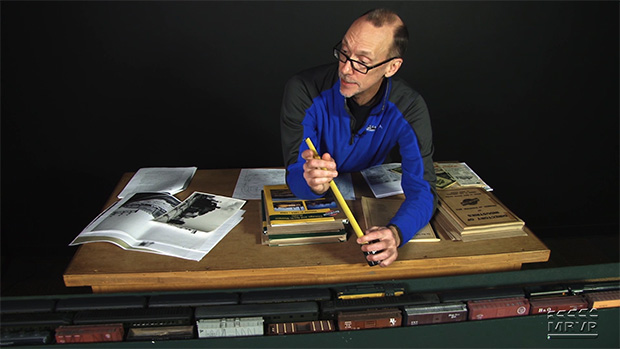
Contributing Editor Andy Sperandeo returns to Model Railroader magazine’s HO scale layout to share proper model railroad operating techniques for our cameras. In this MRVP exclusive video, he recruits Cody Grivno to demonstrate how to use hand signals, a topic addressed in Andy’s MR column (February 2015), The Operators. Subscribe to the MR Video Plus website to watch more operations content in the New Year!

23 thoughts on “Model Railroad Operations: Hand Signals

  1. 2 things

    1. Direction is related to the direction of the locomotive F is painted on the locomotive denoting the front.
    2. Hand signals should be given facing the engineer/locomotive. Looking at the stop signal from the side could be and has been confused for a forward signal

  2. Andy, I noticed you were manually throwing track switches with a pencil or pointer. Do those turnouts have a "hairpin" spring in them? Just curious. I also enjoyed the tutorial on hand signals. Hope you are well. Mike in Louisiana.

  3. It's just plain good to see people enjoy their model RR sessions. Yes there are a whole book full of rules and Andy was simply demonstrating how a few could be applied. Thank you Andy and Cody!

  4. Working on a 1:1 railroad it's far safer to use "Come to Me", lifting hand toward face; and the opposite "Go Away" as hand commands. Then the swing of the arm across the front is clearly Stop. In addition, we would us the circling of the hands for Slowing the engineer down–if needed–as our closing of the palms would indicate distance to making the coupling. Also of note should be the fact that this is cross-ways to the car and the joint, so that the engineer could see the representation of the distance. Otherwise one hand would most likely block the other from his field of vision. All commands, visual or verbal have the priority of Safety First and then the accomplishment of the task.

  5. Thanks for all the comments. In the column I mentioned the need to agree with the engineer about which way would be forward, but usually you'd go by the "F" on the engine frame. Better yet, be governed by which end the smoke comes out of on a steam engine! I also explained that you could make larger or smaller hand movements to tell the engineer how far he could expect to move. There are many other signals that can be applied on model railroads, and my aim was just to give a basic repertoire to get you started.

    Happy New Year,

    Andy

  6. It would seem that the use of hand signals in this instance is a bit spurious since the engineer is looking at the train. Why not try it with the engineer removed from the immediate area and unable to see the train..?? It would be interesting to see what manner of mayhem would result…

  7. Brian and David, here in North American all locomotives have a letter "F" placed on the locomotive side sill near the front steps and that letter "F" indicates the front of the locomotive. So forward means move the locomotive in the direction of the letter "F" regardless of where the ground man is standing or where the cars are coupled. Back means move the locomotive in the opposite direction of the letter "F". The cab of the locomotive is not always on the front end of the locomotive. The Southern Railway, Norfolk & Western Railway and Norfolk Southern Railroad have locomotives that the long hood is the front of the locomotive, the cab is actually at the rear of the locomotives. It's always advisable to check and see which end of the locomotive has the letter "F" stenciled on the side sill, before giving hand signals, then as we do on the prototype have a job briefing on the hand signals that will be used.

    Scott is correct, one signal that was left out is Steady, which is holding your arm straight out at shoulder level, this hand signal is given just before a stop signal.

  8. I am guessing that "forward" or "reverse" is dependant on where the groundsman is in relation to the loco rather than the direction of the locomotive. Here in the UK it is called "move towards" or "move away" from the location of the shunter (groundsman). So with Andy stood where he was "forward" was moving towards his position and reverse was moving away from his position.. I hope this is correct (still a newbie with US Rail Roading). Happy Christmas

  9. Great to see Andy again, hoping this becomes a regular video series. I never miss reading Andy's Operators column in MRR magazine.

  10. Thanks Andy, for the hand signal tutorial. I read conflicting opinions on this point — is "forward" or "reverse" measured by which end the "F" front of the (crewed) locomotive is, or is it measured by whether the locomotive is leading or pushing the cut of cars?

    In other words if the switcher had had the cab facing the cuts of cars, would the hand signals have been reversed?

  11. I like using hand signals. These few will be easy to remember as well. I've been in some situations at big operating events with a 25+ car train, switching a siding, and had another crew on the other side of the aisle doing the same thing. Using hand signals, even poorly understood ones sure cut down on the noise. Thanks for the video
    David

  12. Very informative however you forgot one important signal…right before a stop or a coupling you need to show a "steady" signal. I'm a locomotive engineer by profession. Having started out as a brakeman then conductor for a local railroad going on 14 years.

  13. It's great to see Andy! And I like this idea for operating sessions – it's prototypical (especially for pre-radio era layouts), adds more interest and activity, and it's free!
    This segment is a great addition to MRVP.
    Happy Holidays, everyone!

  14. Take it one step more and have the engineer have his back to you using a mirror so he could only watch you and not watching the train in front of him as I see cody doing in video could be very fun

  15. Good demo Andy. You should also let the hogger know how far he has to move as well as the direction, although that's maybe getting a little complicated for modelling purposes!

You must login to submit a comment