Videos & Photos Videos How To Benchwork Olympia 2, The Log Blog: Part 5 – Wide open spaces

Olympia 2, The Log Blog: Part 5 – Wide open spaces

By Angela Cotey | May 20, 2017

| Last updated on November 20, 2020


Email Newsletter

Get the newest photos, videos, stories, and more from Trains.com brands. Sign-up for email today!

Having trouble viewing this video?   Please visit our Video FAQ page
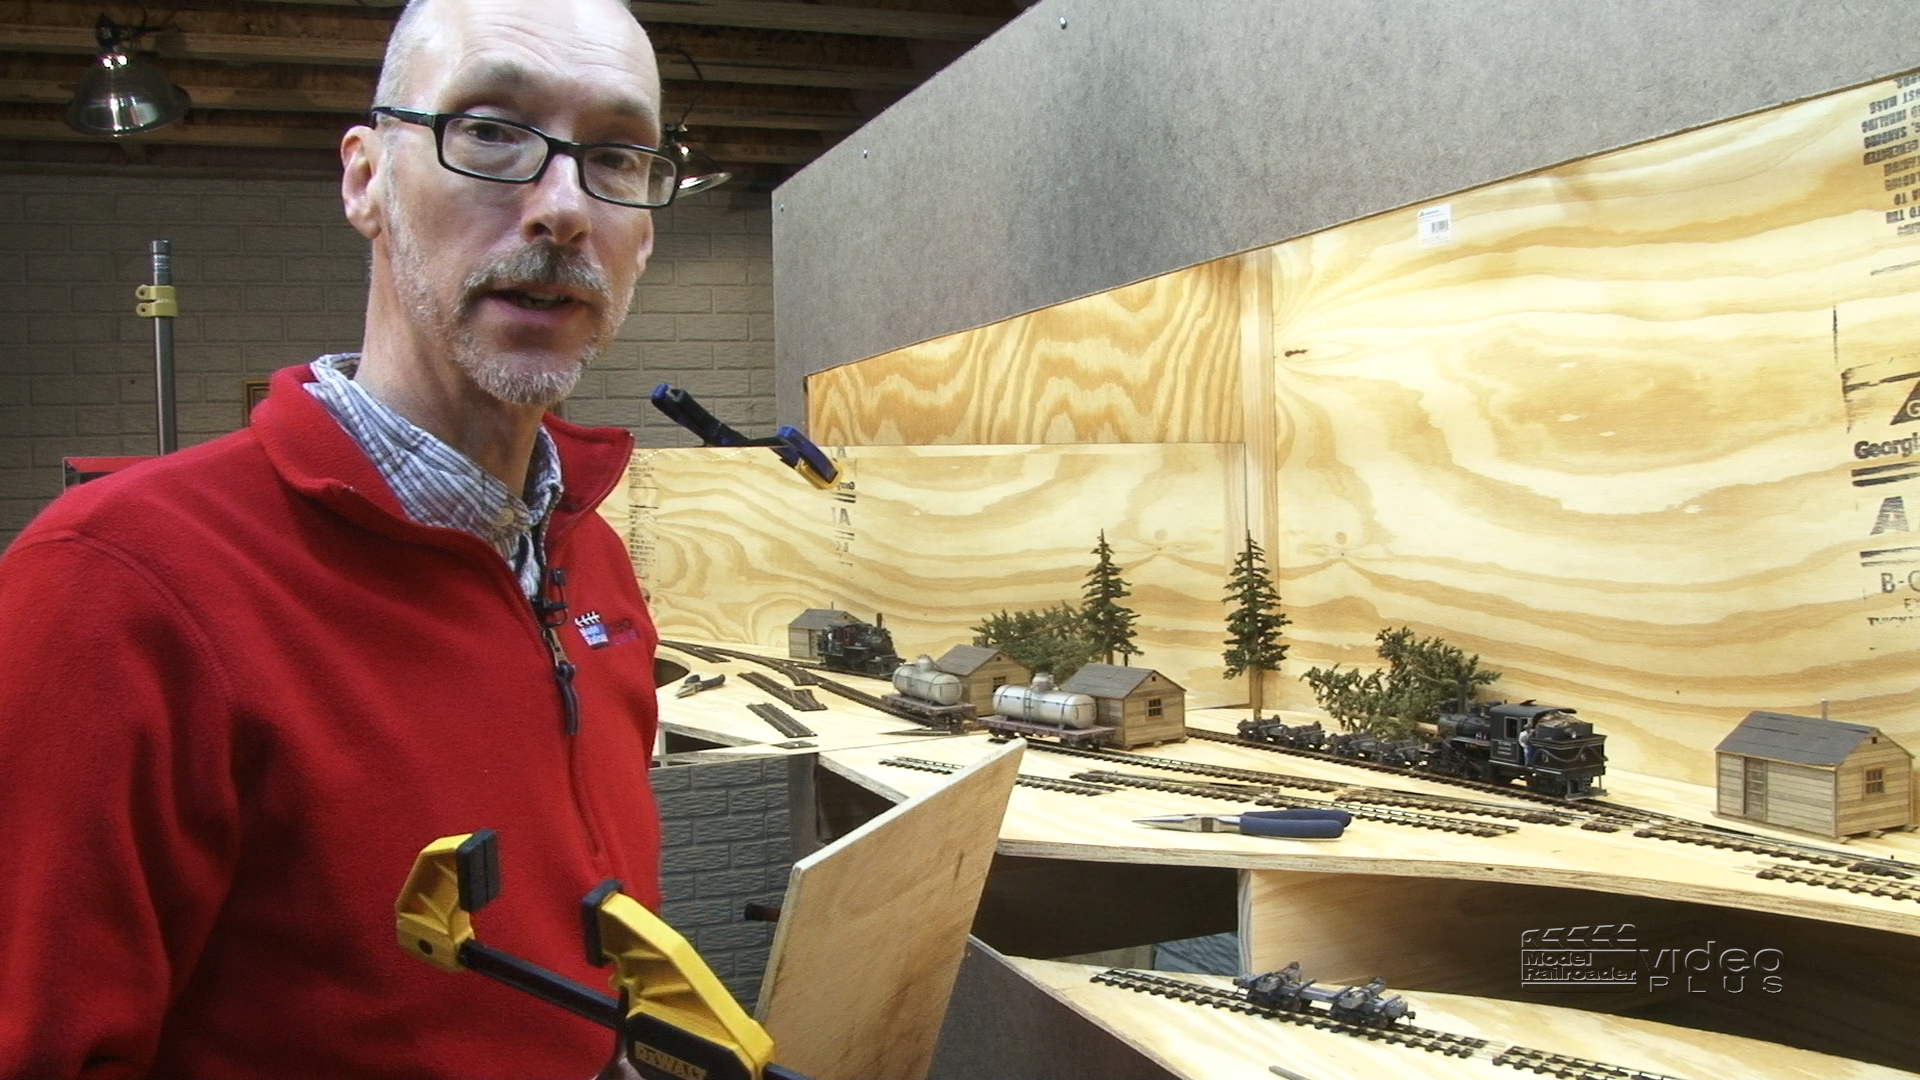
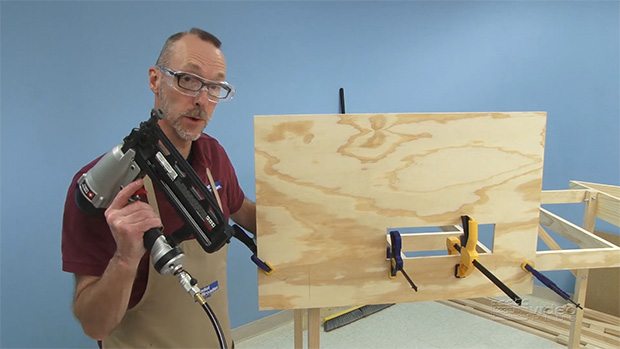
David is back to the basement for more work on the Olympia Logging Co. On30 layout. In this blog entry, he first joins the two layout sections, and then makes changes to the hardboard fascia and styrene backdrop, giving the display an amazing panoramic view!

19 thoughts on “Olympia 2, The Log Blog: Part 5 – Wide open spaces

  1. Thank Jim, I got the idea from my wife years ago as she uses a cloth tape for sewing – it saves on all the math involved trying to determine the circumference of partial curves.

    And by all means, binge watch away! We’ll make more episodes.

    David

  2. Great series, even though I’m binge-viewing it a couple of years late!

    Good to see a practical use for the Surveyors tape! I usually use mine as a test to see what folks say about having 10 “inches” per foot!! I suppose any good logging company would certainly have a Surveyors tape to be sure they stayed on the legal side of the tract they were logging! :+P

  3. Would it have limited your operating sessions if you had used the right section for a very detailed sawmill, and the left section for the logging camp? It is as usual a very interesting video series, and it has very good pointers for modelers.
    thanks for another great video series.

  4. I was very interessed by the material you use for your backdrop. This sheet of styrene looks flexible enough to fit round corners.
    I think this will be very usefull for my current project.
    I can do this with 1 mm (0.039”) thick Evergreen sheet, but the dimensions are far too small.
    So far I didn’t manage to find this your material in France. Could you tell me what is the thickness and the main characteristics of it? It will help me a lot.

  5. Excellent series…keep it going! As an On30 guy, I hope to use many of the tips and techniques on my “shelf” layout. Thanks, David!

  6. Hey gang,

    Glad you’re enjoying the Olympia series. Just a couple of quick answers to questions today:

    Name that tune: Fuzz Radio from Royalty Free Music (part of our Getty Images subscription). You can search for it at royaltyfreemusic.com – but if you want a copy, hold on to your hat! $$$

    Opening at the back: I cut out part of the plywood to save a little weight, but I also left my options open for adding on should the day come. Olympia 3? Let’s get 2 done first!

    Timelapse: We’ve seen a lot of how-to videos on the Internet using this technique, so we thought Olympia would be a good place to try it – particularly since we’re showing a lot of techniques we’ve already covered in detail in other videos. Look for more of it in the future – but no worries, we’ll still stop to explain the fiddly bits.

    No more post: Thanks to Kim for the suggestion – I should have done that from the start, but up until the backdrop was opened up, I was still thinking about two separate dioramas. I’m thrilled it is gone!

    Drill the corners: Great tip Rod! I’m not sure whey I didn’t think of that.

    Antony (the blue guy): I’ve got more than 40 puppets running around the house from the seven years I did the children’s television show thing (Google the Fred and Susie Show). They may make occasional appearances, but a little puppet stuff goes a long way. So don’t expect him back next month.

    Thanks for the support on Olympia! With the Log Blog filming schedule, I’m guaranteed at least one day a month to work on the home layout – and even a work day model railroading is a good day!

    David

  7. Shucks, I thought my sci-fi solution would have done it. Gotta admit it looks good with the post holding the front of the world gone. Good choice in using the roller to do the painting. Your “feathering” technique is quite good to boot.
    I, too, am curious about the hole in the backboard at the far end. Is there an Olympia 3 in the offing?

  8. Opening up the two modules is fantastic. I noticed a hole in the plywood at the end of the new module. Does that although there is no hole in the backdrop, that a Log Blog 3 may be in the future?

  9. Another excellent presentation David — I really liked the use of time lapse video to cover the simpler construction tasks without just cutting out sections as might normally have be done…leaving those tasks in, albeit compressed, provides context and has value without dragging things out.

    To me, the single module was really just an operating diorama, but it’s easy to see that adding the second module will really bring this show layout to life. I’m a fan of small ON30 layouts and I’m getting a lot of ideas from the Olympia project — can’t wait for the next installment!

  10. Looks nice – followed my suggestion about removing the centre piece from last episode. Really does make a huge difference to the view, the possibilities but still retains the the lovely framing effect. Looks good David. Gosh you use some timber – if it was iron, Brunell would have called you his brother, ha ha. Seriously – certainly can see the evolution of ideas through these projects, warts and all. Really good work. Well done David!

  11. I’m part way into this video and I’m thinking it would be great to have Antony make a surprise appearance, and then boom, there he is… funny! It was comforting for me to see things don’t always work out for others and adjustments have to made. Very educational and fun to see this come together with a second diorama being added. I’ve could have stood having the center dividers still in place to add as a scene break, but it’ll still work this way too. Fun to see you work at 78 RPM while still talking at 33 1/3, but maybe Jenny can do some editing magic with that in a future episode? Keep it up David, you’re a busy man!

  12. Too bad you have other things to do, David. I could watch a new video every day! Great job!

  13. Looks really good David,
    I’m in On30, so I’m very partial to this project. Now that you have revised the original Olympia layout, are you going to do a track plan of the entire layout? I for one would really like to see a drawing of the layout.
    As always keep up the great work you and everyone at MRVP do.

  14. David, this is a great series. I’m always reworking things so I’ve been learning a great deal from watching how you go about making changes. Already looking forward to the next installment. Also, I’m glad that you’re able to include Antony in this project.

  15. It’s going to be great, David, as usual. One big diorama works well with a rock pass through to give distance. You know I was hoping for two independent dioramas that could work separately or together, but I know you will make this twice as good as the one before. Go for it! This is fun to watch. And you make a living doing this, too! What a life!

  16. Interesting series David, as usual.
    A thought about cutting corners in plastics……….drill a small hole at the corner before scoring and breaking. It will prevent the break line from cracking past the end of the scored line.

  17. I absolutely love these Log Blog videos and this layout as well! What is MOST impressive to me is David’s ability to stay enthusiastic (and find fantastic solutions) when running into major obstacles and challenges. Great work David!

  18. What is the name of the song you use with the bells at the end? sounds like something from Futurama. Thanks

  19. Nice work combining the two sections to provide one open vista David. Will the layout be able to be separated and remain mobile when you are done with the addition or is it confined now to your basement? The scenery between the two sections will have to be carefully divided at the break point. Thanks.

You must login to submit a comment