How-to Library: Track Planning Made Easy – Computer-aided design, Part 1 Getting Started
| Last updated on November 23, 2020
Trains.com is undergoing website maintenance that is expected to last approximately two weeks. Click here to learn more.
| Last updated on November 23, 2020
Members enjoy 15% off any purchase in our store. Join Today!
Model Railroader 2026 Calendar
Don't miss Model Railroader’s all-new 2026 calendar, featuring Rod Stewart's spectacular layout!
The only one I got was episode 1…huh…kinda would like to see all the others…
What has happened to the Computer-Aided-Design mini series. It is no longer in your index. I have viewed parts 1 & 2 and was hoping to view 3 but I cannot find it? Great series!
Dale an Jeansebas — I agree with you in principle. But what you’re doing for professional production CAD needs to be far and away more precise than designing a model railroad. Remember — I’m not sending these CAD files to a machine to be manufactured. This is, as I mention early on in these videos, a SKETCH to test out various ideas and see if they’ll work. It’s not a “how to use CAD software” video so much so as a “here’s the kind of thing an amateur can do with it.” By the time you get to building the layout, there’ll be all sorts of variables you’ll have to work around (e.g. warped lumber, 30” radius curves that are really 29.5”, imperfections in the subroadbed. etc.) So as sketch-generating software, you can’t beat it. And even with all of the imperfections in my technique, I managed to use this software to build two room-sized layouts (one, multi-deck) that turned out great and more important, as-planned. It’s not as accurate as what you’re doing but it doesn’t need to be. And it IS more accurate, and faster, than pencil and paper. Thanks for your comments!
I agree with JEANSEBAS. Let’s learn the basics before we jump into more advanced topics like layers. First, draw an accurate line, meaning from an exact point for an exact length and exact azimuth or angle. You should set the line length, turn on snap to grid and turn on ortho (90 degree angles) or set the azimuth before you even start drawing the line. The second line is worse. You should use the perpendicular line tool, it was right there in the tool box. At this point you can turn off ortho, Subsequent objects should now reference the first line. For the second line, set the length, start the perpendicular line by snapping to the end of the first line.
You cannot accurately move objects with a mouse unless you snap to a known point on the object then snap that point to a known point on another object or the grid.
I was a early adopter of CAD at the C&NW Railway engineering department in the 1980’s. I have used AutoCAD and Cadrail for model railroad design for many years.
This is a good try, but you are disseminating incorrect information by starting with poor examples.
As an professional industrial drafter using many cad software, this video makes me cringe. You must always, always snap or start from other lines, points, center or any other anchor. Anything you draw must be in relation to another piece of the drawing. Never use the grids, numeric placement and only use free “floating” moving stuff for decorations. You cannot place precisely place stuff by moving it with the mouse, you have to anchors things to other lines.
Tmely for me. I was going to just copy a layout from the magazine but this may help me try some CAD first.
Thanks
You can do all this with paper and pencil. I use tracing paper or vellum over the room dimensional drawing. If I like what I have, I keep it, and add another layer of paper or vellum for more development. If I don’t like what I have on the second layer, I discard that layer and start with a new second layer. If a layer is on a different elevation, I use a different color pencil. I can do easements too using Track Planning Tools by K.I.S.S. Method Inc.
Great learning video Gerry. Always marveled at people who could design layouts and then build it exactly how they had planned it… and even build a scale model of it like David did for the Canadian Canyons series. Looking forward to part 2.
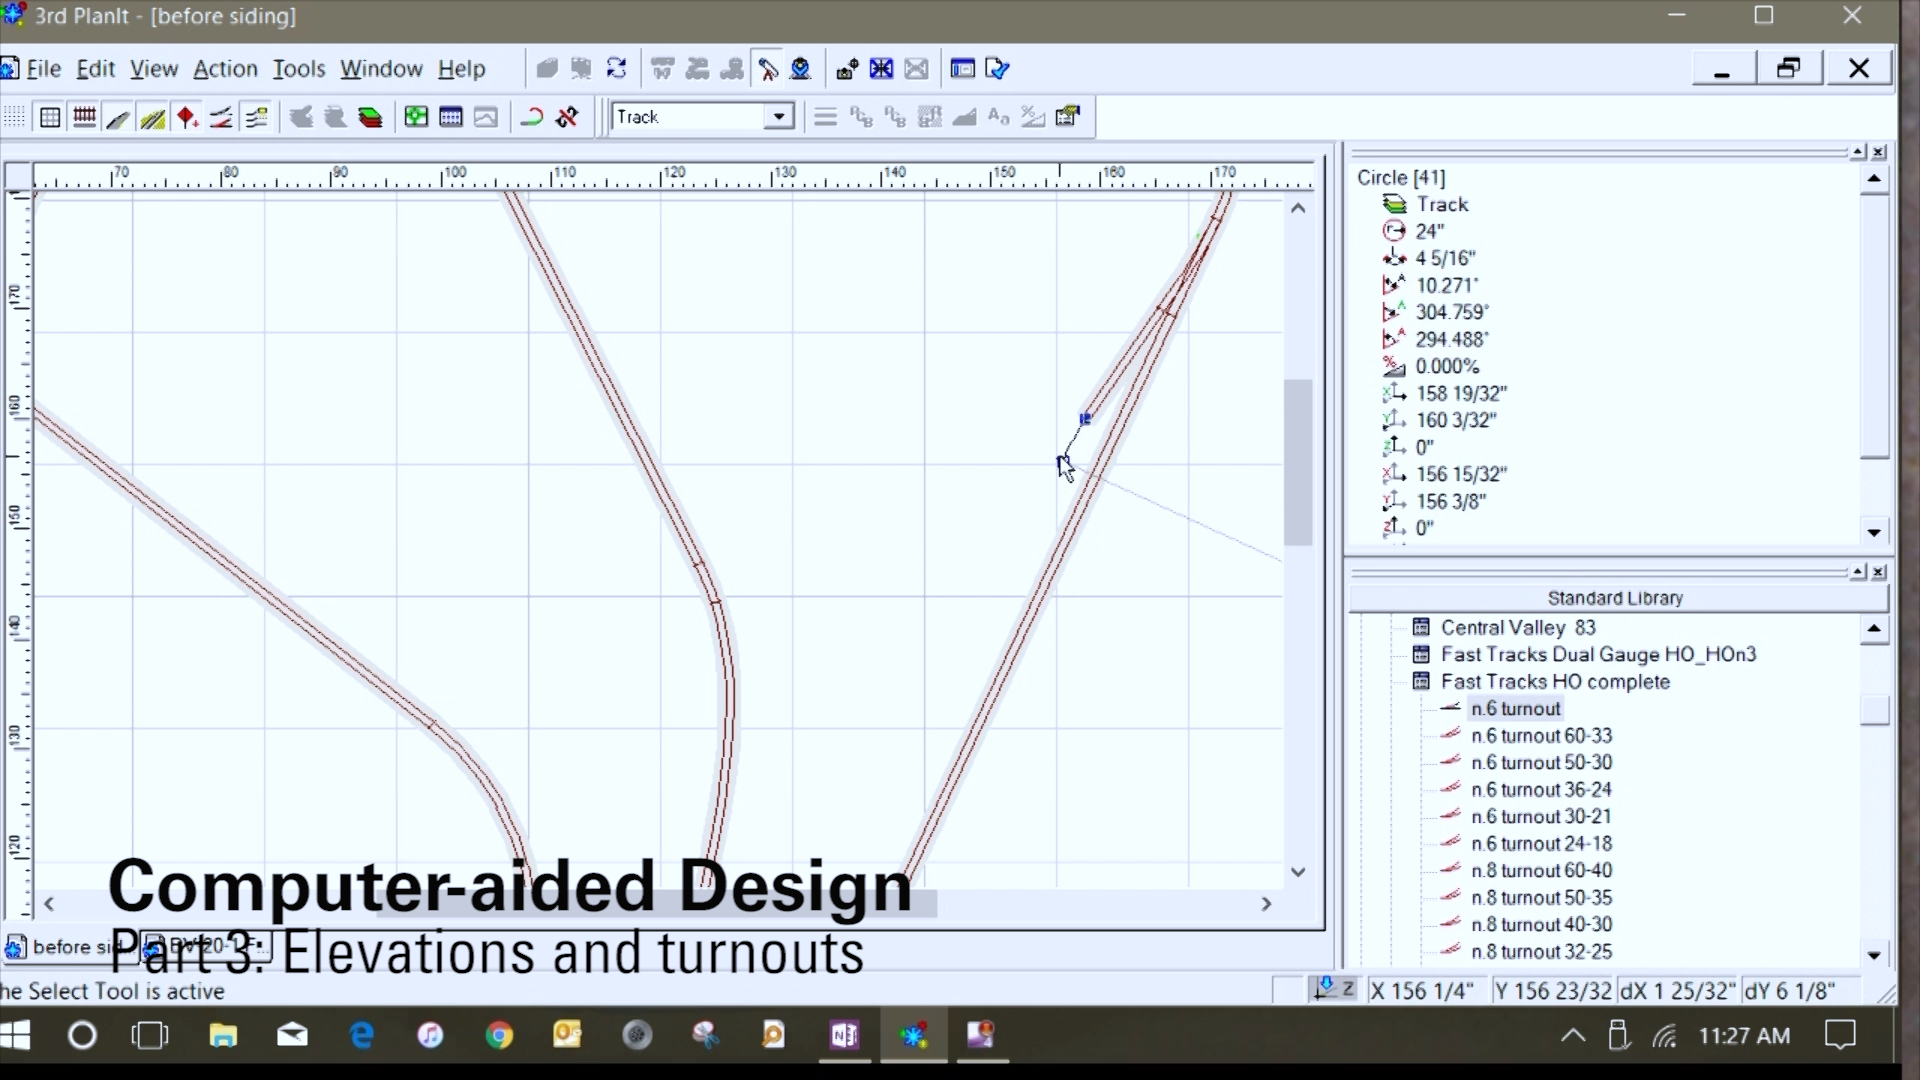
Great video Gerry. I have been using 3rd PlanIt for some time but picked up some good tips from your demonstration which will help me be more efficient. I know I’ll pick up many more in your future presentations.
Hi Gerry,
Thank you for the excellent video on the track planning software. This series is a long over due. I tried working thru different software but it always helps when you can pickup tips on how the software works.
Keep Up The Great Work!!
Ron Polityka
Reading Railroad
Great introduction, Gerry. One question: the door does not seem to be in the same scale as the room. If the grid is 12″, I see the door as about 5′ across. Am I missing something? It just seems too big for the 15′ wall. Thanks for this valuable tutorial. I look forward to future installments.
Richard
The door is 30″ the swing of the door is 60″.
Very versatile SW. thank you for sharing, looking forward to this series!
I am so glad you are doing a series on this. I downloaded this software a couple years ago but was pretty overwhelmed by it initially and never went back to it. I look forward to trying it again now.
Very interesting presentation Jerry. Looking forward to part two.
Excellent start, Gerry. Nice start at a good pace. Looking forward to next sessions and what little tricks you have to impart to us. 3rdPlanIt is a good CAD package and can be used for more than MRR planning.
Great segment on CADD track planning Gerry. I used an old program Design Center 3D to design my 24×14 foot layout and that program features a walk around view as you build the layout, great way to design a layout just like using Sketchup. Thanks.
Well, it does make it easier, I guess. I never did like sharpening quills; and I will say nothing about the ink blots. Can’t wait for the next episode.
Thank you for doing this and Looking forward to this series ! Please add a “Layout Planning” category to your “How To” menu so we can easily find this series.
When I saw Jenny mention this in the April’s preview, I knew I would like it. I have been using Railmodeler Pro on my MAC but find that some elements (Kato) do not fit together well when just copying a published plan. This series will give me a better orientation to using the software and let me experiment without the frustration. Thanks
Thanks Mr. Leone for a great series on track planning. Clear instructions. You make it fun. Can’t wait for more videos.