How-to Library: Designing a layout, Part 7
| Last updated on November 20, 2020
Trains.com is undergoing website maintenance that is expected to last approximately two weeks. Click here to learn more.
| Last updated on November 20, 2020
Members enjoy 15% off any purchase in our store. Join Today!
Model Railroader 2026 Calendar
Don't miss Model Railroader’s all-new 2026 calendar, featuring Rod Stewart's spectacular layout!
Excellent work David.
This is a very helpful series for learning how to design a track plan. Excellent work David!
Rethink this operation in N Scale and you can get the whole plan in and then some.In fact I would love to see this plan adopted for N Scale. The switching would be a blast.
REALLY enjoying this series. I have a few suggestions to consider.
First, plan for 3 90′ cars (total of 270′ plus switches) AND you have already enough space for 4 60′ cars (total of 240′ with a spare 30′)
Second, since we seem to use selective compression on everything we do, possibly “selectively compress” the train to 2 90′ cars or 3 60′ cars and plan for that?
David, “drafting rulers” (the correct name for a 3 sided ruler) are designed to allow for measurements of whole feet and additional inches without having to move the ruler (and insert lengthening or shortening of measurements). Measuring 2 scale feet or 24 scale inches on the ruler would be easily done by using two of the large tick marks; 26 scale inches would be those 2 large marks PLUS 2 of the scale inch marks.
Essentially, the “0” (ZERO) mark is not where you start measuring UNLESS you only want full feet or inches only. Calculate the number of full feet – move to that mark and THAT is your start point – if you have some inches left, move past the 0 mark the correct number of inches, and THAT is your end mark.
YES, I do understand that accuracy was NOT a determining factor in those measurements. However, it is far easier to place the correct foot mark at the beginning of the measurement and then go past the zero for the correct number of inches.
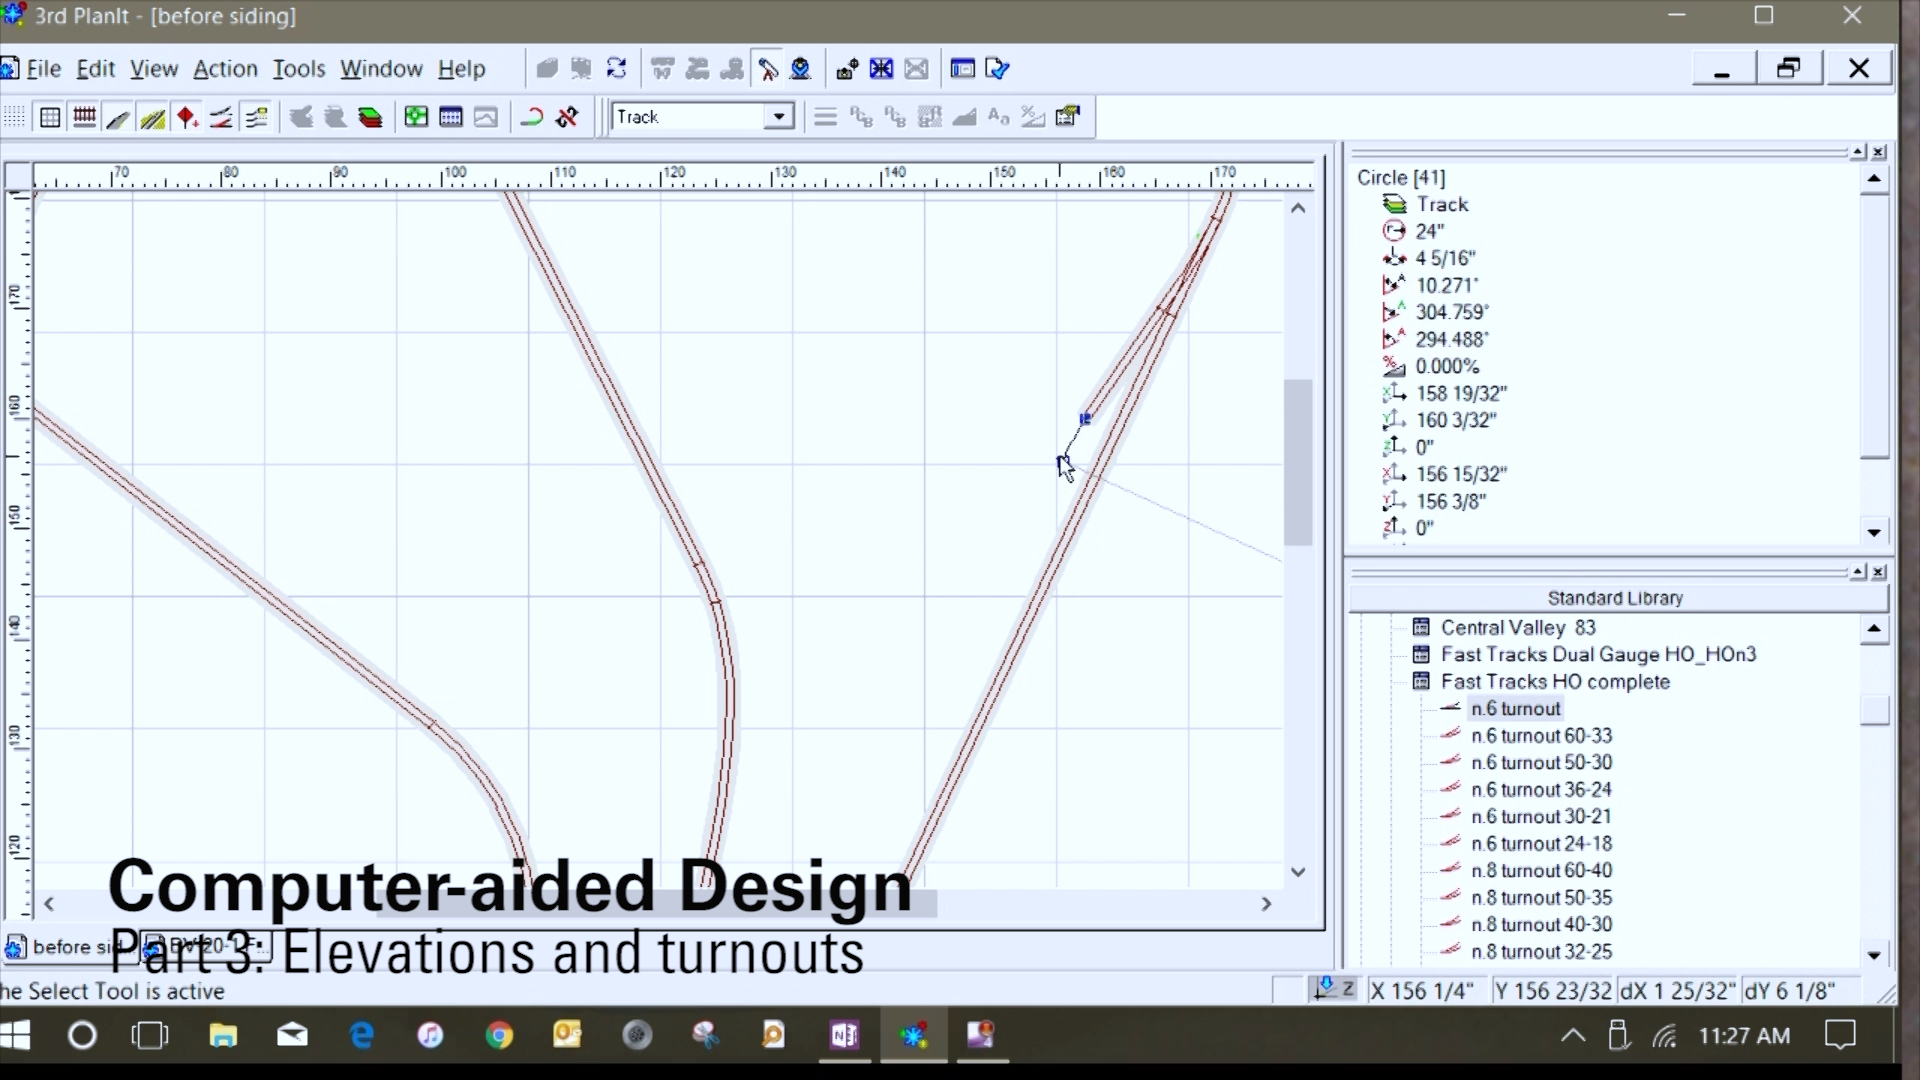
Great segment David. Interesting tutorial on laying out curved turnouts, I needed that for my layout. Thanks.
Unfortunately, care must be taken when choosing a product from the Walthers catalog as the product line 948 (Walthers Code 83 track) is made by Shinohara which is in the process of shutting down operations. Though many of the products may be available from secondary sources, many are currently unavailable directly from Walthers. That said, this is a fantastic video series and I have been enjoying every one. Please, keep up the great work!
Great video, nice to see someone not ensconced in CAD designing a layout! I also like using pencil and paper to design a layout, even though the process ends up being a lot of erasing.
Impressive David as I always admire your meticulous, attention to detail in track planning.
Not to sure how long a train you are going to have coming into town from Chicago. Mighten you not want to set out only one or two cars. Say that by the time the train gets to Crystal Lake it is at the most only three cars, then you could leave one and send the rest on. I am presuming that a yard engine is going to move the setout car over to the storage track once it is empty. If that be the case, then I think the last turnout you put into the plan is going the wrong way. Unless the tailing track is much longer than shown. Otherwise you have the yard crew doing more than is necessary to get the setout out of the way.