Videos & Photos Videos How To Benchwork Canadian Canyons Series: Part 3 – Installing mounting plates

Canadian Canyons Series: Part 3 – Installing mounting plates

By Angela Cotey | February 20, 2017

| Last updated on November 20, 2020


Email Newsletter

Get the newest photos, videos, stories, and more from Trains.com brands. Sign-up for email today!

Having trouble viewing this video?   Please visit our Video FAQ page
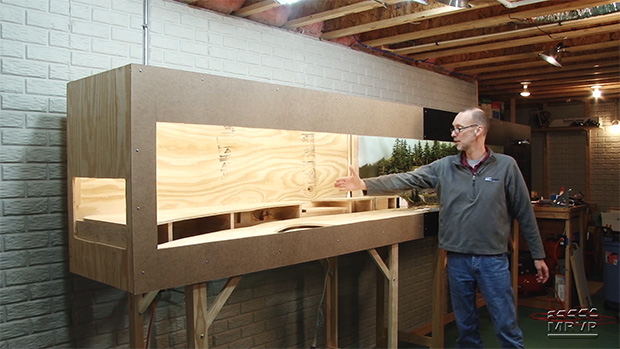
Our N scale project layout features a short extension that can be easily detached from the main layout framework. In this video, David shows how to build and install the plywood mounting plates that make it all work!

12 thoughts on “Canadian Canyons Series: Part 3 – Installing mounting plates

  1. I was unable to buy the Pattern Makers Dowels from the supplier in England. The only company that I could find that listed them in stock was Station Road Baseboards in the UK.

    Their was no way online order form to enter a North American address When I e-mailed them, I received this response “Sorry but I no longer sell to North America.”

    For abought I was able to order a dimensionally identical brass version of the Pattern Makers Dowels on e-bay at

    https://www.ebay.com/itm/222534535660

  2. David, where did you get your safety glasses? I have been looking for some that fit nicely over my regular glasses and have not found any that fit well.

  3. Skill saws cut on the pull stroke unless you get a special blade. I think you should have marked on the C side of the plywood.

  4. David: As complicated as the calculations are on this segment, I’m surprised you didn’t test fit the panels as you went for verification and it appears you relied only the tape measurements. You could have used the frame as a guide to draw the places for the brads. Also, I would not have set my carpenter/framing square as you did at time 13:00. No need to match the edge of the square to the edge of the plywood. Just “hook” the L end over the edge tight to the edge of the plywood – done! Lastly, why not put a matching “hole” in the faceplate of the attachment piece, too? Without it, if there is a problem on the bottom of the helix, you have to remove the attachment piece to access the area. Just wondering.

  5. So far so good. The way you are building the base David, this layout will last for many enjoyable railroad years. Great job!

  6. Thanks David for walking modelers through the complexity of multiple level layouts. Getting the clearances correct and the framing/supports correct is a challenge but you are doing a great job explaining that. Thanks.

  7. Great job so far. I’m in the middle of building bench-work for my new round the room walls layout so some of this is a very handy refresher.
    Just wondering if you misplaced the short extension by 1/2″ because on the main section you included the 1/2″ top but on the extension you didn’t?

    Also, with the webcam can you put back the clock and a board showing what times you have scheduled work? Every time I look there is nothing going on.

    Cheers,
    Carlo.

    Ps. I love how you leave in mistakes or change things as you go. It shows that it is a real work in progress just like any other layout that we viewers build. After watching these mistakes or changes I find that I am a lot calmer when I screw up and no longer get so focused on the mistake that I can’t find a solution and quit in frustration.

  8. Just started watching the webcam this week and monitoring the progress. This session was very informative as it is hard for me to think of planning/building a portable layout this complex. You do an excellent job of explaining the details of constructing the benchwork. Wish I was as precise as you are with carpentry skills. Thanks for the tutoring.

  9. This layout is seriously a game changer in the design of portable layouts for those of us who are limited in space and need to move the layout around every now and then.

  10. I gather you are planning to cut the other access hole (as shown on the model) at some later time. Would it make the plate too flimsy if you were to have cut that hole before mounting it?

  11. Great video, thank you. I am curious why the access hole was not cut into the corresponding panel, will you not need access when the panels are joined?

You must login to submit a comment