Videos & Photos Videos How To Benchwork Canadian Canyons Series: Part 10 – Helix fundamentals

Canadian Canyons Series: Part 10 – Helix fundamentals

By Angela Cotey | May 20, 2017

| Last updated on February 2, 2021

Email Newsletter

Get the newest photos, videos, stories, and more from Trains.com brands. Sign-up for email today!

Having trouble viewing this video?   Please visit our Video FAQ page

Our N scale project railroad is relatively small, but a helix is still a perfect space-saving, mainline-extending feature to include! In this installment of the Canadian Canyons series, David Popp first shares the key design considerations. He then jumps right into demonstrating the steps for cutting and assembling a helix made from hardboard material.

25 thoughts on “Canadian Canyons Series: Part 10 – Helix fundamentals

  1. My helix is going to be fairly large… Radii will be 31″ and 34″ respectively… so would you suggest 3/16 tempered hardboard for a helix this large or would 1/2″ plywood be better?

  2. David, when doing your different radii, have you thought of colored pencils, it helps to visualize each separate color as different center line. I would also help when you have to make changes in the yard ladder to know what is final correct line to use.

  3. I consider this video to be “Essential Viewing” by anyone ever intending to build a helix. There are many points made that I would never consider if I were building one.

  4. Based on your description, it appears that your grade calculations are incorrect. The rise is not 2″. it is 2-3/16″ (I think you forgot to add the thickness of the deck to the overall height). This will make your grade on the 16.5″ inner circle 2.1% instead of 1.9% and the grade on the 18.5″ outer circle 1.9% not 1,7%.

  5. On the first curcuit of the Canadian Canyons helix, the support uprights should be chamfered on the top in order that the hardboard which is on a gradient will make full contact with the gluing surface?
    Vic Wild England

  6. You make it look so easy that I may just add a helix to my HO layout – was wondering how to go to an upper shelf as well. I think I now know. I echo Gary Binder’s comments – just hire David to do it? What’s your rates???

  7. David, I see that you use flux when soldering rail joiners. Is there a reason you don’t use rosin core solder?

  8. I have two helix that intertwine, each are single track and both have a 28″ radius. To piggyback on Timothy’s question; what would you recommend for roadbed and helix roadbed for each modeling in HO?

  9. Very informative sir. My existing layout is based on your 2010 Project RR. But as I head into full retirement, likely a move to more southern and warmer climes AND likely less space, this looks like my next project. One questions, might it be easier to simply trace your section cuts on the board with the existing prototype rather than go through all the work with the “compass?” -Thanks David.

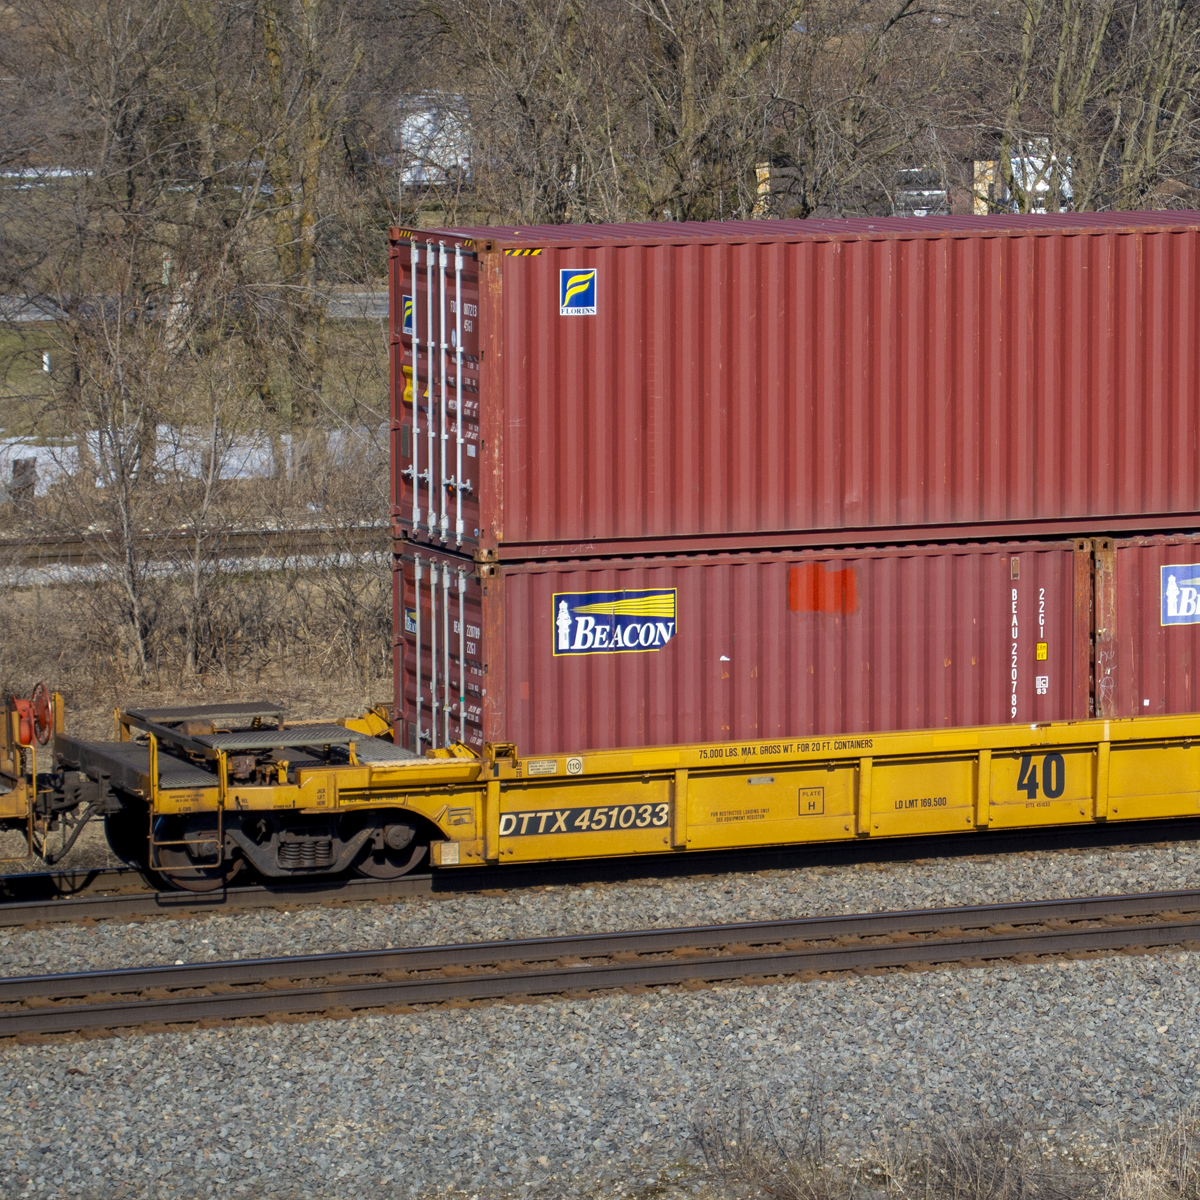
  10. David, for the helix clearance. If you have wrong containers.

    You showed a double stack car with normal height containers for the perferct clearance. What you forgot to mention the added clearance height for excess height containers that are taller than normal containers.

  11. Did you sand down one of the blocks before you transitioned from the plywood to the hardboard? If not it seems to me that there would be a 1/16″ difference. It appears you set two pieces of 3/16″ hardboard on the splice plate. That’s 6/16’s then put the half circle on which is another 3/16″. For a total of 9/16″. 1/2″=8/16″. Or is a 1/16″ so small that it doesn’t make a bump even in N scale?

  12. I am planning to install 2 helix on my HO Scale layout. My roadbed for my main lines is 3/8″ plywood. Can I use 3/16″ or 1/4″ masonite hardboard for the upper levels of the helix.

  13. Another great video — keep them coming!

    Not related to the Canadian Canyon project but to your project railroads in general, could you possibly do a project layout with dual gauge track work? I am interested in (meaning forever designing) HO/HOn3 layouts in my XTrkCAD design tool.

  14. Hello Edward and Daniel,

    The issue with the support blocks being at an angle to rising helix subroadbed only is an issue where the blocks are mounted on the base framework. I thought about this too and went back to Episode 6 where David explains why he only puts nails along the lower edge of those support blocks. Once you complete the first loop, the blocks are placed on the subroadbed below, so they are parallel to the layer below and make full contact along the entire block surface. David is smart beyond his years!

    Todd

  15. David, I watched this video again and your conversation about grades, curvature and clearances got me to thinking about the planning and design completed by the CP railway engineering staff who laid out the real section of railway in the Canyon lands that Drew and staff filmed in Trackside Adv0entures. Same conversation and details being considered just with larger rulers and dividers. Thanks.

  16. It might be good idea to point out that you need to lay the track onto each full turn as it is completed. This can be inferred by the progress of the helix thus far, but not everyone may realize that the last turn you put down for the filming of the start of the video was not glued in place. It would seem to be a fairly obvious point, but sometimes model railroaders get engrossed in their work and loose sight of the big picture.

  17. Very interesting. I have seen project helixes and have wodered about the building process. It appears that planning and testing are the keys to success. We have all heard the horror stories about getting a helix built and forgetting to install track or forgettng to allow side clearance for trains to pass the supports. If I ever need a helix I think I’ll just hire David for a month!

  18. Question: the tops of the helix sub roadbed risers are cut at a right angle to the face of each riser piece meaning these tops are parallel to the table top and do not follow the desired slope. So when clamps are applied does this tend to warp the 3/16″ thin hardboard sub roadbed to this flat surface that has not been aligned (beveled) with the desired slope of the sub roadbed bed. Also the gluing surfaces are not parallel to each other, one is flat and the other is following the slope. IF the parts are not clamped into intimate contact, then the gluing surface is really only one edge of the riser. Could shims be used or is the difference so slight that it doesn’t matter? Great video and great production! Thank you.

    Ed

  19. David – Very enjoyable video. Three questions:

    1 – I assume you had a reason for not using the first hardboard helix section as a template for the rest. Was there a concern about accuracy?

    2 – Clamping a rising ramp over square blocks will tend to produce level spots over the flat block surface. Has your experience been that the problem is minimal, and perhaps evened out by the cork roadbed?

    3 – The glue bond would tend to be at the downgrade corner of the support blocks. What about using a caulk-type adhesive (e.g. Liquid Nails) to get a more even bond?

  20. Excellent instructional video David. Since math and geometry was never a strong point for me, I was amazed at how simple you made this installment. Just like the Tortoise, Blue Point and Frog Juicer segments from other series, I now feel confident I could build one of these. Thank you very much!

  21. wow was always lost how to build one but now you made it easy to figure out thanks david your the man!

  22. Great information! Been waiting to see this for quite some time as I am in the process of making my third helix. A couple of questions – are you going to add track feeders as you go or none at all?

  23. Great video David on fundamentals of helix construction. Explained the grades and clearances very well, thank you. Can’t wait to see the finished product.

You must login to submit a comment