


For nearly 30 years, when we lived in upstate New York, I would occasionally watch my husband, Lou, making trees for his HO scale West Hoosic Division RR. Over the years, together with his friend, Pete Darling, he managed to build and plant more than 4,000 HO scale hardwoods on his 22 x 26-foot layout.
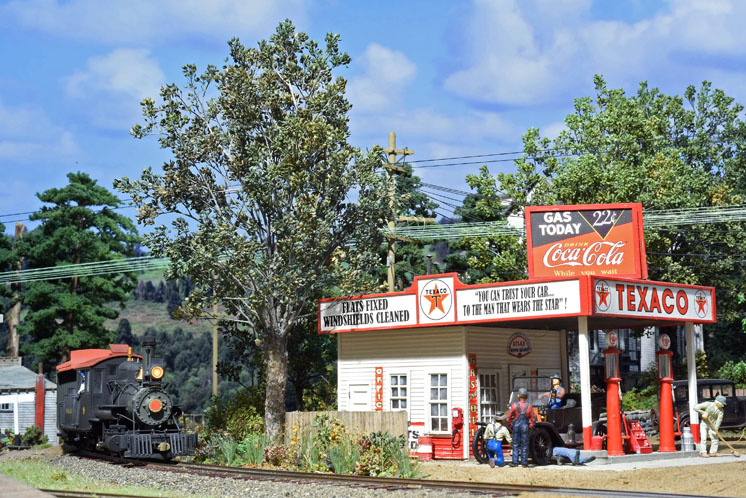
Eight years ago, Lou tore down his HO scale layout. He started construction on an On30 model railroad in our new home in North Carolina. This time around, he opted to model the Sandy River & Rangeley Lakes in Maine as it existed in the mid-1930s.
One humid, 90-plus-degree July day, I opted to skip my gardening for a while and stay in our air-conditioned house. That afternoon I wandered up to the train room to see what the resident railroader was up to. I found Lou studying the scenery in the Kingfield area and asked what he was considering doing next. He explained that he had been contemplating building some hardwood trees to plant around Kingfield, incorporating the same methods he had used on the HO scale trees. However, Lou wasn’t sure he could achieve the same results in O scale.
Since I had some free time, I said if he could supply me with the tools and materials, I would give tree construction a try. My first, single-trunk tree came out so well that I decided to try a doubletrunk version. When I showed him the results, Lou was so impressed he told me I should share my methods with Model Railroader readers.

STEP 1: BUILDING THE TREE
I used peppergrass sprigs, also known as candy tuft and sesame bloom, for the crown and branch structure of the hardwood trees. Lou gets his peppergrass from Carroll Creek, P.O. Box 535, Center City, MN 55012. Peppergrass can occasionally be found in big-box craft stores, but it’s usually dyed bright colors for use in floral arrangements. Raw peppergrass is easier to paint.
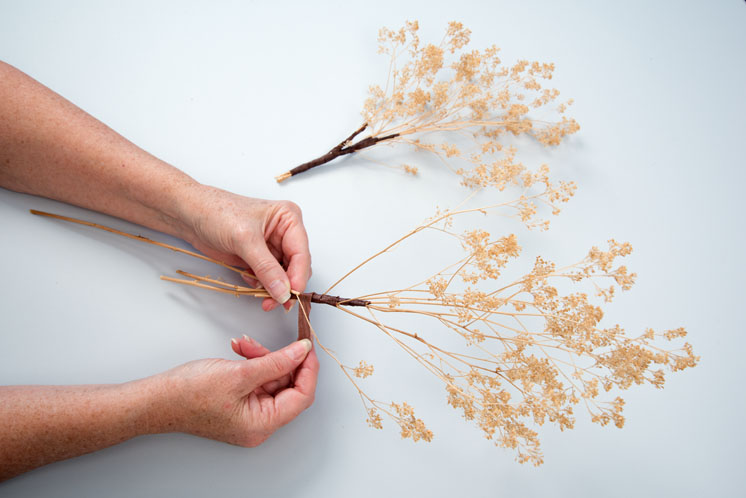
I selected sprigs that best represented the branch structure and crown of a hardwood tree. Raw peppergrass has flowers and leaves. I removed the plant’s leaves but left its flowers intact, as they looked like O scale tree leaves ❶.
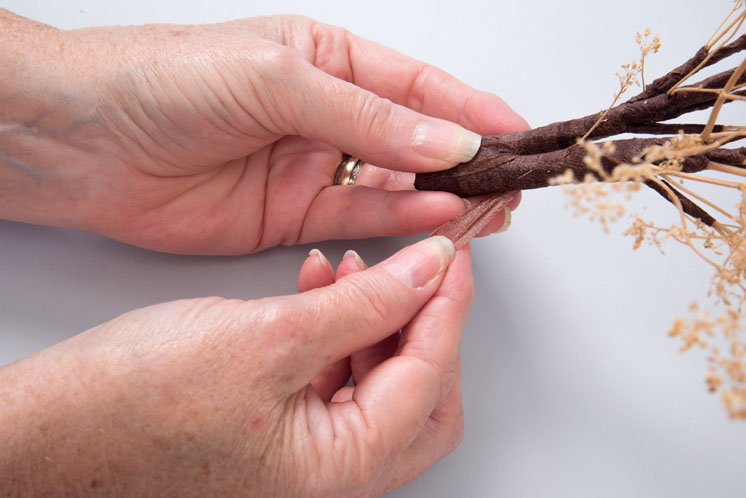
To force the two trunks apart, I wrapped tape between the two groupings of sprigs and pulled gently on the tape in a downward motion, crossing them over each other ❹. I taped additional branches to the tree structure to form the desired shape of the crown. I used tweezers to pull the tape through narrow spots.
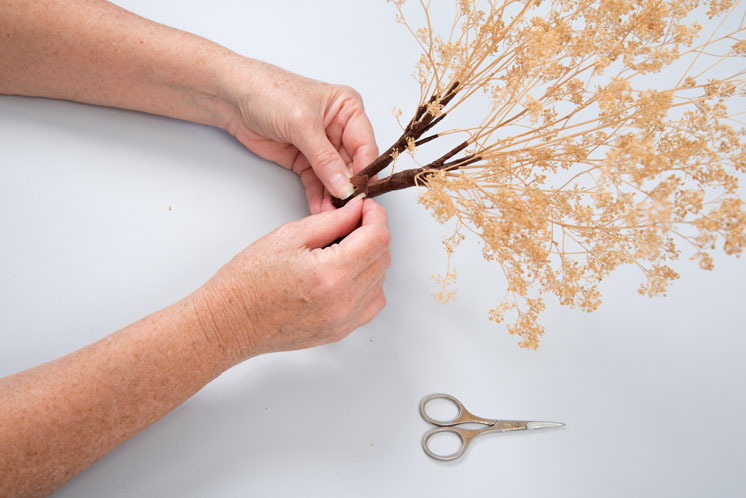
Once the branch and trunk assembly was completed, I trimmed off the base of the trunk with cutting pliers.
One additional feature I added to my tree is branches that have broken off. I captured this detail by dipping a short stub of peppergrass stalk into white glue and attaching it to the trunk.
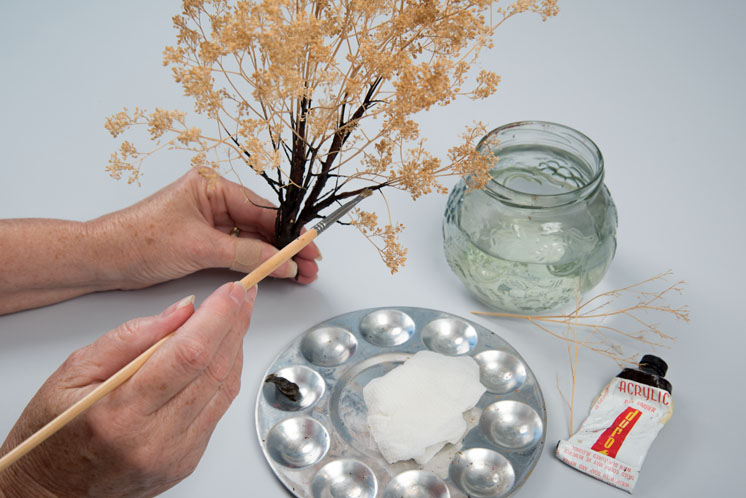

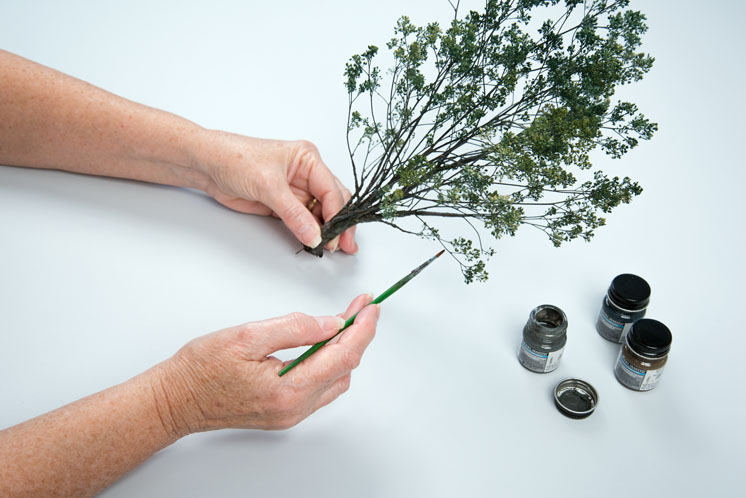
With the taping complete, I used a stiff-bristle brush to apply full strength Raw Umber artist’s tube acrylic to the trunk and base of random branches ❶. I stippled additional acrylics on the trunk with a stiff-bristled brush to give it a rough, textured look.
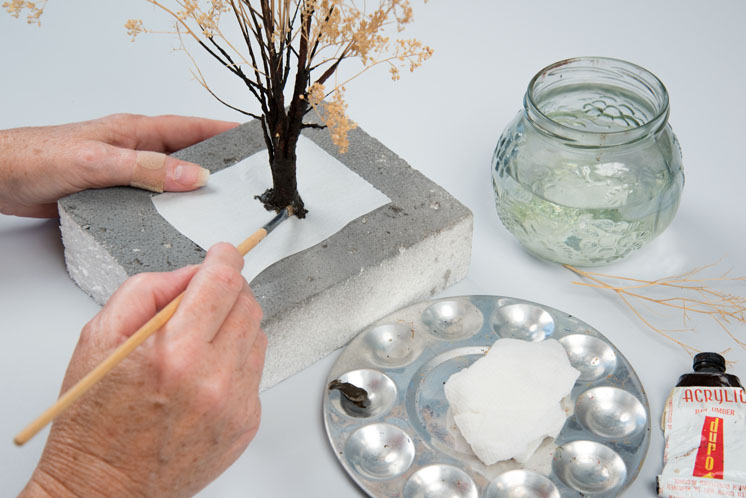
Next, I placed a piece of waxed paper between the tree and a scrap of Styrofoam, as shown on the next page. Then I applied globs of acrylic around the base of the trunk, pulling it out and away from the tree to form the upper portion of a root system ❷.
After the acrylics dried for about 30 minutes, I scribed the trunk and roots with a small pair of scissors to add
texture ❸.
STEP 3 ADDING COLOR
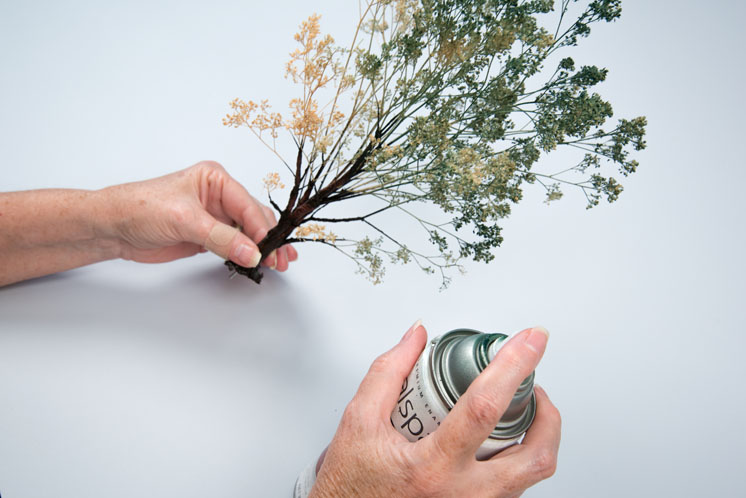
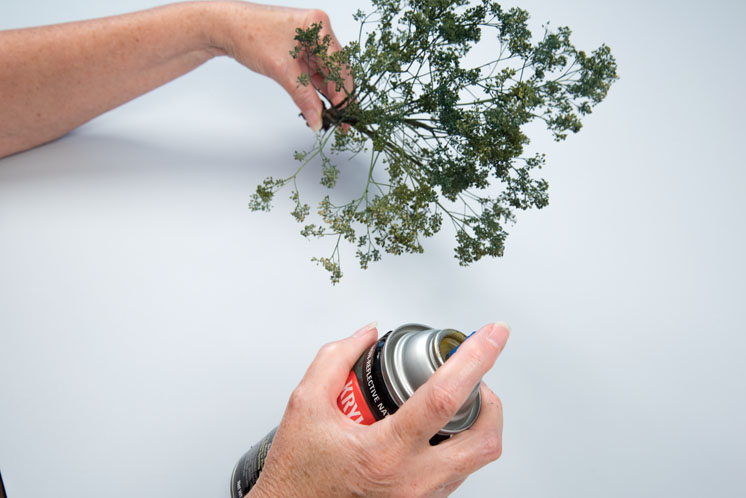
I spray-painted the leaves with a combination of aerosol green paints, beginning with Valspar satin Hunter Green (no. 65034) ❶. Do this in a well-ventilated area and wear personal protective equipment. Then I highlighted the tops of the leaves by lightly spraying Krylon Woodland Light Green (no. 4296) in a downward direction ❷.
After the paint dried, I used a soft-bristle brush to paint the trunk and branches Model Master Grimy Black (no. 4887) ❸. Next, I used the same brush to add streaks of Model Master Reefer Gray (no. 4886) and Roof Brown (no. 4884).
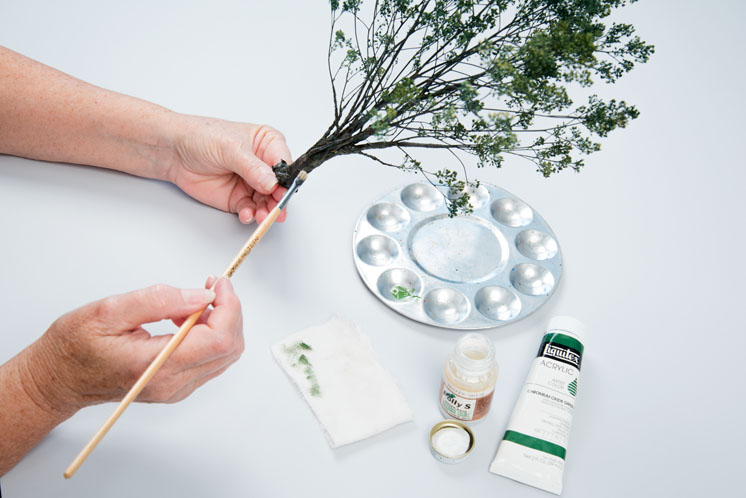
I then went back to the stiff-bristle brush to drybrush the trunk, branches, and roots with both Polly Scale Reefer White [The Testor Corp. discontinued the Polly Scale Line of acrylic paints. Model Master Reefer White no. 4873 can be used instead. – Ed.] and Liquitex Chromium Oxide Green tube acrylic ❹. The trick is to remove almost all of the paint from the brush by dabbing it on a piece of cloth before touching it to the tree. The white highlights the tree’s raised surfaces; the green gives the appearance of moss.
So there you have it, hardwood trees using peppergrass sprigs as the starting point. Even if you’ve never built trees before, give these techniques a try. Lou was so happy with my results that he named me the Sandy River & Rangeley Lakes’ new arborist.


