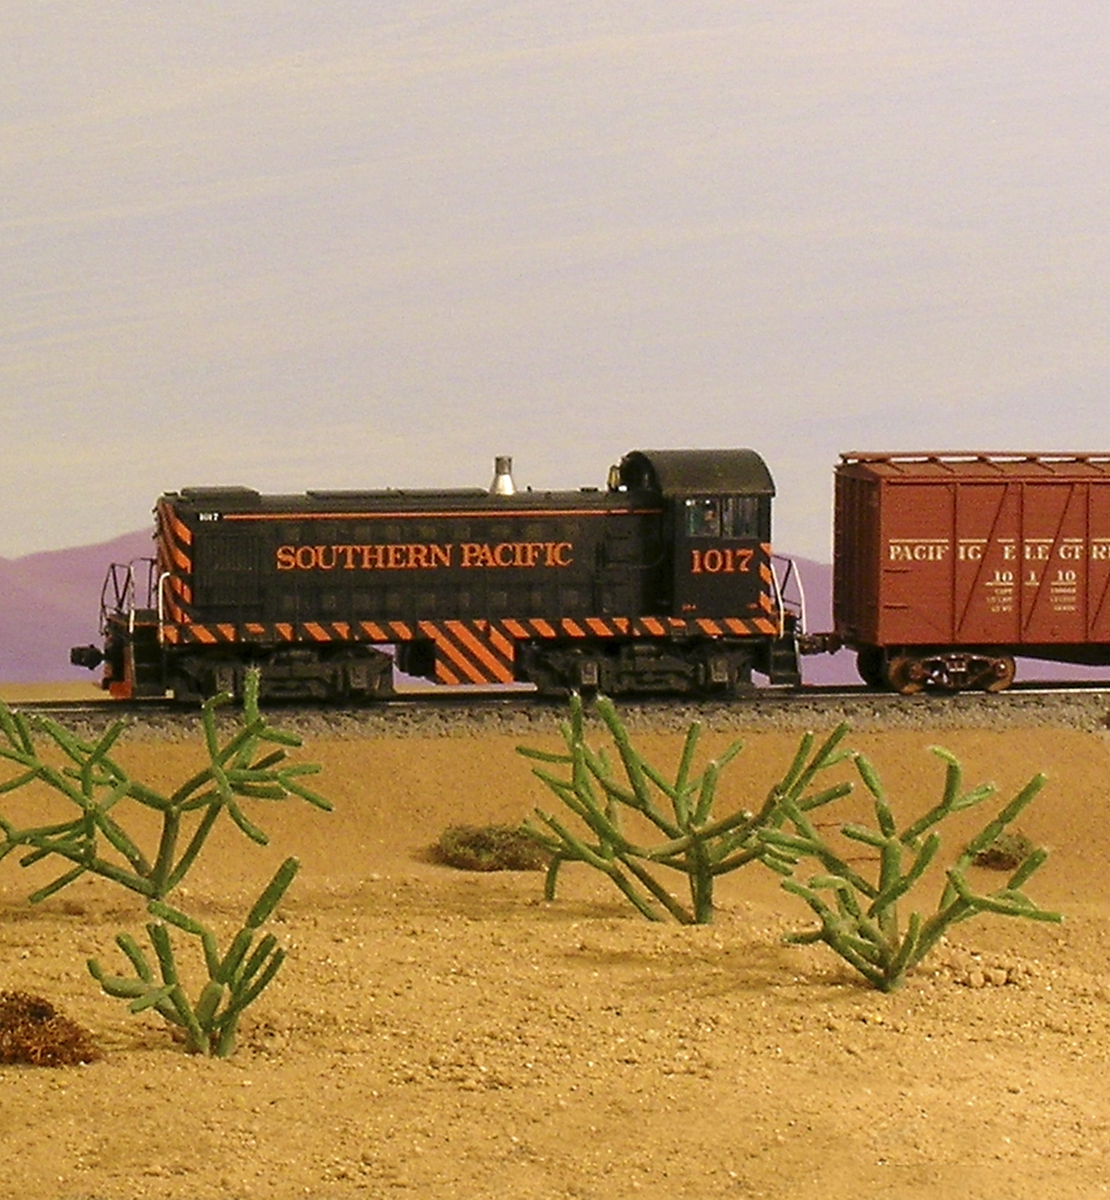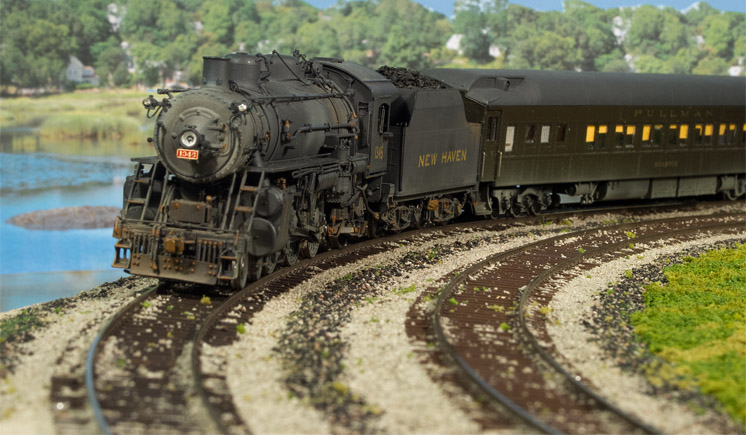
I think the most exciting railroad photos are of a locomotive at speed leaning into a curve. This “lean” results from a prototype practice called superelevation, and I’ve developed an easy way to achieve the effect on a model railroad.
Superelevation adds realism
Prototype railroads counteract this effect by superelevating curved track. On superelevated curves, the roadbed is raised so the outer rail is 4 to 6 inches higher than the inner rail. This shifts the weight of the train towards the inside of the curve and diminishes the effect.
Many modelers think adding superelevation to model railroad curves is difficult and involves complex transitions
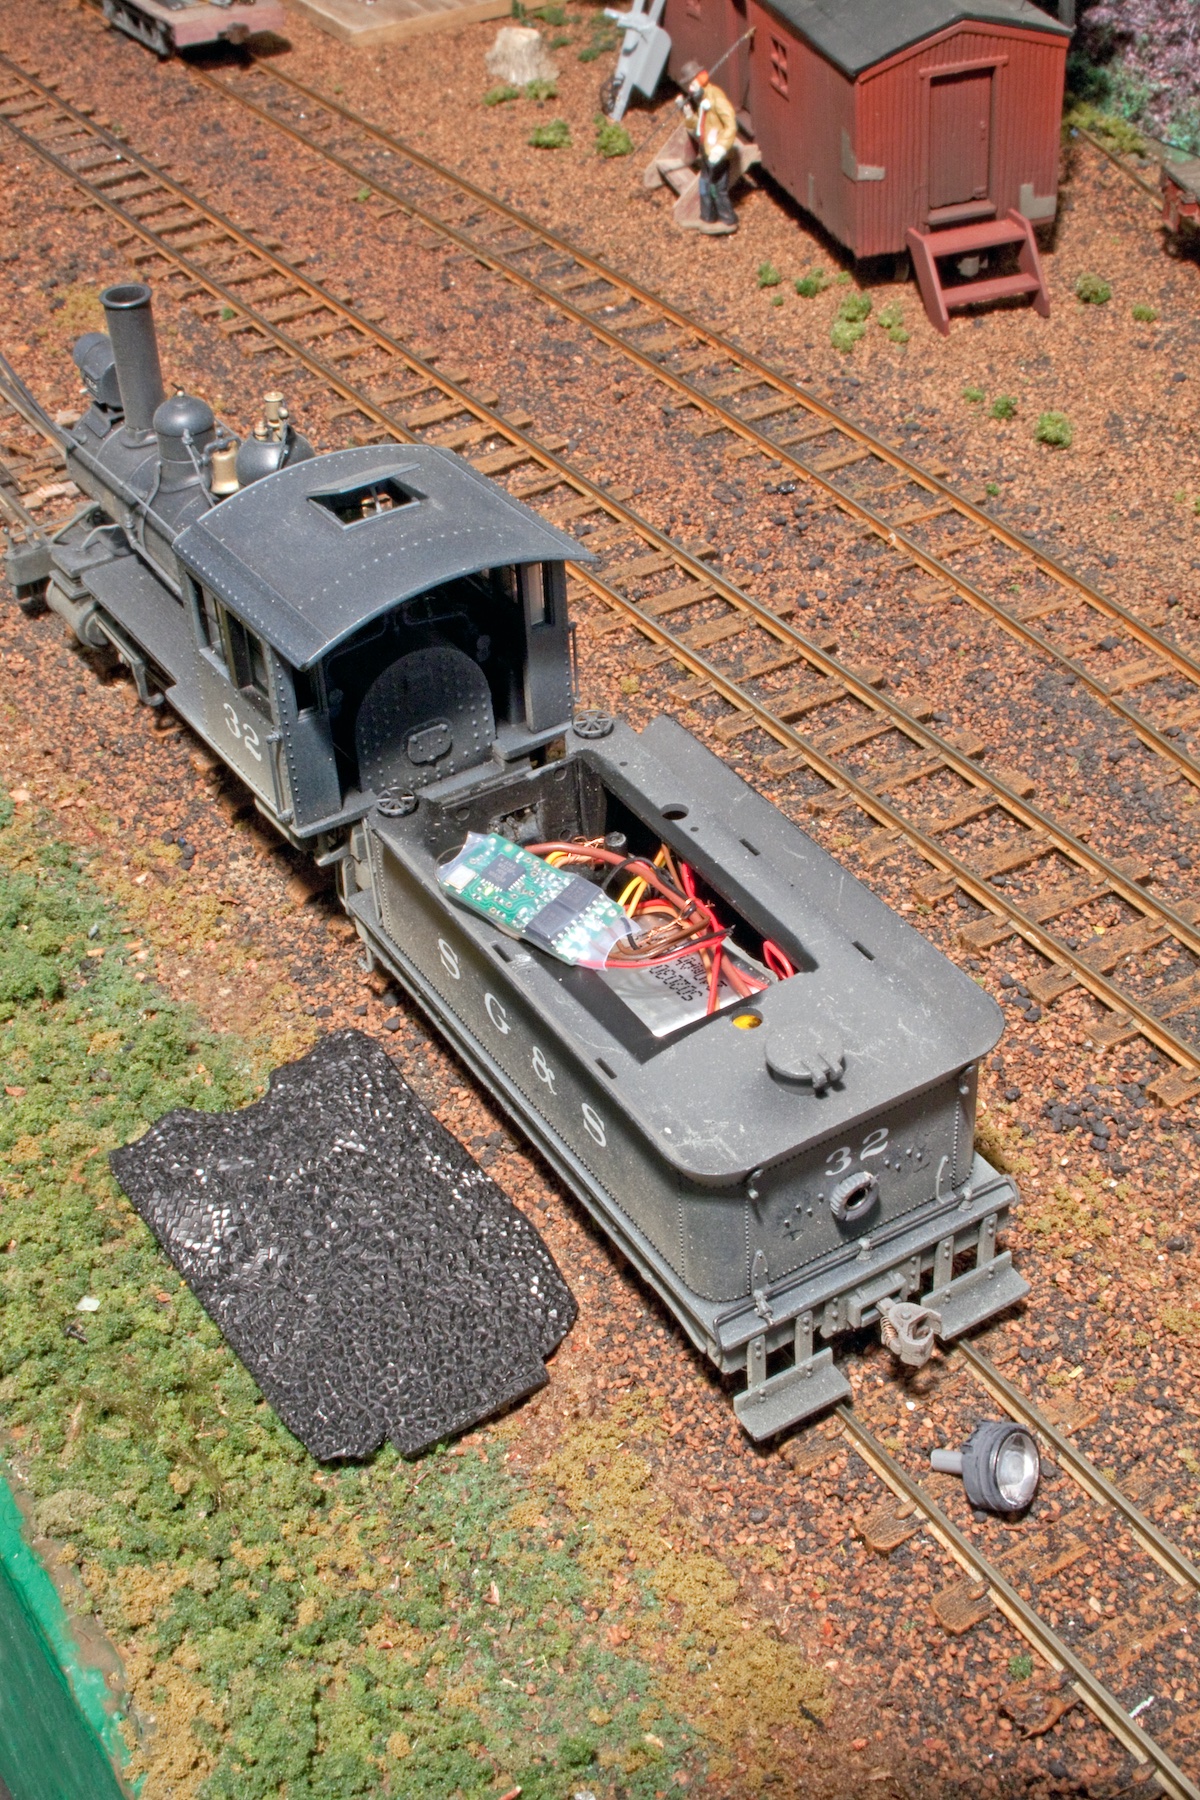
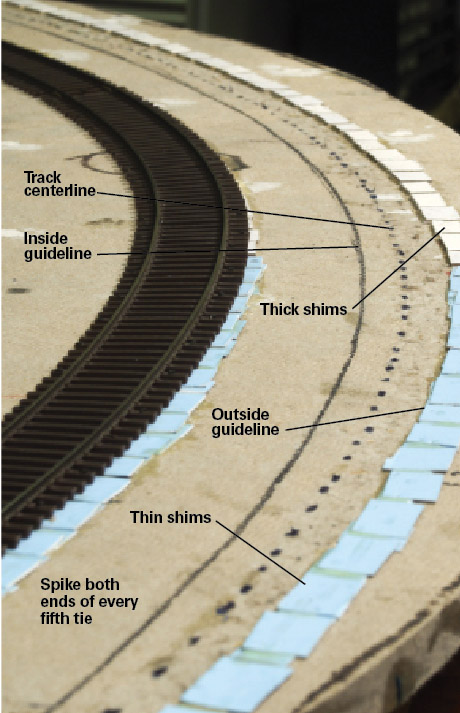
between straight and curved track sections. However, I’ve installed superelevated curves on three layouts using an easy 4-step technique. You can follow my method in the above right photo.
Step 1: Cut cardstock
First, I purchase two sheets of cardstock from an office or art supply store. I buy a thin (.030″) sheet of Oak Tag brand paper for this material. It’s often sold in various colors as construction paper for children’s projects. I also buy a sheet of .075″ thick poster board.
Usually, both products are available in 18″ x 24″ sheets. I cut each sheet into rectangular shims measuring 1⁄4″ x 1⁄2″.
Step 2: Install shims
After double-checking the guidelines, I glue down the cardstock shims in three sections, following the outside line of the curve. I use thin shims at each end of the curve and thick shims in the middle. Each of these sections is 12 to 18 inches long depending on the length of the curve.
I add a second layer of thin shims, starting a third of the way in from each end. This step helps smooth out the transition to and from the highest elevation.
Step 3: Spike down flextrack
I spike down both ends of every fifth tie. The spikes along the outside of the curve go through the shims. I drill no. 65 holes through the ties to make spiking easier.
Step 4: Cover shims with ballast
That’s it! By using these four simple steps, I’ve made my model railroad curves look more realistic.