Passenger car lighting with a decoder: People have been installing light-emitting diodes (LEDs) inside passenger cars for years. It’s nothing new. There are plenty of articles written about it, but I wanted to go further. When operating my trains in the yard, I want the lights in my passenger car to be off, but when they’re out between stations, I want the lights to be on. To be able to make that transition smoothly, I will need a decoder.
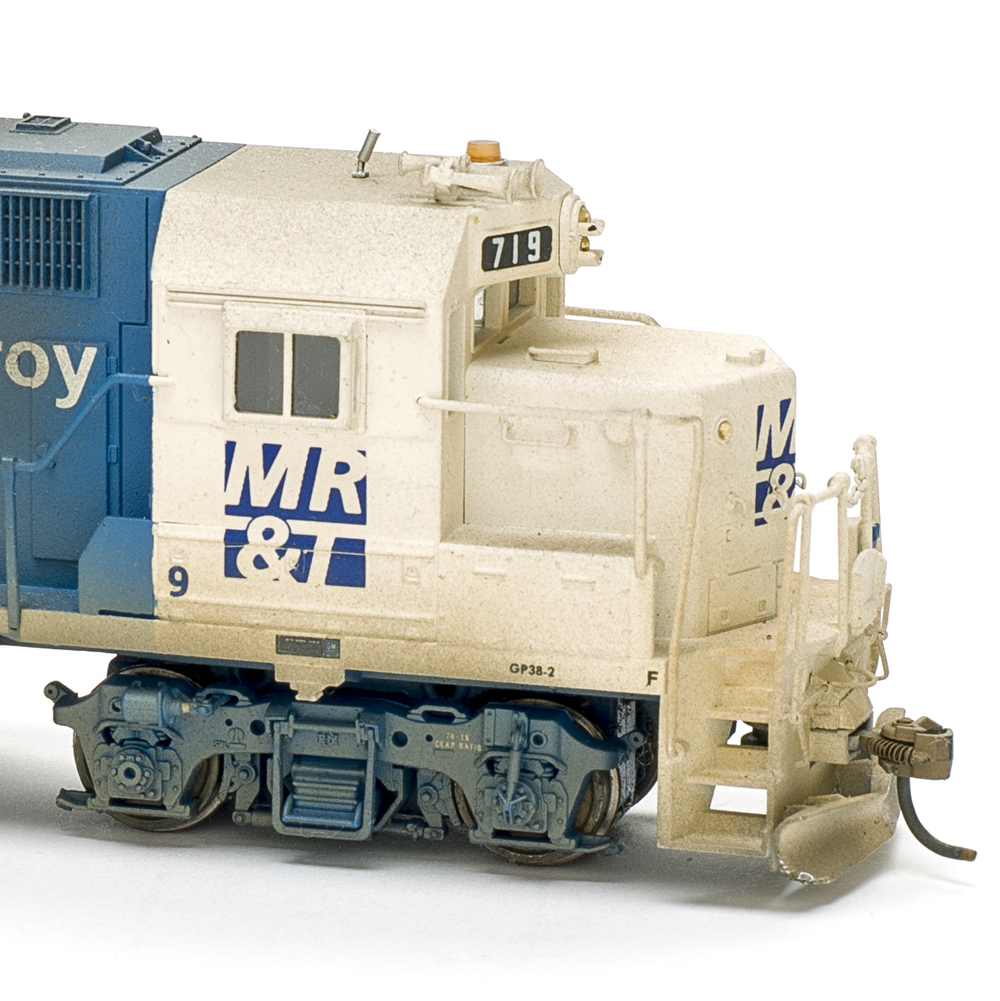
The car I’ve selected is the WalthersProto Amfleet passenger car. This is just a coach car, and it is shown here in phase three paint scheme. This car does not come with lights installed, so to add lights, I also need the WalthersProto passenger car interior LED kit. This kit is designed specifically for the WaltherProto Amtrak Amfleet cars. There are separate lighting kits for other cars that Walthers sells.
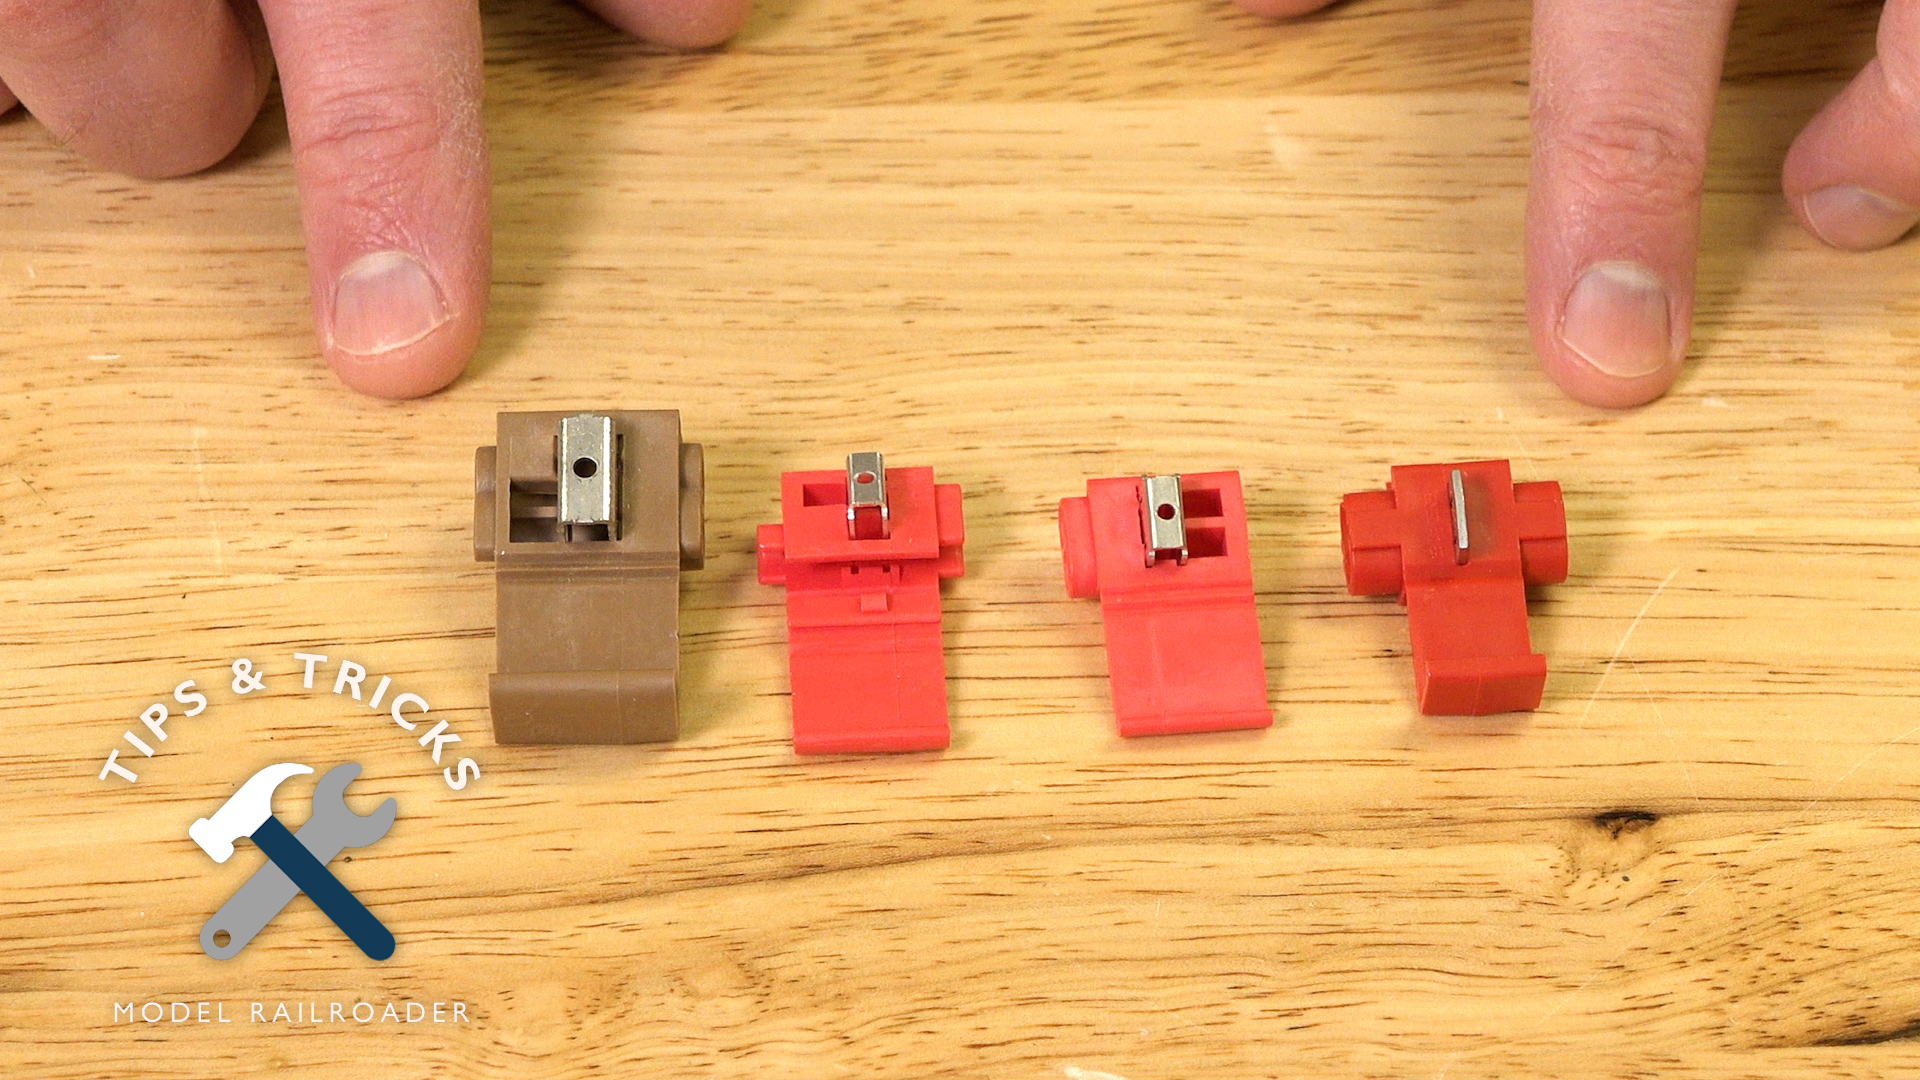
The decoder that I’m using today is the NCT light IT decoder. This decoder can be used for a variety of applications, but I’m going to be using it to as a mobile lighting decoder to control the LED lights of my Amfleet passenger car.
The Walthers lighting board comes with a positive and a negative lead for external power, which is what I’ll attach the decoder to. All four corners of the board have track power contacts. As you can see, I had to carve out a notch on the top of the hallway, because when the board gets installed, it’s going to sit flush against the top of the hallway. Any wires sticking up would impede the shell from seating correctly on the car.
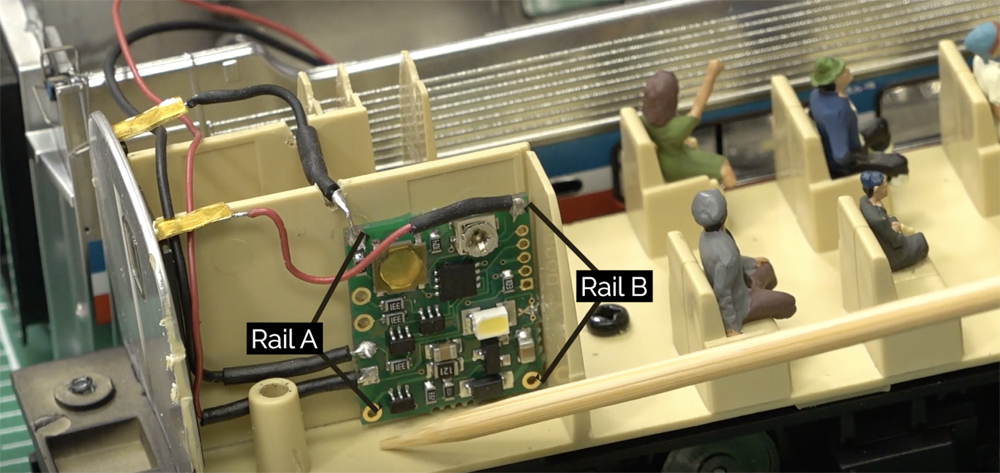
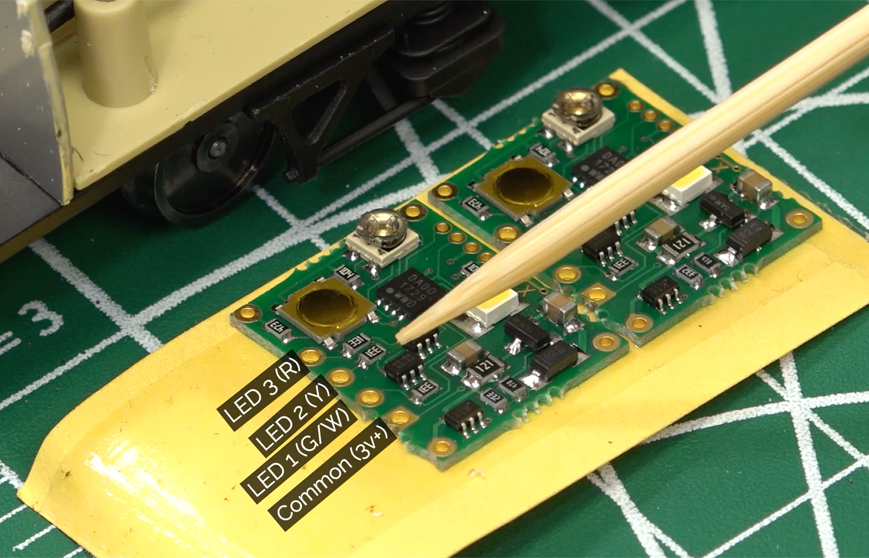
The two leads that go to the lighting board come from the side contacts on the decoder. There is a common positive terminal, and three ground terminals. I have chosen to use the closest one, which is the white/green terminal. The two extra ground terminals could be used for other LEDs, such as marker lights and door light.
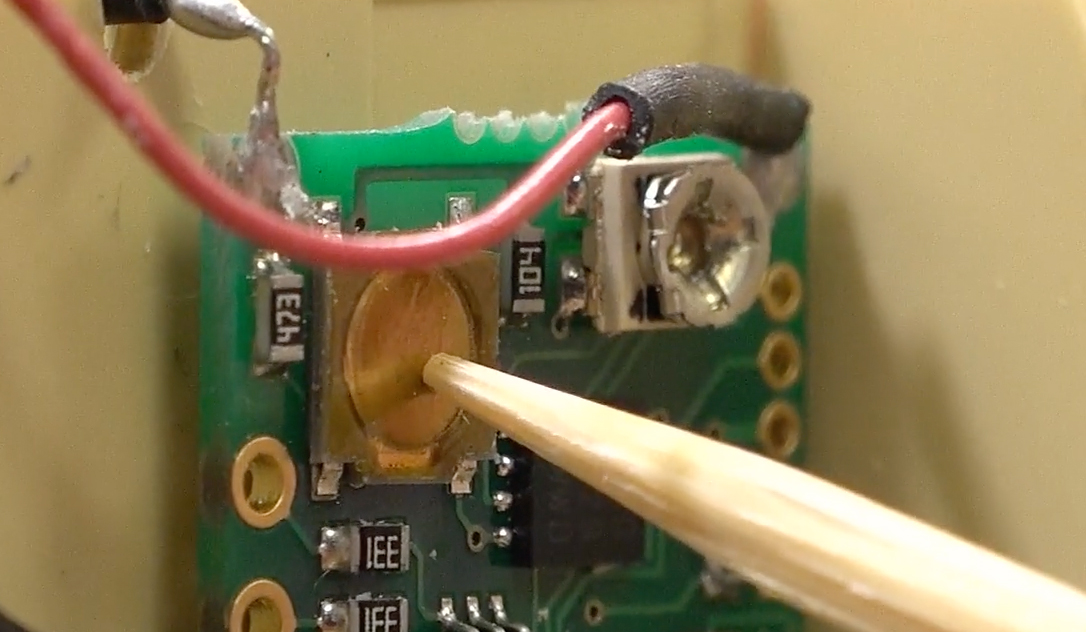
Now it’s time to turn the light switch on. To do that, I have to program the decoder. Luckily, programming this board is straightforward. By placing the car on the tracks, power begins to flow to the LEDs. I then press the small gold button on the decoder until the LEDs starts flashing. Next, I will program the decoder by selecting the locomotive number I want.
To do so, I’ll assign an address to this car, then press ‘CV’ and program CV number one to a value of one, and then press the ‘escape’ button. To test this, I will press ‘zero’ to toggle the lights on and off. With the lights functioning as I had planned, I have an Amfleet coach car ready for Hiawatha Service.