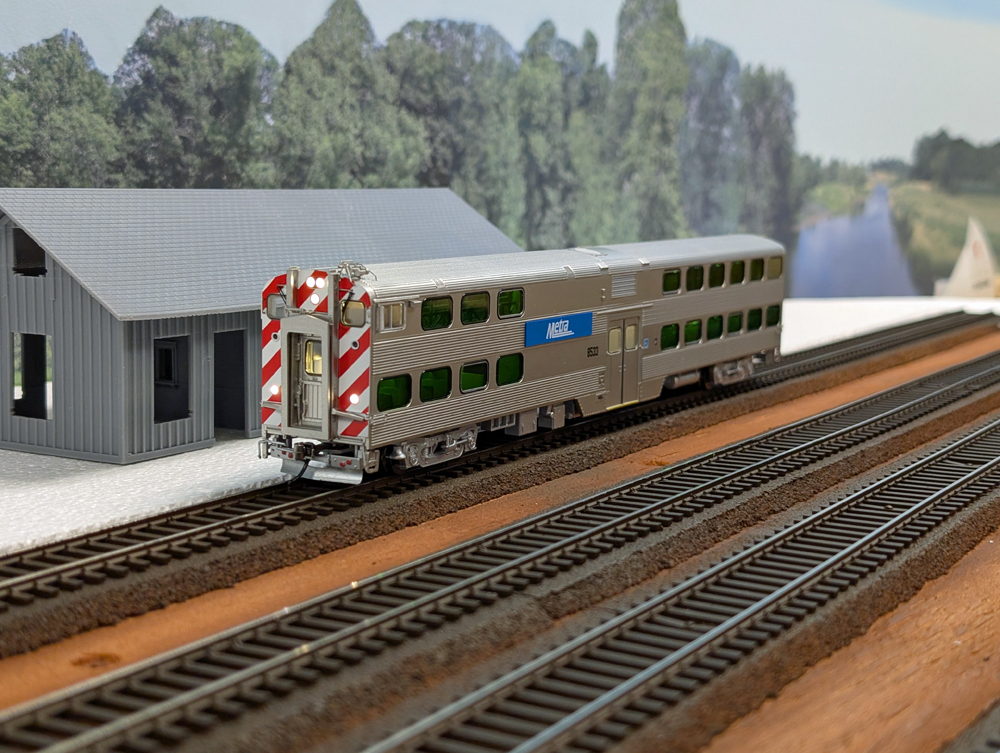
I’m a huge fan of commuter services, and that definitely includes Chicago’s Metra. So when I heard that Atlas was releasing Metra Nippon Sharyo gallery cars in HO scale, I had to get my hands on some. Since Metra runs a push-pull operation, the Type 8500 cab car gets as much time leading trains as the locomotive pushing. This meant that I had to figure out a way to install a decoder into the cab car.
Preparing the model
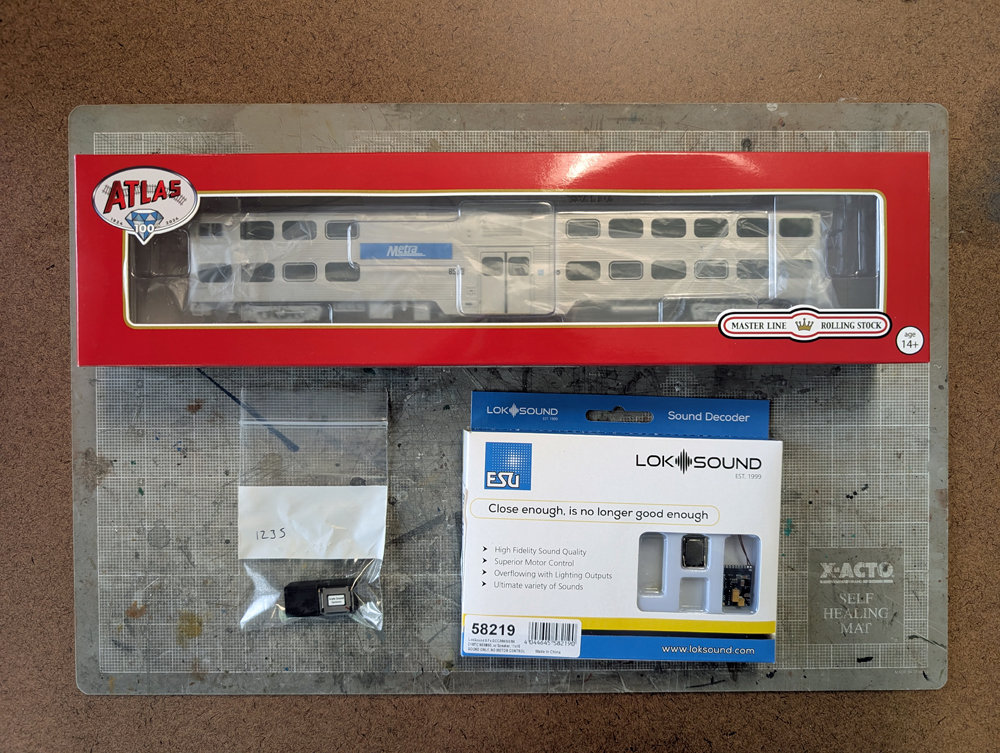
First, gather the components you need for the project. The cab car itself, speaker (I used a Scale Sound Systems UFIT-1235-RC1, made specifically for the cab car), and a LokSound 5 Fx decoder.
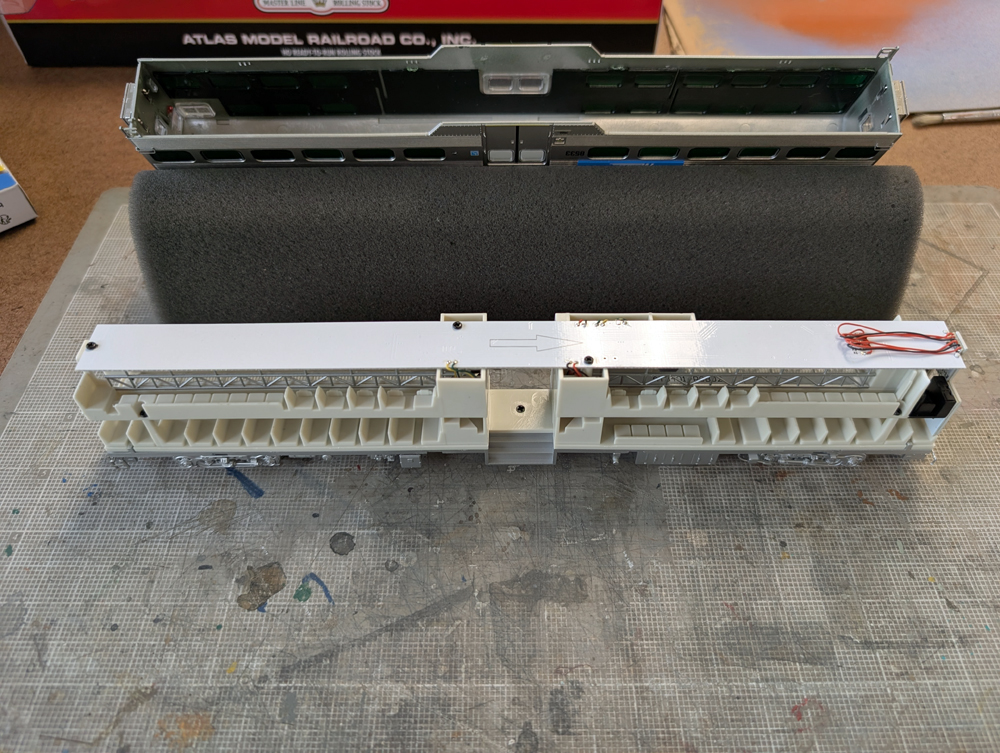
Next, it’s time to remove the shell. There are no screws holding the shell to the chassis, just four tabs near the middle vestibule of the car. Gently pull those away from the chassis and they should release, allowing you to pull the shell away.
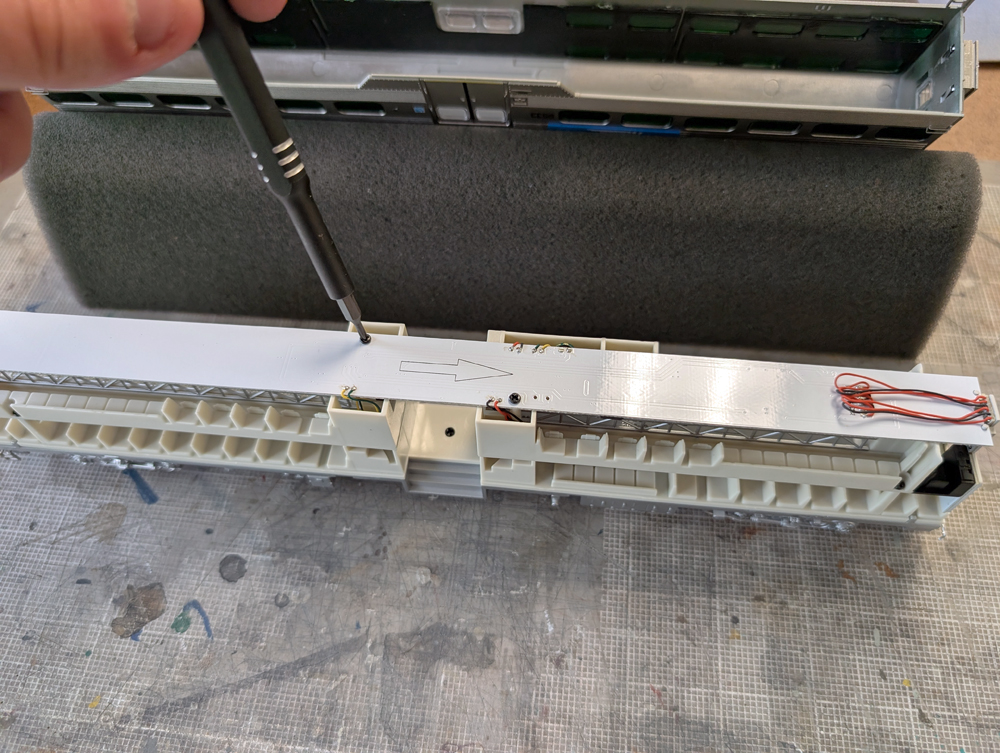
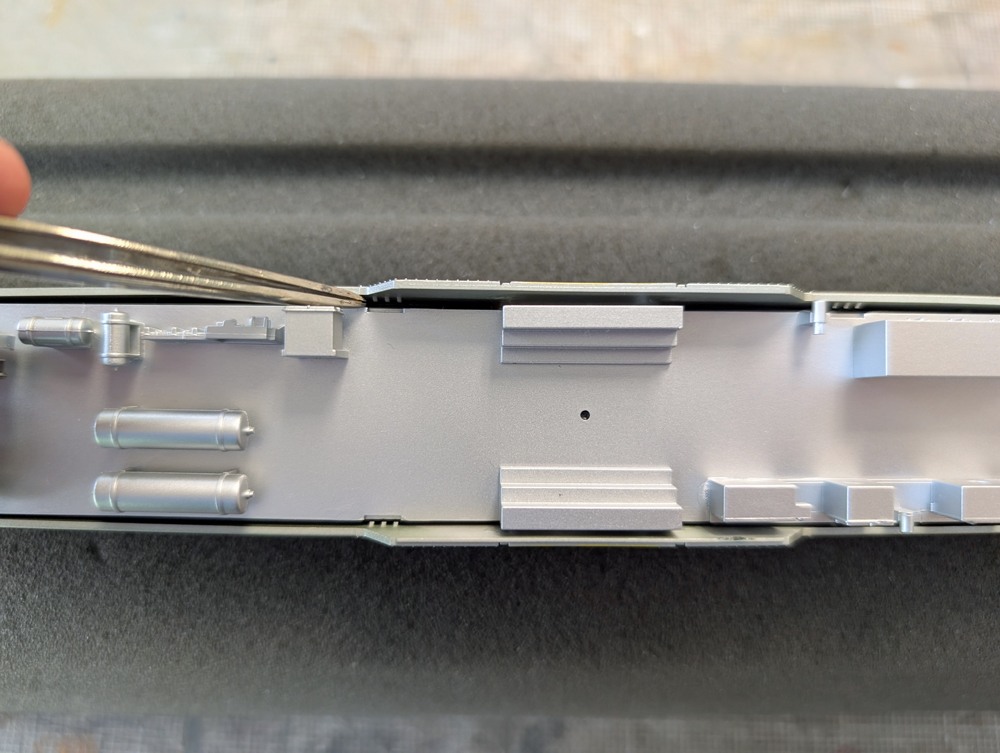
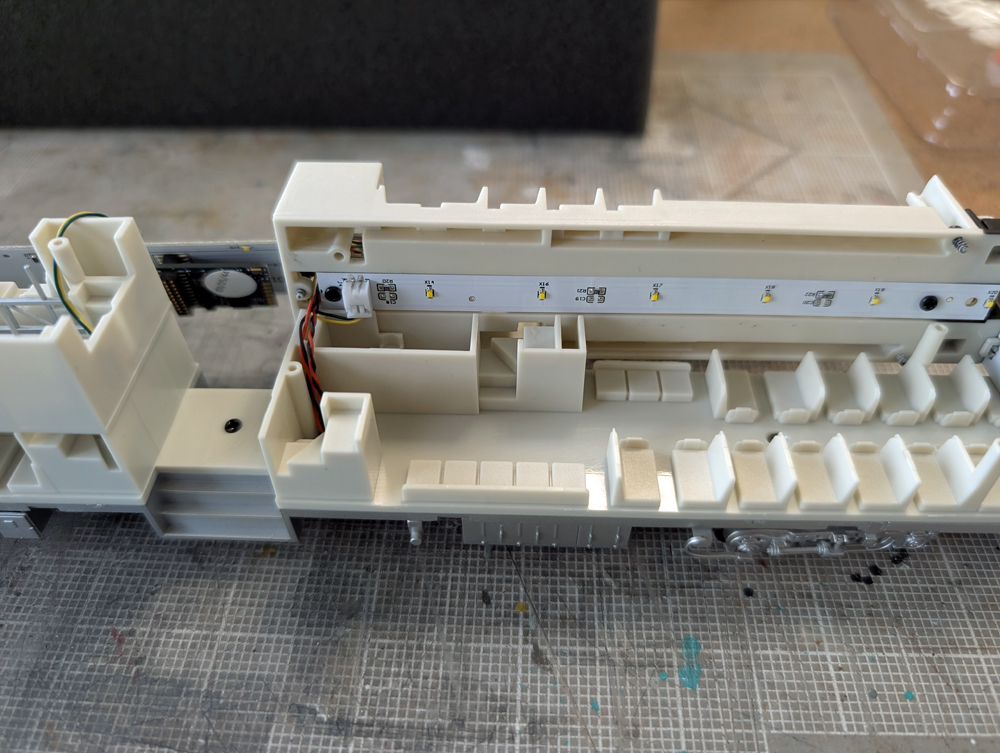
Unscrew the three black Phillips head screws on top of the light board and pull up the slack from all of the wires with tweezers. Then gently pull the light board off of the car, being careful not to pull on the wires.
The light board can now be turned upside down. Find the dummy plug near the center vestibule and gently remove it vertically. Make sure that you don’t bend any of the pins, as they’re necessary for the next step. If you never plan on running this car on a direct-current layout, feel free to discard the dummy plug. But if you do, hold on to it. The next time you run the car on a direct-current layout, simply reverse the decoder installation steps and unplug the LokSound 5 Fx, plugging the dummy plug back in.
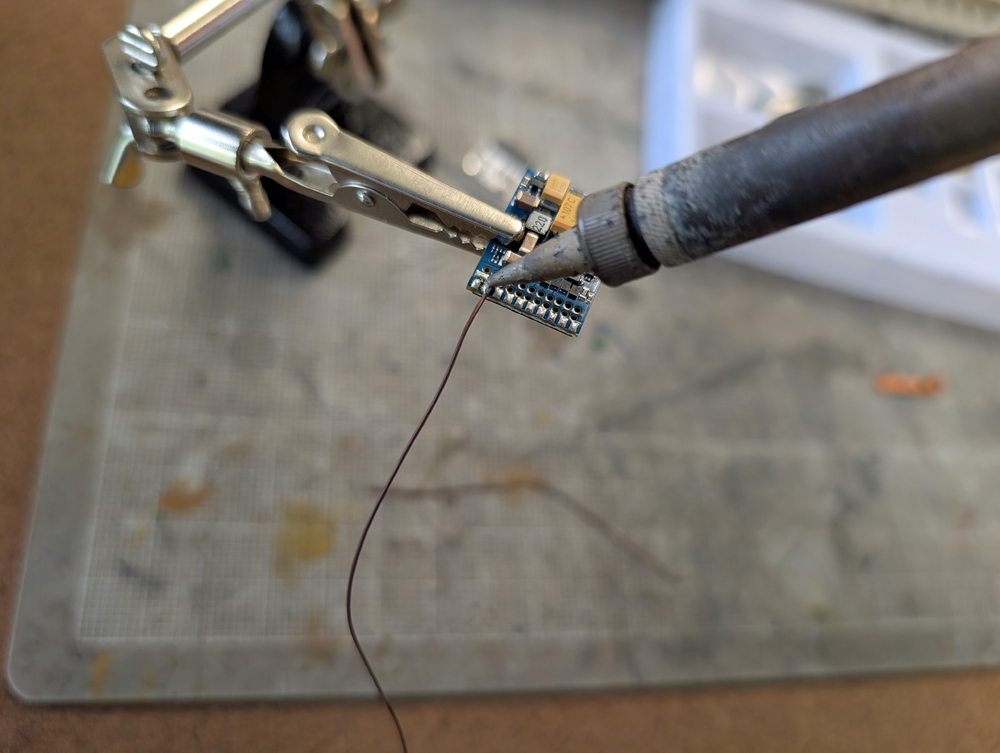
The next step in preparation is to remove the speaker wires from the LokSound 5 Fx. I found that the best way to do this is to heat up the solder that’s already on the wires and they will just fall right off.
Install the decoder
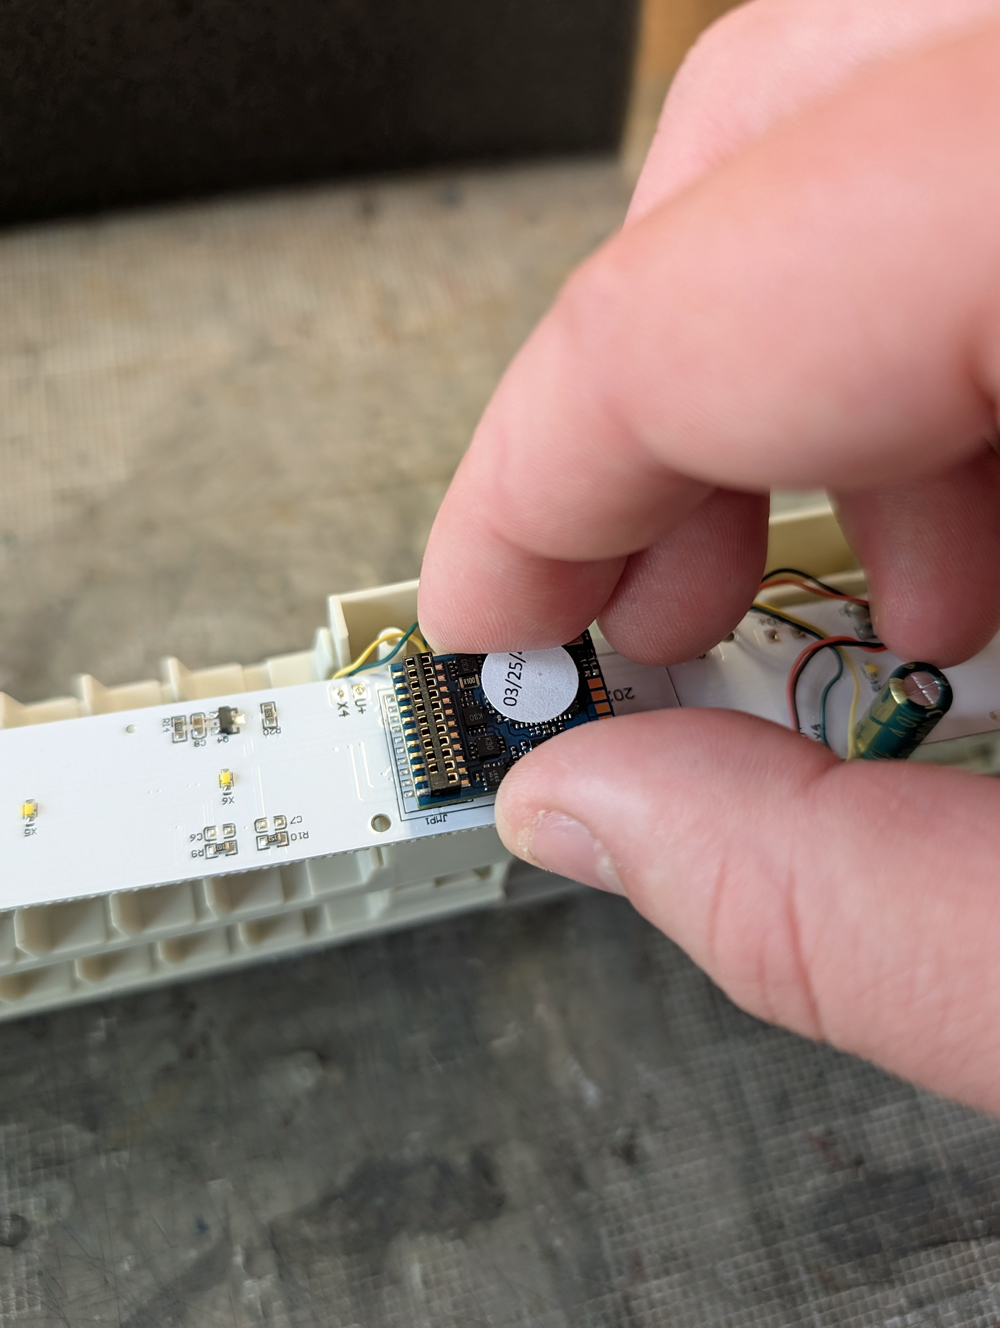
Place the decoder where the dummy plug was. Make sure it’s oriented the correct way, with 21 pins, it can only be installed one way. Make sure it goes all the way down to the board, but don’t put too much pressure on it.
Now put the car on a DCC test track and test out the lights. The car should respond to address 03. Test the headlight, ditch lights, marker lights, and Gyralite.
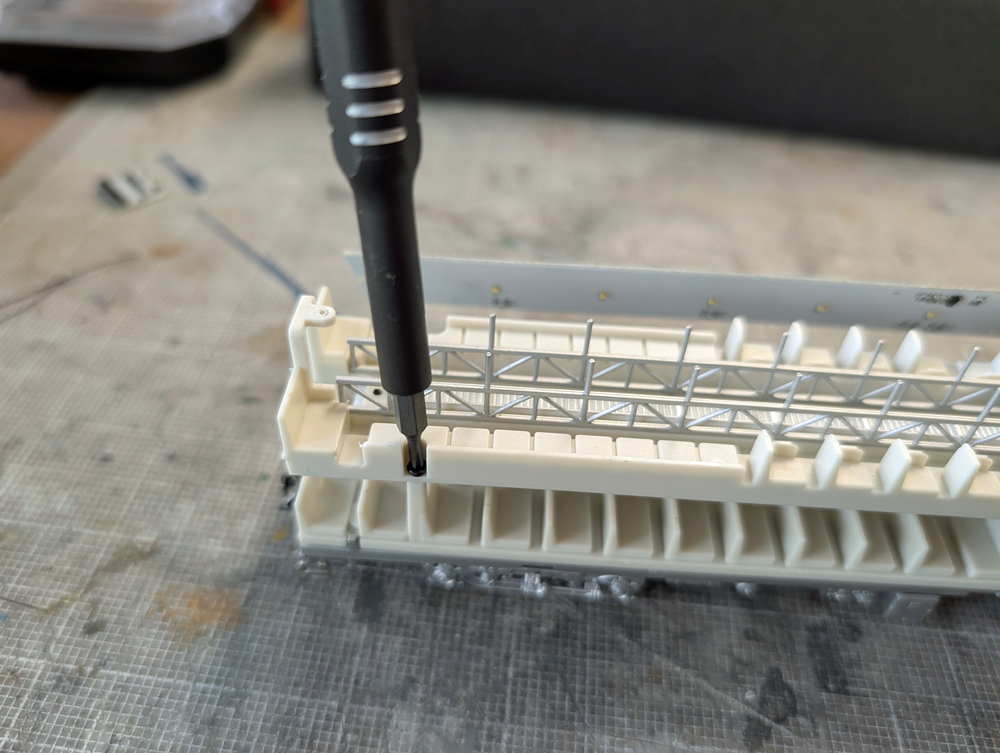
Next, find the half of the car that has the wheelchair seating area and remove the three screws (two at the end, one by the center vestibule) from the second floor of that half.
Lift up the second floor, taking care of the wires attached, and lay it on the opposite side of the car than you’re working on. The area where the seats are only on the side of the car is where the speaker will fit.
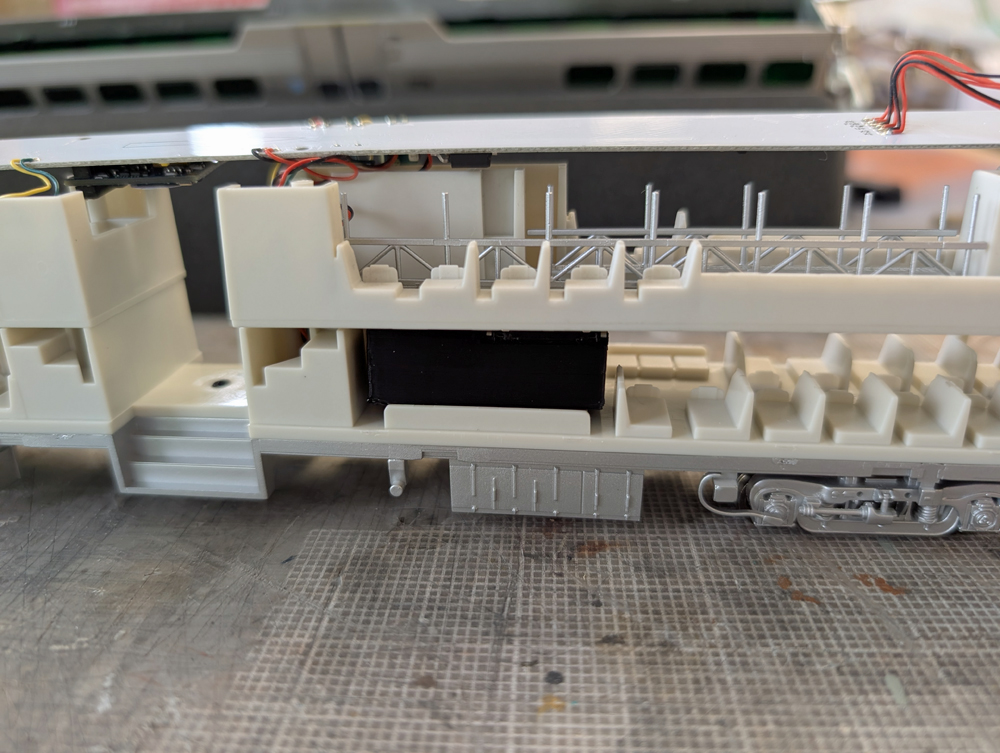
Now test fit the speaker in the car interior. Make sure that the floor of the second level does not touch the top of the speaker housing. It should sit in the wheelchair seating area without any force being used.
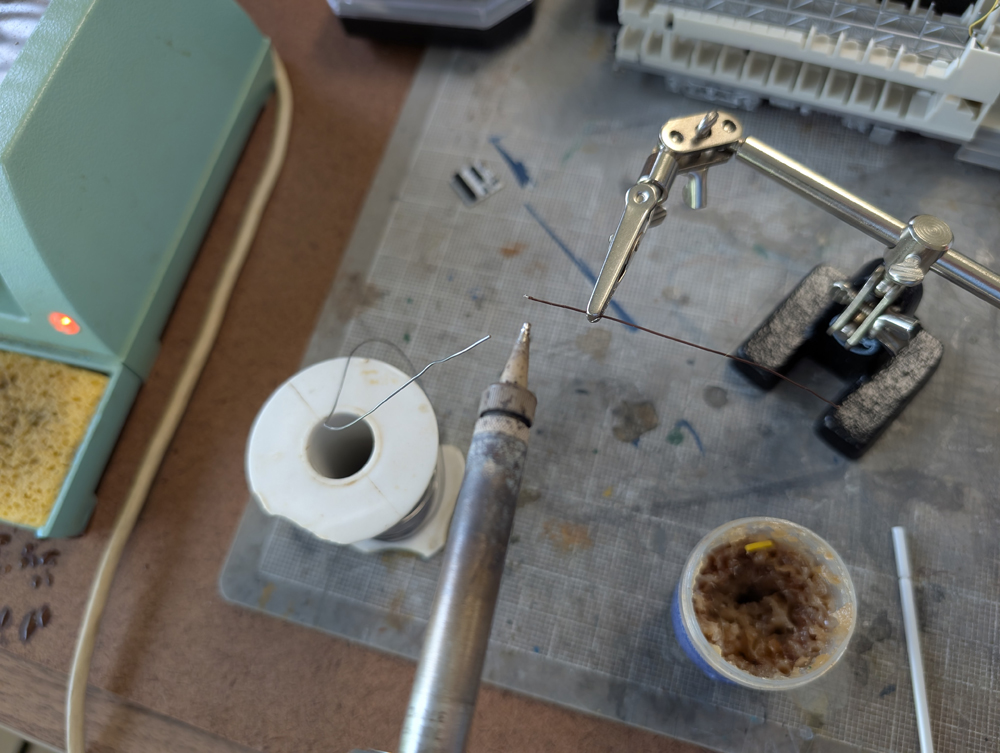
I tinned both ends of the speaker wires that I removed from the LokSound 5 Fx decoder. You could use your own speaker wire, but this seemed like a better use of my resources.
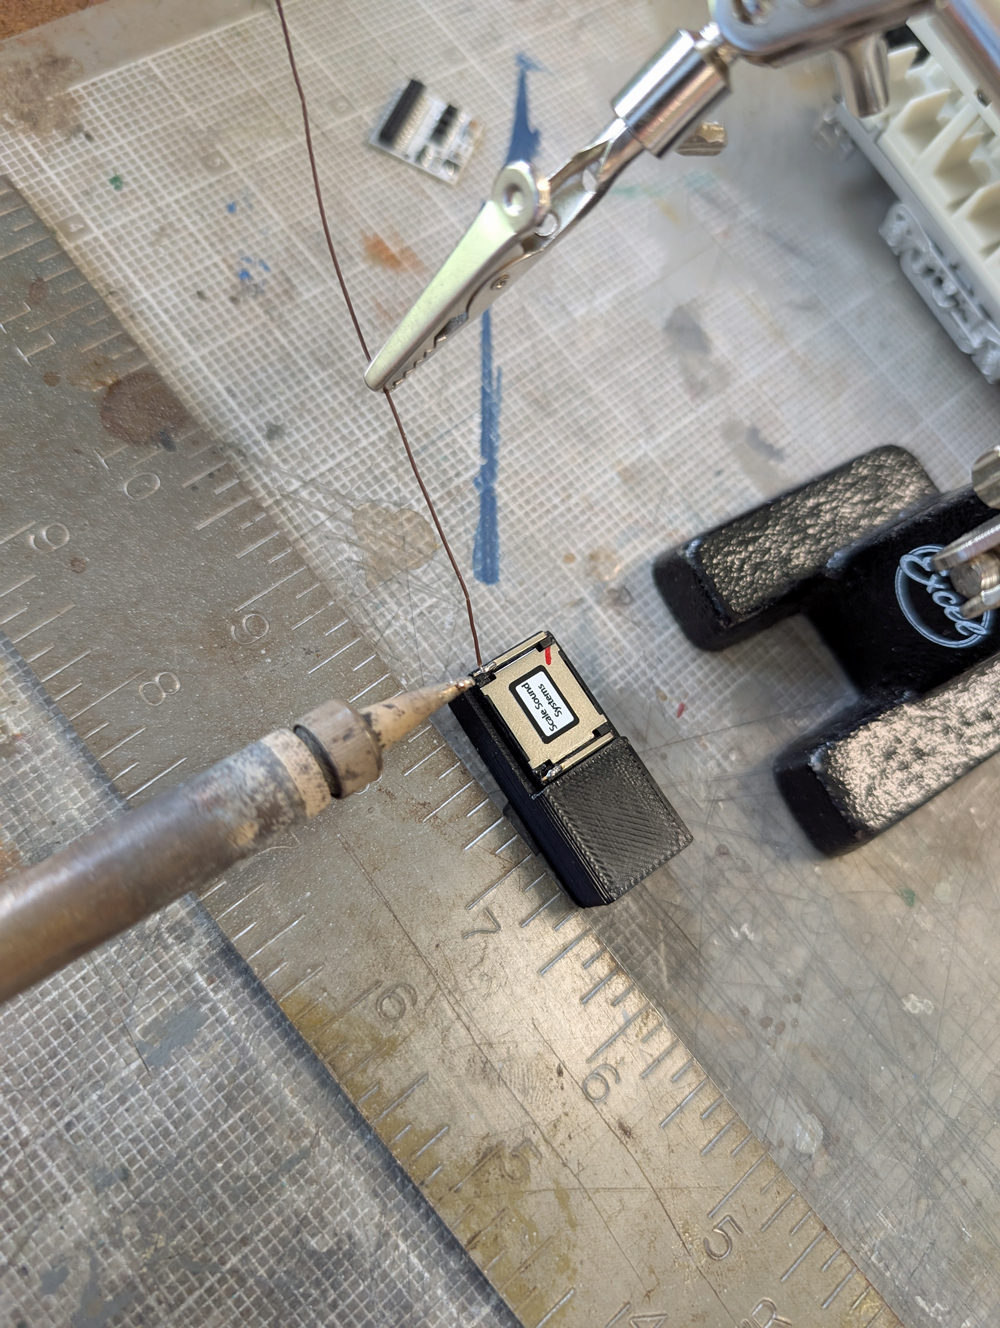
I also tinned the contacts on the Scale Sound Systems speaker so the installation would go smoother. Solder one wire to each contact, being sure not to solder to the speaker driver or melt the housing.
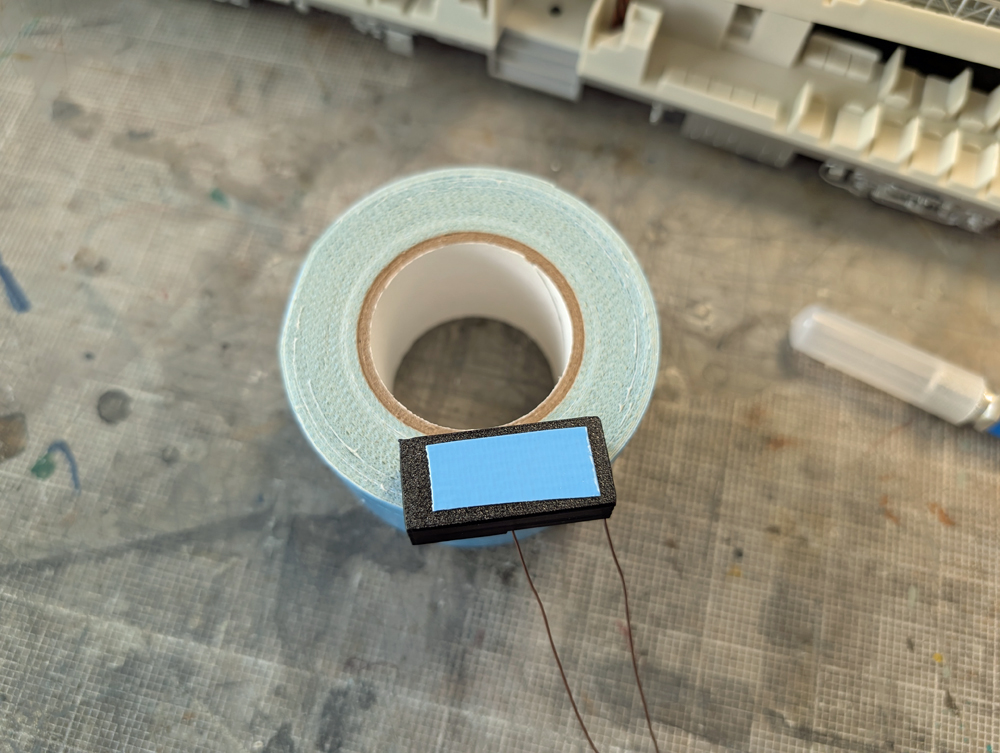
Scale Sound Systems recommends this double-sided tape for the installation of speakers. I cut a piece smaller than the speaker housing itself with a sharp hobby knife and applied the sticky side to the speaker housing. Once applied, peel back the blue covering and press the speaker in place on the first floor.
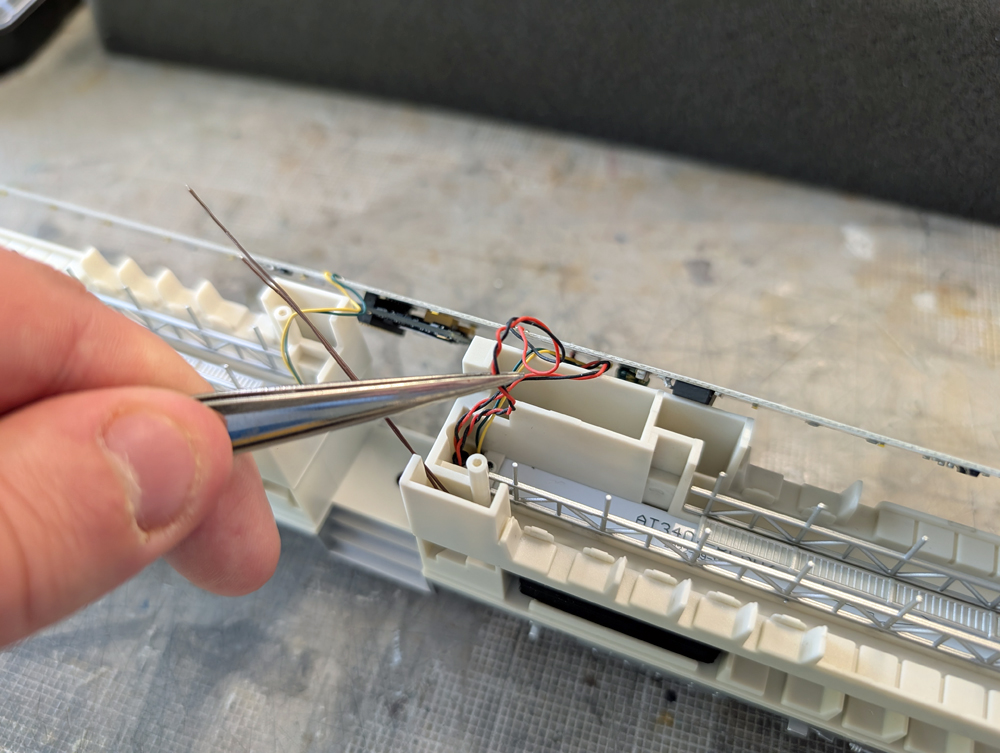
Now that the speaker is installed, thread the brown wires through the stairwell and into the second floor. Place the second floor back in place and screw it back together, ensuring that no other wires are caught in-between the two floors.
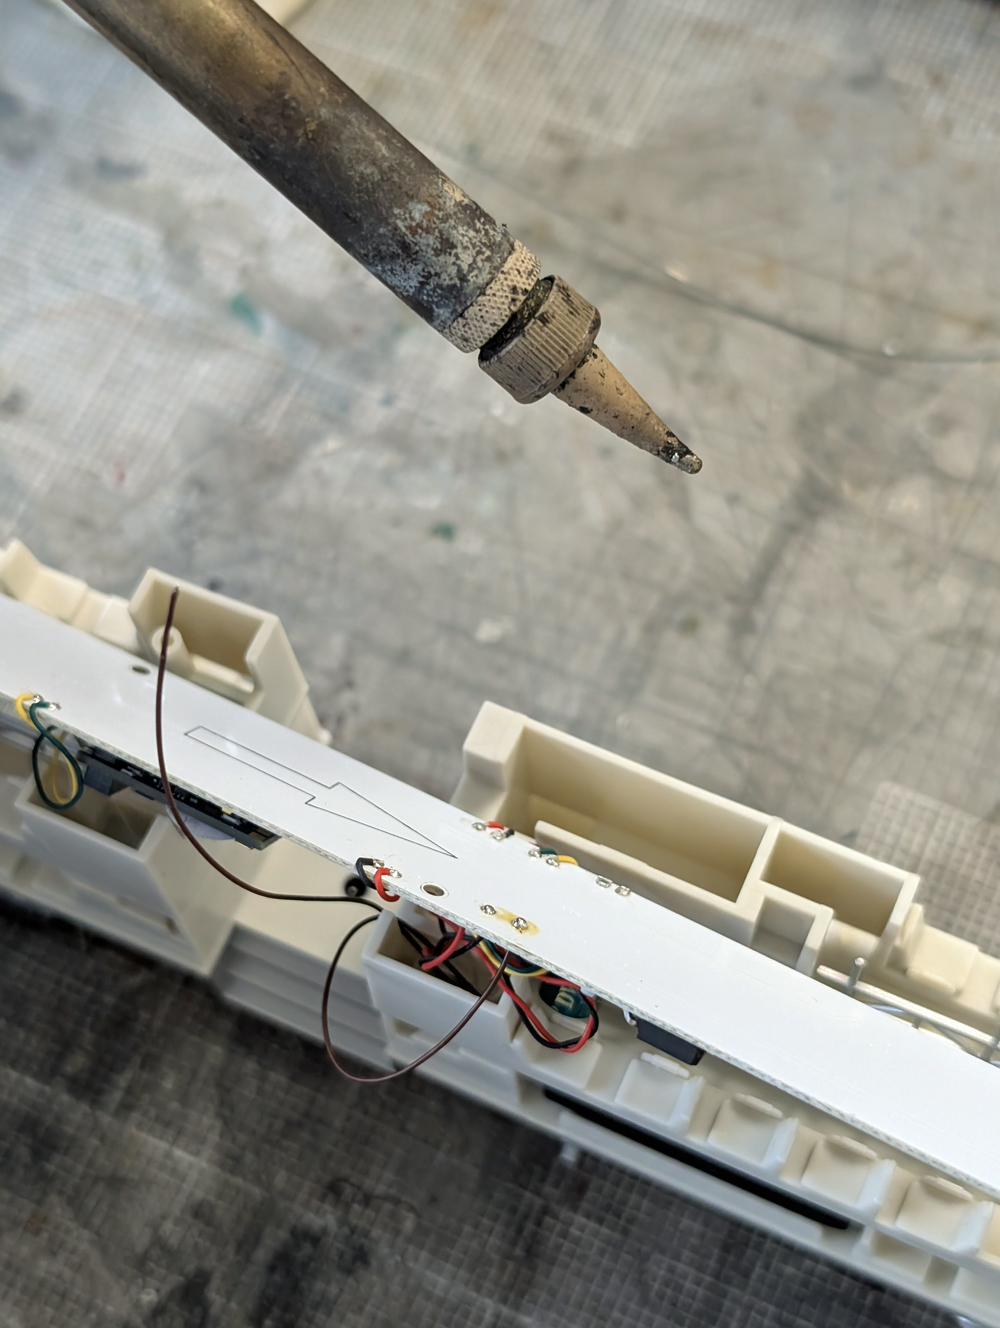
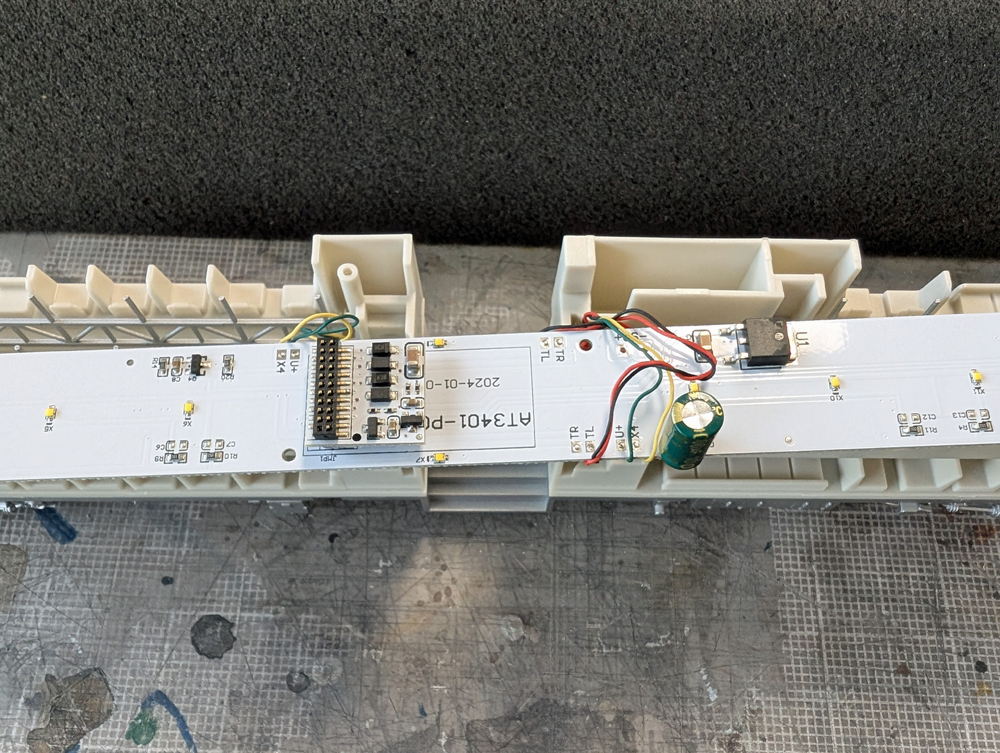
Atlas has included two handy solder pads on the upper light board where the speaker wires should be soldered to. With the arrow pointing to the right, they are next to the red and black wires, across from green and yellow. The underside of the board has a callout for them. I also tinned these, as the less amount of heat applied to the board, the better. Then screw the three screws back in the top of the light board.
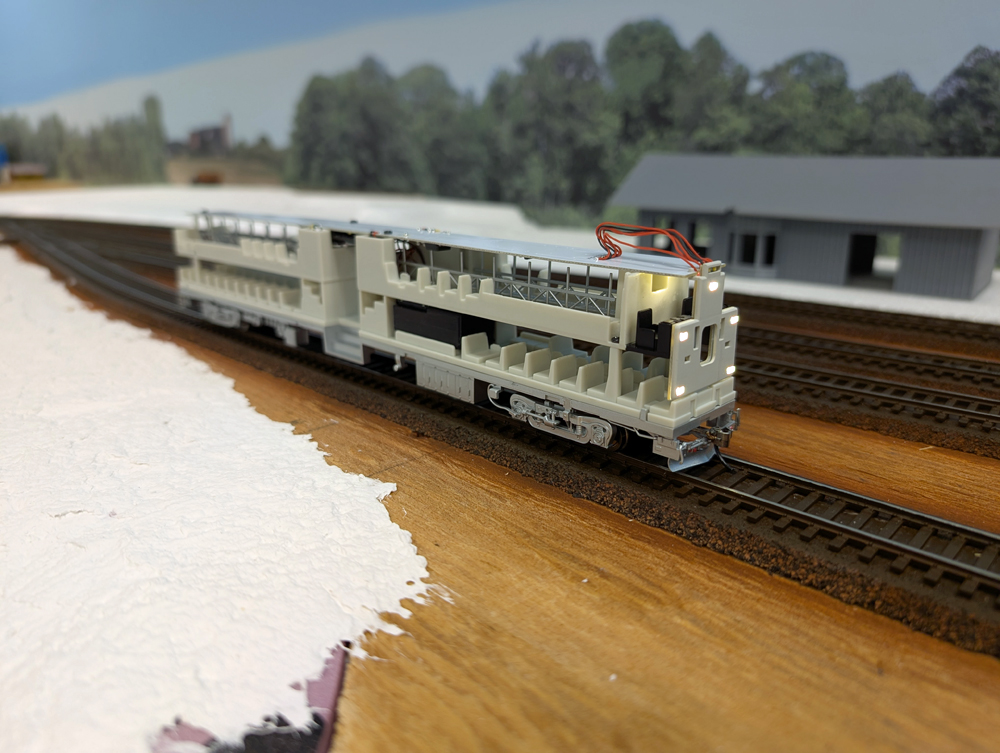
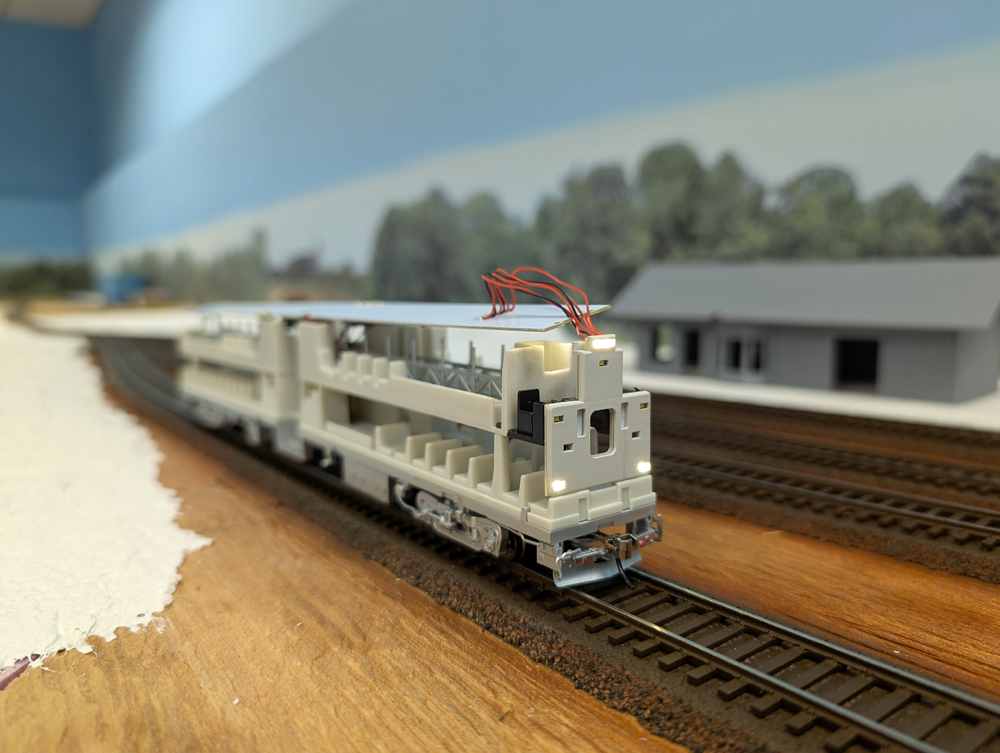
Now that everything inside the car is installed, test it one last time before putting the shell on. Lights and some sounds should work. Try the horn and bell to make sure sounds come out of the speaker. Before putting the shell back on, place a piece of Kapton tape over the wires above the cab to help them sit when the shell is placed.
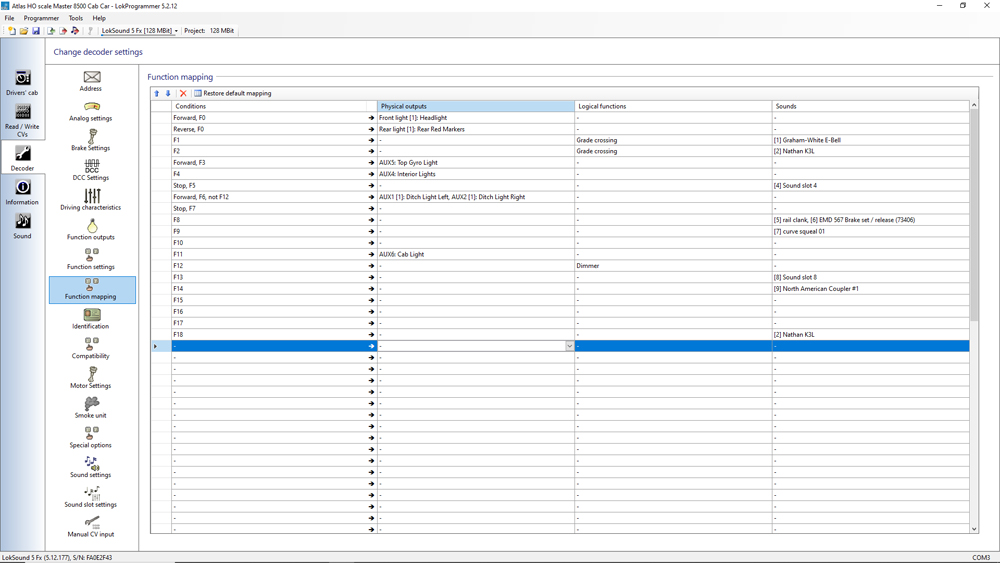
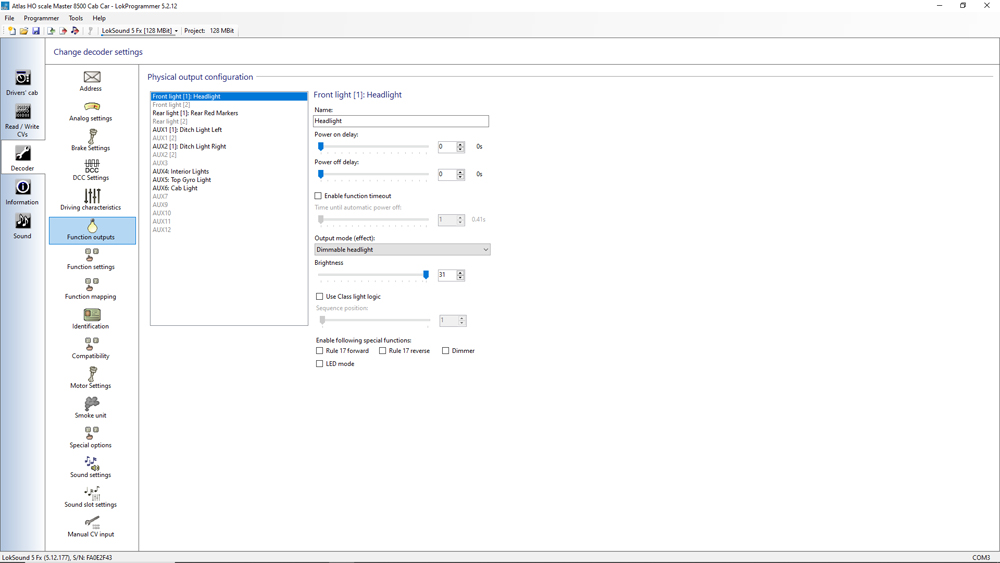
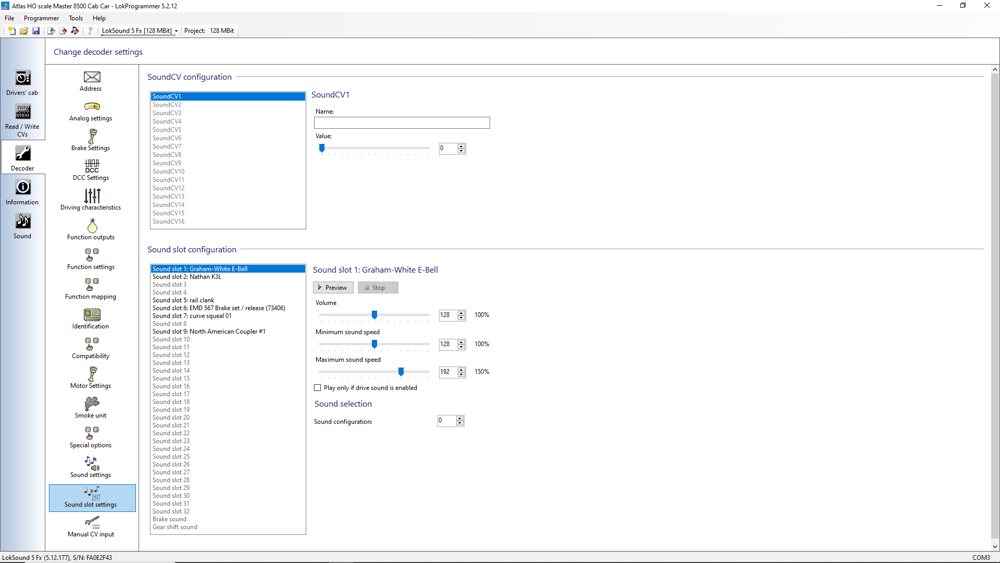
Programming the decoder
You’ll need an ESU LokProgrammer to modify the sounds on the stock LokSound 5 Fx. I used ours and placed the car on the track that it was connected to. There are various ways to add sounds to this decoder. Some individuals online have versions that they sell with specific Metra-recorded sounds. You could use a file from ESU’s sound file project library, specifically S-95430, made for Atlas’ NJT cab car. Or you could make your own project using ESU’s library of sounds. If you want to go this route, I have attached screenshots below of the changes that I made to the decoder. No matter what way you want to go, you must have access to a LokProgrammer to change any of the sounds in the decoder.