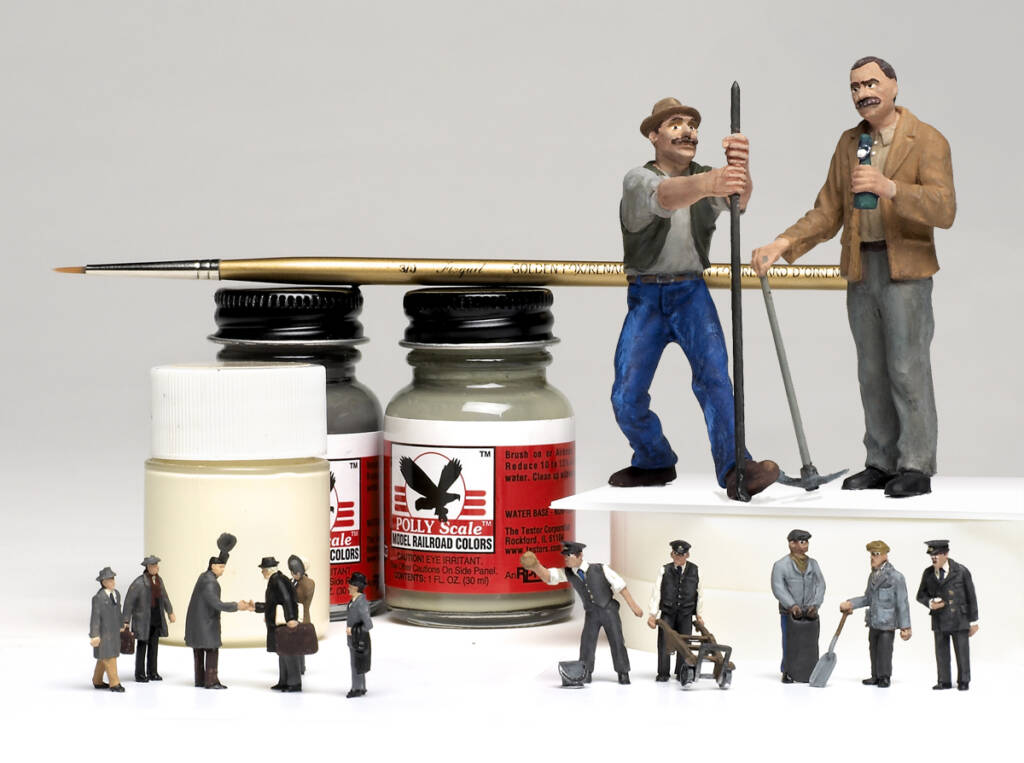
Adding scale people to your layout can be as simple as opening the box and gluing them in place. Manufacturers such as Preiser, Merten, Woodland Scenics, among others, offer a selection of realistic, factory-painted plastic figures for model railroads.
However, if you have a railroad that requires a large population, it can be more economical (and more fun) to paint your own figures. For the examples I’ve shown here, I’m using Dart Castings 1:76 proportion metal figures, as well as plastic models from Preiser. In addition, there’s a wealth of unpainted plastic and metal castings from other manufacturers in various scales.
You don’t need a lot of tools and materials to get started painting your own figures. As for painting supplies, good quality red sable brushes in No. 3 and No. 3/0 sizes are all that’s initially required. Chances are you already have an assortment of acrylic model paints on hand, but if you don’t, about a dozen basic colors, including white, black, and skin tones, are what you need to begin. As you hone your figure-painting skills, you can add other paint colors and brushes. You’ll also need a hobby knife and small jeweler’s file or two.
Follow along as I show you how to add realistic finishes to figures.
Shading dark clothing with washes
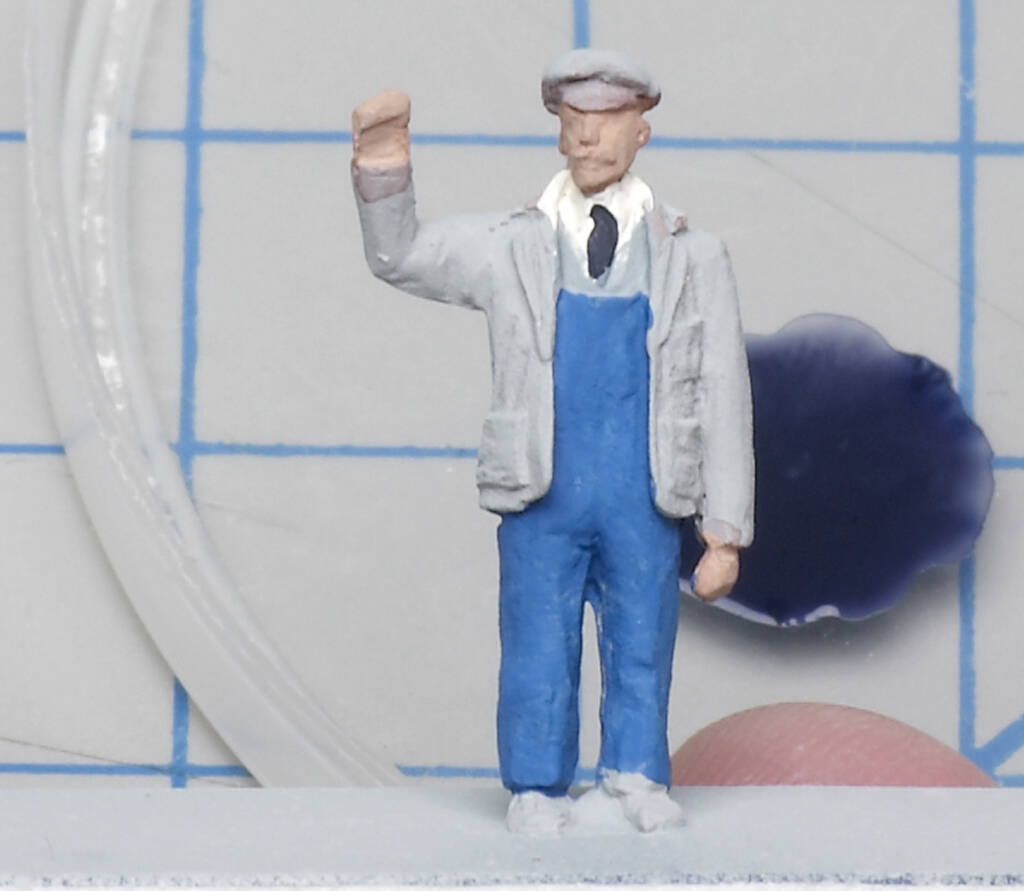
Washes are one way to add realistic finishes to figures. A wash is an application of diluted paint, and when applied to a figure or model, the pigment gathers in the recesses, such as in the folds of clothing, providing a contrast to the base color. Washes are particularly effective when you are working with dark blues, grays, and browns, and can even be used with black. Washes also work great for creating leather effects, such as coats, boots, and bags.
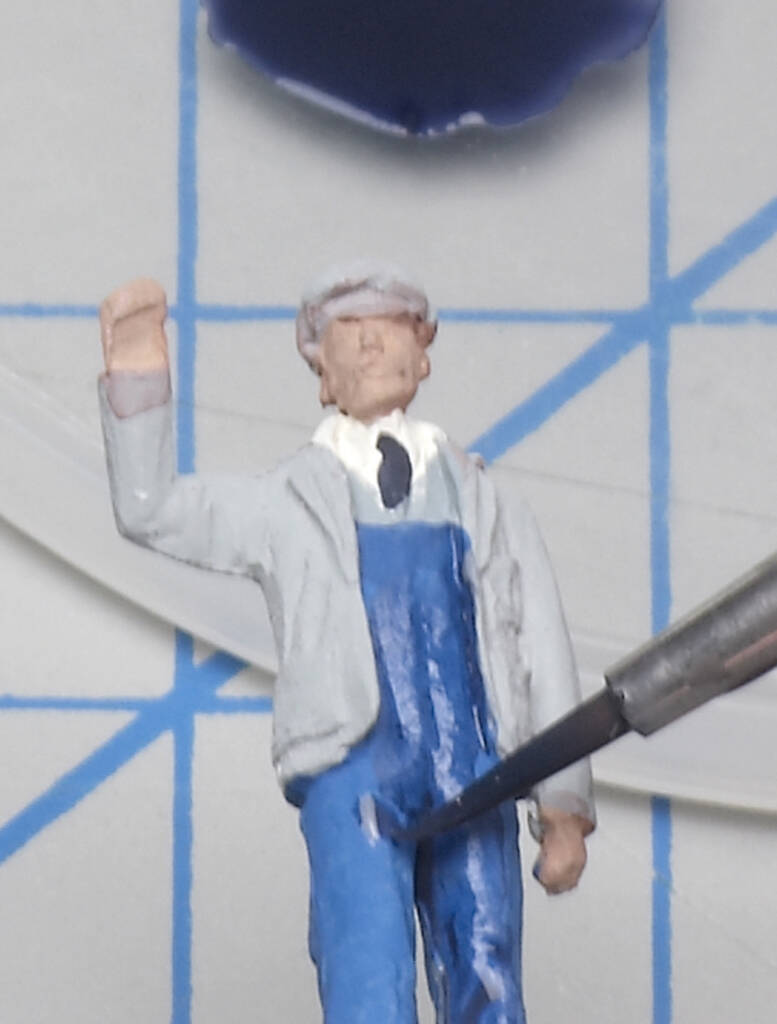
For this example, I’ll use the blue overalls on a trainman figure. I started by painting the overalls a solid medium blue. Once the paint dried, I mixed a wash of 1 part dark blue paint to 1 part water and flowed the diluted color over the base coat.
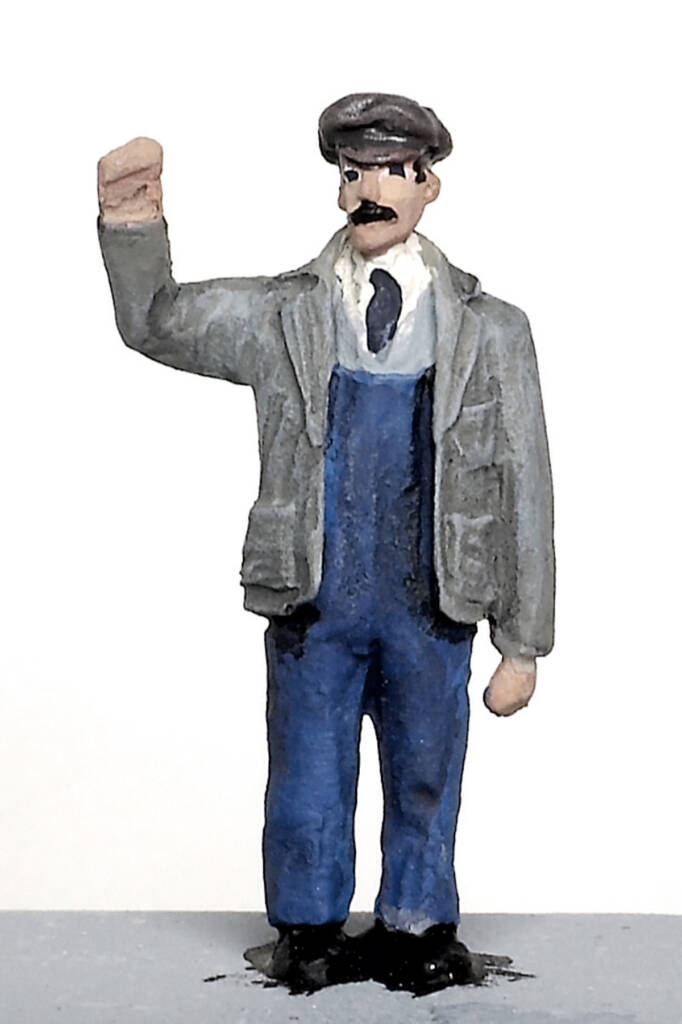
The finished result is shown above. (I used the same technique for the man’s jacket.) After the wash dried, I highlighted the overalls, as explained in the next section.
You need to use care when working with washes. First, because washes are thinned paint, they will want to spread to other parts of your work. Using small brushes to apply a wash will help you control how much gets on the figure and where it goes. If you think you have applied too much, you can lift excess wash material from the figure by touching the liquid with a dry paintbrush.
The second thing to keep in mind is that you want to maintain a wet surface until you have the wash completely in place. If the wash dries in an area before you finish applying it, the pigment will tend to collect along the edge of the wash. In this case, you’ll need to do a bit of touch-up work.
Adding highlights and details
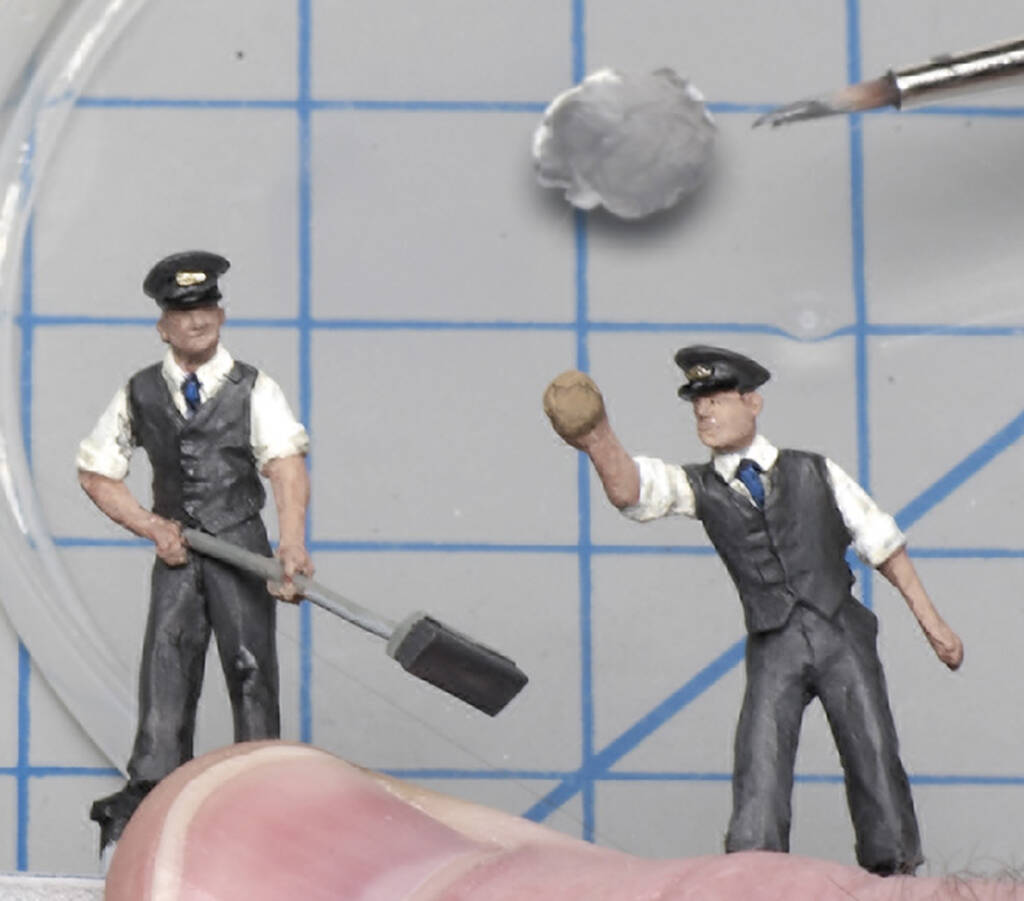
Even the lightest washes will darken the base coat on a figure, so you’ll need to lighten the areas that would be natural highlights. There are several ways you can do this, and it depends upon your original base color as to which method you choose. For the blue overalls in the previous example, the wash I used was very dark. As a result, I was able to use my original base-coat blue again as the highlight. Using the same drybrushing technique from the shirt example, I added the blue highlights to the figure’s pants.
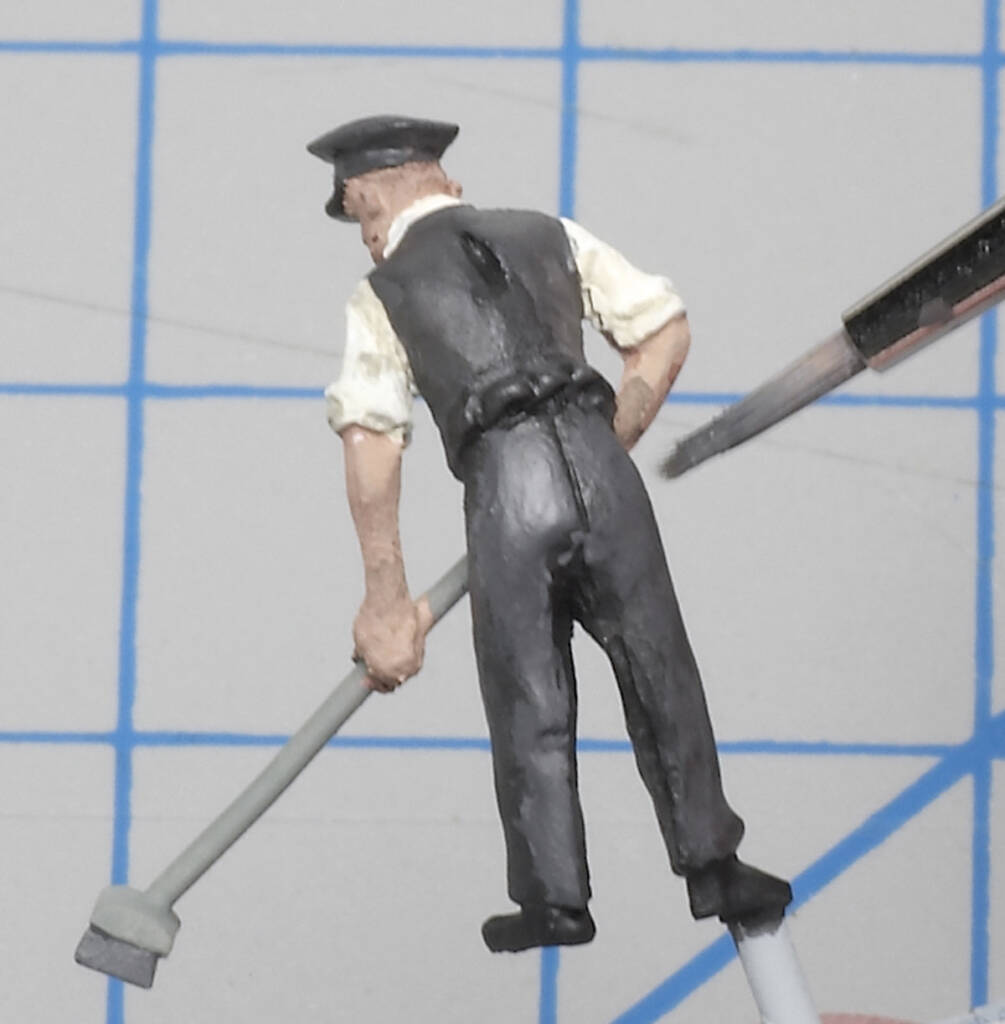
However, for the example figures shown here, their gray base coat was dark to begin with. Using the same dark gray color for the highlights after I’d applied the darker wash wouldn’t make much difference. In this case, I added a hint of white to the original color to produce a slightly lighter shade of gray. I then applied this color to the highlight areas. When adding highlights, don’t forget that there can be flat-area highlights (places without pronounced creases and seams) to paint as well.
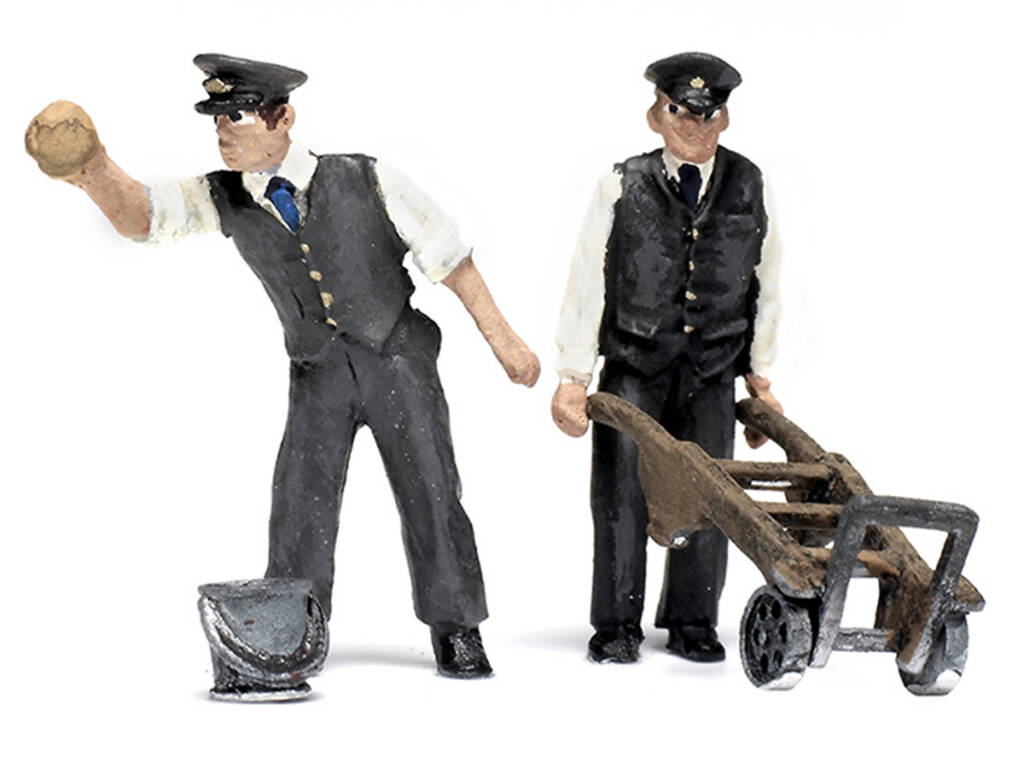
Though these figures are small, a little extra detail goes a long way to making them look the part, especially considering that most figures are viewed at a bit of a distance. Both workmen in the photo above have brass buttons on their vests, brass badges on their caps, and blue neckties. Though these details are just hinted at in the castings, painting them on the figures makes them look all the more realistic.
If you want to add realistic finishes to figures, give these techniques a try.


