Track ballasting made easy: Model railroading is fun, right? Well, most of the time it is, but there are some aspects of this hobby that make us shudder. And judging by the questions we receive, one thing many of us don’t enjoy is ballasting. However, adding ballast (the rocks between the ties and along the edge of the roadbed) isn’t that difficult, and it goes a long way toward making our layouts more realistic.
On model railroads ballast is purely cosmetic, but on real railroads it serves several important purposes. First, ballast holds the track in place and keeps the ties and rails from shifting. Second, it helps drain water away from the track. Third, ballast evenly distributes the weight of the rails and equipment to the subgrade. Finally, it keeps the track level and in alignment.
The type of material used for ballast varies between railroads. However, in its book A Practical Guide to Railway Engineering, the American Railway Engineering & Maintenance of Way Association has a list of recommended ballast: “granite trap rock, hard lime-stone, open hearth and blast furnace slags, other limestones, prepared gravels, chat, volcanic ash, pit-run gravel, and coarse sand (as a last resort).”
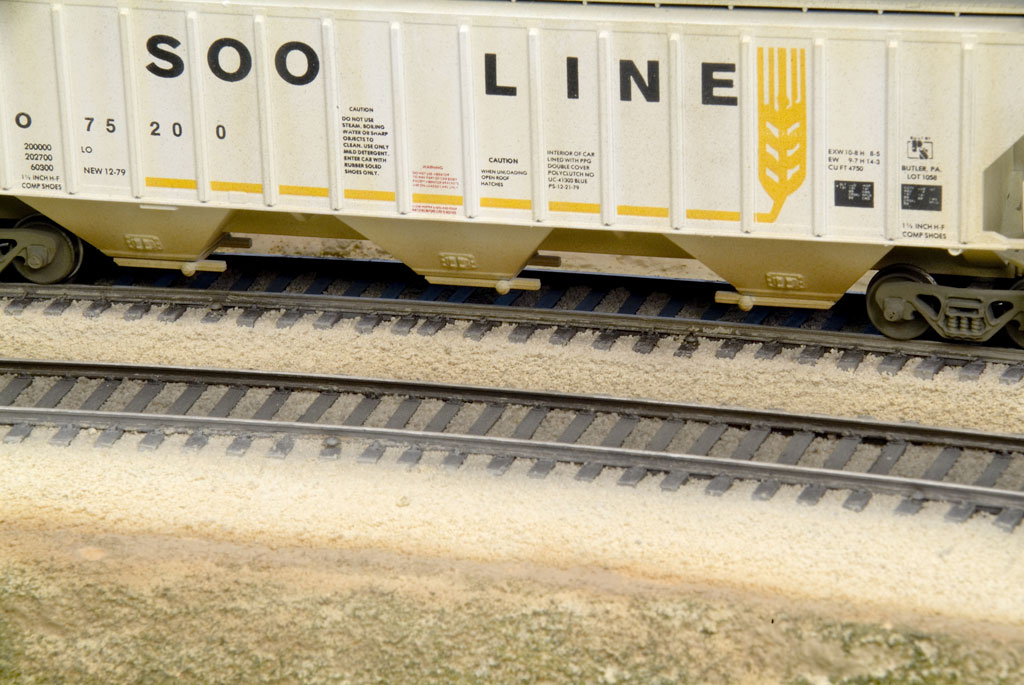
Fortunately, we don’t have to go to a quarry to get our ballast. Instead, we can go to our local hobby shop and pick up a bag from Arizona Rock & Mineral, Noch, Woodland Scenics, Hunter Scenery Co., and Busch, among other firms. For this article, I used Highball Products HO scale Genuine Limestone Ballast, which we’ve used on the MR&T main line since 1989.
Though ballasting requires some patience, it’s a task worth learning. You may even find that ballasting is fun after all.
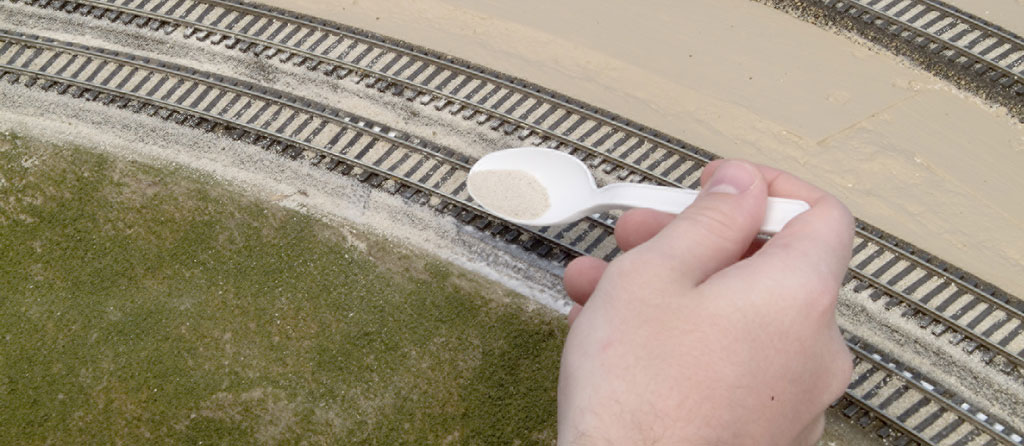
Step 1: Between the rails
I ballasted a stretch of main line between Big Bend and Mukwonago, starting with the area between the rails. I like to ballast this part of the track first because I can cover a lot of ground in a short amount of time.
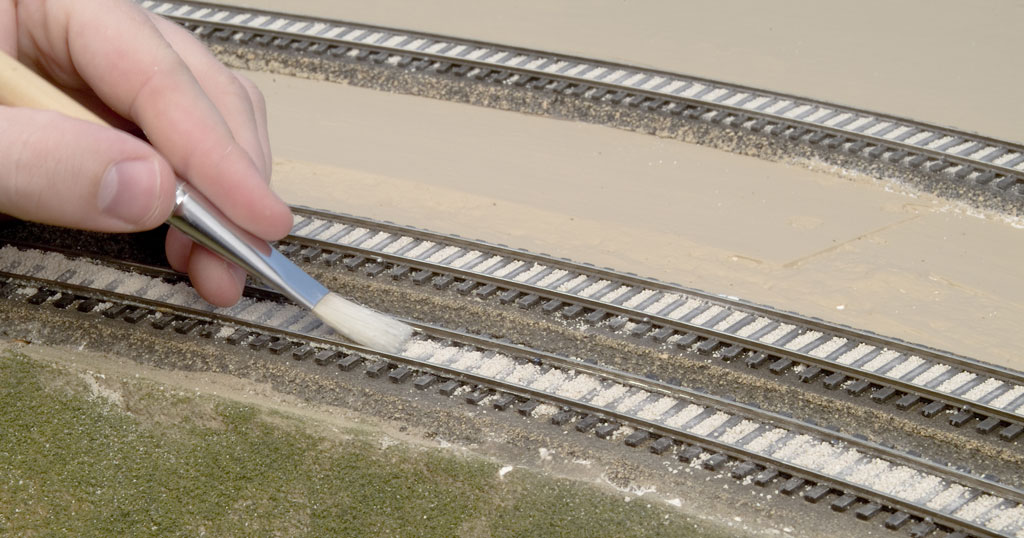
First, I poured about 11⁄2 ounces of ballast into a 3-ounce drinking cup. I then bent the lip of the cup so it formed a spout, making it easier to pour the ballast between the rails. I used a 1⁄2“-wide paintbrush to spread the ballast, working the brush back and forth until the ballast was off the tops of the ties.
On prototype railroads, particularly high-speed main lines, keeping ballast off the ties is important because the suction created by passing trains can cause the ballast to fly around, potentially damaging equipment or knocking air hoses loose. Ballast regulators and compactors are used by railroad maintenance crews to keep the rocks groomed.

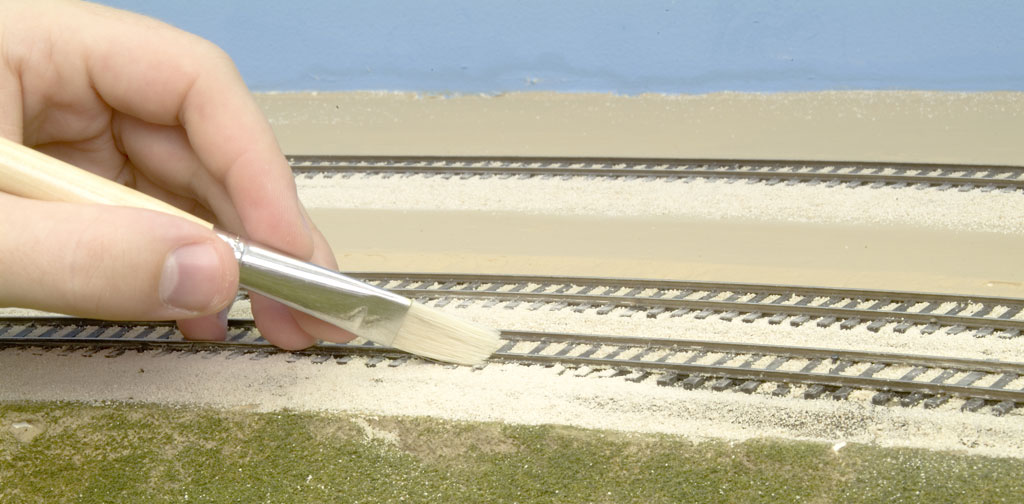
Step 2: Shoulders
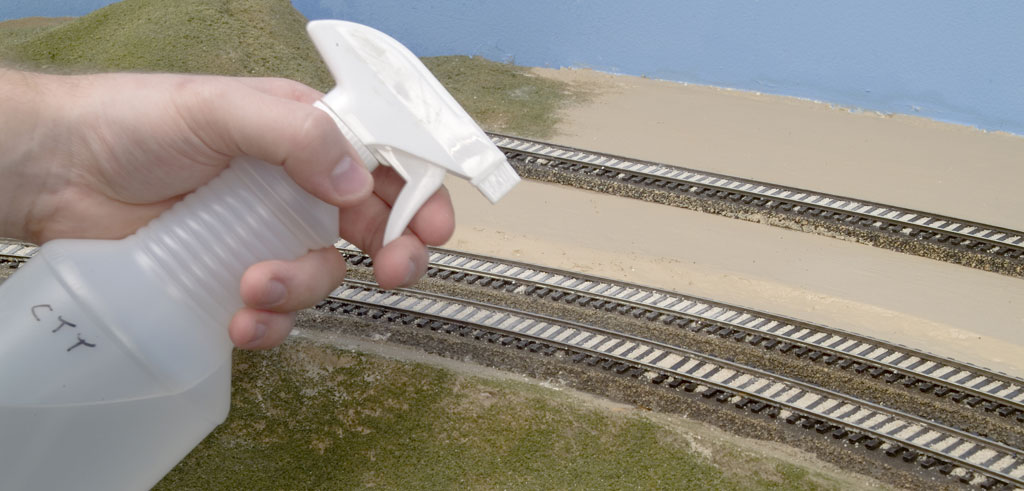
Ballasting shoulders was a task I used to dread because the granules would wash away when I applied the Scenic Cement. However, I learned a neat trick used by veteran modelers that makes ballasting shoulders a breeze and results in clean, even edges.
First, I poured some white glue into a mixing dish and diluted it 15 percent with water. Then, with another 1⁄2“-wide paintbrush (not the same one I used to spread ballast), I applied the glue along the shoulder, making sure I had an even edge along the base of the roadbed.
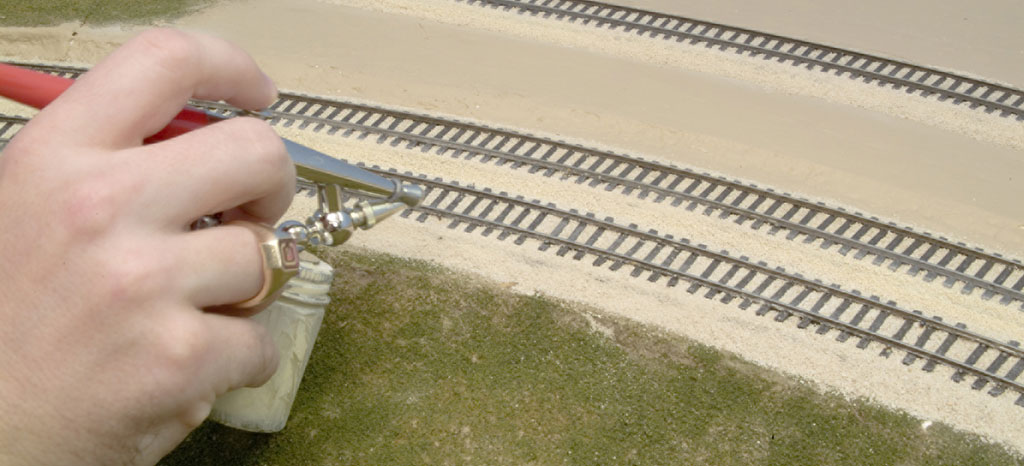
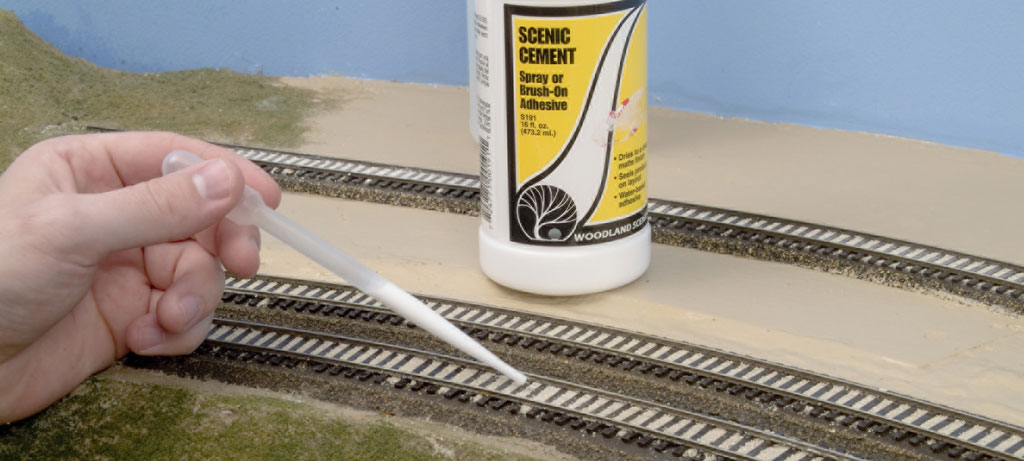
No matter how careful I am, there are usually a few spots where the roadbed shows through the ballast, especially on the shoulders. Fortunately, I discovered that Polly Scale CSX Tan is a perfect match for our limestone ballast, so I used an airbrush to touch up the light spots. I thinned the paint 30 percent with 70-percent isopropyl alcohol.
After airbrushing the ballast, I weathered it with Polly Scale paints mixed 1 part paint to 9 parts 70-percent isopropyl alcohol. First, I used an airbrush to spray Grimy Black between the rails to simulate the oil and grease that drips off freight cars and locomotives. Then I lightly sprayed the areas outside the rails with Earth. I also used the color to spray a faint transition line between the ballast and the ground foam, helping to tie all of the scenery together.
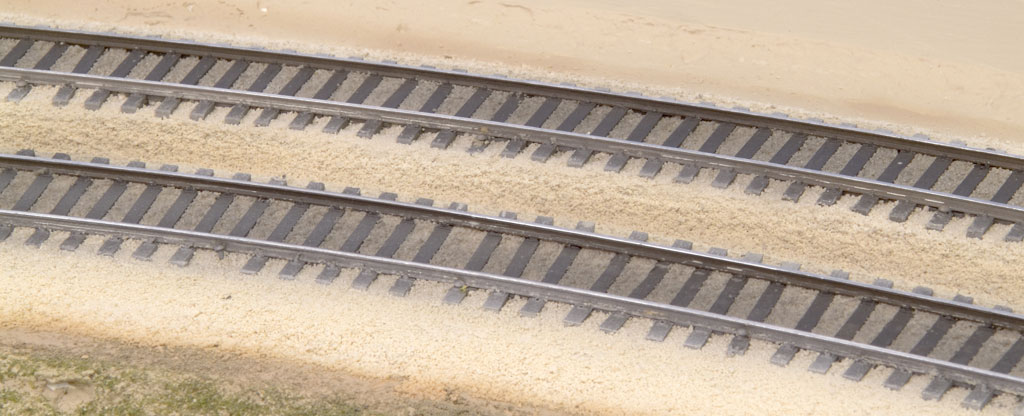
With that, another section of the MR&T has been ballasted. But with a 200-foot main line and several industrial sidings, there’s still a long way to go. However, using these simple techniques, ballasting the rest of the layout won’t take much time at all. With the right techniques, track ballasting can be made easy.
Watch Trains.com director David Popp add track ballast on Model Railroader‘s Red Oak layout.