Unless you’re modeling a flatland railroad – and maybe even if you are – your layout needs rocks. Building a level right-of-way through the ups and downs of natural terrain involves cuts and fills, exposing bare rock. A railroad with a mountainous setting, be it Appalachian or Rocky, calls for even more rocks. Between foam rubber rocks and commercial plaster rock molds, you can spend a lot. What if finances have you modeling rocks on a budget? Here are some ideas for the budget modeler.
Plaster castings are probably the most popular way of modeling rocks. Plaster of Paris is not that expensive, the material is durable and easy to paint, and it models the look of real rocks well. If your layout needs a lot of rocks, though, you need a lot of rock molds, or else your mountains will start to look pretty repetitive. Buying a bunch of rock molds, however, can add up. So what’s the budget modeler to do?
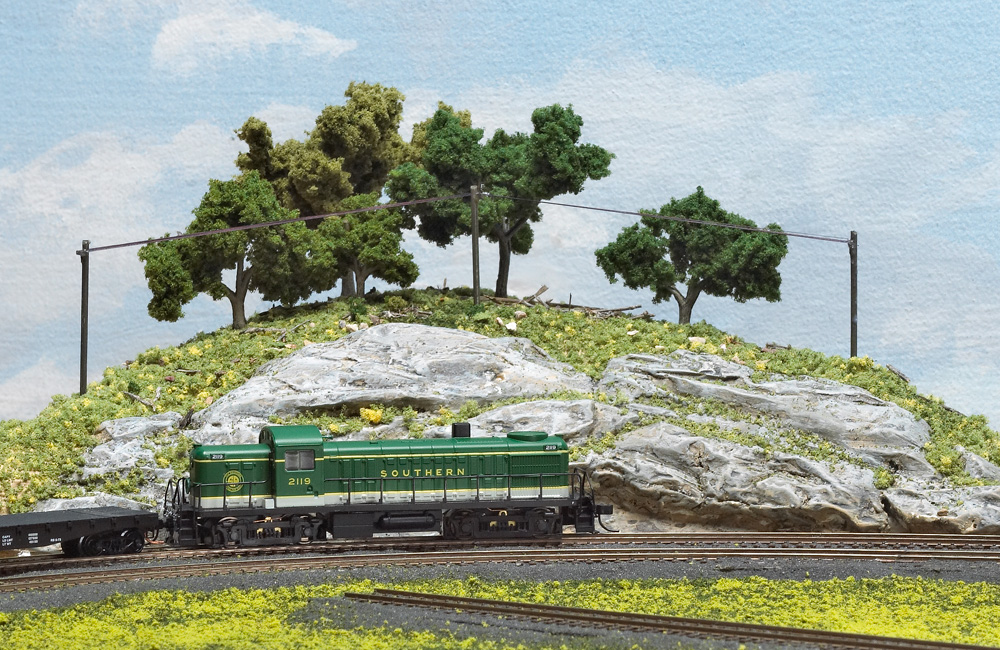
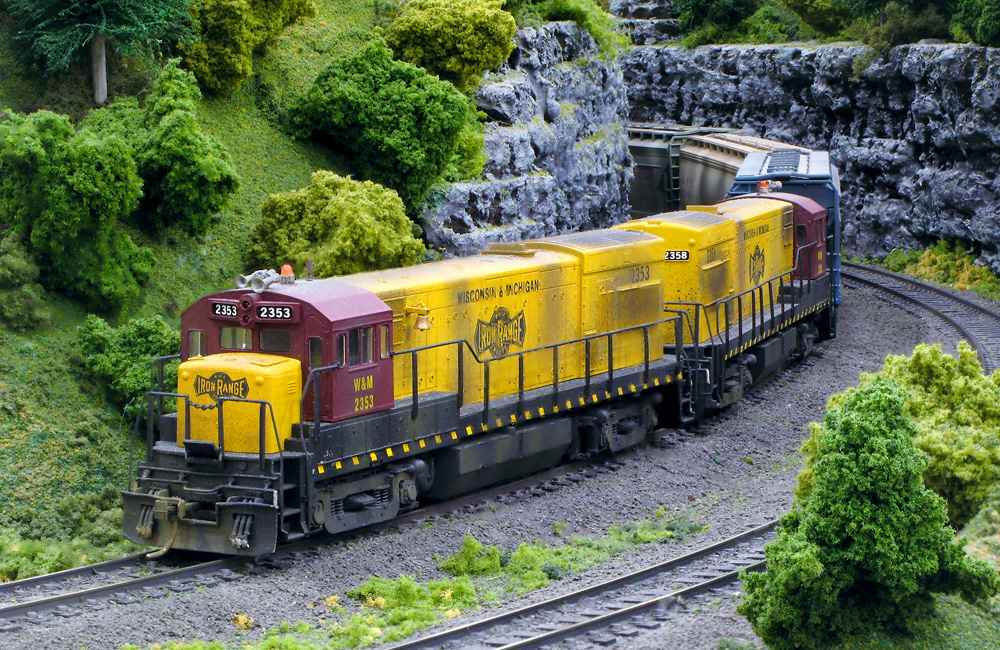
One trick is to make your own one-use rock molds using heavy-duty aluminum foil. That’s the technique I used on the N scale Spartanburg Subdivision layout, seen in the photo above. Crumpled foil gives you sharp angles that closely resemble broken rock. You can make your mold the exact size and shape you need to fit the location on your terrain.
Don’t just crumple up and unfurl the foil, though. That will give you completely random peaks and crevices that won’t look very much like stone. Most rocks are formed in layers that form visible striations when the rock is broken. Instead, roll the foil into a tube shape, then crush it in your hands along its length. Unroll the foil, and you’ll have a texture that follows the direction of the roll. You can see the results in the picture above.
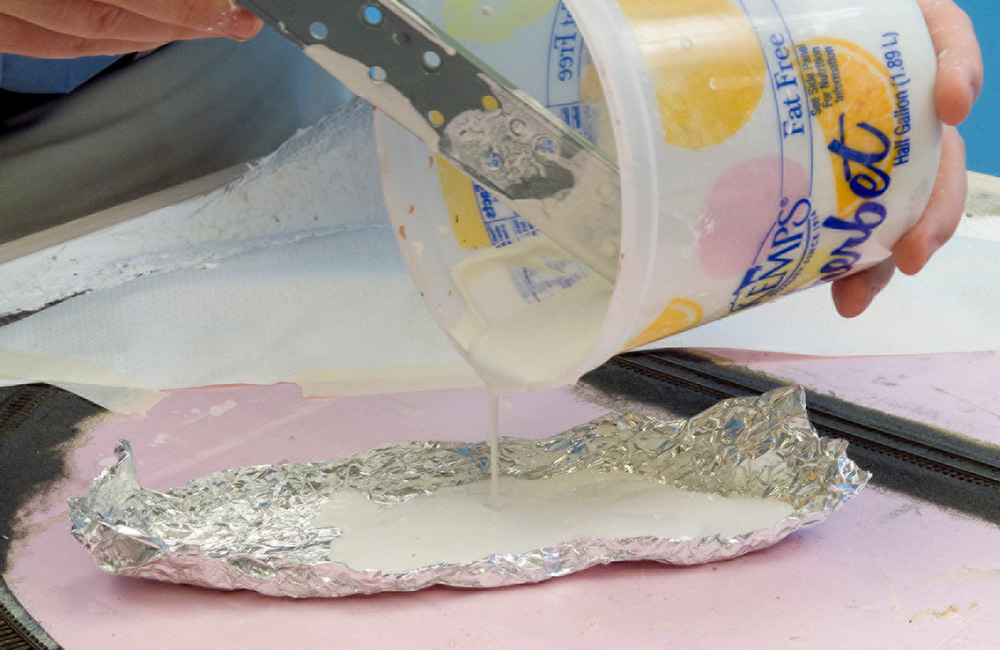
If you’re doing a small, flat rock casting, as I am in the photo below, you can simply rest it on your workbench when you pour in the plaster and let it cure. If your rock is large or angled to fit a curved cut, you might want to fill a shallow box with sand to support the foil mold so the weight of the plaster doesn’t flatten it.
Carved foam insulation board
Former MR editor Neil Besougloff demonstrated this simple technique for modeling rocks on a budget in the “Step By Step” column in our January 2010 issue. If you’re already using extruded-foam insulation board for your terrain, this is probably the cheapest of all the techniques listed here. All you need is some Sculptamold (a papier-mache-like lightweight plaster product) to fill the gaps, some sharp tools, and paint. Simply laminate the foam in layers to the size of the hill, mountain, or rock formation you want, then carve it to shape using knives, saws, and rasps.
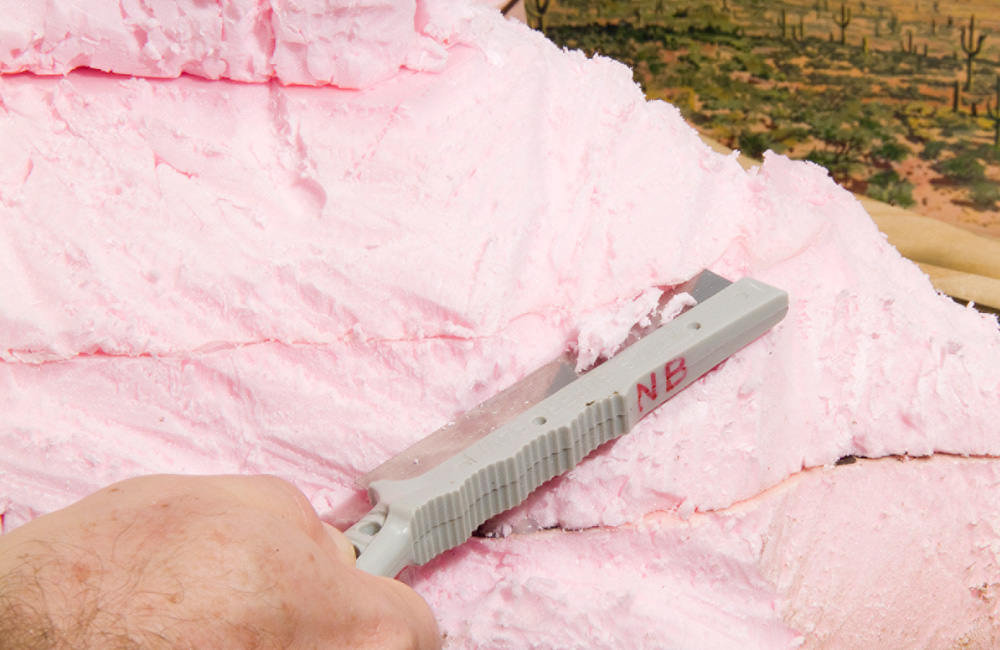
Then switch to finer tools, like hobby knives and razor saws, to carve cracks, crevices, and striations into the foam. Twist the cutting tools in the cuts to snap off bits of foam, creating a more irregular and natural-looking surface. Then fill in the gaps between layers with Sculptamold, and after it dries, carve it to match the adjoining foam. Paint the rock face an appropriate base color, then brush or spray it with an alcohol-based stain to create shadows in the crevices. Finally, drybrush a lighter color paint onto the higher surfaces to highlight them.
Rocks from tree bark
Over the years, model railroaders have come up with a lot of different techniques and materials for modeling rocks on a budget. Since nothing looks more natural than nature, modeler Roger Nulty uses tree bark to model rocks, as seen below. He detailed his technique in our June 2017 issue. Roger peels chunks of bark from firewood or deadfall found in the woods, glues it to the layout, fills the gaps with “ground goop” (Lou Sassi’s terrain blend – see our June 2022 issue, page 35), paints them gray to resemble Indiana limestone, and adds cat litter to model rubble and talus. Finally, he stains the bark to add shadows and drybrushes to accent the highlights.

Ceiling tile rocks
Similar to the previous technique is modeling rocks from broken ceiling tile. Most ceiling tile is made from a fibrous cardboard-like material, pressed flat in layers that resemble the layers of sedimentary rock like sandstone or limestone. Damaged or discontinued stock is often available at a discount at big-box home improvement stores. Modelers score and snap the tile, then glue and stack it so the broken edges face out. Sculptamold or plaster fills in the gaps and utility knives and wire brushes texturize the rough edges, then paint and stain makes it look like rock. Stacking the pieces so there are obvious layers works well for a quarry scene. MR’s then-associate editor Jim Kelly explained this technique in an article in our April 1981 issue.
If you’re interested in modeling rocks on a budget, try one of these wallet-friendly techniques.