


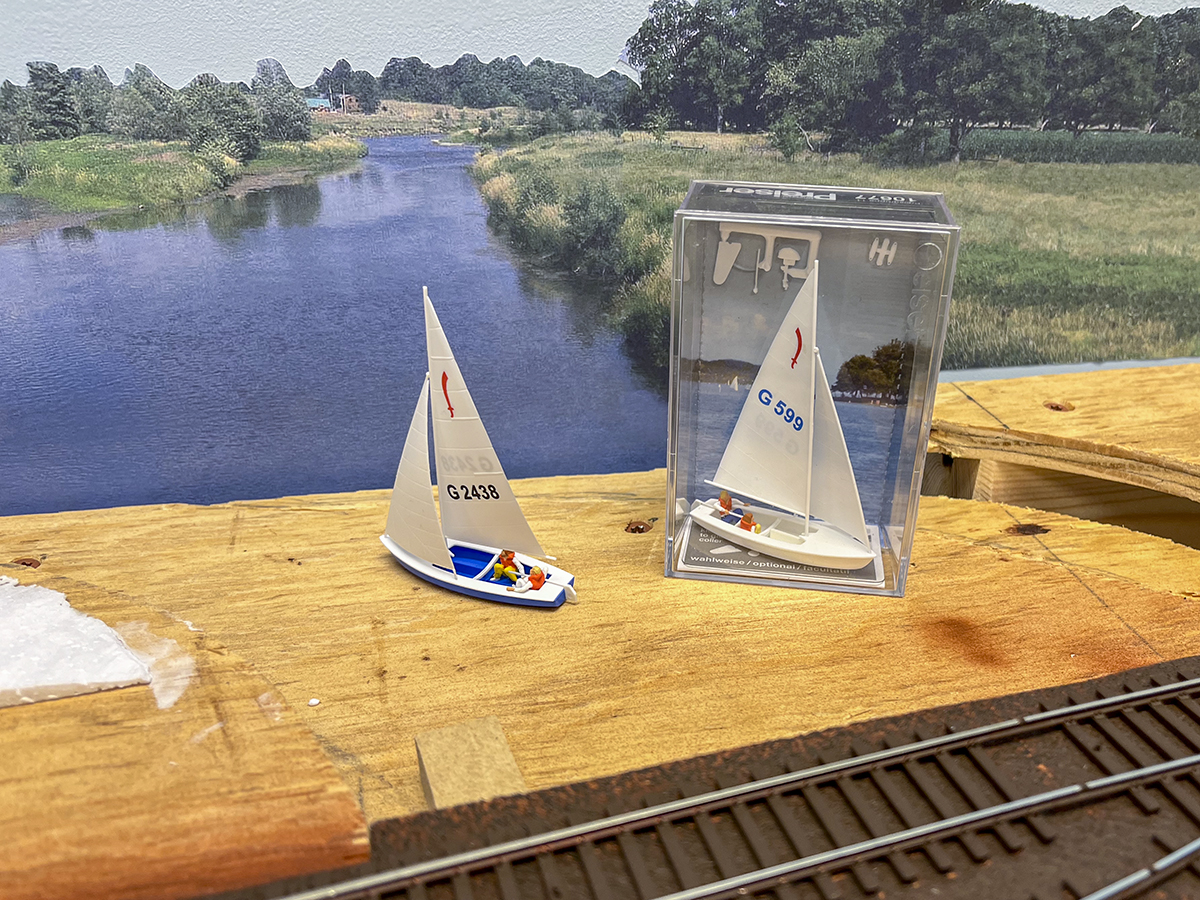
You can make the best models in the world, but as soon as you can see the layout room wall behind them, they tend to lose their feeling of realism. Adding a backdrop behind your layout is a great way to extend the miniature world beyond what you’ve modeled.
Back in part 2 of our HO scale project railroad series, I explained how associate editor Bryson Sleppy and I built the backdrops for our East Troy Industrial Park layout using simple wood frames covered with tempered hardboard. Before laying the track or starting any other scenery work, we painted the backdrops with a light blue latex flat interior house paint, and we added a hazy horizon by brushing in white to the wet blue paint.
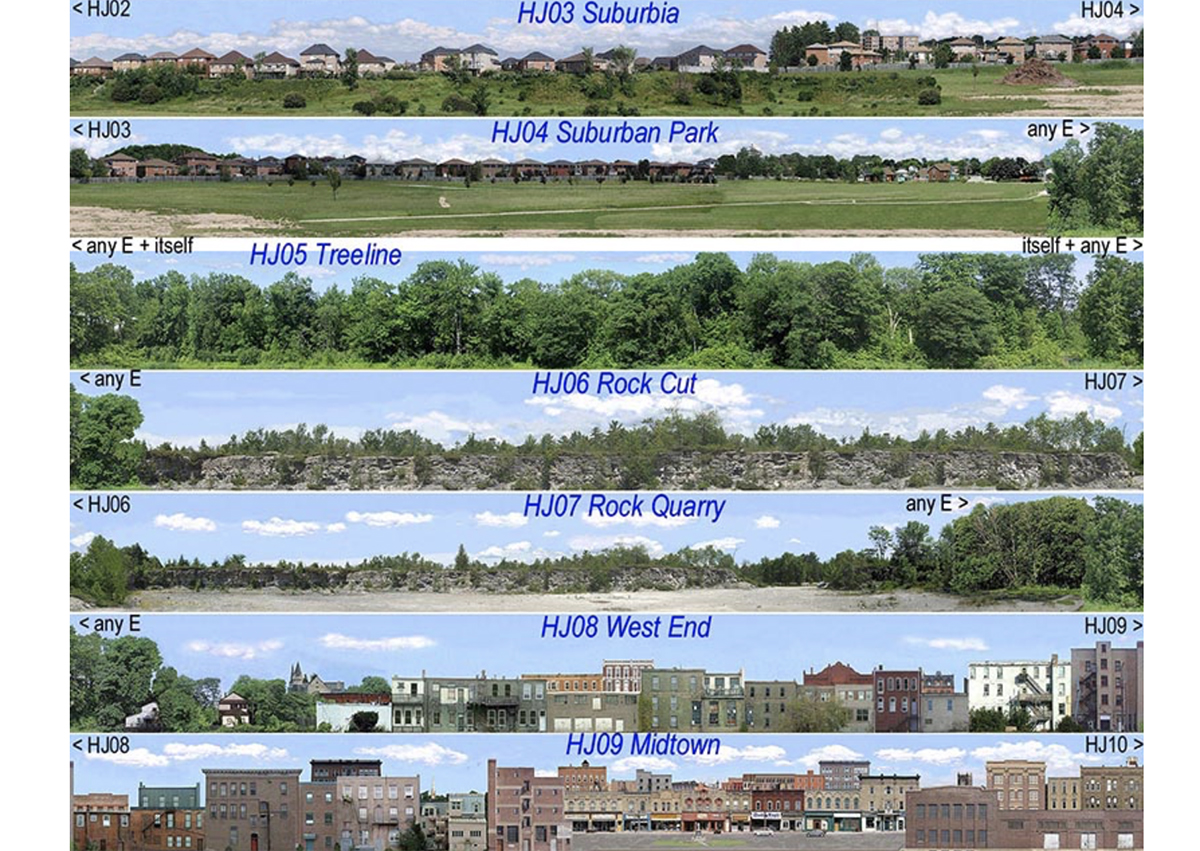
While the blue sky is nicer to look at than a bare tan wall, it’s still not much of an improvement. Fortunately, commercially available products make adding a more detailed skyline to your model railroad is easy, thanks to paper backdrops. We worked with a company called Sceniking and ordered a variety of tree lines, farm scenes, buildings, and even a river to use on our layout. These come as rolls of paper printed with scenes that are scaled to model sizes. Follow along as we show you how we easily adapted them for use with our painted sky backdrop boards.
Step 1: Trim the base
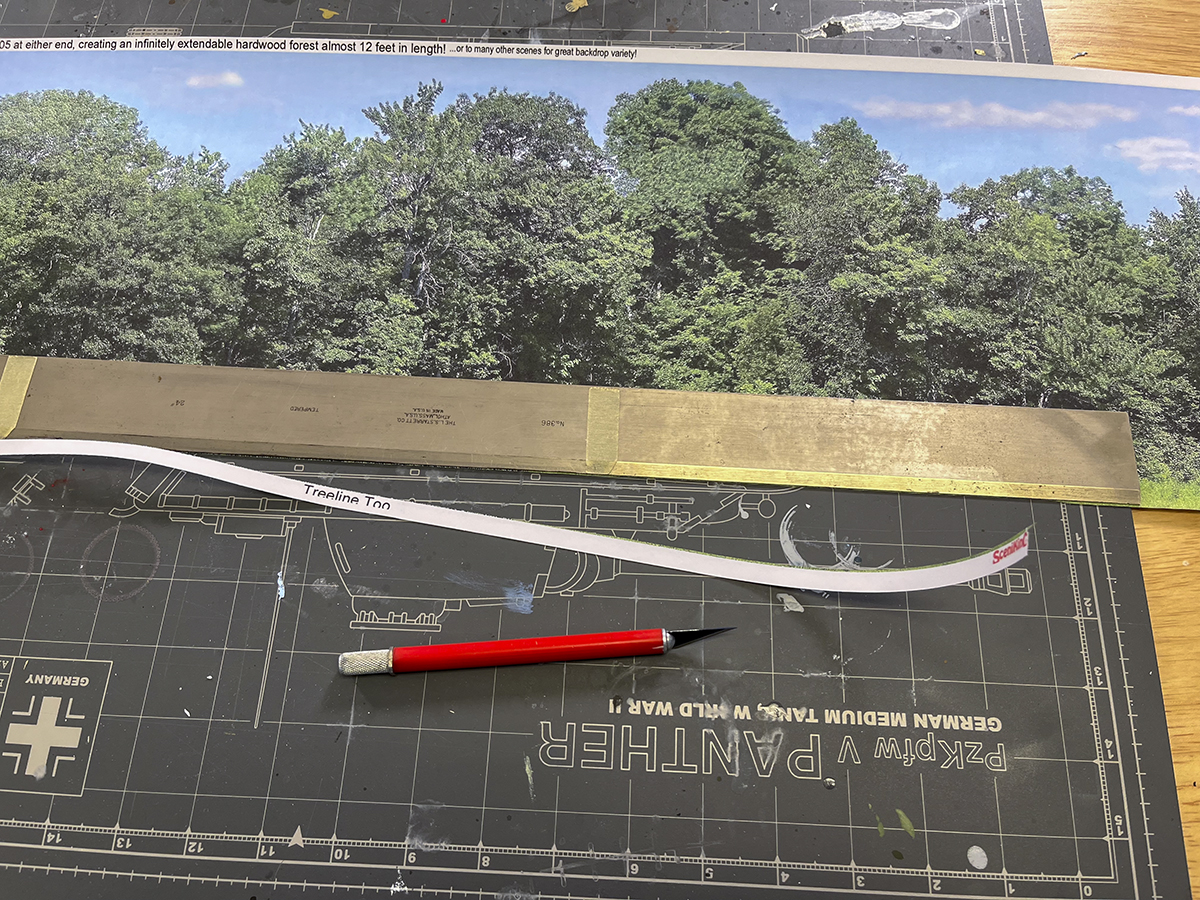
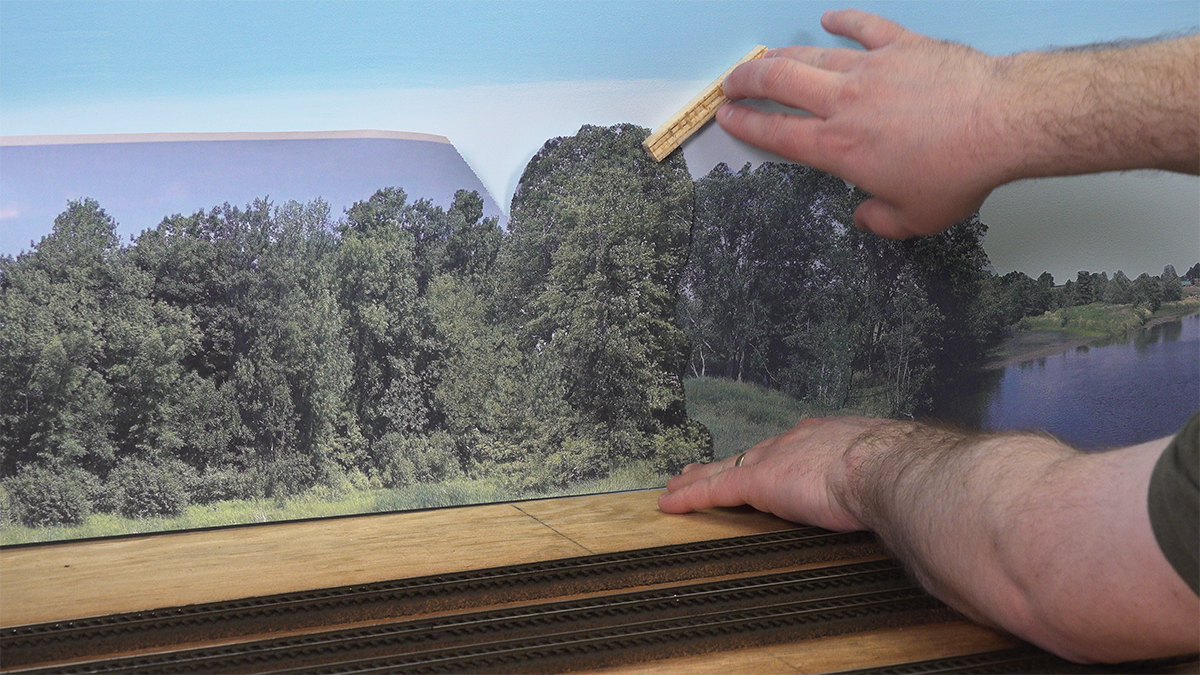
Cody Grivno and I spent a day preparing and installing the backdrops on the layout. We purchased backdrops from Sceniking’s Juniors line, as these have a minimal amount of sky on the printed roll, which is designed to be removed. Before starting into that, however, we also had to trim away material from the base of the backdrop, as the printing does not extend all the way to the bottom. Using a metal straightedge and a hobby knife with a brand-new blade, Cody trimmed the bottom white strip from each of the backdrop rolls. We scrounged the workshop for as many cutting mats as we could find and laid them out in a line to give us plenty of working room. Even though our scenery is relatively flat, in some places we eventually cut notches into the base of the paper backdrop to follow elevation changes in the scenery.
Step 2: Cut away the skyline
The last time we did a project like this, Cody and I were working mostly with industrial buildings that had a lot of straight edges. Our East Troy Industrial Park layout is quite different, however, as for the most part, there are trees visible in all directions. As such, we used a lot of tree-line backdrop sections. While we could have just kept part of the printed sky, matching it to our painted sky would be difficult at best. As such, the printed sky had to go.
In the past we’ve used knives to slowly cut our way around all of the treetop detail. In fact, Classic Toy Trains editor Rene Schweitzer and I did just that on the State Line N scale layout years ago, and it took us days to get through 16 feet of backdrop – a process I had no desire to repeat!
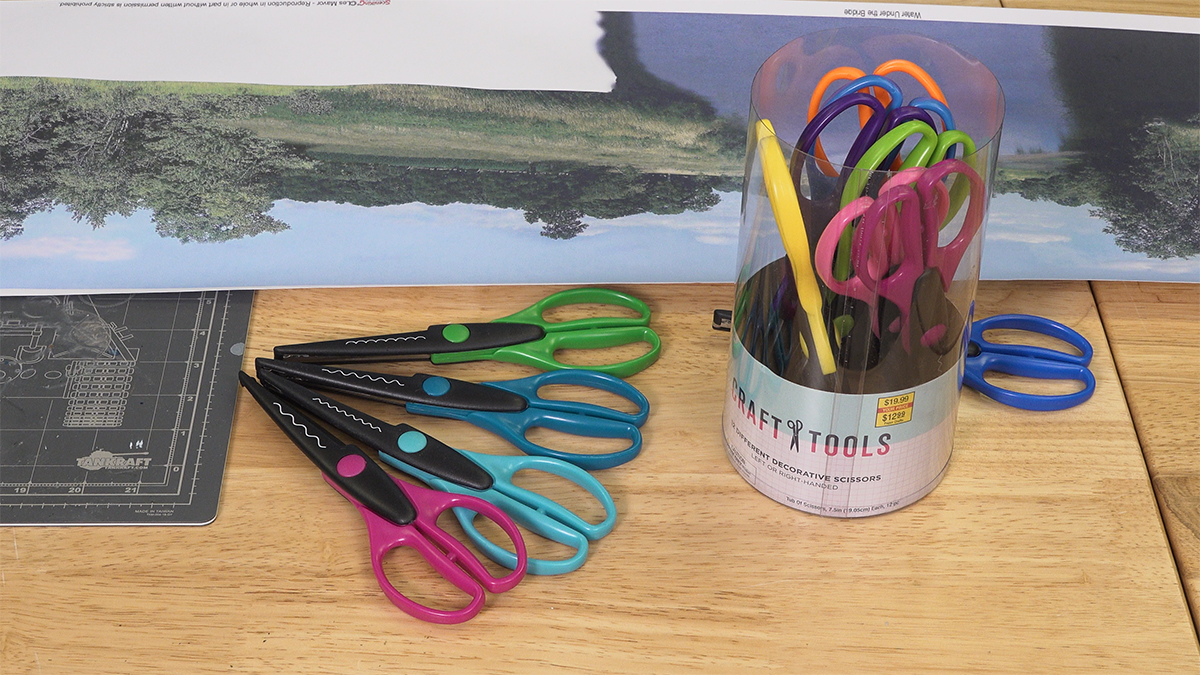
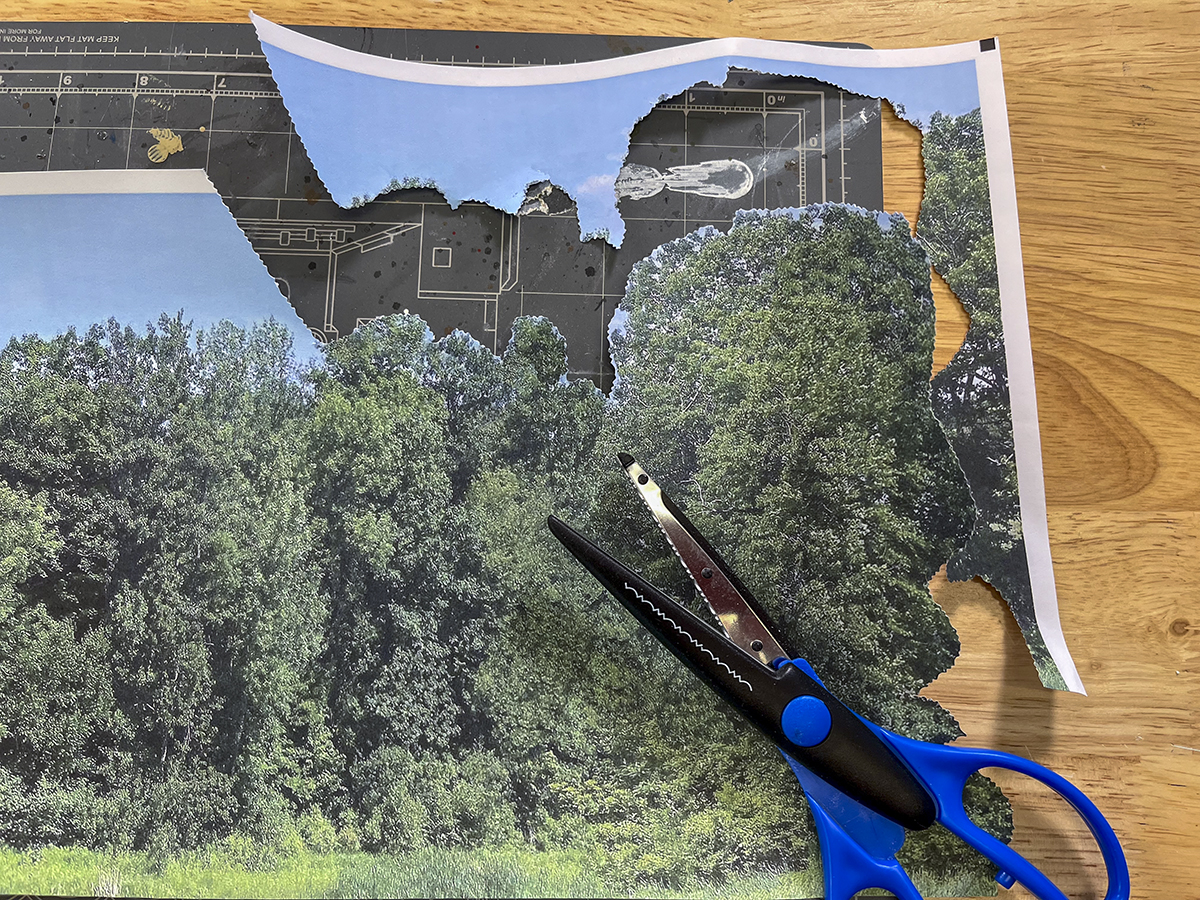
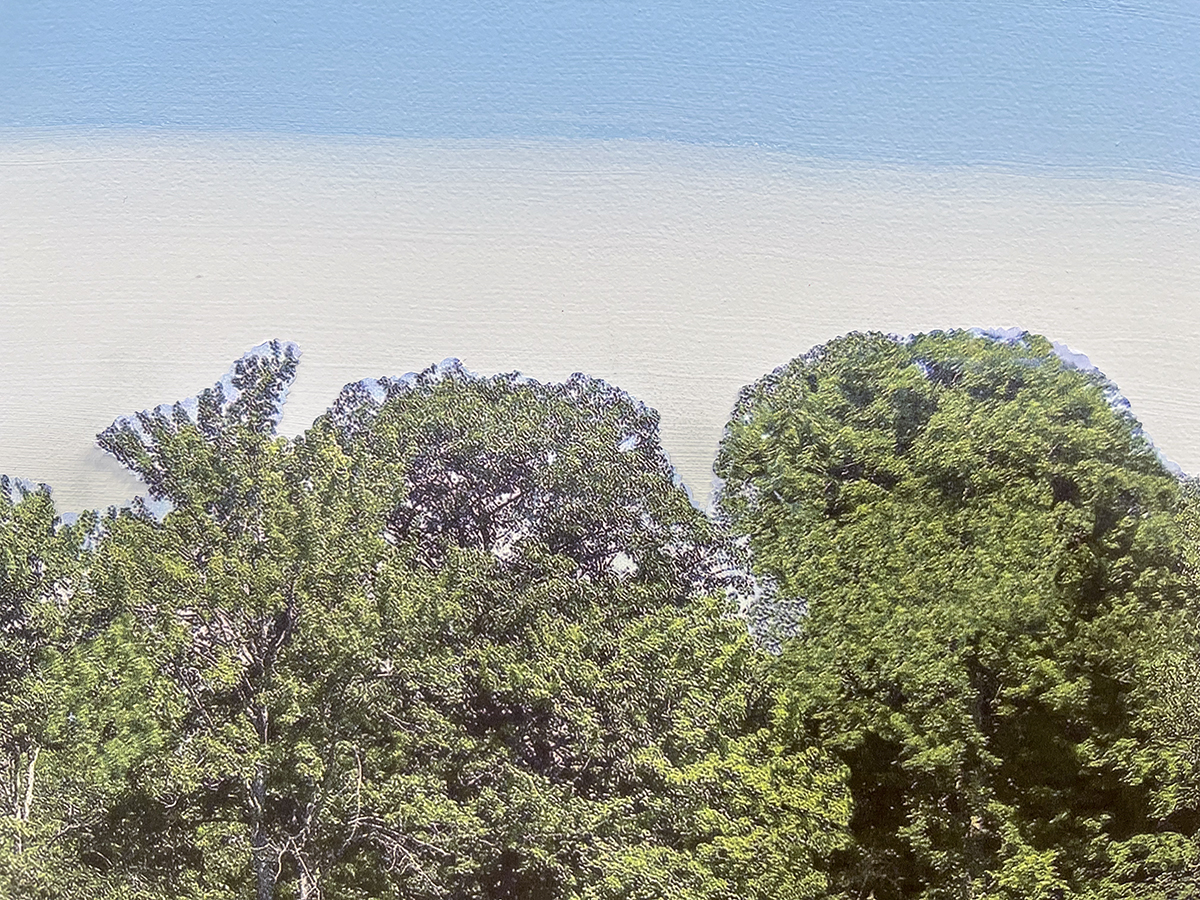
This time around, Cody and I tried crafting scissors. We picked up a set of 12 Hobby Lobby decorative craft scissors (item 290544). The set includes a variety of patterned blades that make decorative cuts for scrapbooking and other paper activities. We experimented with several types until we found a scalloped pattern that includes both curves and points (dark blue handle), which worked perfectly for the irregularities of the printed tree canopy. Using the scissors, we trimmed away much of the sky, leaving just a hint of blue at the edges. The repeating pattern was fine enough, that from 24” away, you’ll never notice it.
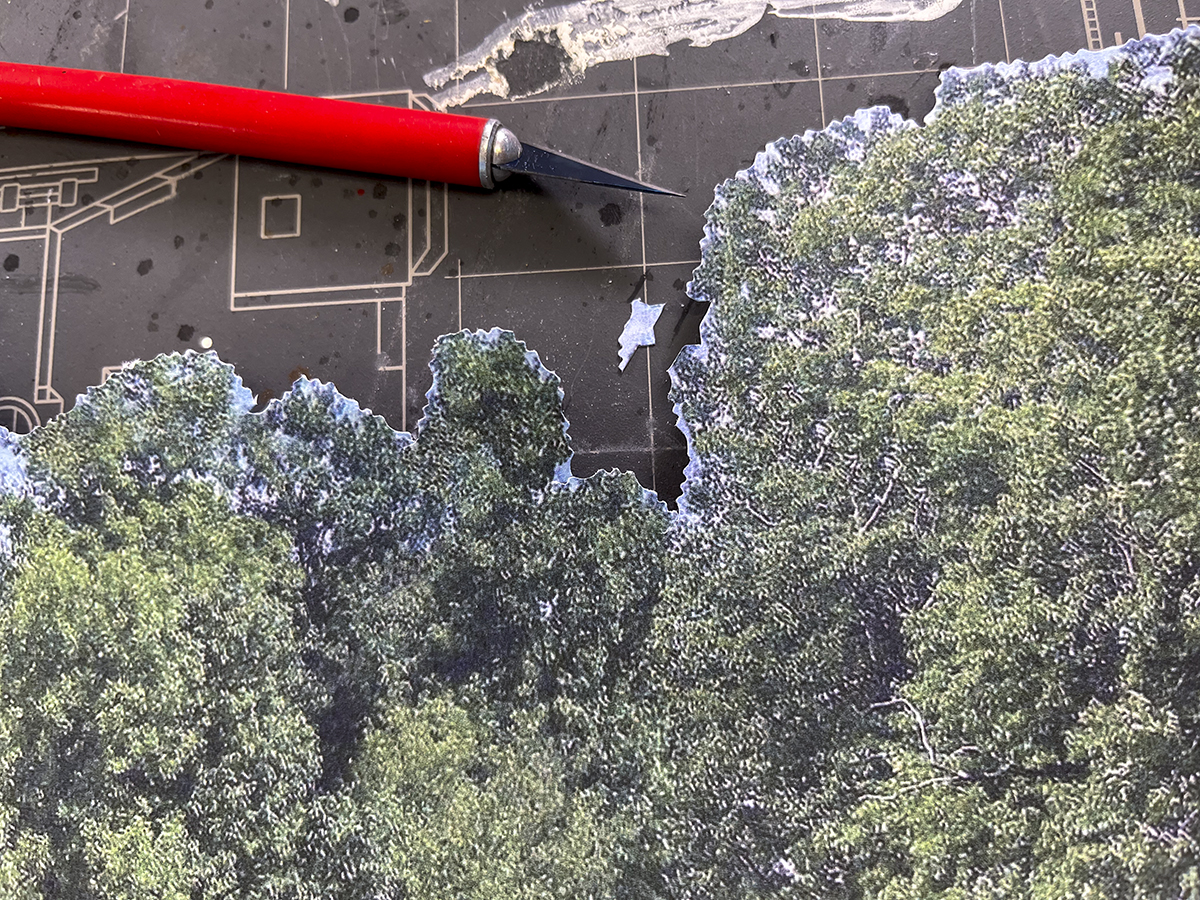
In places too tight for the scissors, especially where we had small, trapped spaces of sky, we used a sharp hobby knife to clear them away.
This method of using both scissors and knives worked really well. Cody and I were able to clip out the first 20 feet of backdrop in a couple of hours.
Step 3: Making it stick
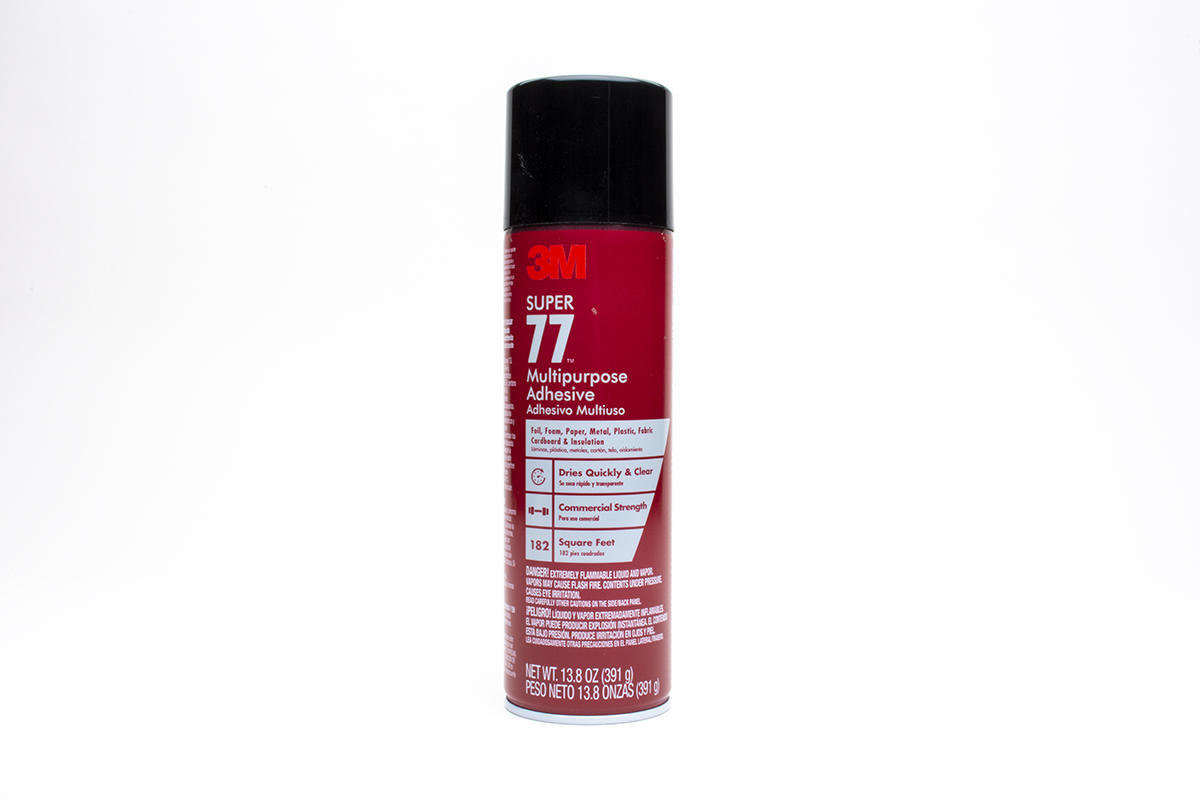
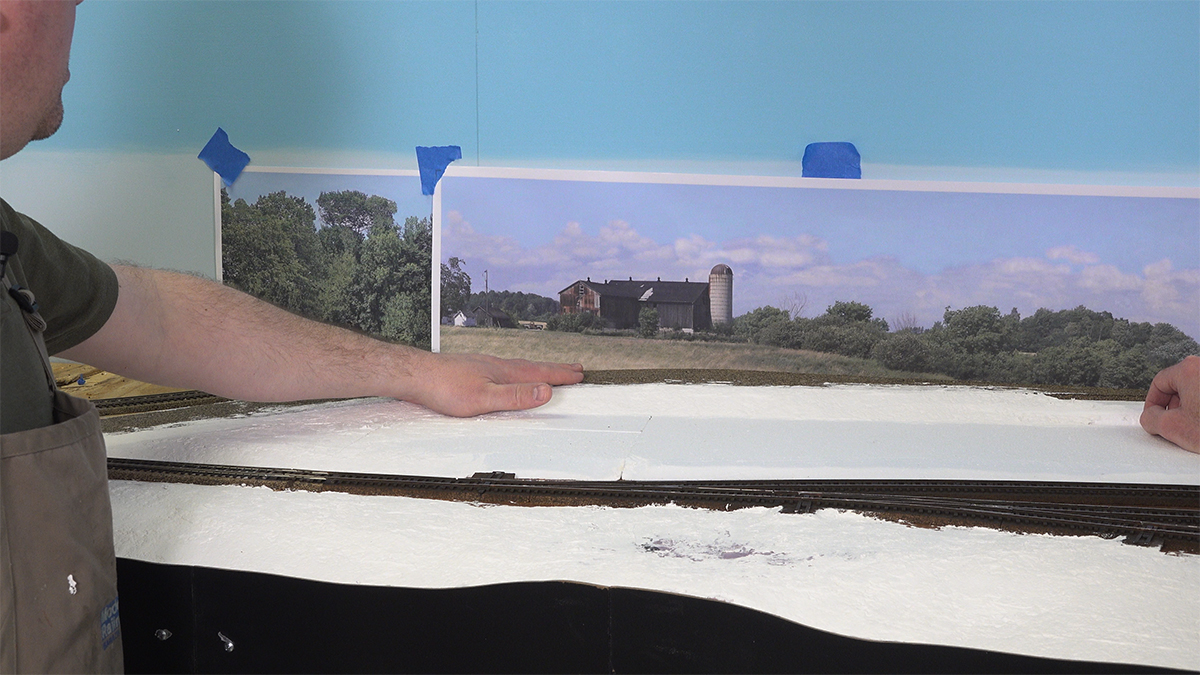
Any time you add glue to a project, things tend to get messy, and our backdrop was no exception. To apply it to the hardboard, you need to be able to apply a lot of adhesive quickly, and nothing works better for this than 3M Super 77 spray mount for this task.
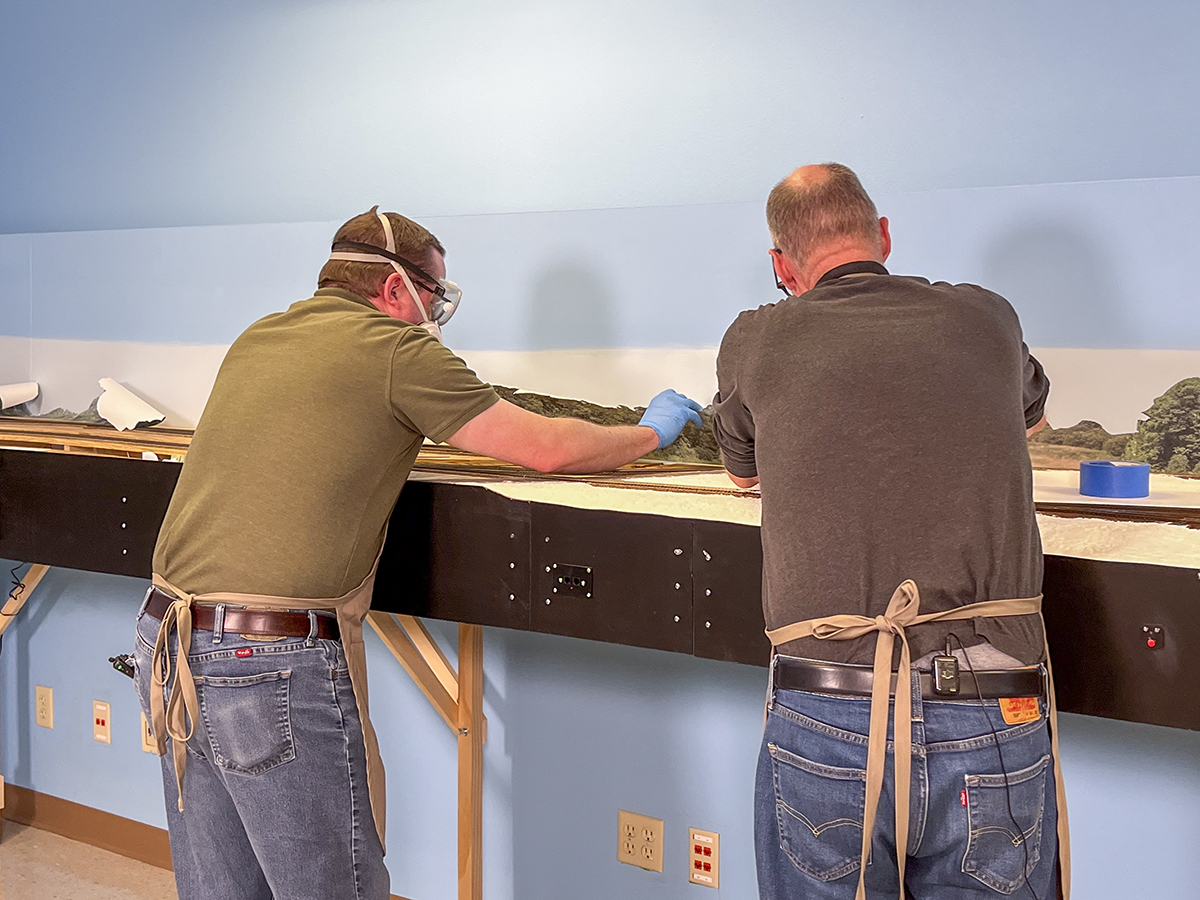
After preparing a backdrop section for mounting, Cody took it into our paint room and laid it facedown on a sheet of plastic tarp on the floor. He also fired up the sprayhood to vent the fumes from the room, and donned his respirator and a pair of gloves. Cody then applied a liberal coat of spray adhesive to the back. He used scrap boards from the benchwork to hold the backdrop flat for this process.
With the adhesive still damp, Cody and I then carefully positioned each paper section onto the hardboard backdrop. This is a two-person task, and you really only get one shot at positioning a panel correctly. We made light pencil marks on the hardboard before applying the adhesive to help us get the pieces lined up properly. Once a section is tacked in place, then carefully smooth it out to eliminate air bubbles and make sure the edges are flush.
One important note about this step: When spraying the next section, be sure to use a different section of plastic tarp, or your backdrop will stick to the overspray on the plastic sheet from the previous section. We simply kept refolding the plastic to get a clean face each time, then disposed of it when finished.

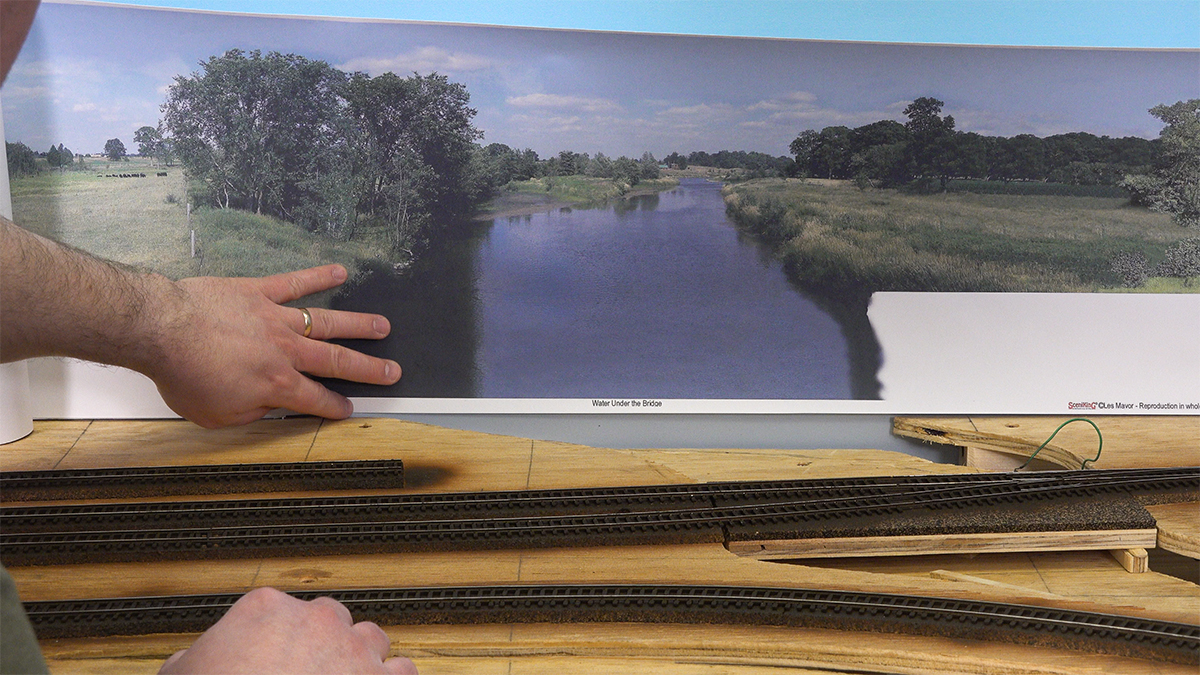
Step 4: Extending the river
To keep our river from ending at the backdrop, we ordered a special river section from Sceniking. Unlike the other backdrop sections, the river piece dips down about two inches from the baseline, allowing it to follow the riverbed below the ground level. The river is about 11-12” wide, and we were fortunate that the riverbed we’d already installed in our benchwork only needed to be widened slightly to match. We trimmed up the edges and the skyline similar to the other sections; however, at the far end of the river, the trees are very small, so we switched to scissors with a straight blade on this section, as individual branch detail doesn’t show.
While it was fairly easy to slip the paper river behind the plywood benchwork and riverbed while testing the fit, it would have been impossible to do so with the adhesive on it. As such, after carefully marking the location of the tops of the plywood and riverbed on the painted hardboard with a pencil, we removed this part of the backdrop from the layout, making it much easier to apply the river cleanly. After the river was glued in place, we replaced the backdrop on the layout.
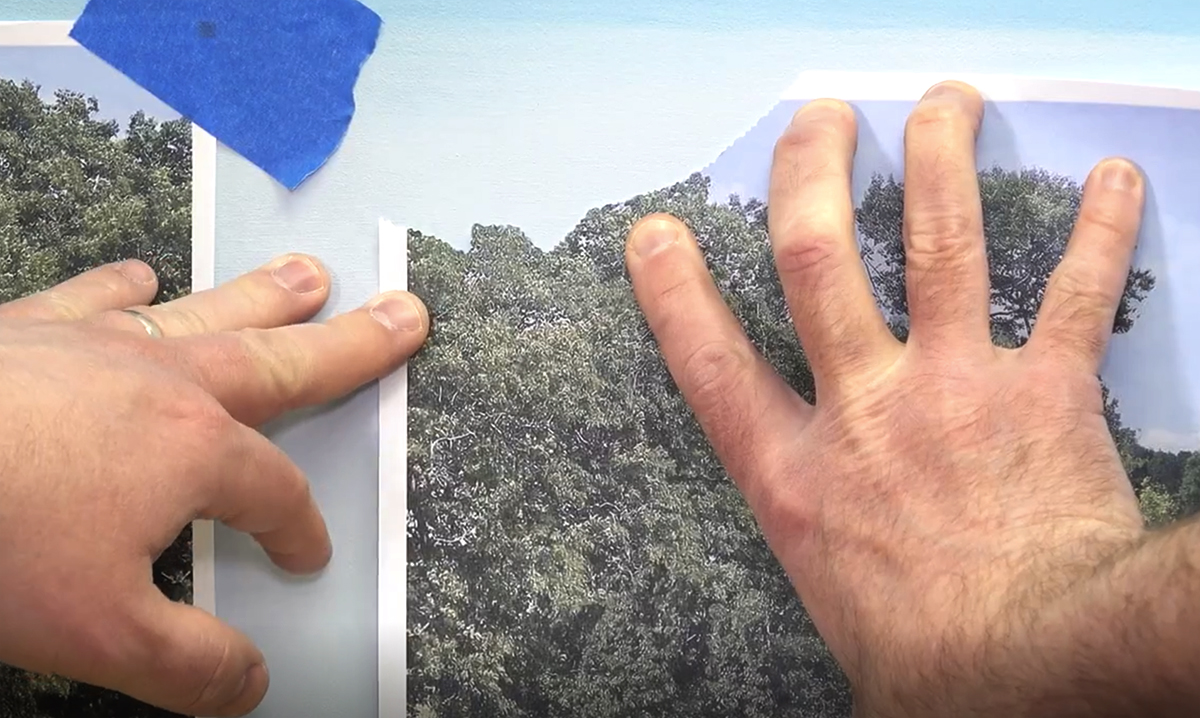
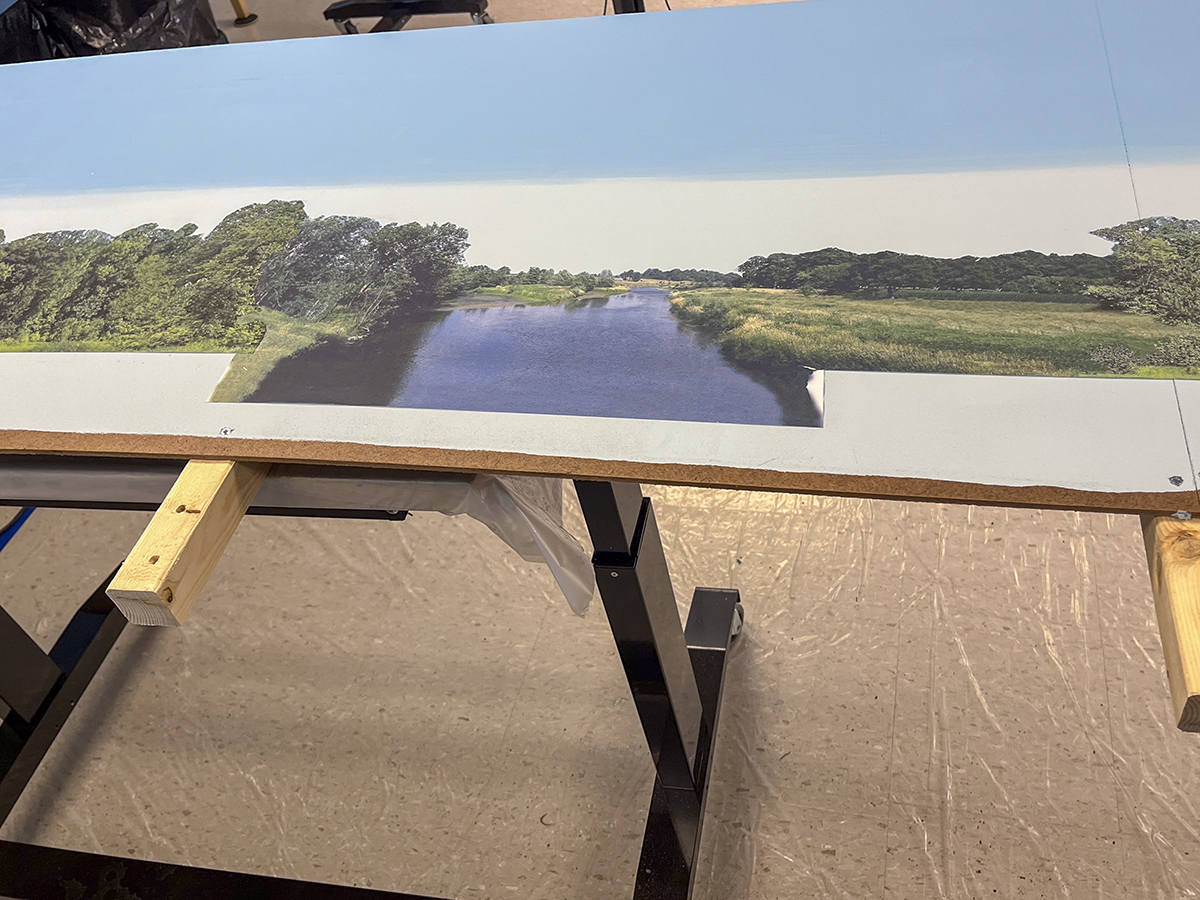
The river part is not a full roll, like the trees or farm scenes, so it needed to be spliced into other backdrop sections. While the flat, open grassy spaces of the printed river worked well on the right side of the image, we needed taller trees to appear more quickly on the left to better match what we had planned for foreground scenery. Sceniking backdrop sections are made to connect together at straight edges, and the company even lists which backdrops can connect seamlessly to each other on its website. However, the printed trees and buildings are also easy to clip around, especially when using crafting scissors for foliage. This allows one backdrop section, or even just small pieces, to be layered over the next without having an actual connecting point.
With this in mind, Cody and I started the next full tree-line section at the river’s left bank by cutting out the first full tree to appear on the print of the next section. After testing it to make sure it would work, we finished clipping out the rest of the section, then applied it over the left side of the river print.
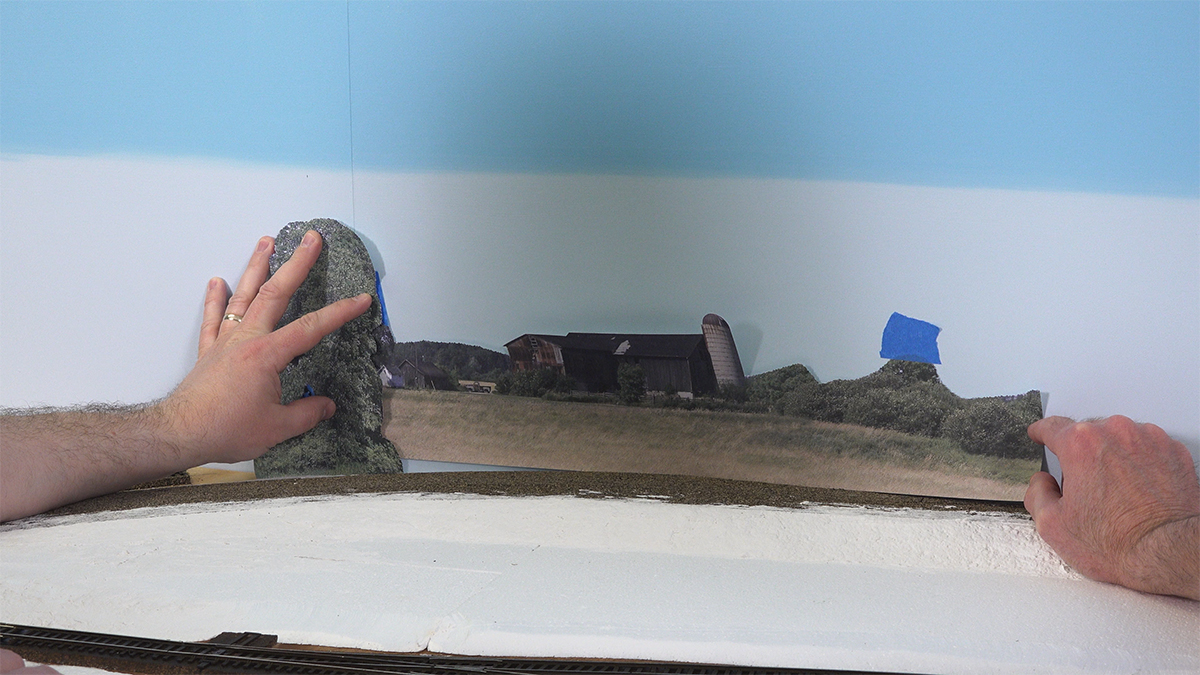
Step 5: A distant farm
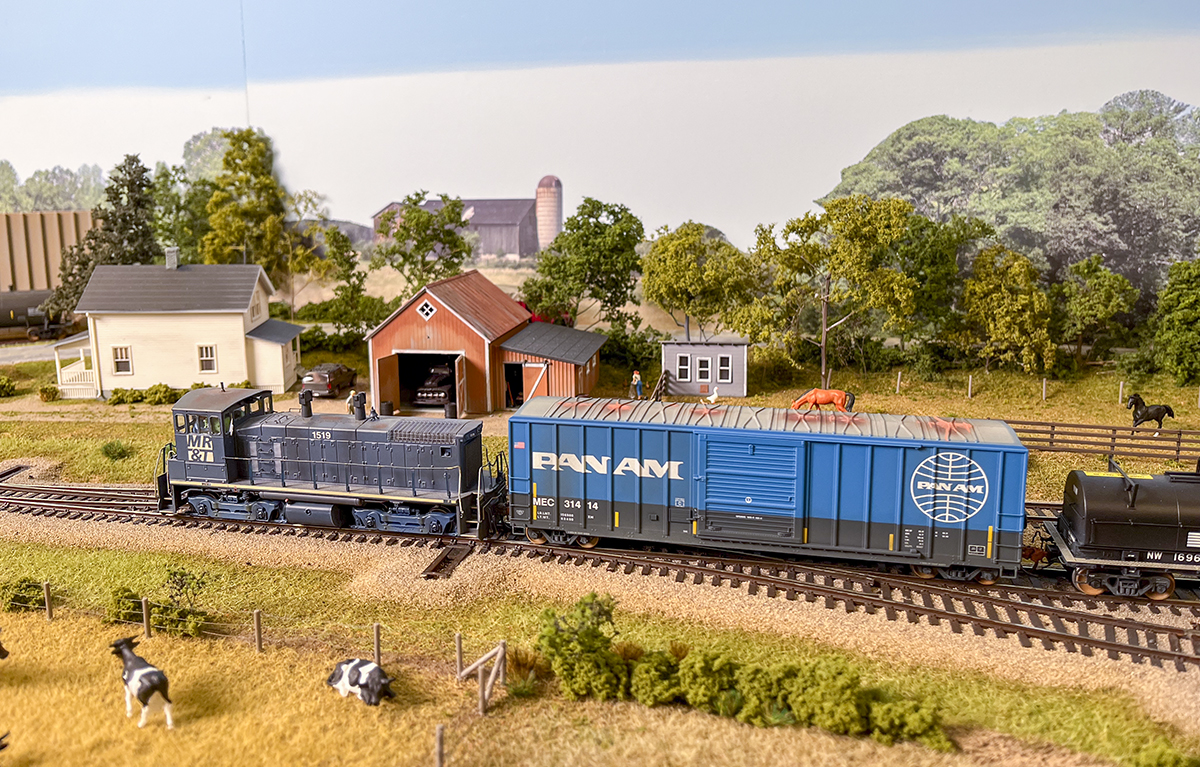
The east end of our layout is mostly rural, and in much of southern Wisconsin you can’t throw a stone without hitting a barn (unless you’re a bad shot). As such, we found an ideal barn scene among Sceniking’s offerings and decided to add it to the layout. The large, weathered barn and silo would fit perfectly at the point the road was to curve into the background to run roughly parallel to the backdrop and would provide a nice break in what otherwise would be a seemingly endless wall of trees.
Like the river, we encroached on the barn a bit by overlapping tall tree sections on each side of it. To the right of the barn, the road needed to appear to pass through the backdrop behind a line of foreground trees. On the left, the farm’s field needed to transition quickly to Central Ink’s rail-served plant. We used taller sections of backdrop trees in both locations to frame the barn.
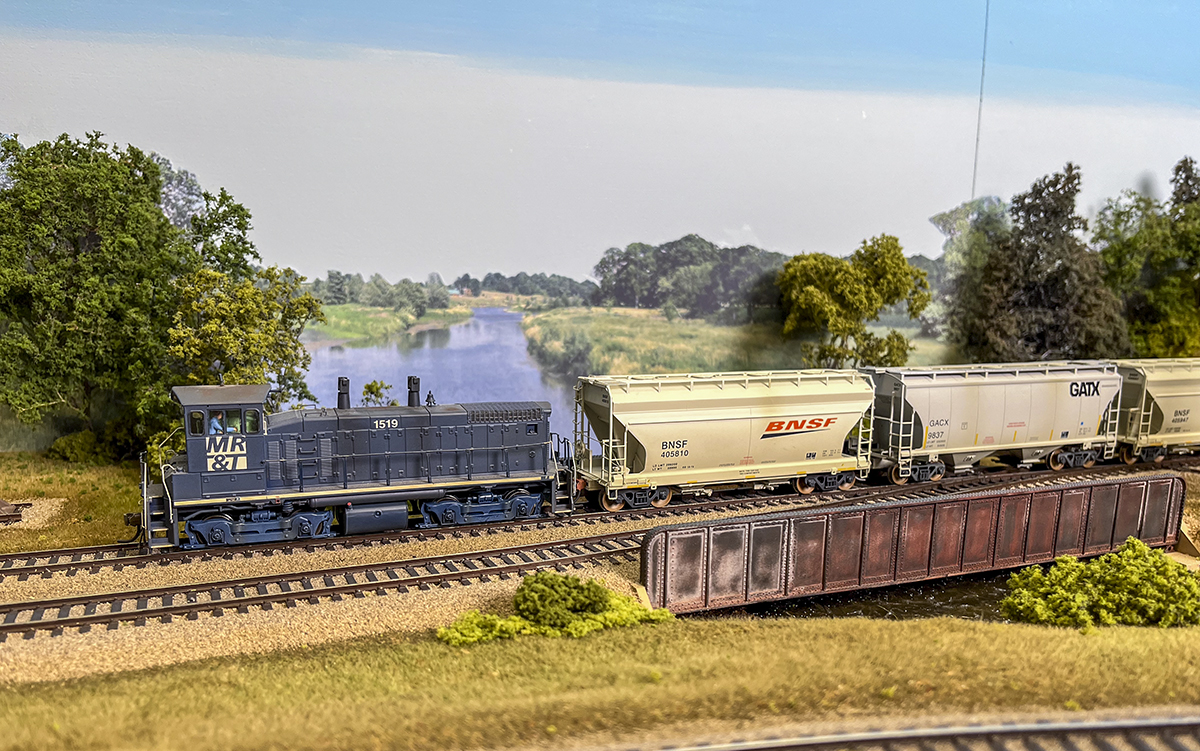
Although it’s not a large detail, as shown in the final photo, simple additions like the barn, or even the river in the previous section, go a long way to providing depth to a scene. It all adds up to making your model railroad feel like a real place.


I placed a mail pouch Tabasco bard from PFT against background to give 3 d feel to backdrop
In o gauge
Try Larcproducts https://larcproducts.com/ as are in NY. I used their background on my 28 ft indoor G scale layout in the past. They also have landscape CD’s with lots of background scenes. I have blended them over my 28 foot custom made photo backdrop by Bill Brown that I have printed on my inkjet printers for my new Winston-Salem Southbound G scale indoor layout. I made a backdrop for my Claremont and Concord On30 layout is a spare bedroom.I have 6 of the graphic CD’s which you can see previews on the website. Bill can make a custom photo backdrop to fit almost any place in the USA.
Cheers,
Jeff Damerst
Unfortunately Sceniking is not shipping to the US, hopefully that gets resolved soon.