We pick up where we left off in part one. Having recently completed the roadbed, track, and wiring on our East Troy Industrial Park project layout, we advance now to…
Digital Command Control
Digital Command Control (DCC) is the best way to power and operate a brand-new model railroad. The biggest advantage of DCC is that you can easily run multiple trains on the same track without complicated wiring to create individual electrical blocks. And most manufacturers offer their newest locomotives decoder equipped, many with sound. To get the most out of those features, you will need a DCC system.
There are a lot of DCC systems available from manufacturers such as Bachmann, Digitrax, ESU, NCE, MRC, TCS, and others. You can usually find a system to fit your budget. While many of the components (other than locomotive decoders) are not interchangeable between brands, they all work approximately the same way.
The base station is essentially a computer that runs the system. The power supply and one or more boosters provides electricity and digital signals to the locomotives via the track. Cabs are the control points, which are typically are hand-held remotes, allowing you and your friends to run trains, program decoders, and operate other DCC-activated components. Smaller starter systems are easy to use but have fewer features. Those planning larger layouts should consider things like number of operators and power requirements when running multiple trains. Some systems allow for the use of smartphone throttle apps, meaning that your friends can come run trains just by using their smartphones as cabs.
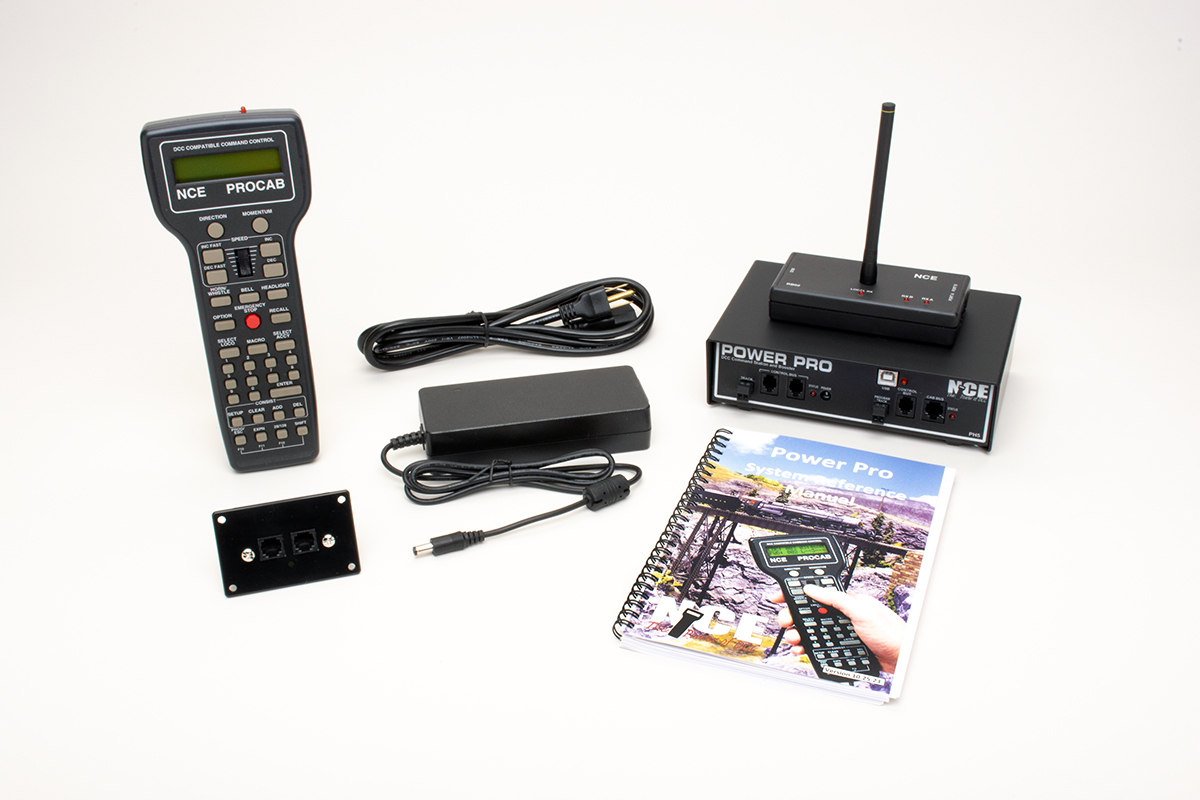
The best part is that once you select a manufacturer, DCC is pretty much plug and play. Start with a base set, such as the NCE wireless system we used, then add components to it as your railroad as it grows.
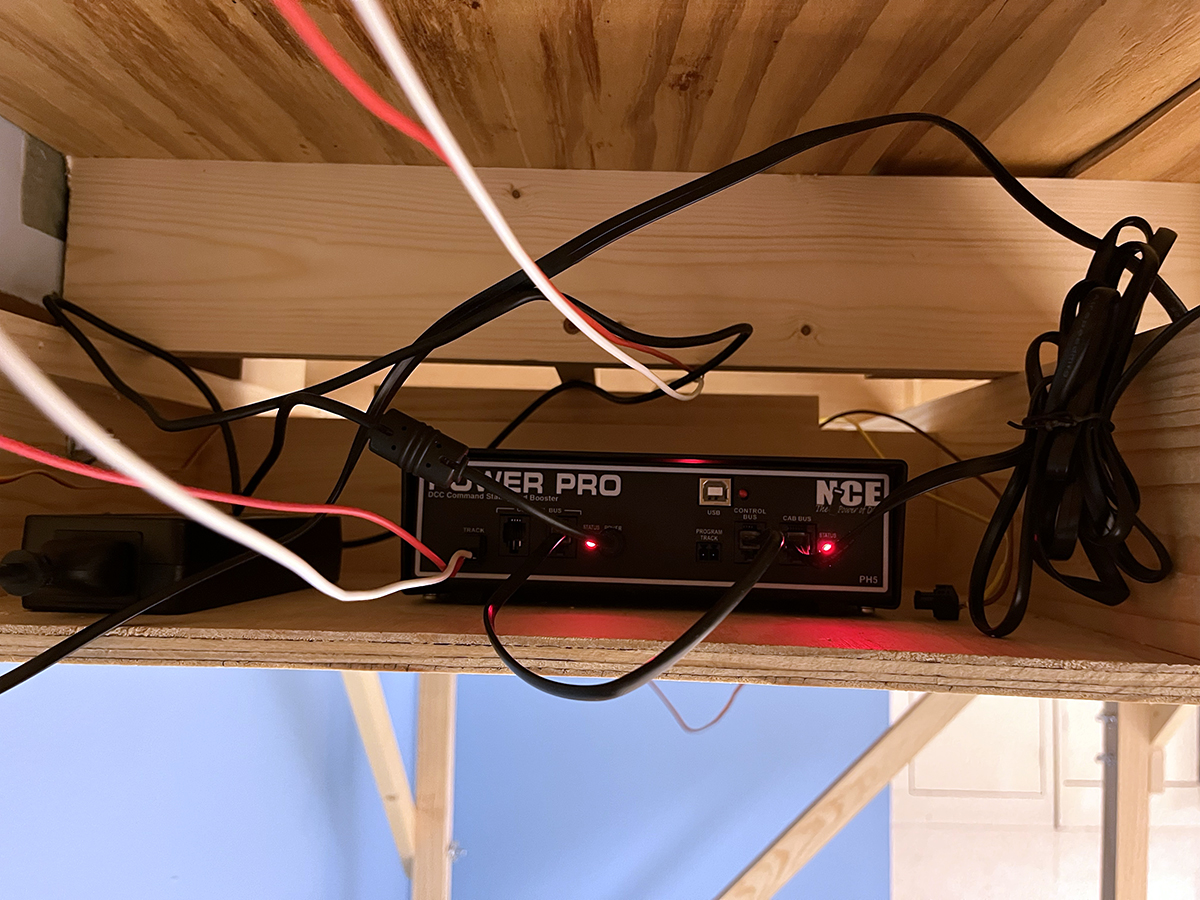
We installed a small shelf under the layout to house the power supply and command station for our NCE set. The track bus connects to the command station with screw terminals.
Our set also came with a radio receiver, so that we can operate the railroad without tethered cabs. We placed the receiver on top of the backdrop, so it would get good reception.
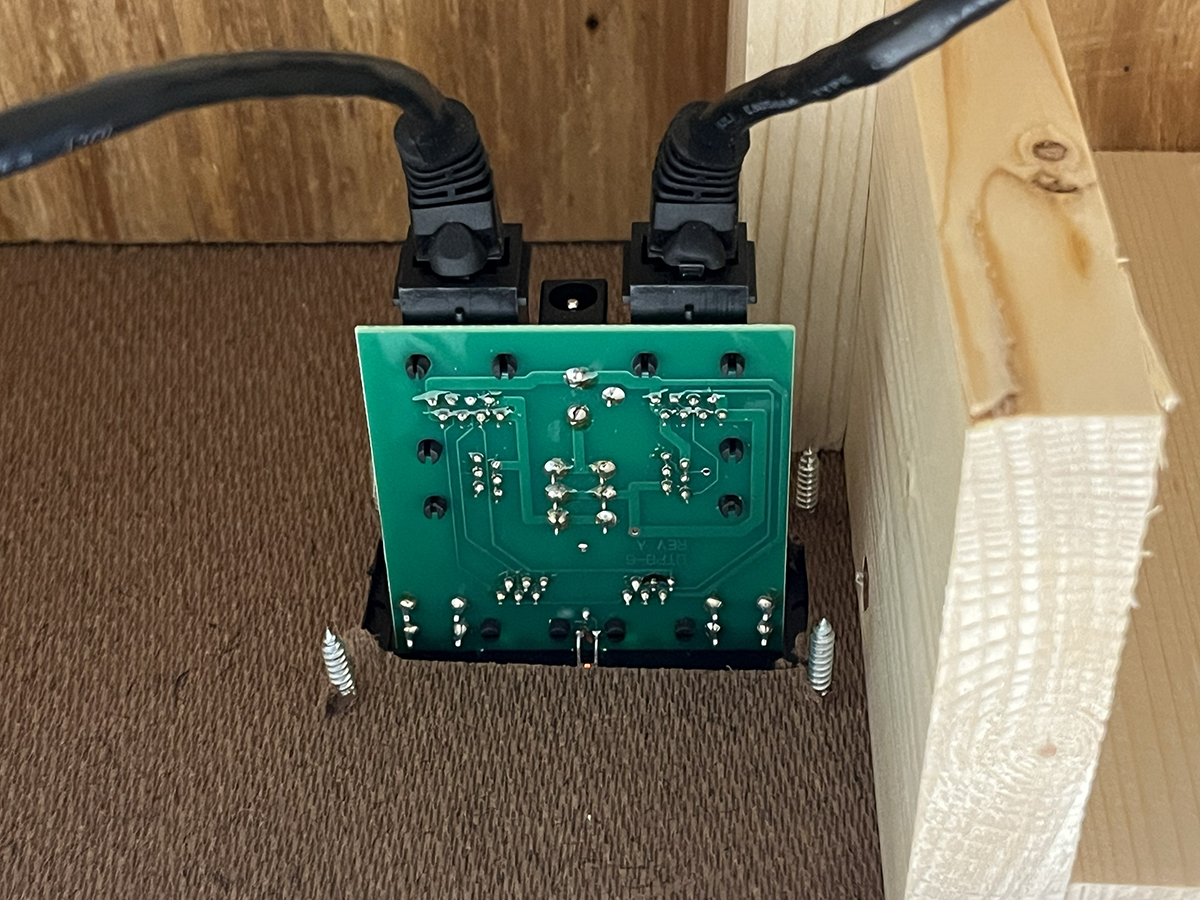
Not all of our NCE cabs are radio equipped, however, so we also installed a series of plug ports along the front of the fascia at 7-foot intervals. The first port connects to the command station. The rest then daisy chain together using data cables. These mount to the fascia with screws.
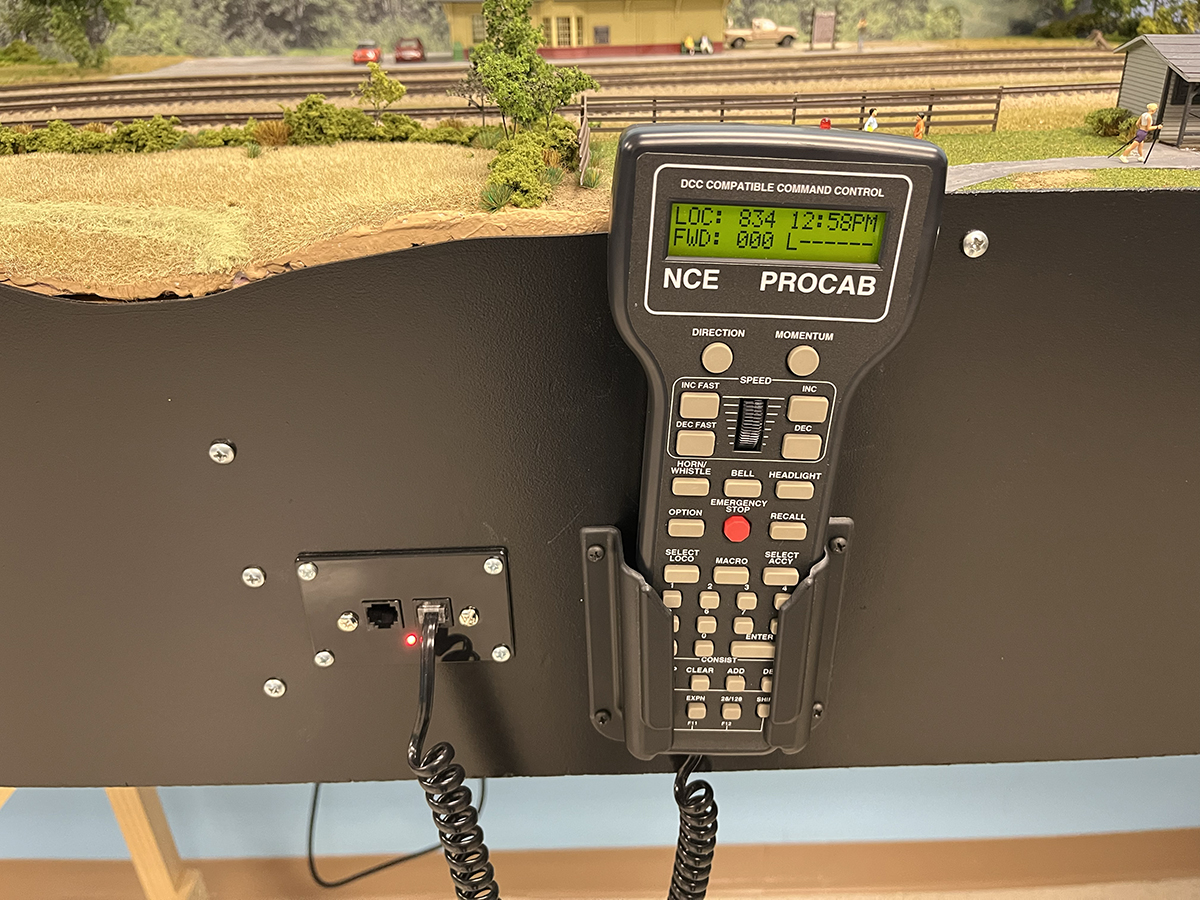
Regardless of which DCC system you choose, like locomotive decoders, cabs can also have addresses. Be sure to follow the address instructions for your DCC system when adding additional cabs to your layout.
Turnout Controls
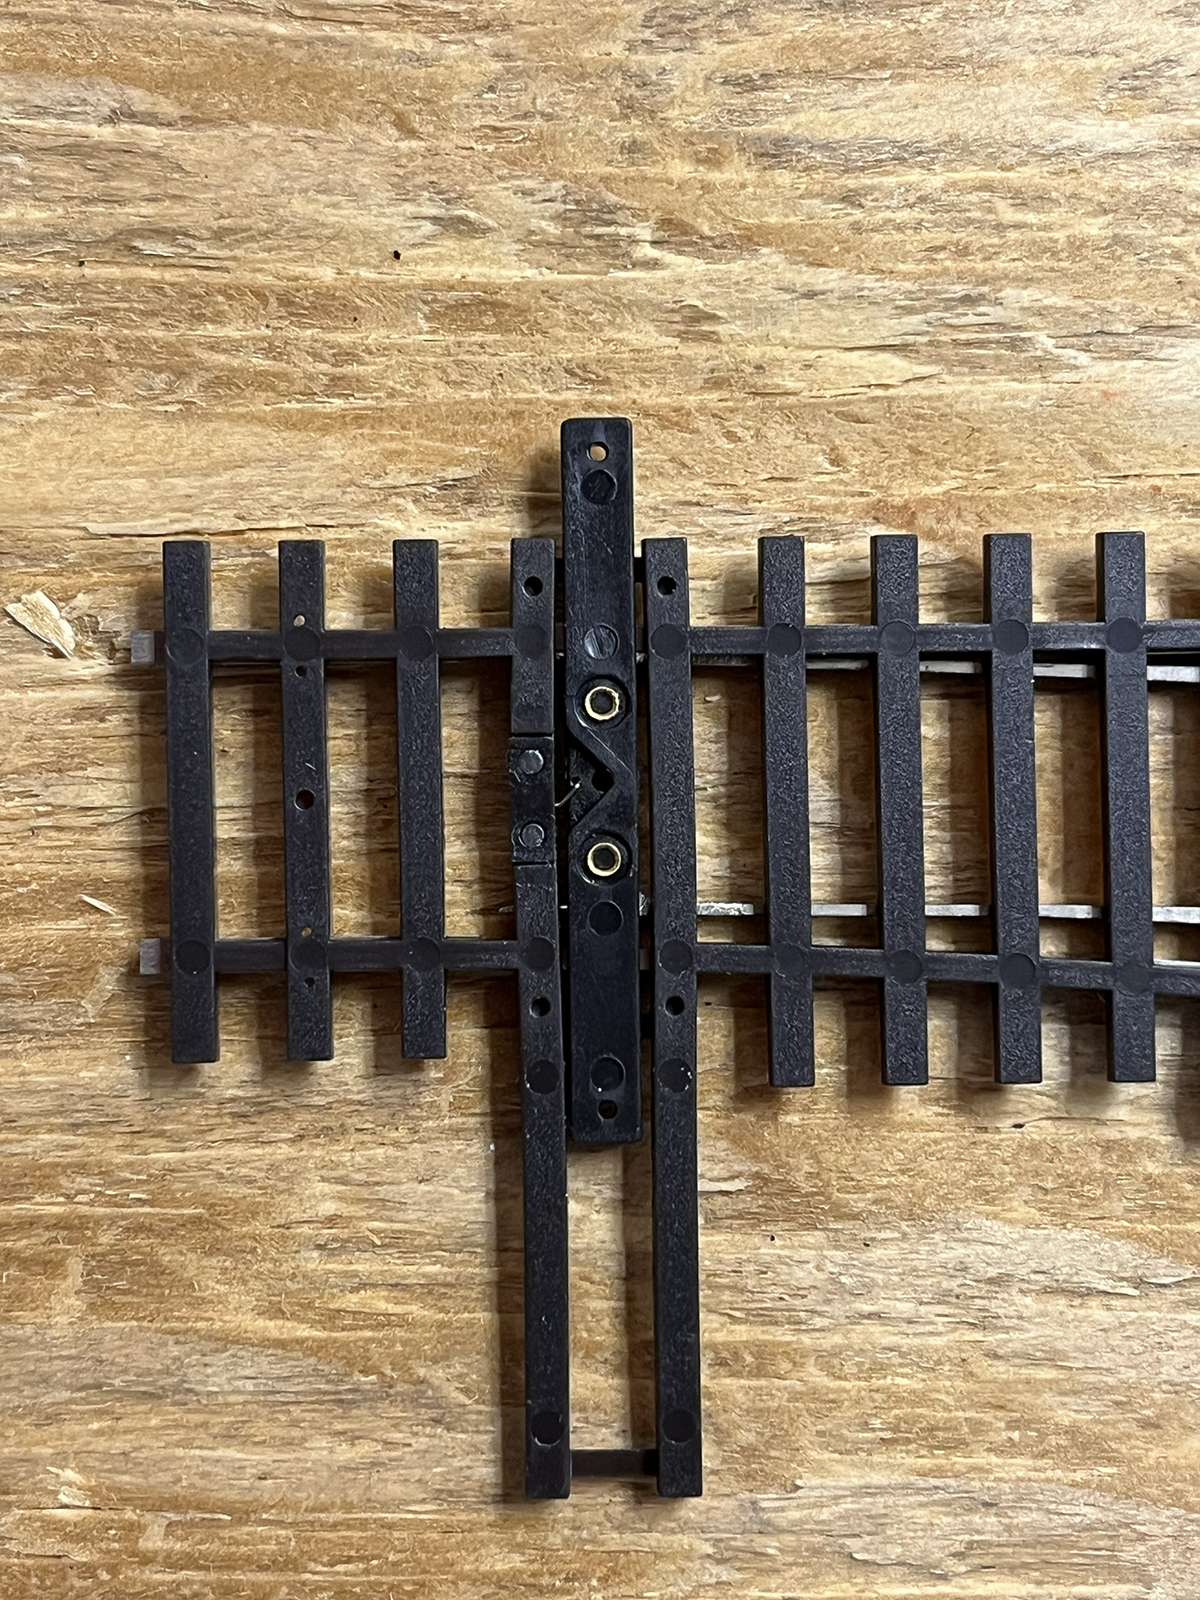
Although the Walthers turnouts come with toggle springs to hold the points in position, we didn’t want operators having to reach into the scenery to align them. Instead, we installed Walthers 942-101 servo-activated switch machines. These mount under the model railroad, and require you to drill holes through the subroadbed under the turnout’s points, something best done before laying the track!
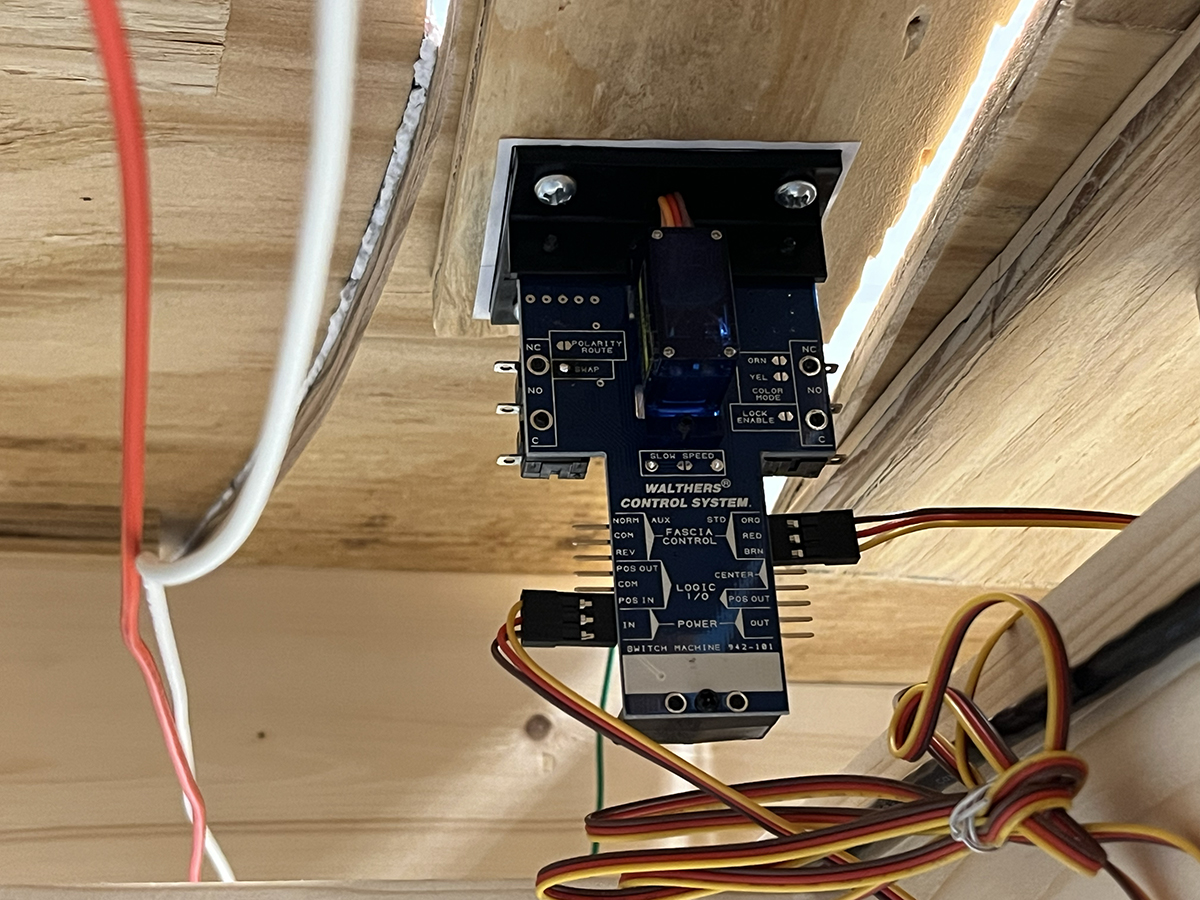
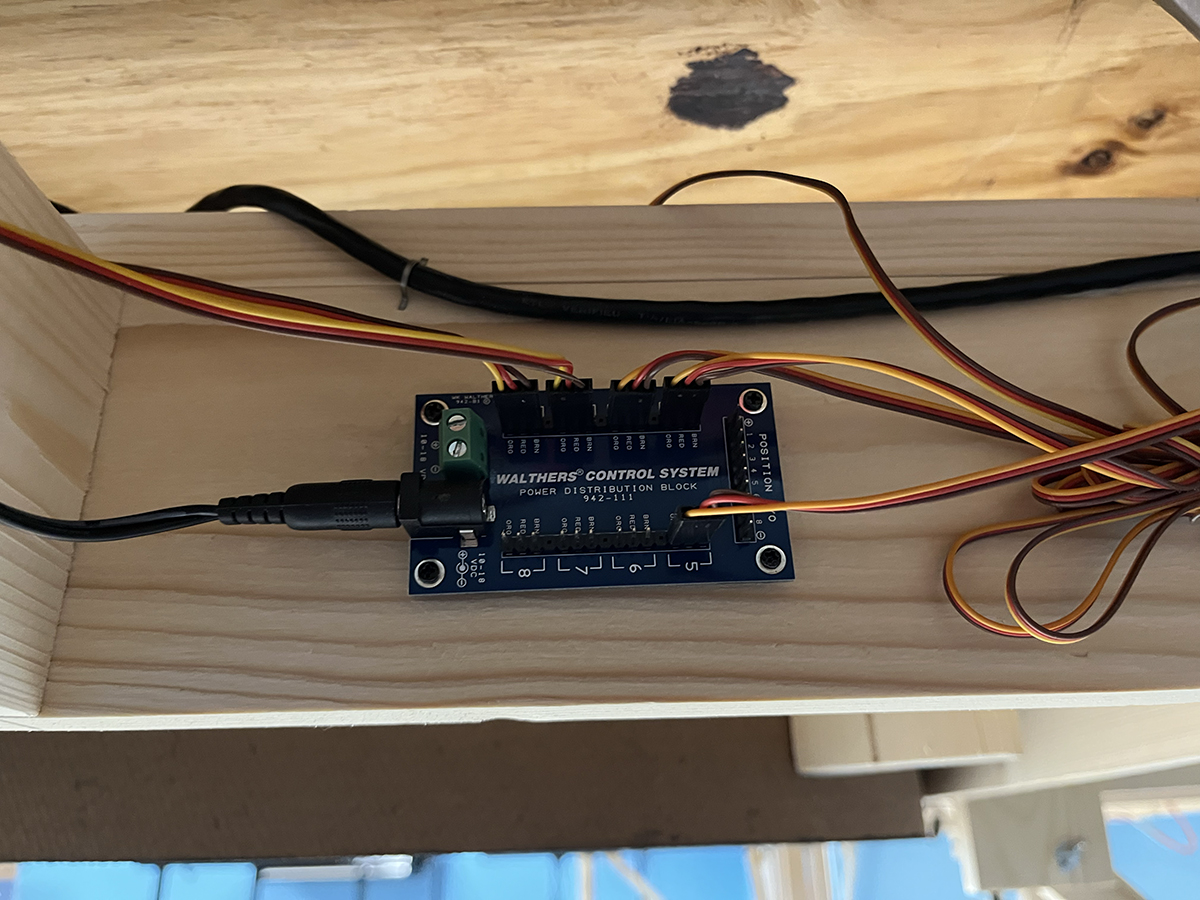
Walthers supplies the basic materials needed to install turnout motor, for detailed instructions, download the manual from the manufacturer’s website. There are also a number of other components you will need, including a 12V 2A power supply, power distribution block, extension cables, pushbuttons, and I highly recommend getting the installation drill bit kit.
Much like the DCC system, the components for the switch motors are plug-and-play. Install the switch motor under the layout using the included template and screws. Drill holes in the fascia to mount the pushbutton controller. Connect the three-wire cable between the motor and the pushbuttons. Finally, connect the motor to the power distribution block and plug in the transformer. A single block supplies 8 machines, and blocks can be linked together to share one power supply.
These were easy to install, but there was a learning curve to get the position for normal route to match the LED to light on the pushbutton control. You will need the detailed instruction PDF from the Walthers website for this. Also, there’s a solder pad on the motor to reverse its operation if needed.
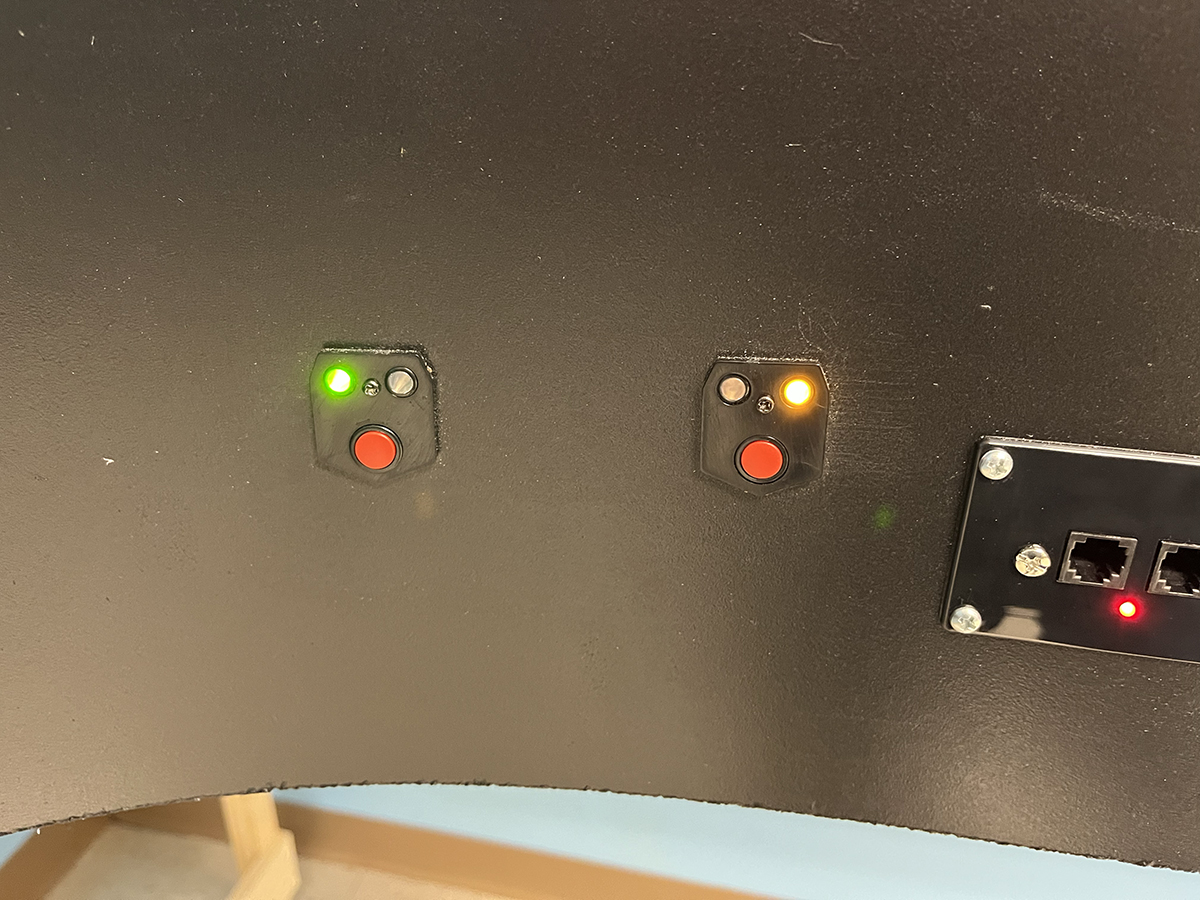
The switch machines were a fun addition, and their glowing LEDs add a “cool factor” to the model railroad.
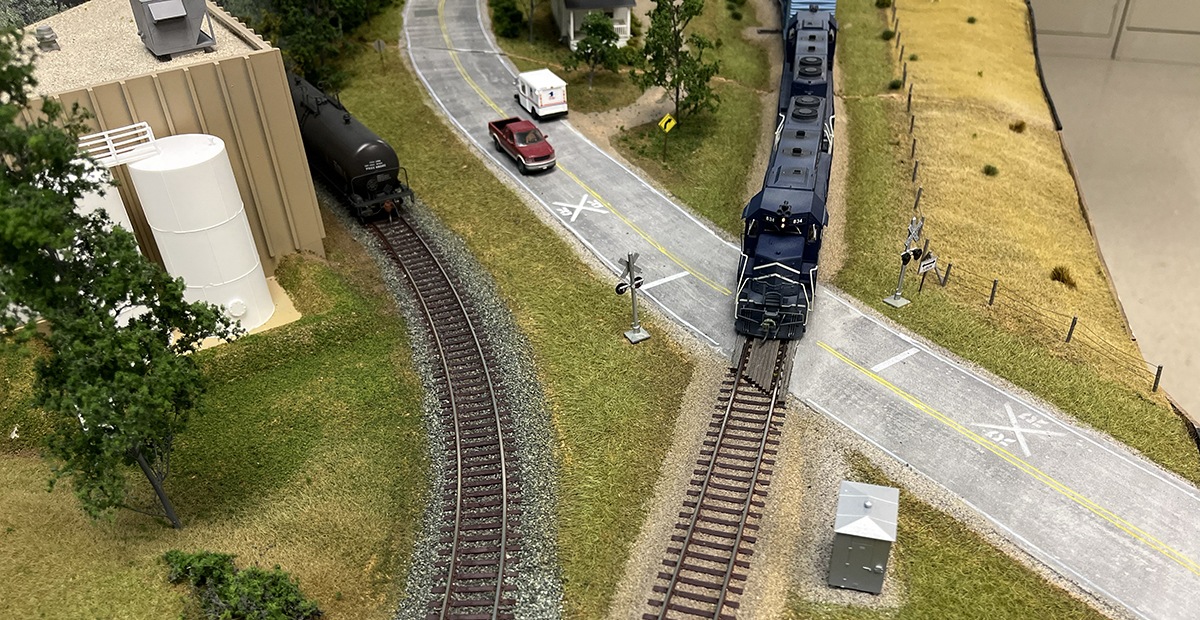
With our control systems installed, we finally could run that first train on the railroad. In part 3 of our series, we’ll return topside on the layout, returning our attention to the track once more and adding some details to it that will make the track look more realistic.
Click here to read the previous article in the East Troy Industrial Park series on Trains.com.