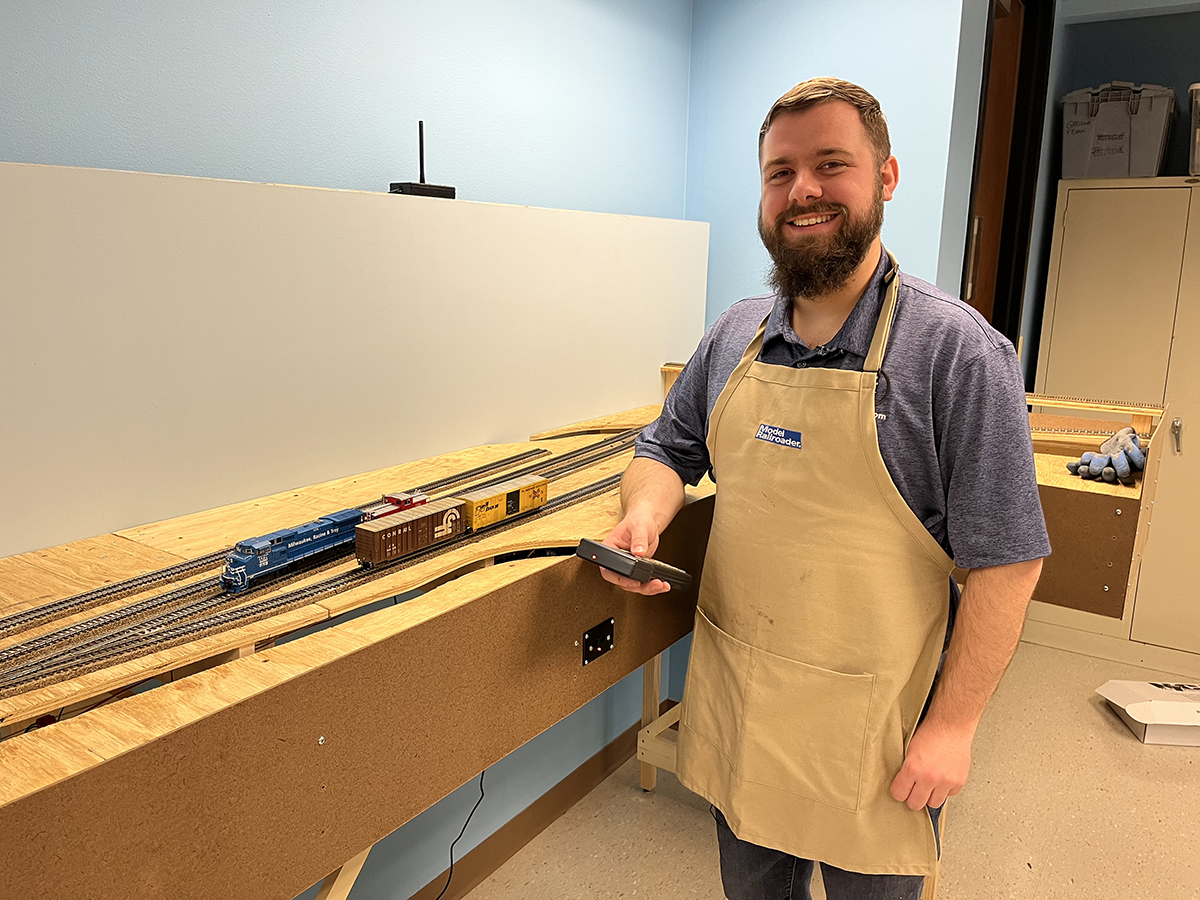
By the time you’ve laid and wired your track and installed your train and turnout control system, it’s easy to let construction of your new layout take a back seat to running trains. After all, the entire purpose of building the layout is to be able to have a place to enjoy operating your model trains. However, once you’re ready to get back to working on the railroad, there’s a couple more important steps you can take that will really improve the realism of your layout. One of those is to paint the track. The other is to add ballast and do some weathering work on the track to really make it look the part of a real railroad.
While we are showing both of these projects together in the same article, they should be done at different points in the process. You will always want to paint the track before starting any surrounding scenery work. And as explained in a bit, you’ll want to ballast the track after at least the base layer of scenery is completed. For now, let’s start with painting the track.
Painting track
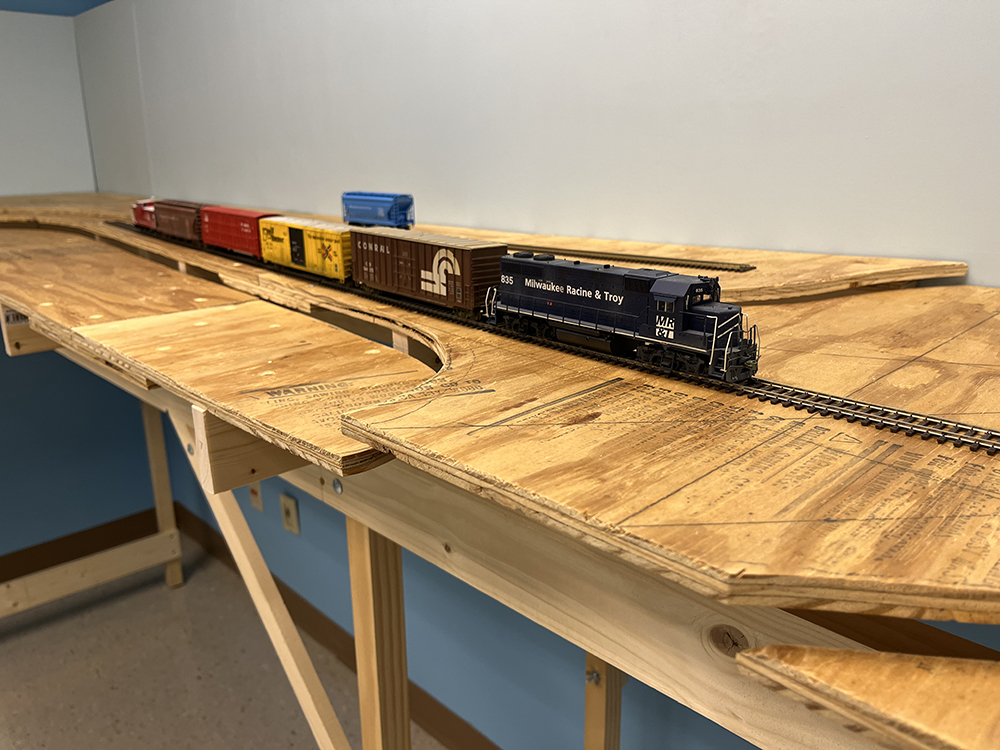
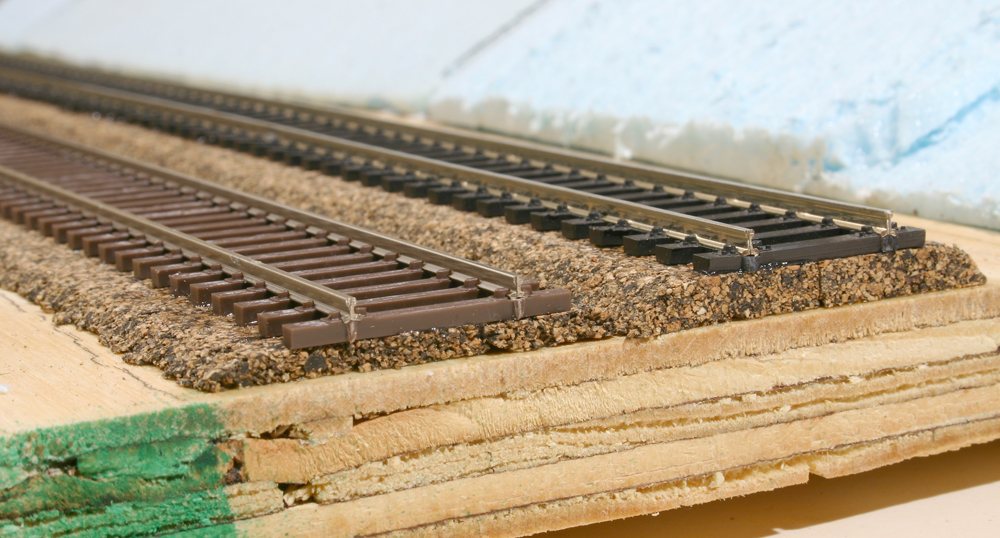
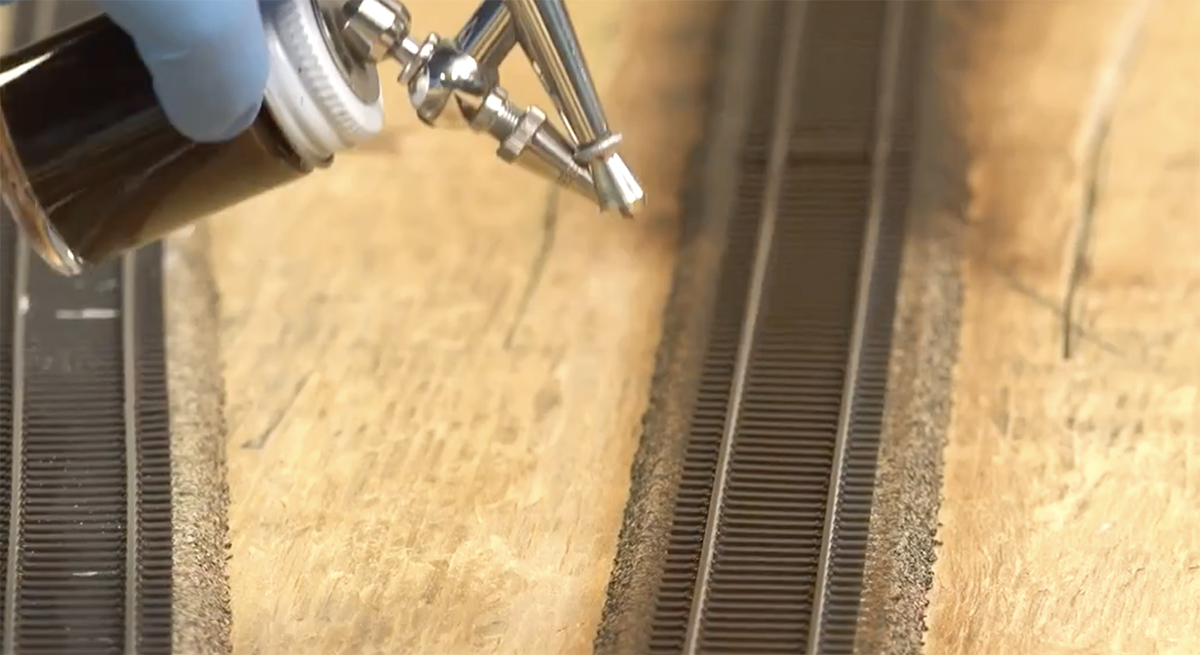
Once the track was in, the feeders attached, and the switch motors were installed, it was time to paint it. While you can leave the track as it comes from the manufacturer, the plastic ties and shiny rails will look more realistic with a coat of paint.
Senior editor Cody Grivno used Vallejo Model Air 71.040 Burnt Umber for much of the layout. However, when that ran out, in a pinch he switched to Tamiya Acrylic XF-9 Hull Red which was close enough to the original color.
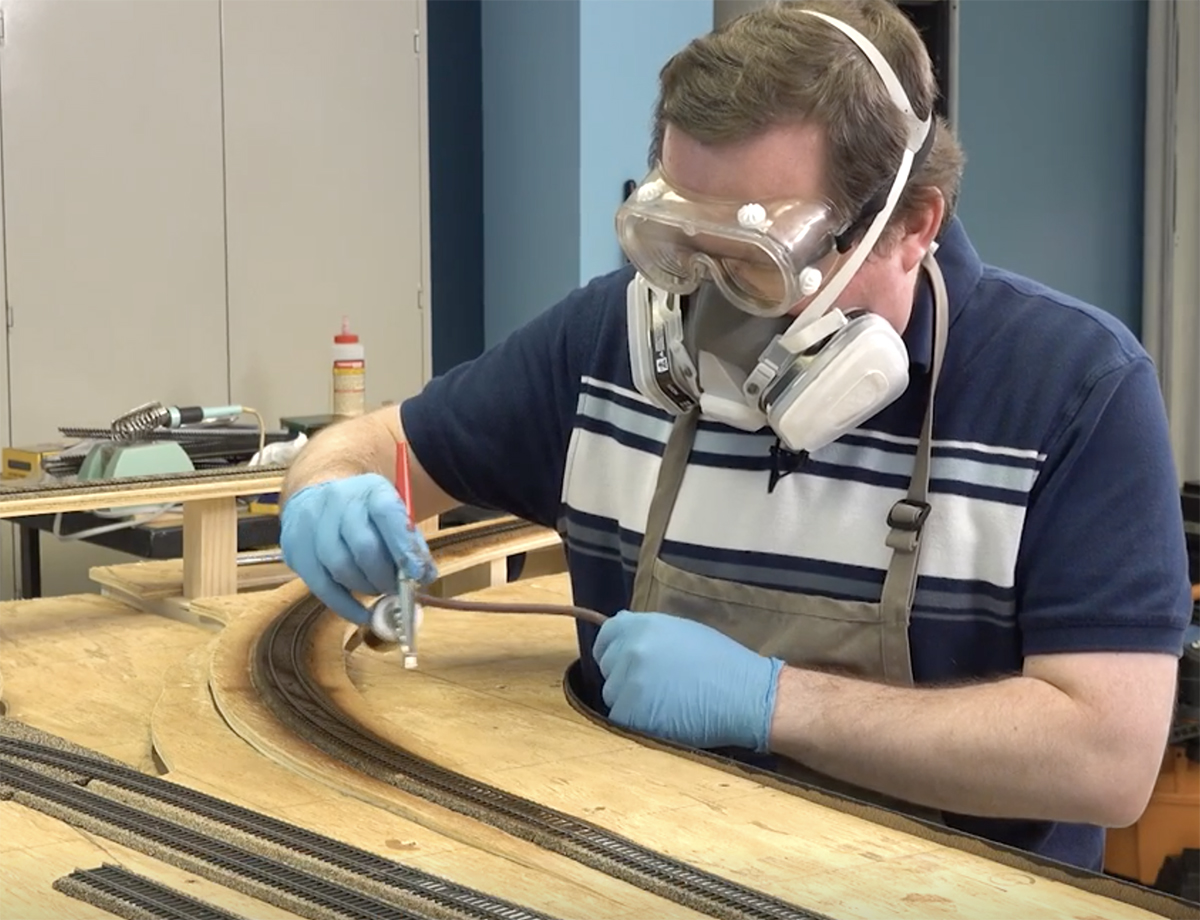
Cody applied the paint to the rails and ties with an airbrush. While airbrushing models in a spray booth is a fairly safe activity, take extra precautions when airbrushing track or scenery on your model railroad. Make sure the room is well-ventilated. We had fans to move the air and particulate through the shop and out of the building. Also be sure to wear a respirator with filters made specifically for paint work, as well as full goggles to protect your eyes. Particulates can stay suspended in the air for some time, so be sure to let the room completely clear before removing your protective gear.
Before painting the track, Cody cleaned the solder joints with a toothbrush and 90-percent isopropyl alcohol. Soldering the feeders and rail joiners often leaves unwanted resin behind from the flux. This will cause problems with paint adhesion, so it should be removed before attempting to paint the track.
Cody and I also masked the switch points to keep paint from sticking them together. Even though the Walthers turnouts are wired so that the points don’t require a clean connection to the stock rail to transmit electricity, paint will cause them to stick, so we masked them to prevent that from happening. As a final precaution, we covered the finished backdrop and the fascia with plastic tarps to protect them from accidental overspray.
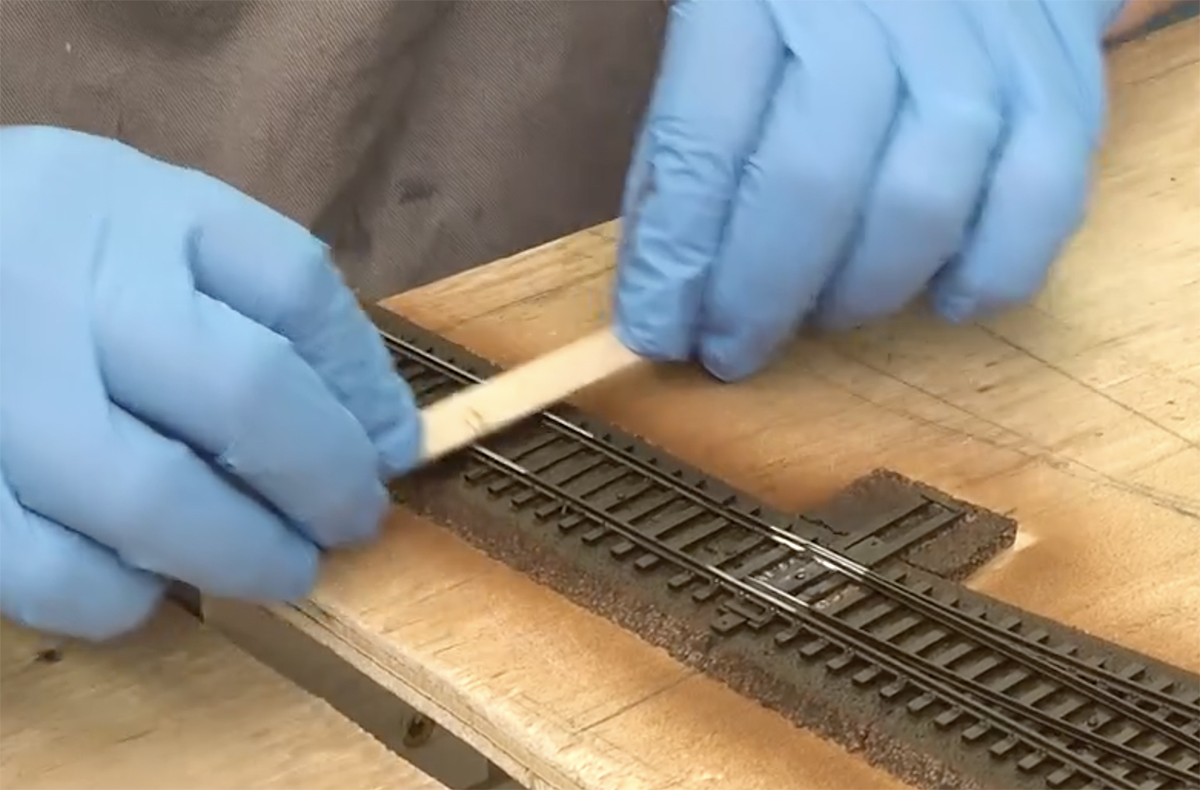
The Vallejo paint takes a couple of days to cure fully, but don’t wait that long to clean the top of the rails. After the paint had an hour to dry, we cleaned the rail tops using wood craft sticks. You can use track cleaning blocks as well, but the paint will gum them up quickly. The craft sticks are disposable, so when one was loaded up with paint, we simply discarded it and got another one.
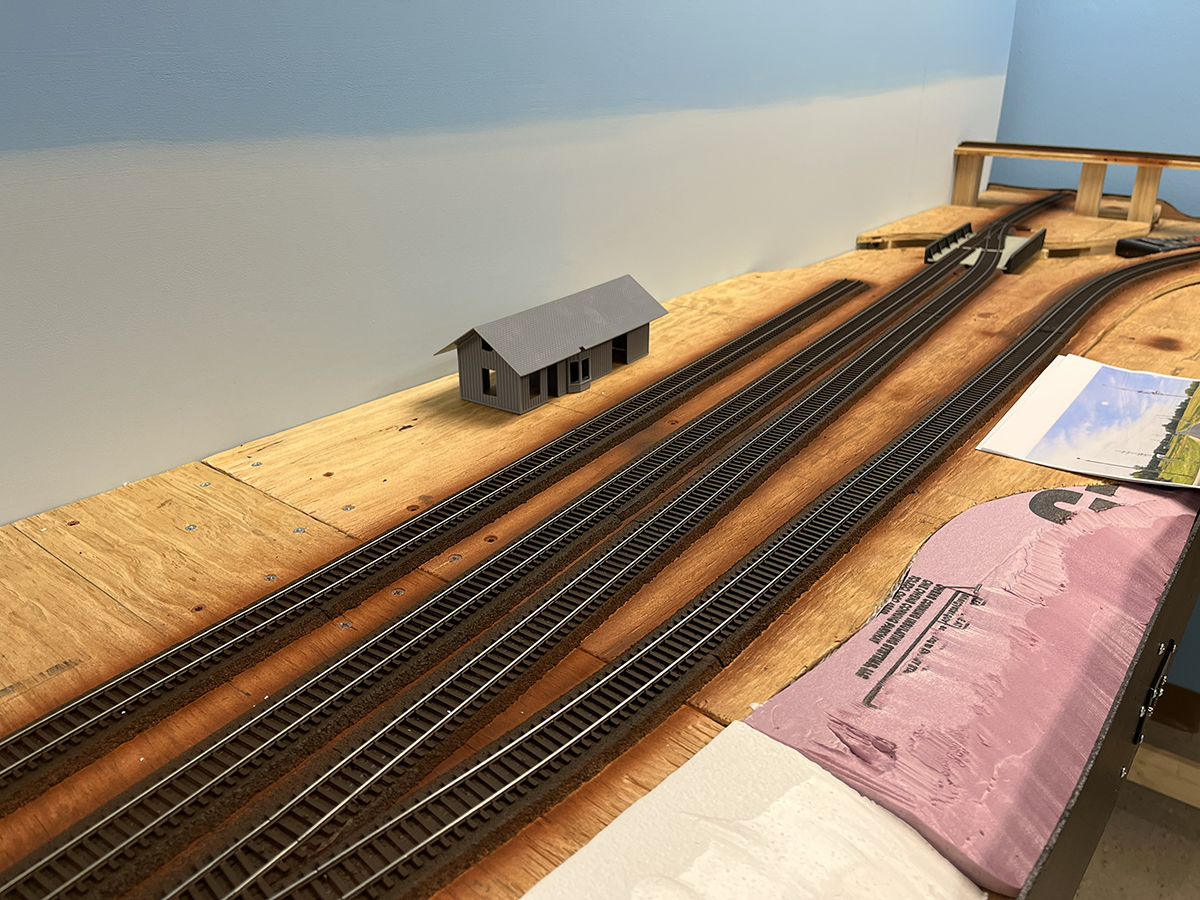
As shown in the photo, the track looks much better painted.

Ballast
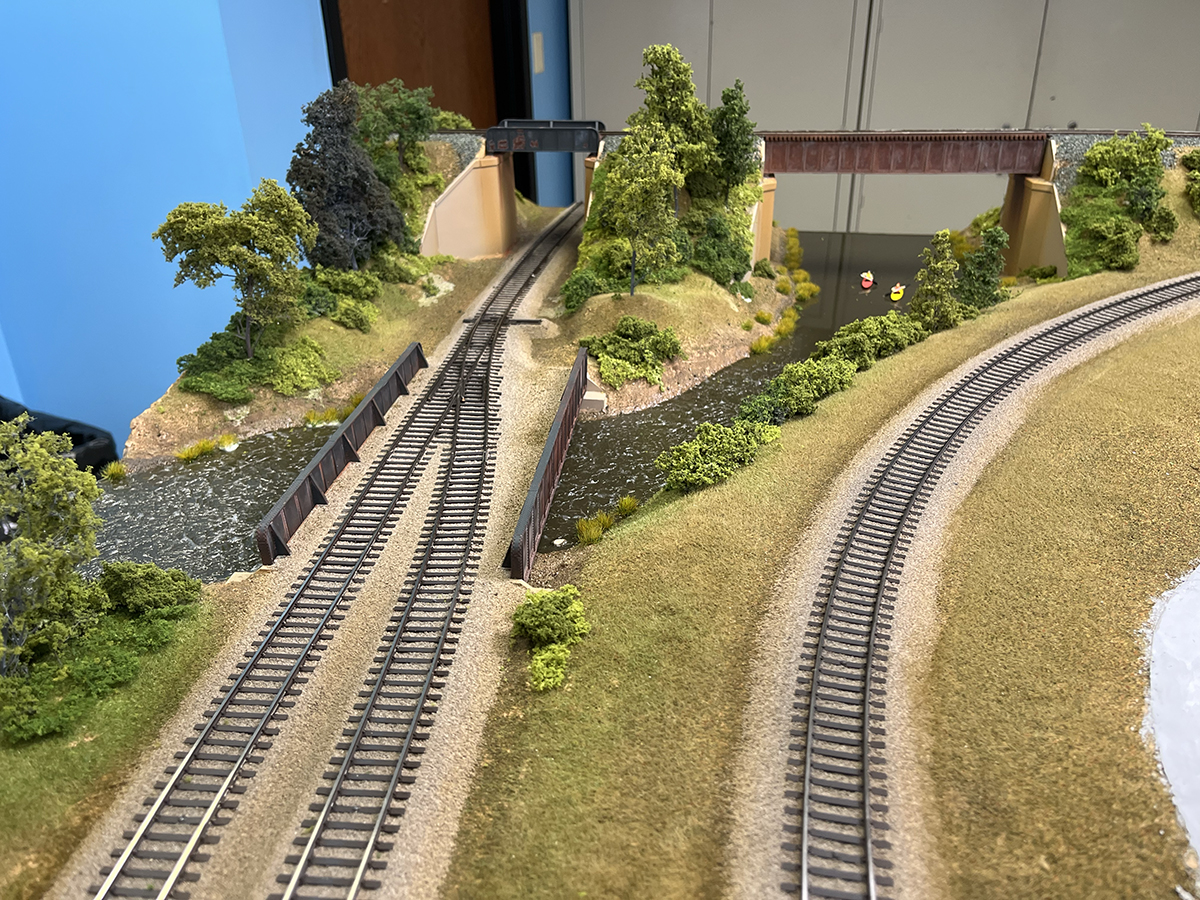
Although we typically don’t ballast the track until after the scenery work is completed, I’ve included it here as a fitting end to the track installment. Ballast is usually reserved for after the surrounding scenery is in for the simple fact that it should be on top of the surrounding ground, dirt, and turf. It’s also very hard to blend scenery into existing ballast, so wait to ballast until it can be the top layer.
Cody is our “Master of Ballast” and has the patience and steady hands most of the rest of us on staff lack, so the job usually falls to him. (The lucky guy!)
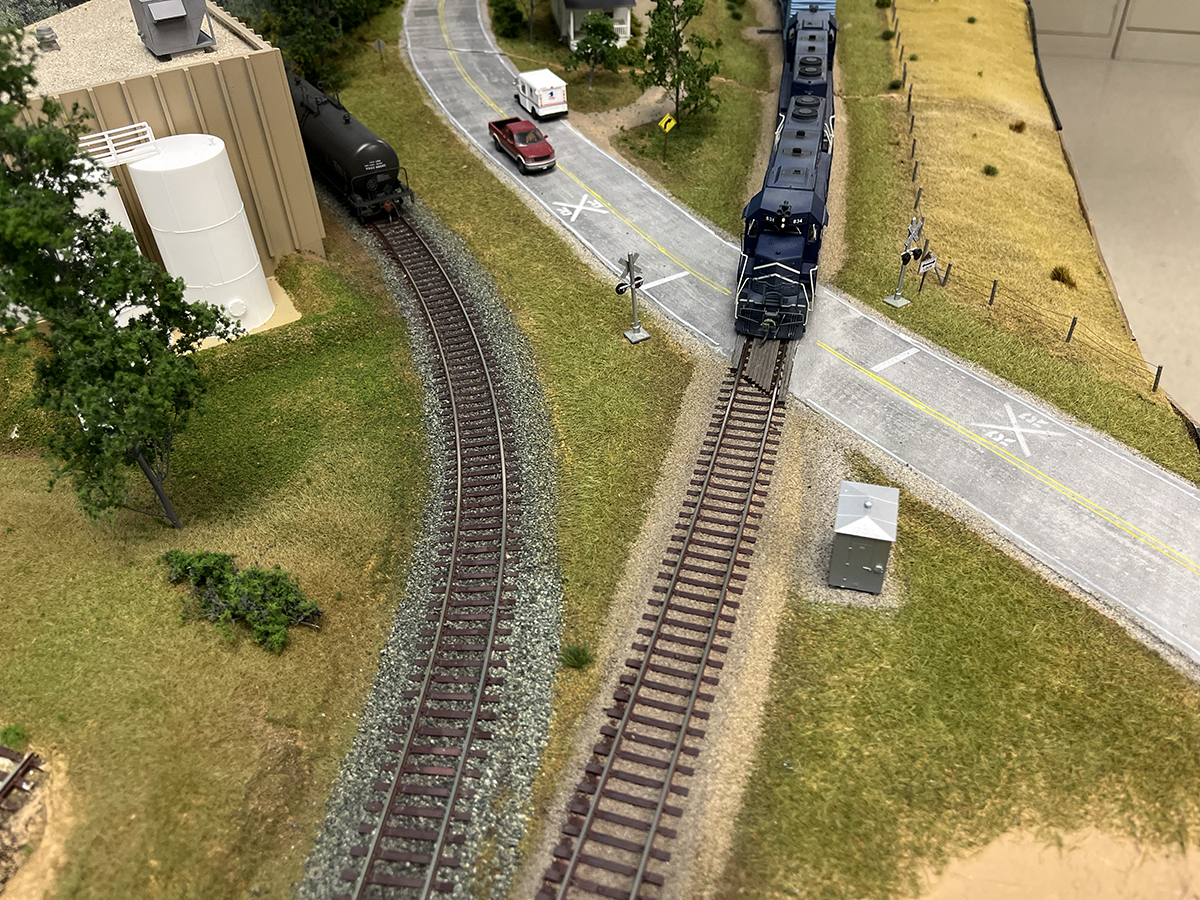
We used Smith & Son Ballast: Gray Limestone No. 50 for much of the MR&T and East Troy RR Museum parts of the layout. This is a good, neutral-tone material with a fine grain that represents the East Troy RR’s own ballast well.
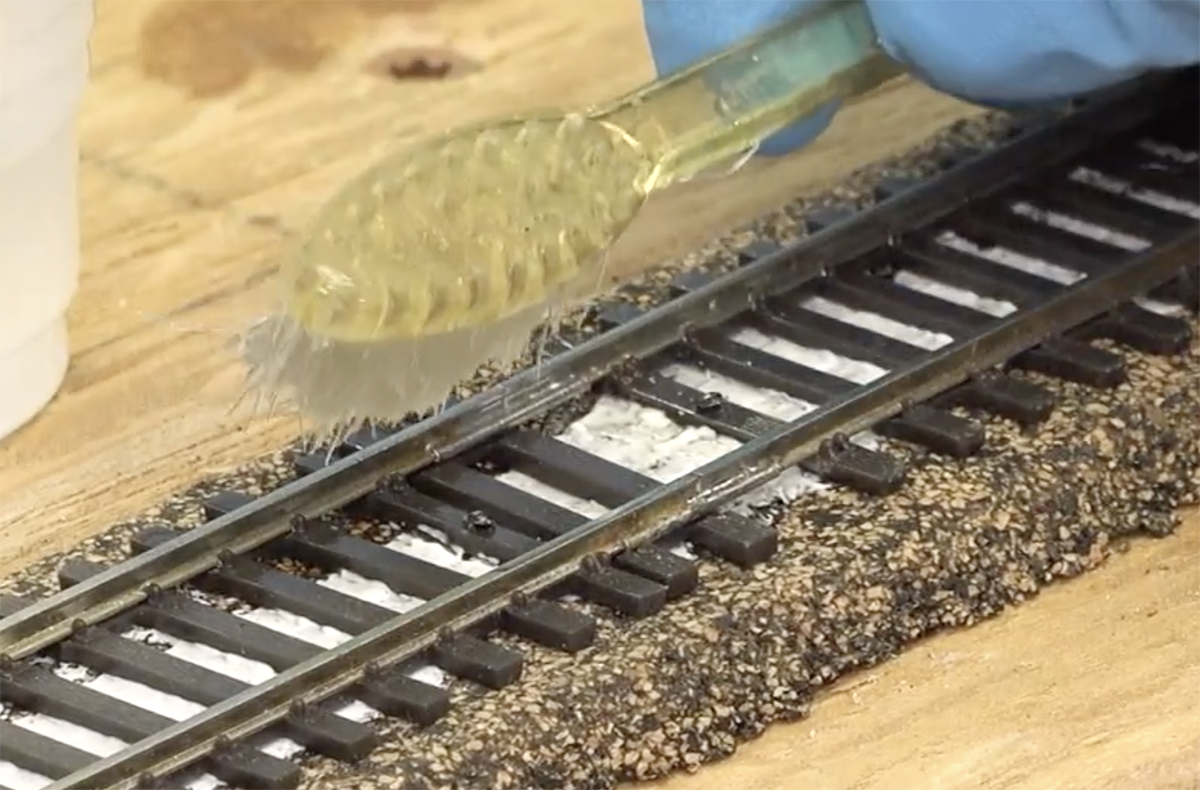
Cody applied the material in several steps, starting with placing ballast in between the rails and being careful to remove it from the tops of the ties and keep it out of the moving parts of the turnouts. After soaking that with Woodland Scenics’ Scenic Cement, he then applied ballast to the shoulders of the right-of-way in two applications. For the first, he painted on full-strength white glue, then sprinkled a light coat of ballast into it. Once the glue dried, he applied more ballast to the shoulders and shaped them with a foam brush. He then soaked all of the ballast with 70% isopropyl rubbing alcohol and applied a final application of Scenic Cement. The alcohol acts as a wetting agent, allowing the cement to penetrate the granules without beading up.
For the CN main line, we used Arizona Rock & Mineral Copper Range Green Granite No. 1342. Ballast color depends upon the railroad and the region where it sources its materials. The color is similar to that used on the CN in Mukwonago, so we applied this color to our layout to distinguish that it’s a different owner’s track.
As a final step, again after the surrounding scenery was complete, Cody weathered the ballast with his airbrush, apply two different colors. He applied Vallejo Model Air 71.054 Dark Gray Blue between the rails to represent the grease and grime from passing trains. He also used Vallejo 71.122 U.S. Desert Armour 686 where the ballast meets the scenery to eliminate the hard, perfect separation line between the two. He thinned both colors to a wash and built up the effects in light layers.
Share this article