The modular approach
While I was planning my diorama, I realized that many of the techniques for building modular layouts could be applied to this project. Modules can be built in many different ways, but the National Model Railroad Association offers standards and recommended practices for module dimensions and track measurements as a free PDF file at nmra.org. By following these standards, you can build a module that could be used in a club layout, like those seen at train shows, in addition to being used for photography. Though I didn’t use these standards for my diorama, it is something to consider when getting started.
Material choices
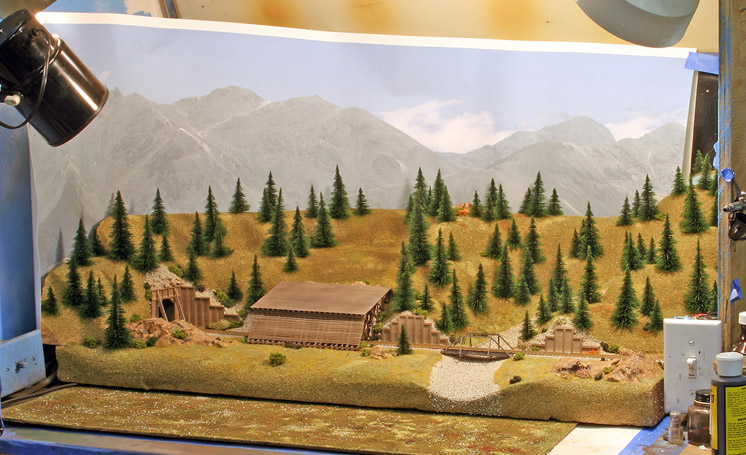
With the photo booth determining the overall size, I began construction. Some common scenery materials, like plaster and screen wire, aren’t suitable for portable dioramas, as the surface isn’t flexible enough to travel well. For my diorama, I used 2″ thick extruded-foam insulation board, which is light, resilient, and easy to work with.
I cut the a base layer of foam slightly smaller than the footprint of my photo booth. I then set my structure models in place to determine a realistic arrangement. Based on the kits I had on hand, I decided the track would exit a tunnel, pass through a snow shed, cross over a small stream, and run along a hillside. I carefully marked the location of each model on the foam.
Next, leaving an opening for the tunnel, I added a second layer of foam board, attaching it with acrylic construction adhesive. I did some preliminary shaping as I went, but saved the final cutting and sanding work until after the adhesive hardened. I then applied a coat of flat tan latex house paint in the lower valley area.
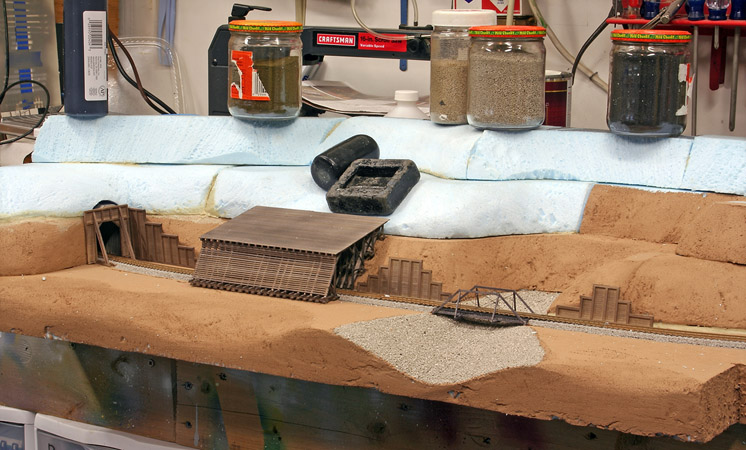
After I was satisfied with the overall look of the scene, I set about making sure all the models fit properly into the terrain. This took some patience, but eventually I was able to make everything fit. Then I painted the foam hillside with flat tan latex paint.
Adding realistic rocks
To simulate blasted rock and other rock faces, I used rubber rock molds and Durham’s Water Putty, as shown in fig. 3. Water Putty is a gypsum-based material that dries hard, doesn’t shrink, and has great bonding strength.
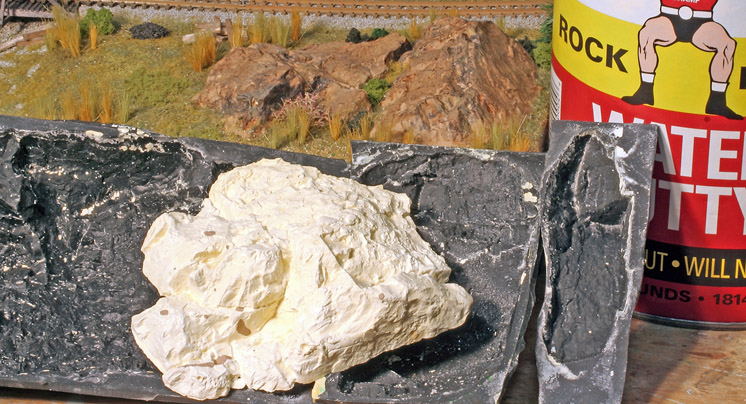
I made each rock casting by mixing a batch of the water putty and pouring it into a mold. I waited a few minutes for the putty to begin to set, then pressed the mold into position. After the putty hardened (about 20 minutes), I carefully removed the rubber mold.
I painted the castings after I’d installed the rest of the scenic texturing. Then I used an assortment of water-based earth-tone paints to apply a series of thin washes, staining the rock castings and bringing out the fine details. I apply the lighter colors first and then layer on the darker shades.
Structures and “slop”
Next, I test-fit each of the structures, made any needed adjustments, and glued them into place. After the glue dried, I began adding the ground cover to blend the structures into the terrain and hide any seams. See fig. 4.
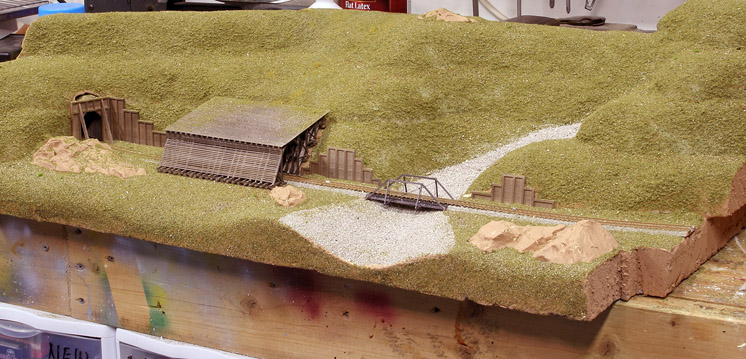
I do this initial layer of texturing with a material I fondly call “slop,” a by-product of my modeling activities. Whenever I work with ground cover, I vacuum up the excess and toss it into a large plastic jar. Except for sawdust and bits of plastic, almost everything else ends up in the jar, including grass, small twigs, dirt, bushes, and gravel.
To apply the collected material, I brush on thinned Elmer’s white glue over the area that will receive the base texturing, and then sprinkle on a liberal coating of the mixture. My thinned glue recipe is 60 percent water, 40 percent white glue, and just a drop or two of dish soap to “wet” the mix. The soap makes the thinned glue penetrate the scenery material better. After the glue has dried, I vacuum up any loose material and dump it back into the jar for use on the next project.
Filling in the details
Now comes the fun part, filling in the details that make the scenery come alive. One technique that I use to get a feeling for the realism in a modeled scene is to photograph the area at ground level with a small camera set in the scene. Taking a close-up, low-angle view emphasizes anything that needs work.
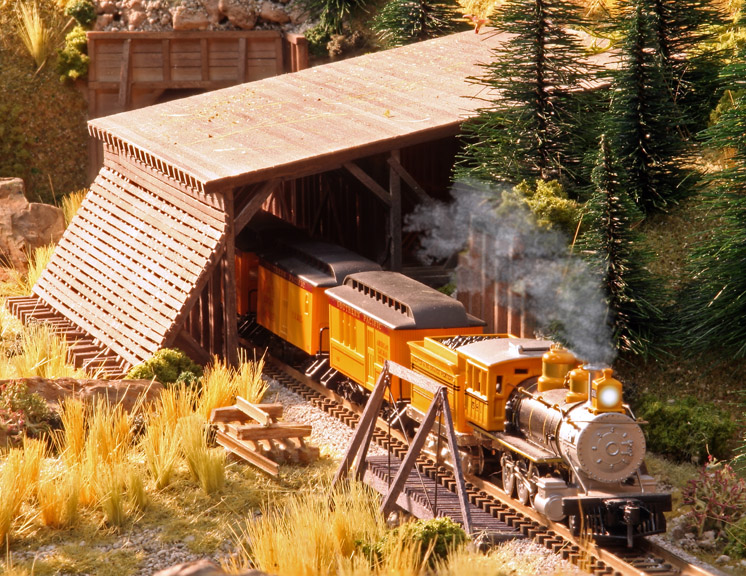
Foliage adds depth to the scene, so I planted an assortment of commercial fir trees. I grouped them in bunches of three to five with a little space between them. To force the perspective, I placed larger trees toward the bottom of the hill and used progressively smaller trees as I worked my way up.
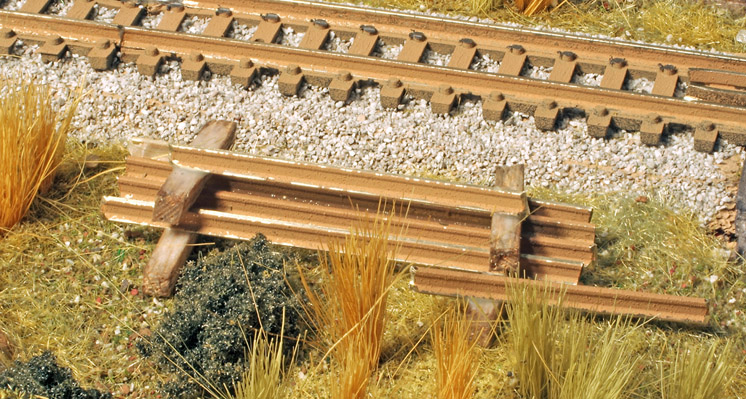
I added all sorts of man-made items commonly found along the right of way, but I deliberately chose items that aren’t era specific. Some of these are discards from emergency repairs, while others represent materials staged for a future job. I added old wood ties, stacks of fresh ties, sections of rail, a pile of coal, and junk timbers left behind from a past bridge repair.
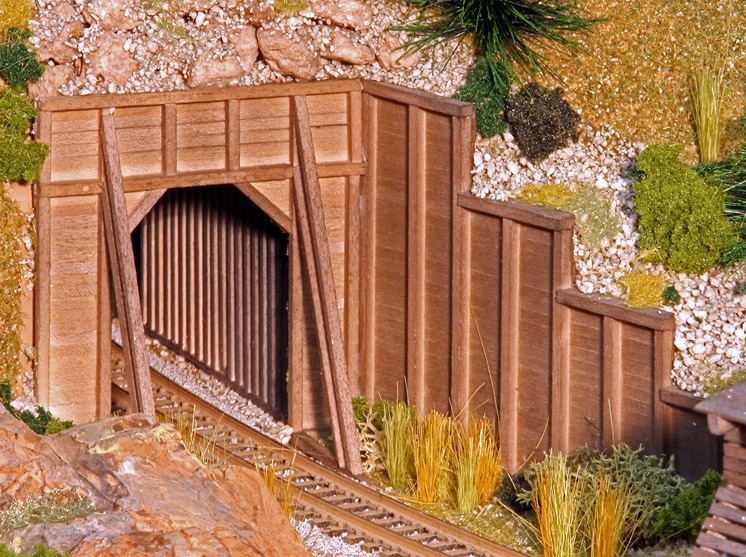
To finish my diorama, I added fallen limbs and broken branches around the trees, tree stumps, bushes, shrubs, and clumps of weeds to fill in any big gaps in the scene. I also added the mossy vegetation that builds up on the damp roof of the snowshed.
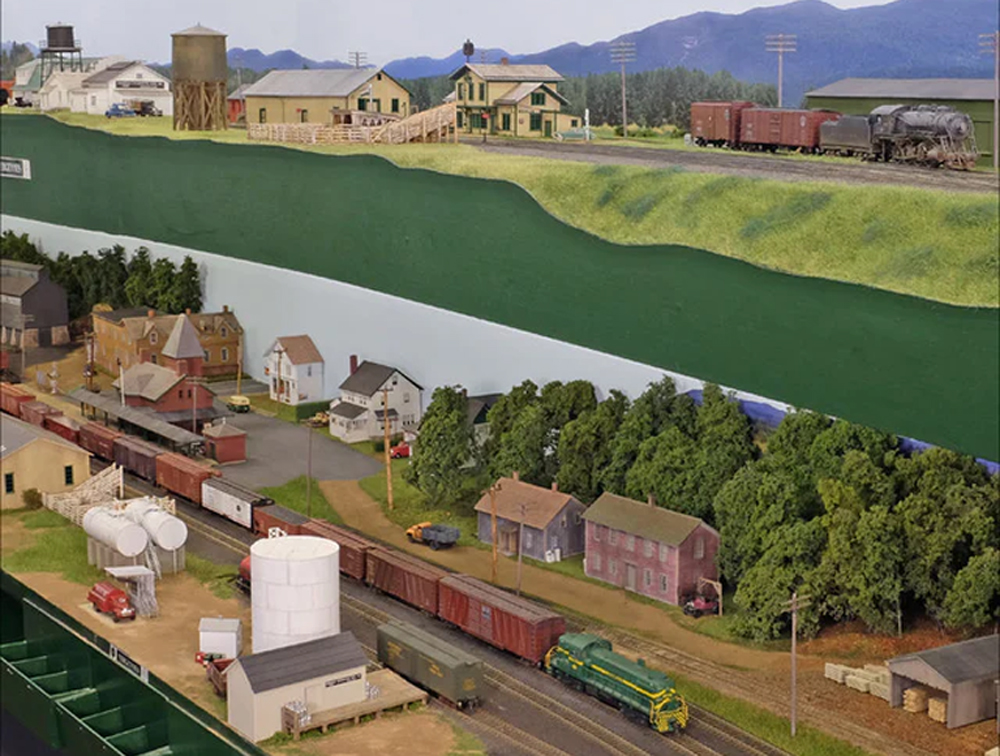
Versatile setting
The finished diorama fits perfectly into my photo booth and gives me a wide range of photo options. With different lighting I can control the feel and mood of the images, and I can change the backgrounds to shift to different locations. I can choose the era by simply selecting the proper rolling stock, so I’m pleased with the diorama’s versatility.
Though I built a photo scene, all of the construction methods I used can easily be adapted to any size layout or module. It didn’t take that long to build, and I had a lot of fun along the way.