Beginners The basics of model railroad track

The basics of model railroad track

By Model Railroader Staff | November 1, 2023

| Last updated on April 16, 2024

Get tips for choosing and installing track on your model train layout

Email Newsletter

Get the newest photos, videos, stories, and more from Trains.com brands. Sign-up for email today!


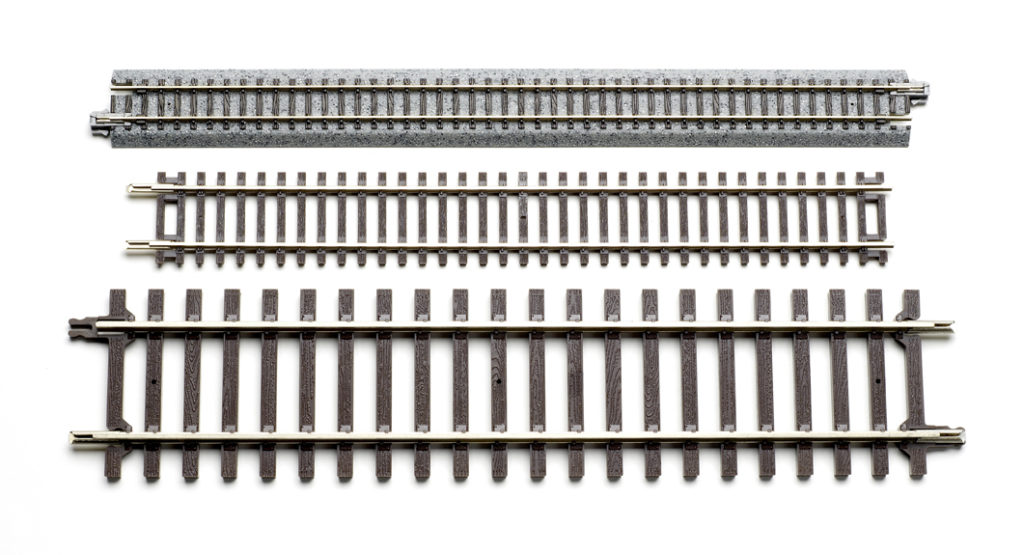
The basics of model railroad track: A selection of different types of model railroad track

Model railroad track comes in many scales and varieties. At top is a section of Kato N scale Unitrack, an all-in-one type. Next is a piece of Atlas HO sectional track, and at the bottom is a piece of O scale track from Atlas O.

The basics of model railroad track: Many hobbyists get started with the loop of sectional track that came in their first train set. Then the train bug begins to bite, and they want to add more track. You can expand with the same brand of track that came with your set, but you don’t have to. You’ll find that there are plenty of track manufacturers out there and that track comes in a wide variety of scales, gauges, and appearances. Visit your local hobby shop or look through a copy of the most recent Model Railroad Reference Book from Wm. K. Walthers Inc.

Two types of sectional track (the track the comes in most train sets) are available: regular and all-in-one. Regular track features rails mounted to injection-molded plastic ties. All-in-one track includes plastic roadbed that represents the rock ballast under the ties. Some brands allow you to remove the track from the cast ballast base; others don’t. The big advantage of all-in-one track is that it eliminates track ballasting, a chore that isn’t particularly difficult, but can eat up a lot of time.

Manufacturers offer track in a variety of curve radii and track codes. The term “code” simply means the rail height expressed in thousandths of an inch. For example, code 83 rail has gained popularity in HO scale because it looks more in proportion to the trains than code 100 rail, which was widely used in HO scale for many years and is still available today. You can learn more in the article “Model railroad track codes defined.”

The basics of model railroad track: Group photo of HO scale No. 6 turnouts
A turnout (or switch) allows a train to go from one track to another. Cody Grivno photo

Turnouts (Switches)
Watching a train race around a circle can lose its novelty after a while. The solution is to purchase some turnouts and additional track sections, which will enable you to vary the train’s route.

A turnout (called a switch on a real railroad) is a piece of track that allows a train to go from one track to another. Turnouts direct trains onto different routes and provide access into yards and sidings. They are available in all the different rail sizes.

Both real-world and model turnouts are identified with numbers that indicate their diverging angles. The numbers are shorthand for the length-to-width ratio of the frog (the point at which two rails join to form a V). For instance, a No. 4 turnout requires four units of length to spread one unit, while a No. 6 turnout  requires six units of length to spread one unit. In short, the higher the frog number, the gentler the angle.

Most model railroad turnouts are either No. 4s or No. 6s. (Those are sharp curves by full-sized railroad standards, which commonly require turnout sizes from No. 12 through No. 20 on main lines.) A wide variety of different types of turnouts is available, some for very specialized applications. Chances are you’ll be able to find the right one to suit the needs of your layout.

The basics of model railroad track: Color photo of rail end slipped over top of rail joiner.

It’s easy to slip a rail end over the top of a rail joiner rather than into it. Such an error can cause derailments and poor electrical contact. Run a fingernail over rail joints to feel problems.

The basics of model railroad track: Color photo of bad rail joint.
Forcing track to fit is a common mistake with sectional model railroad track. Trains will have a tough time crossing this gap.
Color photo of good rail joint.
Track sections should fit together easily, without any obvious gaps in the joint between rail sections.

Keep ’em running
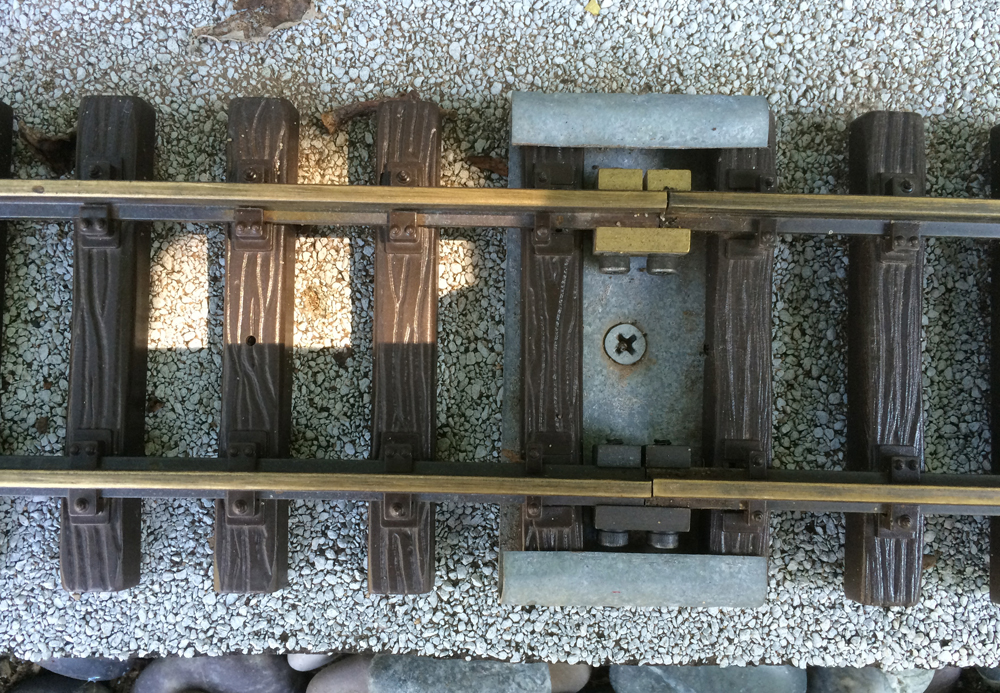
Not much can go wrong as long as you’re running a train around a simple loop of track, and any problems can almost certainly be traced to rail joints. It’s easy to have a rail end sitting on top of a rail joiner rather than being slipped inside it. This kind of vertical misalignment is a common problem. Run your fingernail along the top of the rails – you’ll feel the height difference right away.

Once you begin to expand a layout, the derailment possibilities increase dramatically. One problem we often see is using the wrong number or size of track components: using five curve sections where six are needed, or using fewer straight sections on one side of the layout than on the other. If you have to force the track to make it fit, something is probably wrong.

Color photo of ballast being shaped with foam paintbrush.
The shoulders of the ballast can be shaped using 1″ and 2″ foam paintbrushes. Jim Forbes photo
Flextrack
Sectional track is great for getting a quick start and expanding a train set. As you move toward building a permanent layout you may find these basic flextrack laying techniques useful. This type of track usually comes in 36″ or 1 meter lengths and can then be cut and bent to the desired radius. Flextrack is commonly used with roadbed made of cork or other material and is ballasted for a realistic appearance.
You must login to submit a comment