Basic tunnel building: Building a tunnel for your layout can be a daunting task, but it’s not nearly as difficult as it may seem! The first step is to determine where on your layout you want the tunnel, a step which you have likely already completed. From there, determine the end points of the tunnel, and the length of the tunnel walls on each side. Before beginning construction of the tunnel, be sure that your track is secured, weathered, and ballasted, since once the tunnel is finished, it will be more difficult to access that stretch of track.
With your tunnel end points set and your side wall lengths determined, it’s time to move on to the construction process. The easiest material to build your tunnel from is extruded-foam insulation board, which can be found at most home centers. This material is relatively strong, easy to work with, and versatile, and works for both the interior walls and roof of the tunnel. Look at these photos and follow these steps to learn basic tunnel building.
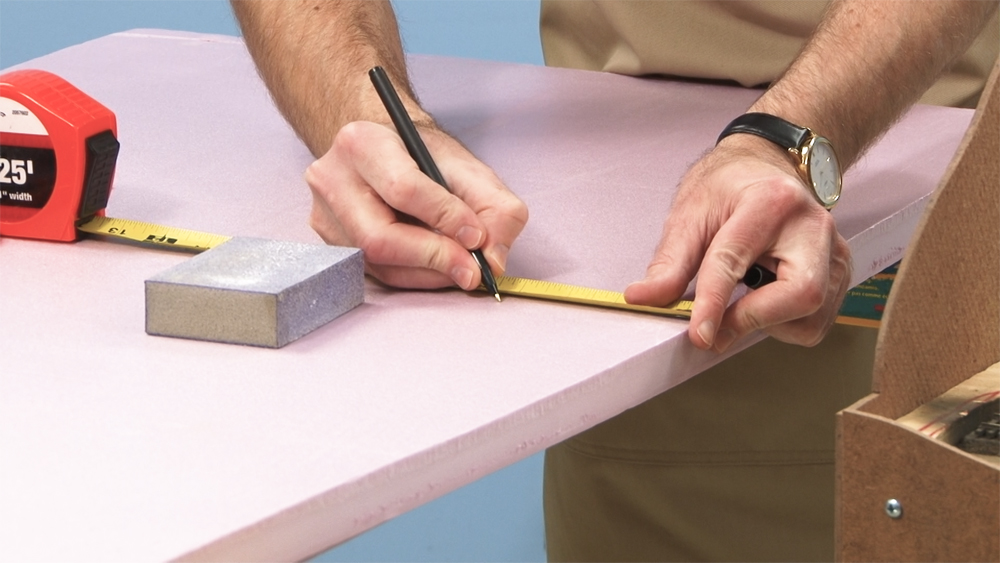
Using the measurements for the side walls of your tunnel, cut the foam boards accordingly. When cutting, ensure that there is adequate head space for your tallest train cars — like auto racks, double-stack well cars, and maintenance-of-way equipment – to make their way through the tunnel unimpeded.
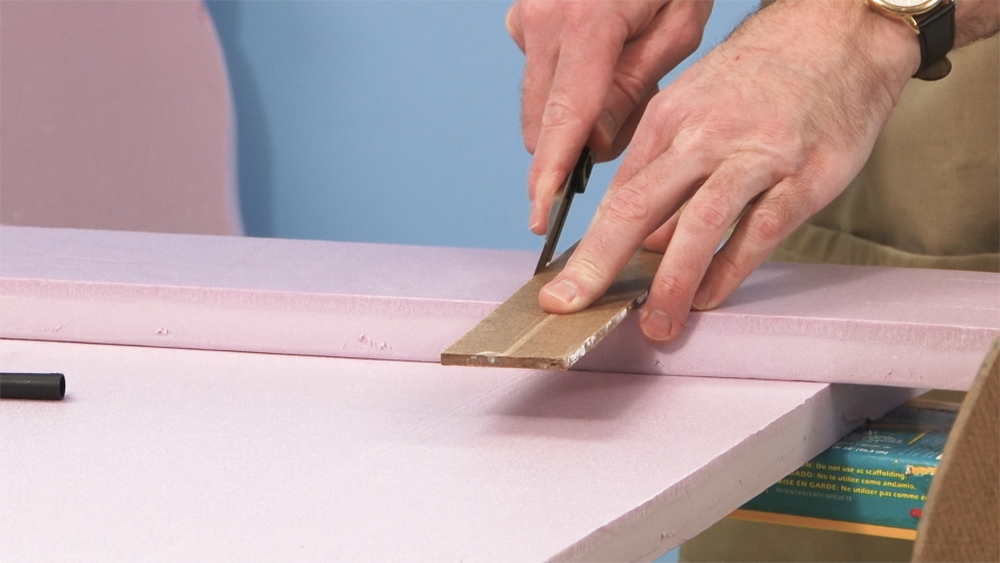
Hand-cut your walls using a utility knife with a sharp blade. A dull blade will not produce a clean cut, instead warping the cut edge of the foam.
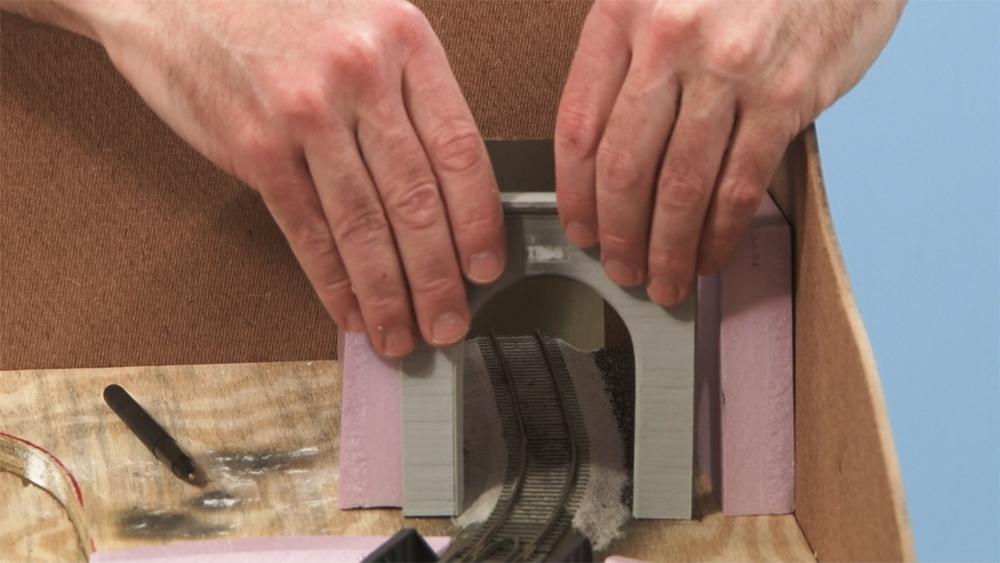
Once you’ve cut your side walls, test their fit by placing them onto your layout, but don’t glue them into place with adhesive yet.
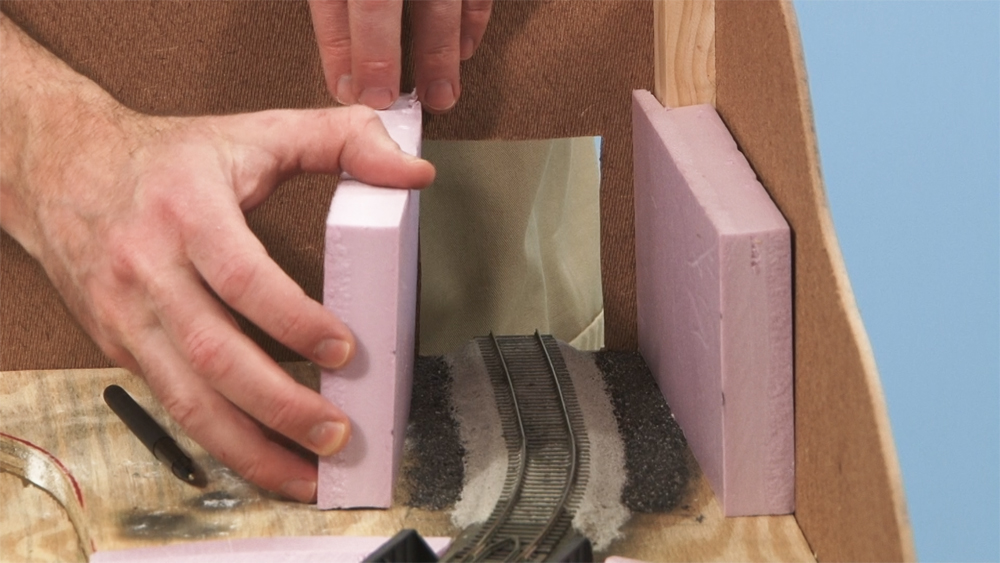
Then, using the dimensions of the tunnel walls which you have just cut, cut a roof for your tunnel from the insulation board.
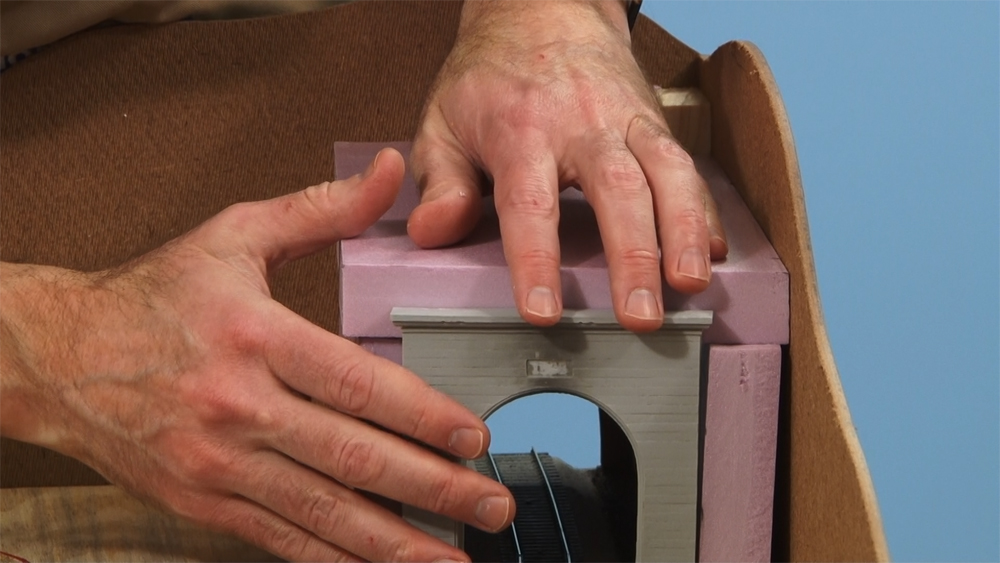
Now that you’ve cut the roof and walls, again test their fit. As this is the interior of the tunnel, it will be much less visible than surface scenery, so there is more room for error in small places so long as you ensure structural integrity. A good way to determine if everything is fitting right is to look for light gaps when sighting through the tunnel from one end to another.
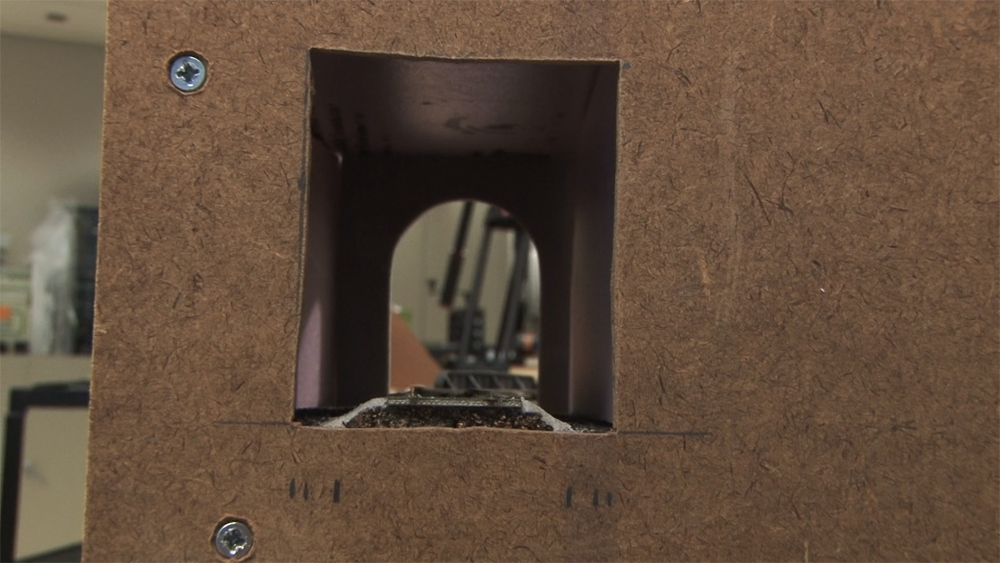
Before using adhesive to secure your walls and roof into place, you’ll want to paint the interior walls of your tunnel black. For insulation foam board, latex paints adhere best. While only the entrance to the tunnel interior will be visible, the foam insulation board often comes in bright colors like pink or blue that can be quite unrealistic and distracting.
Although some modelers detail their tunnel interiors with surfaces meant to simulate poured concrete or blasted rock, this technique is not truly necessary. Not much can be seen beyond the entrance to the tunnel, so painting it black is often enough to simulate a tunnel hidden in shadow. How much or little detail is applied is left to your discretion; remember, it’s your layout.
When the paint has dried, you can assemble your tunnel in earnest. Foam-safe adhesive caulk is the best for use with foam board. For this example, we DAP Alex Plus, an acrylic latex caulk. Other brands we’ve used include Liquid Nails for Projects and Loctite Power Grab.
Once the tunnel has been completed, give the interior and exterior an eye test, looking for gaps of light. After the caulk dries, roll a train through the entrance to double-check the positioning of the tunnel portal before gluing it in place with caulk. Congratulations, you’ve just mastered basic tunnel building! You can now proceed with constructing your layout, featuring a completed tunnel.