Q: What is the rule of thumb for the transition from a grade back to level when laying track? — Carl Angdahl
A: Gradual transitions between track grades, called vertical track easements, can help prevent problems on your model railroad. If a train suddenly goes from a steep grade to flat track or vice-versa, couplers can shift above or below each other, especially if the cars are of different lengths. The train could simply split apart at that point, or worse, the couplers could get hung up on each other and cause a derailment. Another possible problem is that long cars could bottom out on a vertical curve, getting its underbody caught on the point where the track starts the downgrade.
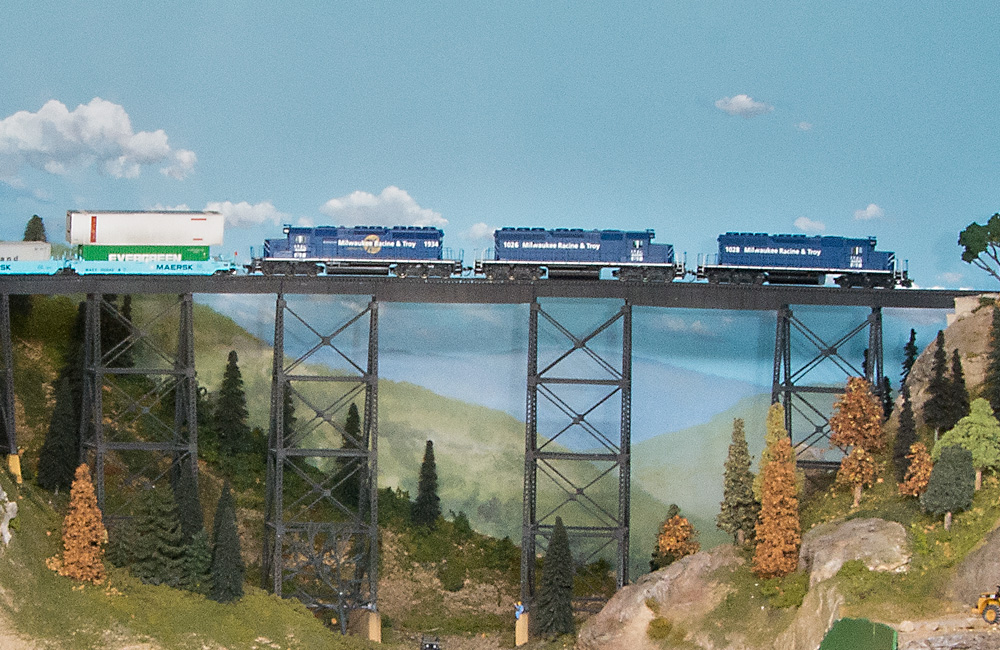
The solution is to make the curve more gradual — in other words, a vertical track easement. Try to make the distance over which the grade changes at least 1½ times the length of your longest car or locomotive. That way, you can never have two pieces of adjacent rolling stock on both slopes at the same time — one of them will always be in transition.
If you use thick plywood — ½ or ¾ inch — for your subroadbed, you shouldn’t have much of a problem with vertical kinks. The plywood’s resistance to bending will ensure your vertical transitions are gentle. However, there are situations where you have to be careful about introducing vertical kinks.
The first is subroadbed joints. Avoid situating joints between pieces of subroadbed plywood where the track changes grades. Move those joints two or three feet to one side so they fall where the track is flat. If you must situate a joint at a grade transition, splice another piece of plywood at least two feet long under the joint to give it rigidity.
Likewise, avoid placing track joints at grade transitions. Even if your subroadbed has a nice gentle transition, roadbed and track can pull up from the subroadbed over time, introducing a vertical kink that can cause problems. Position rail joints on even grades if at all possible.
Problems can also occur if you’re using pre-cut foam subroadbed risers for your grades. Use a wood plane, rasp, or foam cutter to knock the sharp corners off of the tops of slopes and add slivers of foam or cork to the bottom of the grade to make the transition more gradual.
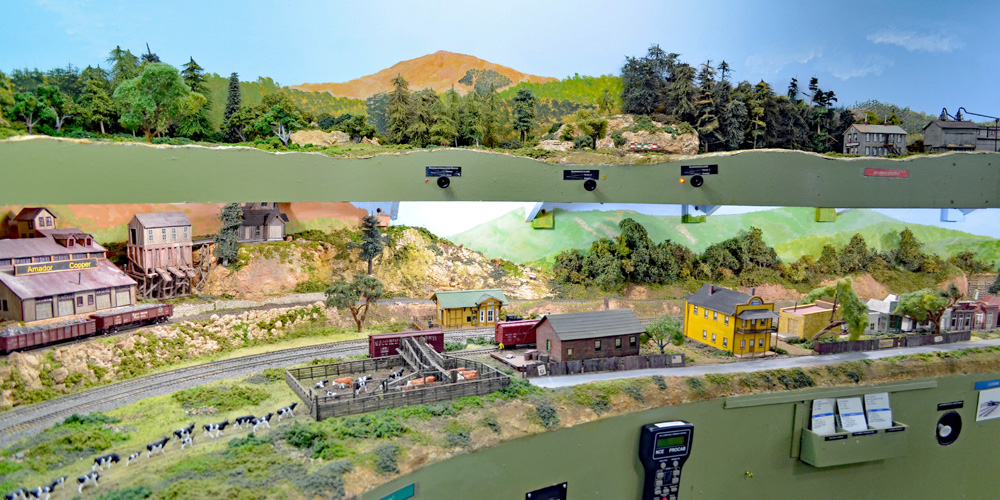
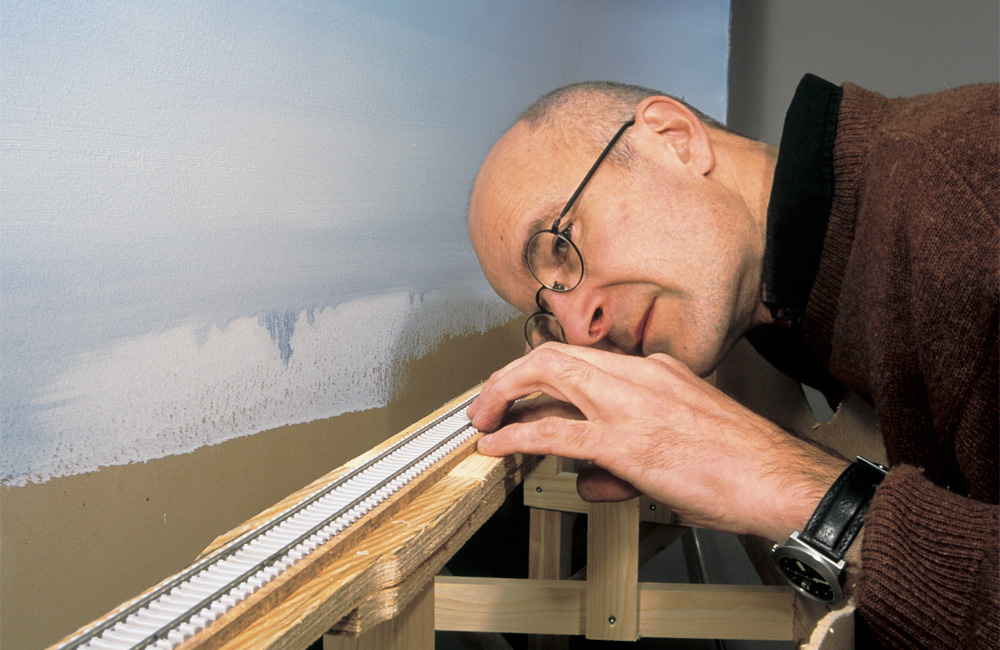
Finally, track can change grades suddenly where a spur or siding transitions from mainline elevation to ground level. You don’t want a car to have one set of wheels on the bottom of the slope and the other at the top. Use a rasp or sanding block to gradually shave your cork roadbed down to ground level over a distance at least as long as your longest car.
For more tips and techniques on track laying, read Basic Trackwork for Model Railroaders, Second Edition by Jeff Wilson, available in the Kalmbach Hobby Store.
Send us your questions
Have a question about modeling, operation, or prototype railroads? Send it to us at AskTrains@Trains.com. Be sure to put “Ask MR” in the subject.