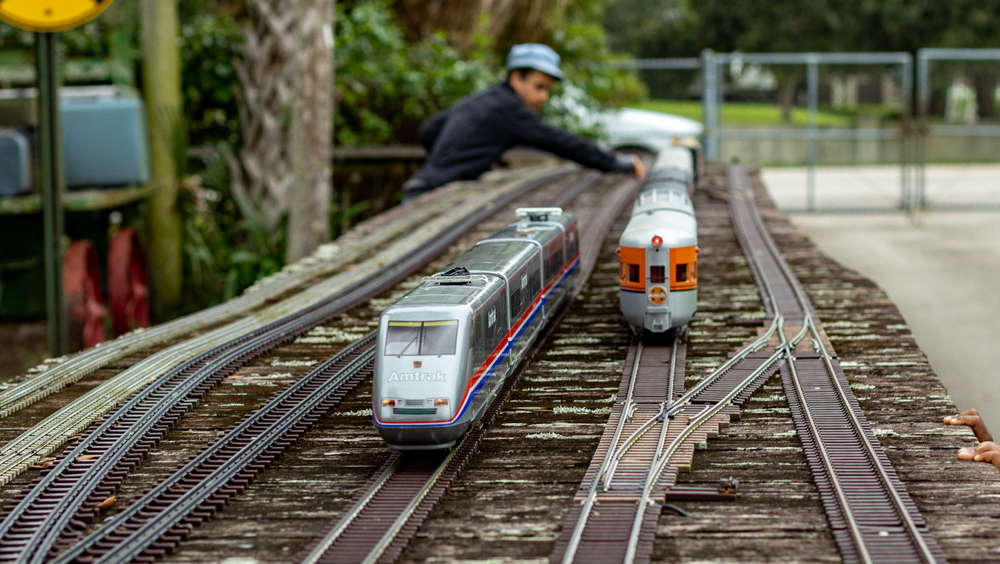
Q: On page 45 of the Nov. 2022 issue, a swing gate is shown as part of Mark Carlson’s Chicago & North Western layout. It looks like a marvelous way of avoiding duckunders, lift bridges, and other methods of entering an around-the-room layout. Are there any alignment problems or inherent sagging issues of which builders should be aware? Do you know of any articles that cover the bracing considerations, latching and alignment methods, special wiring, etc., that I should be aware of when I build a layout swing gate? What provision should be made to prevent locomotives from running off the edge? – Bruce Penniston, North Gower, Ont.
A: We’ve published a number of stories over the years on various ways to bridge a benchwork gap: swing gates, lift-outs, lift-ups, drop-downs, and so on. Each is as unique as the layout situation it solves.
In our April 2014 and May 2014 issues, DCC Corner columnist Mike Polsgrove tells how he wired his layout’s swing gate to protect trains from running off the edge while the gate was opening. He also equipped it with a replica crossbuck that lit up and played a bell sound when a train approached, letting people know not to open the gate.
Coincidentally, in that May 2014 issue, we also published an article from Jerry Dziedzic about the lift-up, slide-down gate he built for his layout. In a bit of strange foreshadowing, Jerry would go on to join Mike as an MR columnist!
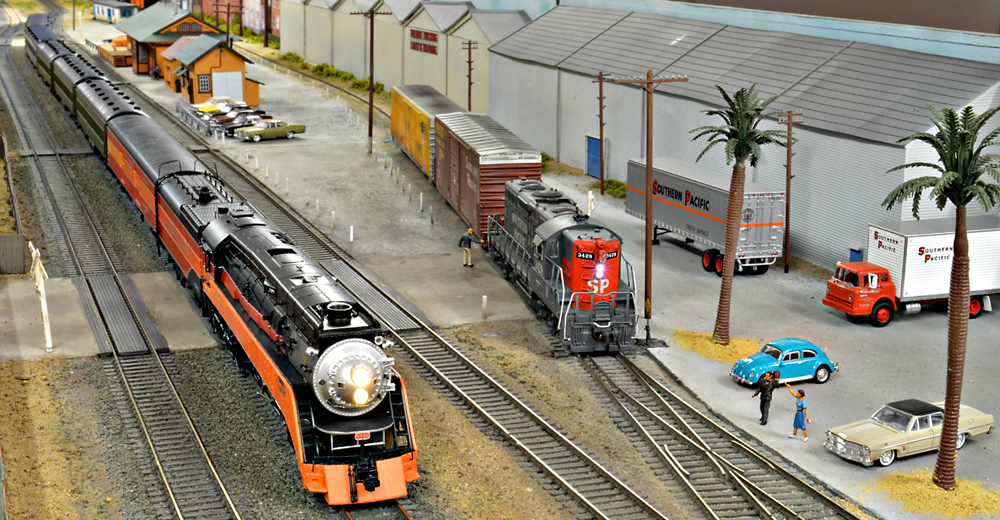
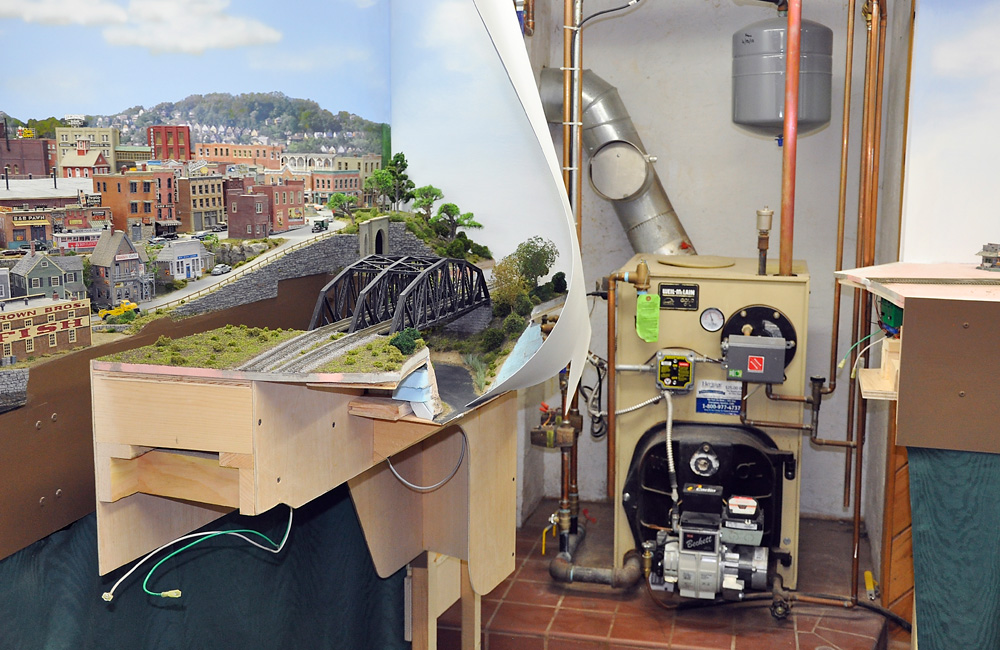
In December 2014, Tom Oxnard told us how to build a layout swing gate to provide access to a furnace behind the benchwork (seen above). Tom’s design is closer to the wider, scenicked gate in the article you’re asking about.
Ron Gager wrote “Build a layout gate” in our November 2012 issue. His design is built as a plywood box to add rigidity and prevent sagging. The box’s solid sides also serve to keep his dogs out of the train room. Smart!
James Murphy has another approach in his February 2016 article, “Build a lift-up section that safely locks in place.”
Things to keep in mind when you build a layout swing gate
When you build your layout swing gate, bridge, or removable section, here are some issues you need to concern yourself with:
- Ease of use. While a gate has to be secure when it’s closed, if it’s too much trouble to unlock and open, you might as well just build a duckunder. I built a section on my layout to be removable in case of emergency. One day, that emergency happened, in the form of a burst pipe above the layout. I took the section out to give the plumber room to work. But since then, I’ve found it far too convenient to walk through the gap, so I still haven’t replaced that section. If I had built it as an easy-to-use gate in the first place, it would be back where it belongs.
- Rigidity. You can’t have your gate sagging or drooping under its own weight, or the ends won’t align. Use more, and bigger, cross-braces than you think you need. Consider adding guy wires with turnbuckles, like those used to support old screen doors or garden gates, to adjust your gate if needed.
- Shrinkage. Wood shrinks as it dries over the course of years. A gate that fits snugly when it’s built may become loose as time goes on, pulling rails out of alignment. If you can, build your gate out of more dimensionally stable wood products like medium density fiberboard (MDF) or oriented strand board (OSB), or aged lumber that’s been in your basement for a few years.
- Rail alignment. A good technique to keep rail ends aligned across the gaps is to solder them to copper-clad printed-circuit board (PCB) on both sides of the gap, then cut the rails with a rotary tool after they’re secure. (Be sure to gap the copper surface so as not to create a short!) But even that might shift if your lumber shrinks. Fix the PCB to your benchwork with screws threaded through slots in the PCB. That way, if the gate or the benchwork changes size, you can loosen the screws and adjust their alignment. Gerry Leone offers another solution for this issue in his article “Aligning track on moveable benchwork” in our August 2016 issue.
- Protecting your trains. If you run your trains with direct current, all you need is a simple electrical switch that’s closed when the gate is closed and cuts off current to the tracks approaching the gate when it’s open. But many Digital Command Control-equipped locomotives these days come with “stay-alive” capacitors that would let a train run through that dead track and right over the edge. Consider adding a physical stopper, like an under-layout switch motor that automatically raises a stiff wire between the rails before the drop-off point.
Good luck designing and building your gate.
Send us your questions
Have a question about modeling, operation, or prototype railroads? Send it to us at AskTrains@Trains.com. Be sure to put “Ask MR” in the subject.