Beginners Ask Trains Ask MR: Why did my straight track become not so straight?

Ask MR: Why did my straight track become not so straight?

By Sammi DiVito | March 20, 2021

| Last updated on April 14, 2021

Also, connecting to tiny wires, facing consisted diesels, and uses for repositionable glue

Email Newsletter

Get the newest photos, videos, stories, and more from Trains.com brands. Sign-up for email today!

Track nailed to a sheet of Homasote exhibits numerous bends and kinks
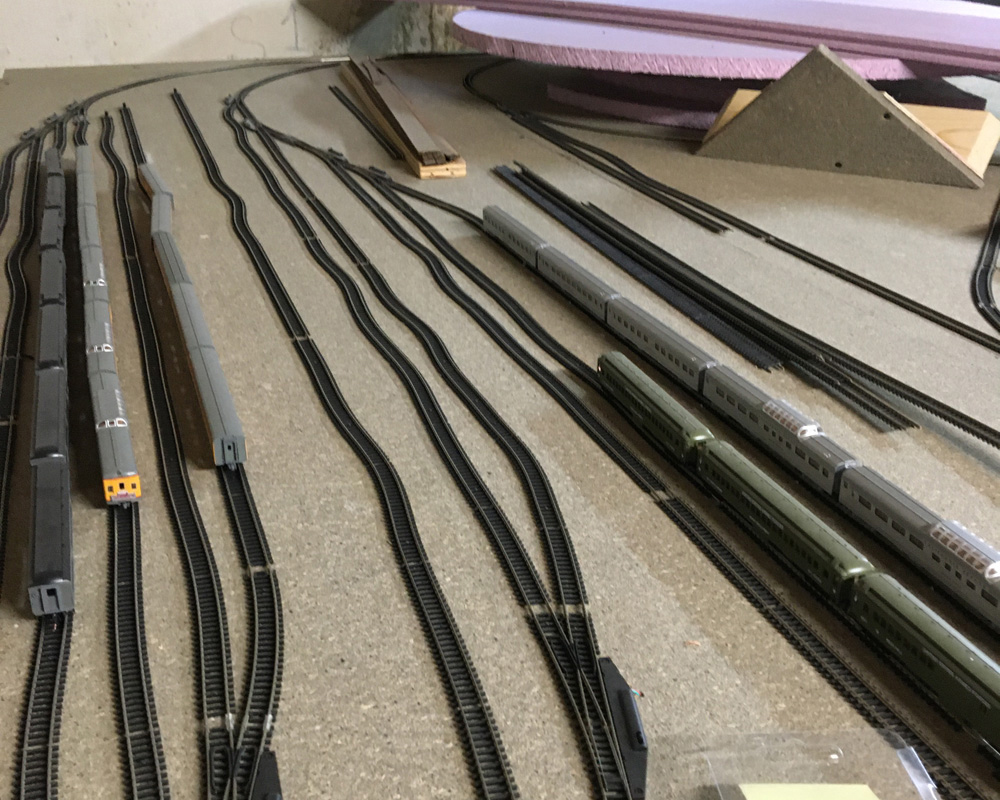
Mike Weise’s yard tracks were straight when he nailed them down to the Homasote table surface last summer. After a winter drying in the basement, the track shows numerous wiggles and squiggles. Mike Weise photo

Q: After five decades away from model railroading, I dug into my trove of old N scale track, locomotives, and rolling stock, and built a small, old-school, direct-current layout. I moved on to build a sizable layout with new Atlas flextrack affixed to a Homasote surface. Track laying was completed by mid-summer last year. But after the winter in my basement, to my great disappointment, there are stretches of track that are now no longer straight. As shown in the accompanying photo, sections that were straight last October have become “squiggles.”

Obviously, during the fall and winter, there’s lower temperature and humidity in my basement.  I can’t imagine that the flextrack has expanded under those conditions, so maybe something has changed with the Homasote. Have you ever seen this kind of problem? – Mike Weise, Jefferson City, Mo.

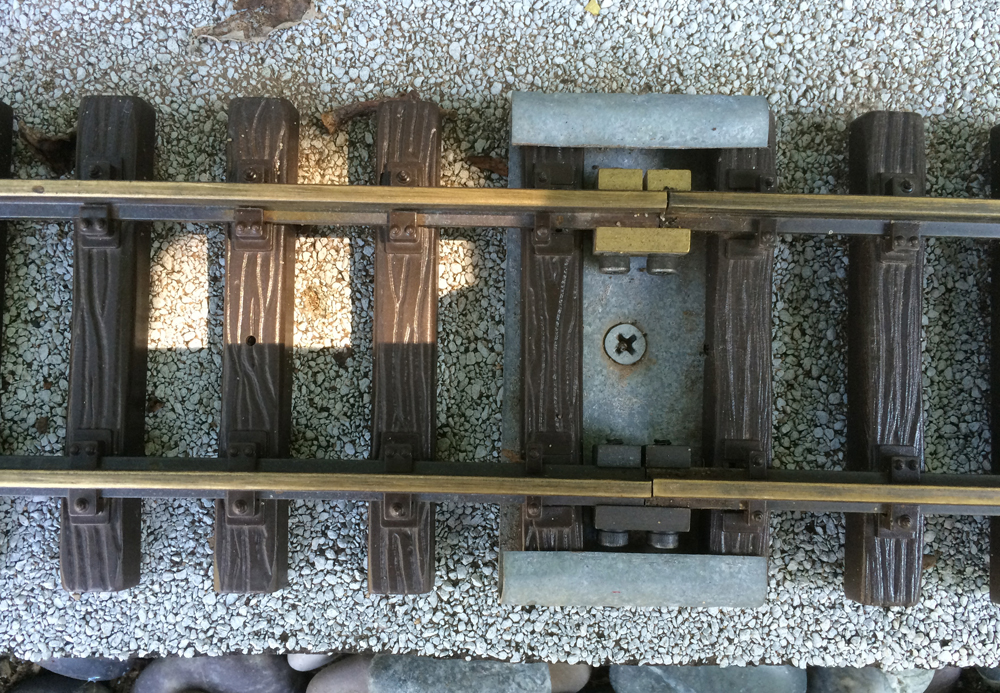
A: You’re right, it’s not likely your track has changed size in the basement. More likely is that the benchwork and baseboards you installed the track on has shrunk due to low humidity. It’s an imperceptible difference, but there’s little to no tolerance in model track to absorb such changes, so you end up with what can look like drastic curves. But you don’t have to rip up and reattach all your trackwork. The solution is to cut expansion joints in your track with a cutoff wheel in a rotary (Dremel) tool. You may have to add a few more electrical feeders to make up for these gaps, but that’s sound practice anyway.


Q: A lot of the light-emitting diode (LED) lighting on my layout comes with very tiny wires – 28AWG or so. Is there any easy way to connect to these? – Fred Sotcher, San Jose, Calif.

A: The easiest thing is to strip the insulation off the ends of the fine wire and solder on a longer feeder of a gauge that’s easier to work with, before you install the LED. If the insulation is a varnish type, you can scrape it off with a hobby knife or burn it off with a soldering iron or match. After soldering on the feeder, protect the joint with heat-shrink tubing.


Q: I’ve noticed that when engines are joined in a consist the second one often seems to face backward, but not always. Is there some order to their arraignment or is it random? – Jeff Tarbell, Aurora, Colo.

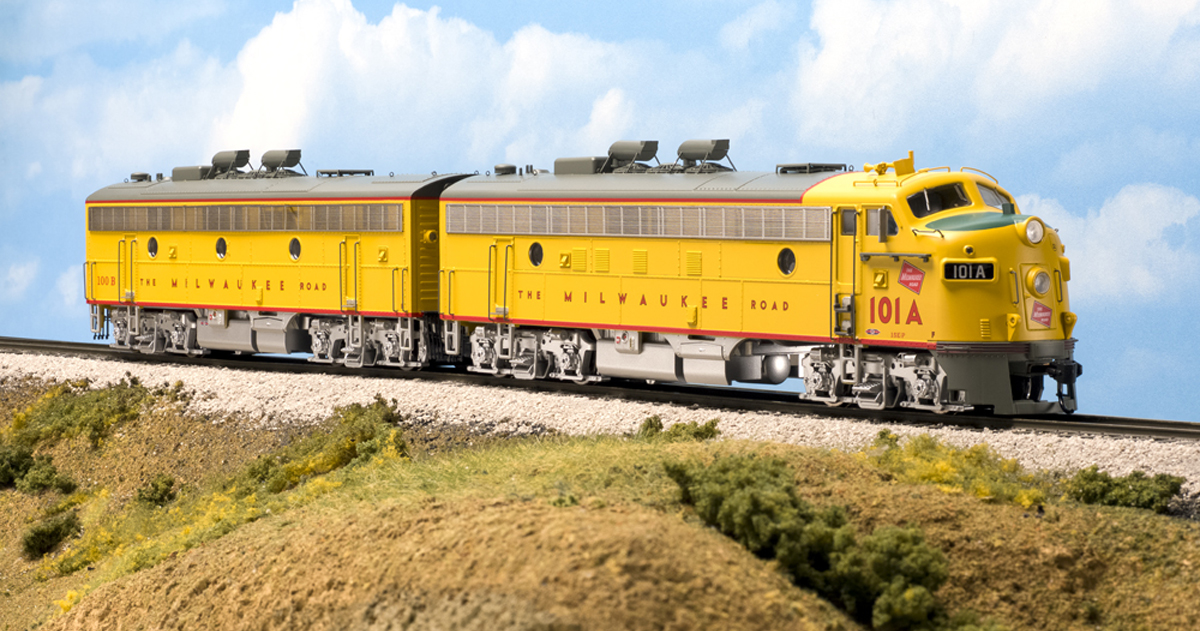
A: If a train has switching to do along its route that requires working both facing-point and trailing-point turnouts, the crew will face the rearmost locomotive backward so they can work from its cab when switching in the other direction. The same is done when a train has to reverse direction and return at the end of its run; having a cab facing both directions means the engines can simply run around the train, rather than turning on a turntable or wye. On the other hand, if a train has to split at a point along the way into two trains that take separate routes, the second engine will be faced so both face the direction they will need to go with their half of the train. This was most often the case on passenger trains. If none of these circumstances are true, then the trailing locomotive could be faced either way – whichever direction means the least work for the hostler crew assembling the train.

Reader tip: Uses for repositionable glue

Woodland Scenics’ Scenic Accents Glue is often used to secure figures to a layout, since it lets you move or reposition them as desired. I’ve found this glue can be used for many more model railroad applications. For building structures, I use it to temporarily add details. Building a lumberyard? Use it to secure model lumber to the storage racks. Use it to secure a building roof in case you want to add interior details or lighting later. I also use Scenic Accents glue when building structure mockups and for adding details to locomotives or rolling stock, such as sunshades on diesels. Finally, add a little glue to the bottom of the wheels of your model vehicles to prevent runaways on mountain roads. – Jeff Bagley, Folsom, Calif.

Send us your questions

Do you have a question about model railroading you’d like to see answered in Ask MR? Send it to associate editor Steven Otte at AskMR@MRmag.com.

You must login to submit a comment