What tools does a model railroader need?
Q: What are the tools needed to take an empty room to a full working model railroad? My focus is to build a layout with the best scenery, from streets to tall mountains and everything in between. – Carroll Shirkey, Seattle, Wash.
A: Many beginners are left wondering what tools does a model railroader need as they take up the hobby. Model railroading encompasses so many different aspects – carpentry, sculpture, model-building, architecture, painting, electronics, photography – that a complete list would either take up more space than I have for this column, or just be a link to the tools page at The Home Depot’s website. When MR’s Russ Larson tried to answer this question in 1969, he wrote a four-part series and only covered modeling tools. So rather than try to be complete, I’ll list only the most vital gear needed for the main aspects of our hobby. The good news is you probably already own most of it.
Benchwork
Unless you plan to purchase premade modular benchwork or build yours from metal framing (something we did for our Clinchfield project back in 1978), you’ll need a basic set of wood carpentry tools. A circular saw, a jigsaw, and a power drill with screwdriver attachments will do for the power tools. You’ll also need a miter box with saw, screwdrivers, a claw hammer, and a set of wrenches for tightening bolts and lag screws. Quick-release clamps, old-fashioned C-clamps, and a 90-degree corner clamp or two will also come in handy. And if you’re going to measure twice, cut once, you’ll need a tape measure, a metal yardstick, a level, and a carpenter’s square.
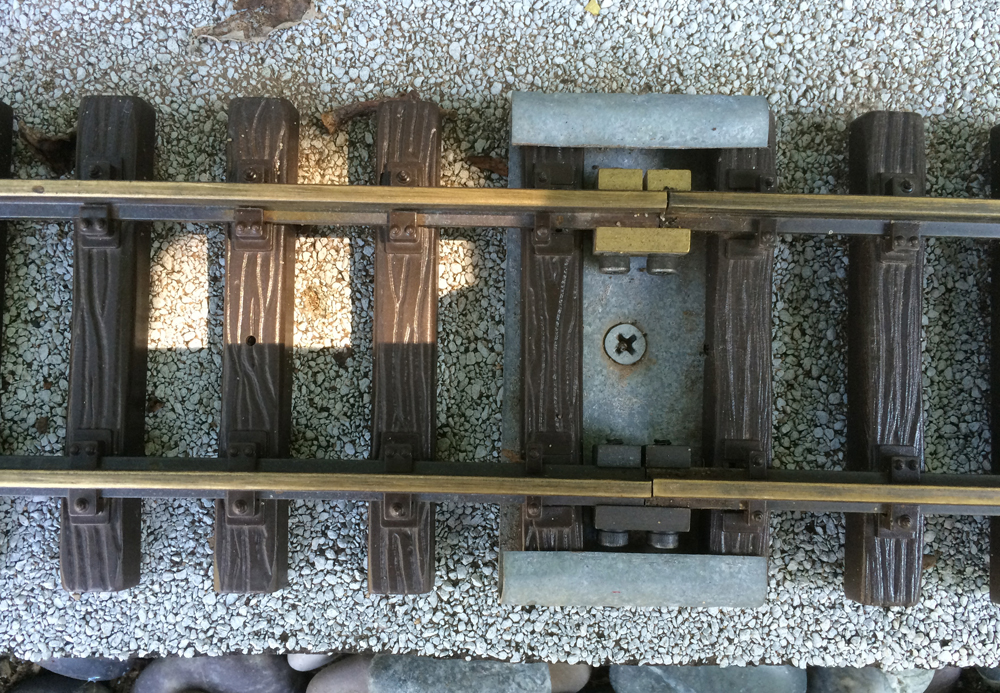
Track laying
There are many ways to cut track, including plier-style rail nippers, a razor saw, and a cutoff disk in a rotary motor tool; we use them all, depending on the situation. We prefer to lay our roadbed and track using foam-safe adhesive caulk, so a caulking gun and a putty knife to spread the adhesive are important. A snap-blade utility knife, a few different grades of foam sanding blocks, and a handheld rasp/plane are useful for cutting, shaping, and tapering roadbed. If you use track nails, a nailset, needle nose pliers, and a tack hammer are called for.
Wiring
A couple of the tools you’ll need for this step have already been mentioned – needle nose pliers and a power drill (with a long 1/8” bit). A pair of wire cutters, wire strippers, and a pencil-tip soldering iron are also necessary. We like to join wires under the benchwork using suitcase-style insulation displacement connectors. A special parallel-jaw plier is made for use with these joiners, but a pair of regular slip-joint pliers will do.
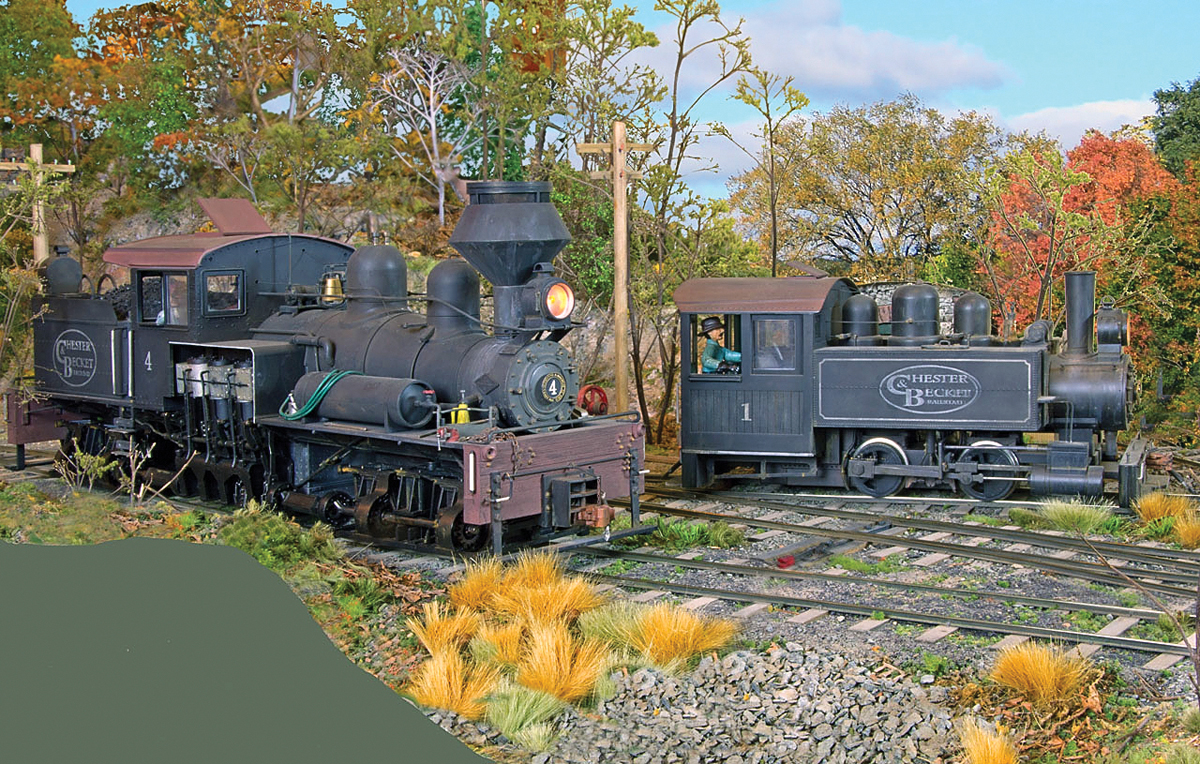
Scenery
Here we really get into the weeds (pun not intended). There are so many different ways to do terrain and scenery that an exhaustive list of tools needed would be impossible. If you use extruded-foam insulation board, you’ll need tools to cut and shape it, such as a hot wire cutter, hot knife, rasps, and sanding blocks, in addition to the previously mentioned caulking gun and a shop vac to clean up afterward. For hardshell, you’ll need a staple gun to attach the cardboard web or crumpled window screen to the wood benchwork. If you cast rocks, you’ll need silicone rock molds and a flexible bowl to mix plaster in. To cover the terrain, you’ll need various sizes of putty knives and paintbrushes, sifters for ground cover, a sprayer for wet water, and pipettes to apply scenery adhesive. An awl, tweezers, and needle-nose pliers will come in handy to plant bushes and trees. An electrostatic grass applicator is necessary if you want to use static grass, but not everybody does, so call this expensive gadget optional.
Kit building
We’ve already mentioned tweezers and a razor saw, so you’ve got a start on this bit. But the single most important tool in the modeler’s toolbox is the good old hobby knife with sharp-pointed no. 11 blade. You’ll go through a lot of blades, so you won’t regret buying in bulk. A chisel-tip hobby knife is also useful, and you’ll never regret a good pair of flush-cutting sprue nippers. A set of jeweler’s files and flexible sanding sticks will come in handy to clean up those cuts. To drill tiny holes, you’ll need a pin vise and a set of drill bits in sizes from no. 61 to no. 80. A small square, magnetic clamps, and a metal scale rule will keep those cuts and glue joints straight, and a self-healing cutting mat will spare your workspace from cuts and scratches. To paint your lovingly assembled models, get an assortment of sable-hair paintbrushes in sizes from 3 to 10-0 and a few packs of Microbrushes. Airbrushes are great if you have both space and a budget for a spray booth and a compressor, but one isn’t necessary.
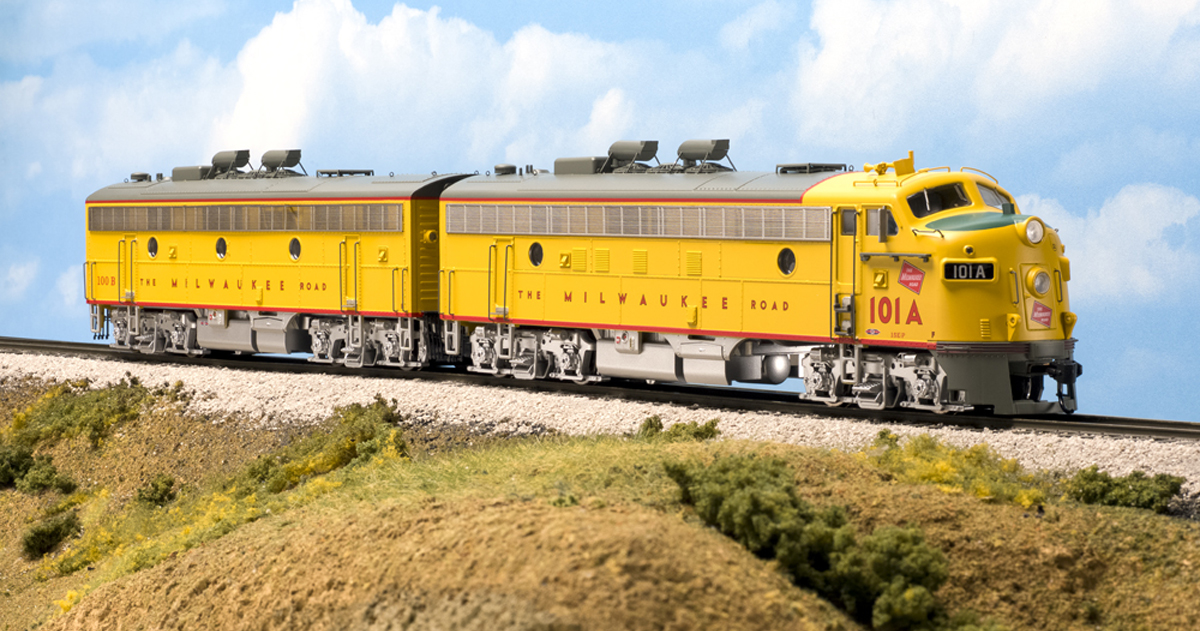
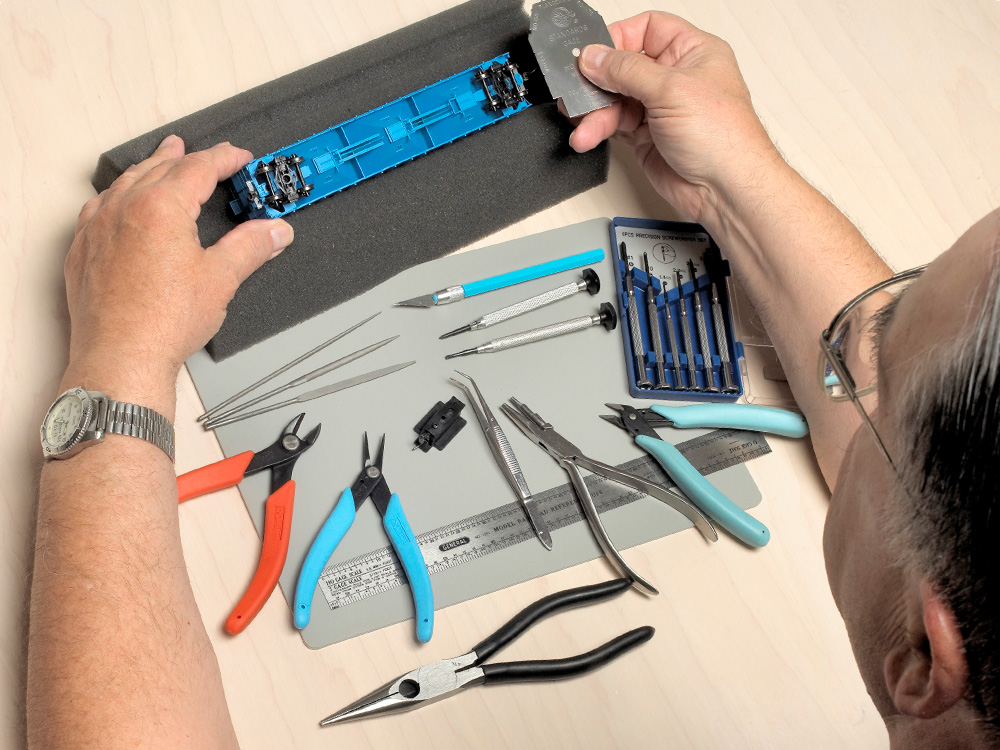
Rolling stock
As if all that weren’t enough, you probably also want some trains to put on that beautiful layout. To detail and maintain them, you’ve already got the tweezers, soldering iron, hobby knife, files, and paintbrushes. Add to them a foam locomotive cradle and a set of jeweler’s screwdrivers. A coupler height gauge and a trip-pin adjustment plier will keep your couplers in line. The last tool you need is a National Model Railroad Association wheel and track gauge for your chosen scale.
Hopefully, this short summation helps to answer the question of what tools a model railroader needs. You can get most of the tools listed above from the Kalmbach Hobby Store.