


Garden Railways has been the leading magazine devoted to the hobby of outdoor, large-scale model railroading for more than 30 years. Each issue brings you step-by-step modeling projects, fascinating photo tours of garden railroads, unbiased product reviews, new product announcements, tips from the experts, and much more!
Plus, subscribers get exclusive online access to the Railroad Gardening Library, product reviews, project plans, bonus articles, and more. Whether you’re new to the hobby or a seasoned veteran, this magazine is for you!
Features
The Great Canadian West Coast Railroad
Staff corner: Don Parker
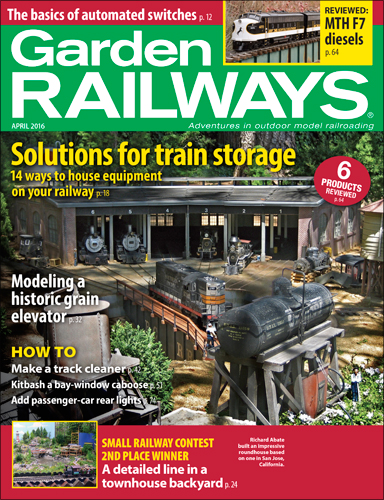
Recreating the Larkinburg grain elevator
A viaduct for a French garden railway
Replicating SP&S caboose No 792
Back to black & white
Departments
From the Editor
Letters
Garden railway basics
Remote switching
Greening your railway
Plant portraits
Dutch elm
Product reviews
One-page project
Passenger-car rear lighting
